
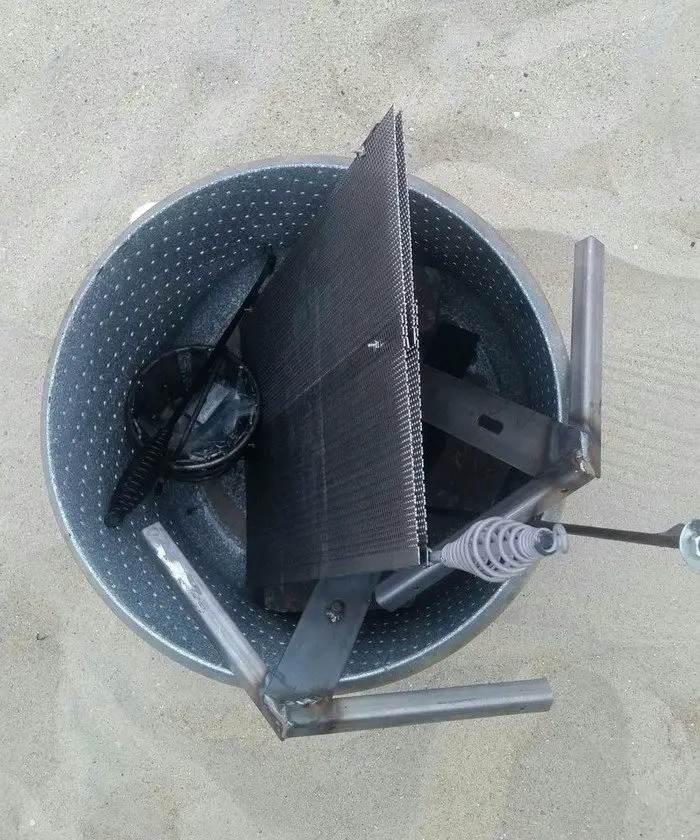
Side supports:
Ultimately the sides are fairly straightforward but there is a lot going on. This is the part that really brings everything together.
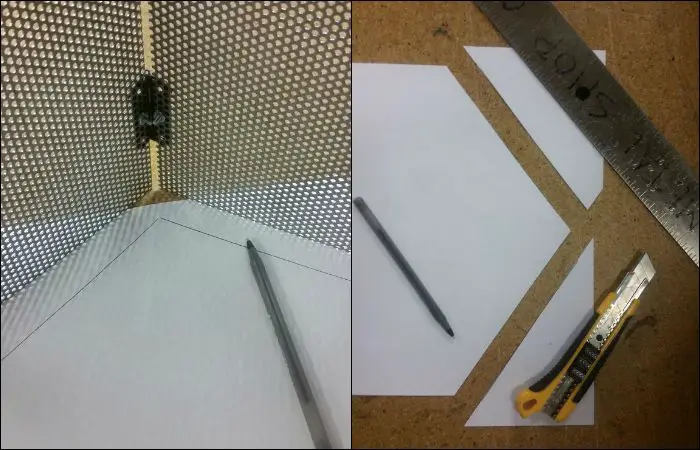 First, I closed the roof panels until they naturally stopped at the maximum reach of the hinges. I’m not one to worry about the actual degree of the angle, I just needed to make sure they were the same. I traced the angle, stenciled it onto 2 pieces of 2in x 24in x 1/8in bar stock.
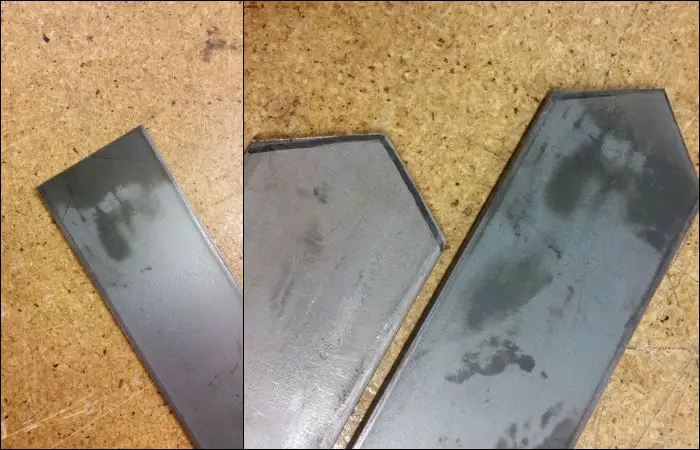 That way I can cut the bar stock to the perfect angle.
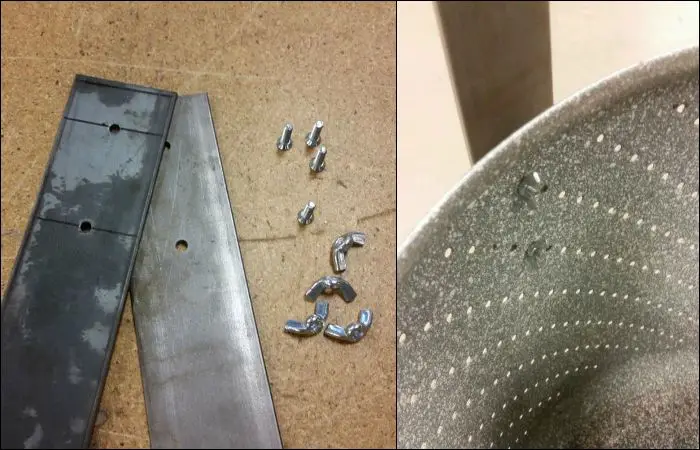
Each side support needed 2 holes to connect it to the washing drum. I figured out the holes were consistently 2in apart so I marked out some lines and punched the holes. #8 bolts fit great in the barrel holes and I picked out some #8 wing nuts for easy assembly.
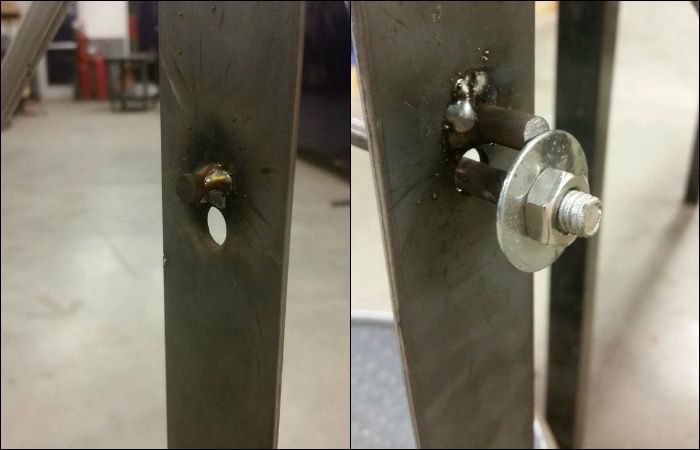 I punched a single hole in one side to hold the bucket crank rod. That is the side I adorned with welded stops on both sides for the washer and the locking nubbin.
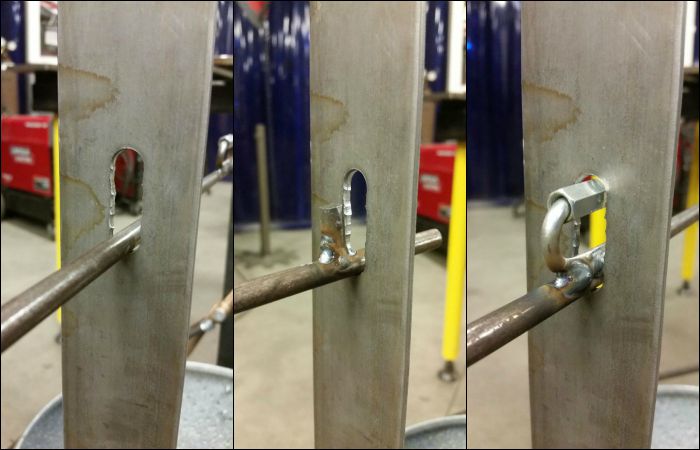 The other side I punched a series of holes to make an opening that would fit the rod, the lock nubbin, and the threaded quick link.
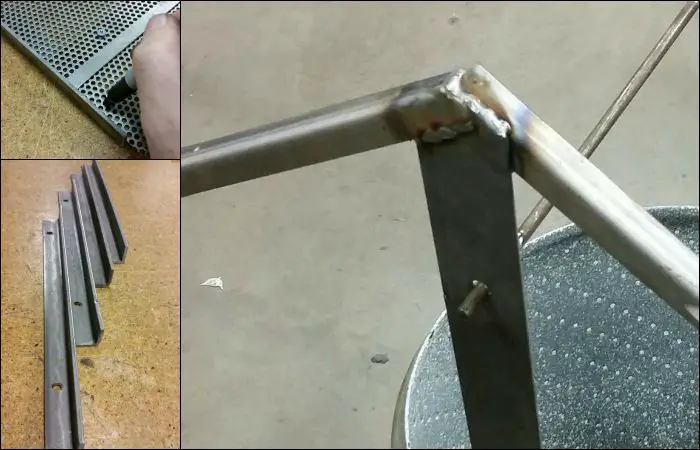 Finally, I needed to weld on rails to support the roof. I cut down some 1in angle iron into 9in lengths. I punched holes into 2 of them.
The rails with holes will be used to bolt the roof onto.
The other rails will not use bolts so you can utilize the hinges to freely lift the roof. A few weld beads to secure the rails to the side bars and we are ready to assemble!
On-site assembly:
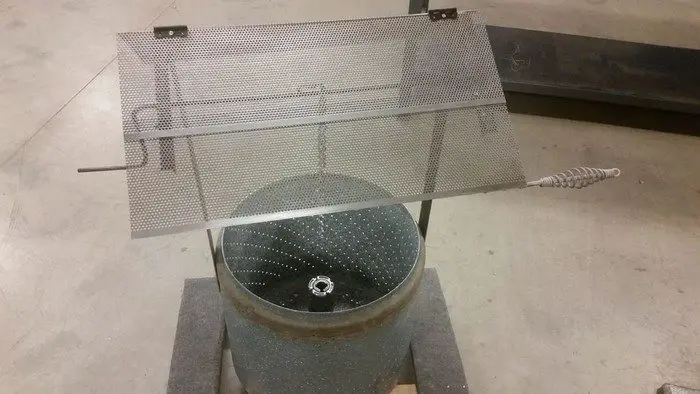
After all your hard work is time to put your burn barrel to work. It arrives on scene conveniently packed all into the barrel.
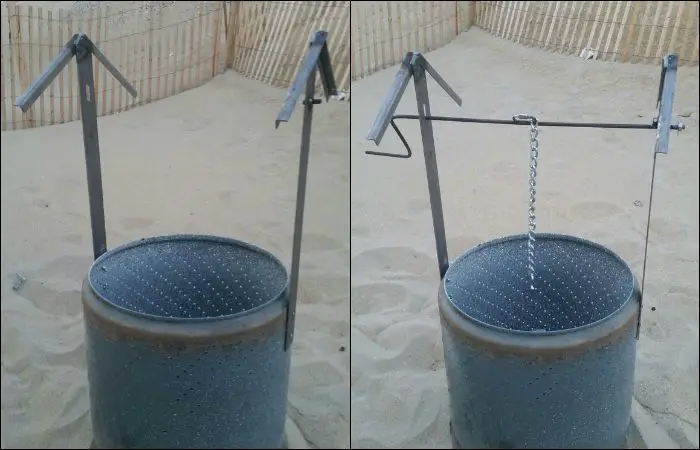 After removing the pieces from the barrel the side supports are added in no time. 4 bolts are rapidly tightened with the help of the wing nuts. The bucket crank fits right through our openings and is secured with a washer and bolt on the end.
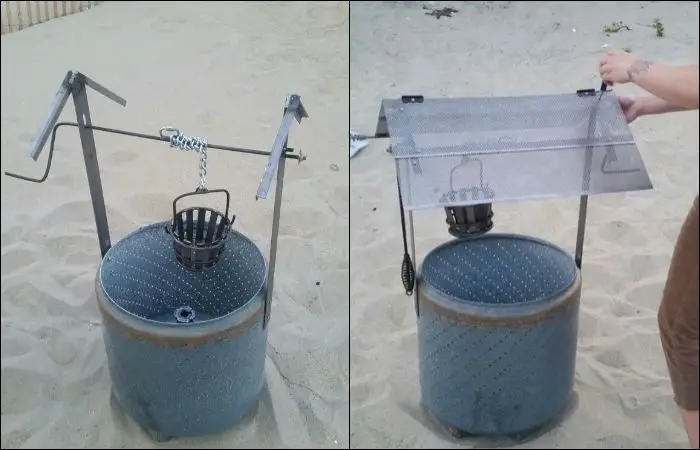
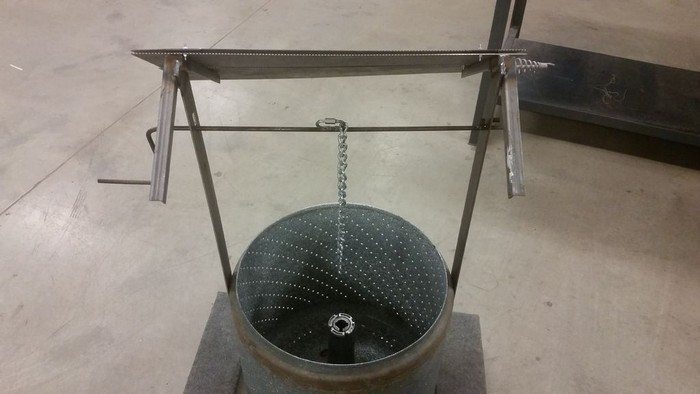
The chain and bucket are attached with no difficulty.
Finally, the roof is attached with 4 bolts using a Philips head screwdriver found in my utility knife set up (Thanks Amanda for demonstrating the assembly).
As soon as the sun sets, light up some logs, add a meal to your bucket, and enjoy some relaxing conversation around your one-of-a-kind burn barrel.
Thanks to
Here’s a quick video…


