

For the bucket turn crank I used a 3ft length of 3/8in mild steel rod that can be found at any large hardware store.
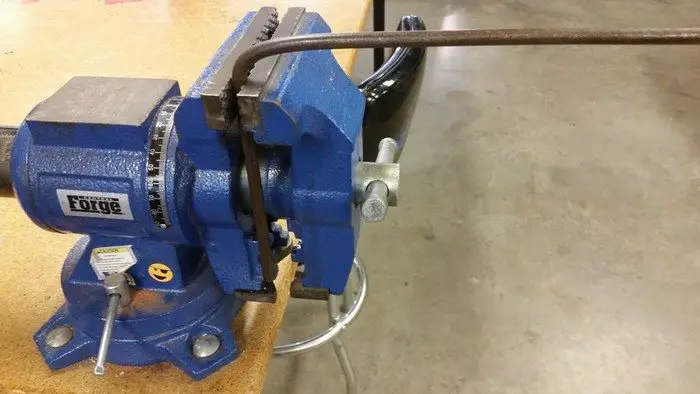 The handle is made by making 2 bends on one end of the rod. I’m not one for accuracy or precision so I set it up in a vise and bent away. It is best to do the handle bend first and then the bend to complete the 90 degree angle. You can use the length of the rod to help you bend it or use a mallet for a sharper bend.
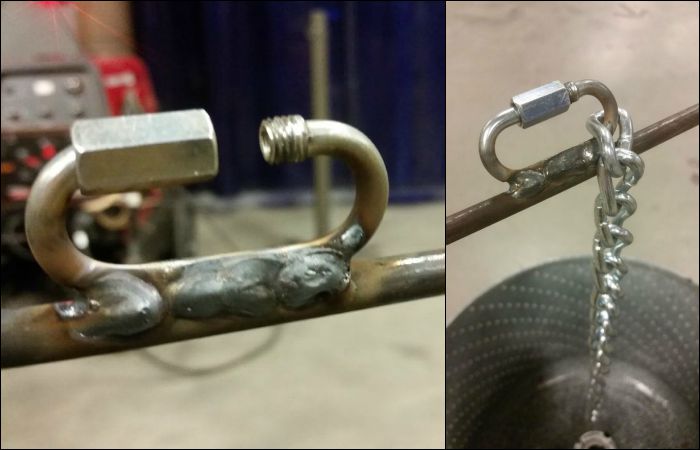 Next step is welding on a threaded quick link so you can add the chain and take it off again. This allows the rod to be installed and removed quickly.
I also welded a little nubbin that was cut off the back end of the rod. This will create a stop as it is held in place by another nubbin so you can lock in the height you want for the bucket.
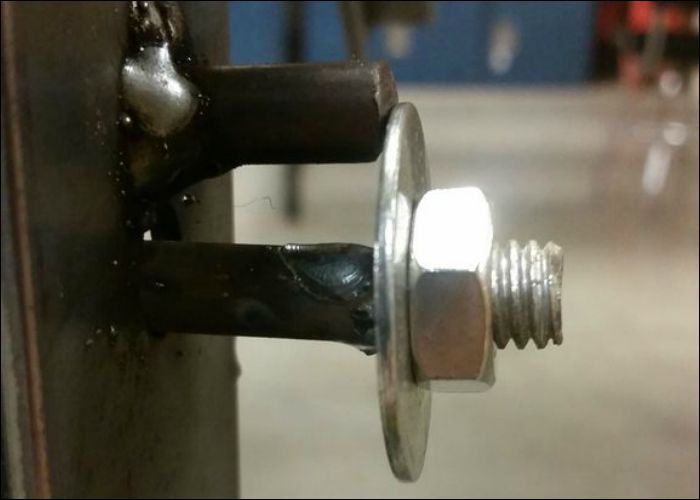
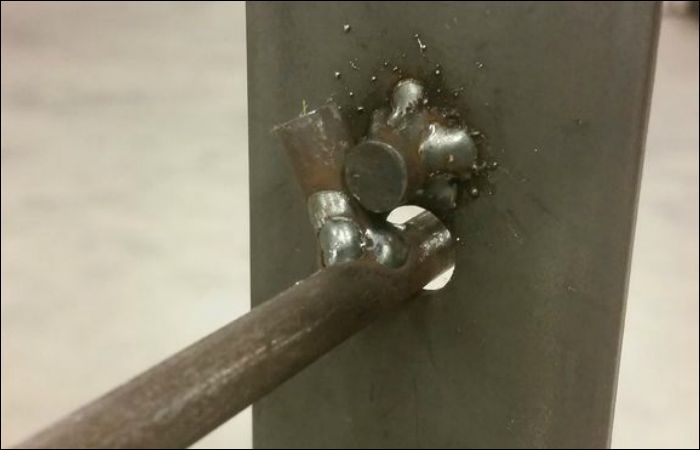
Finally, I cut down some 3/8th all thread, welded it onto the end of the rod that is not the handle, and added a washer and nut. This prevents the bucket crank from getting pulled out and your meal ending up in the fire.
The bucket:
The bucket is the one element that really sells that this is more than just an ordinary burn barrel. It simply wouldn’t be a wishing will without it.
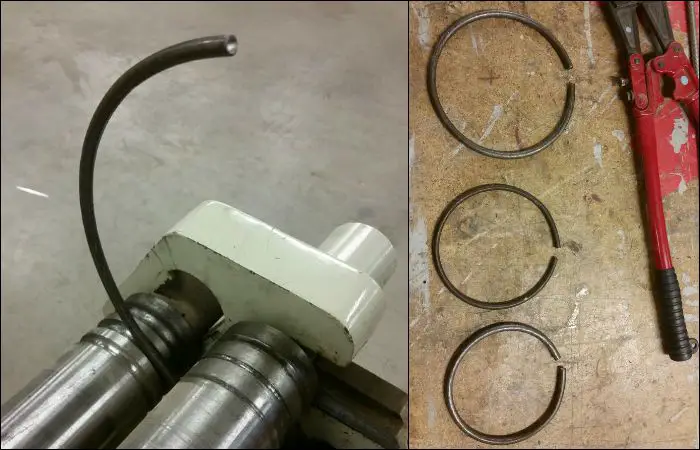 The hardest part was making the rings. I had to go back to my geometry days to figure out the circumference of the rings so I could cut the proper lengths. I ended up with 5in diameter for the bottom and 6in diameter for the top and 5.5in diameter for the decorative middle ring.
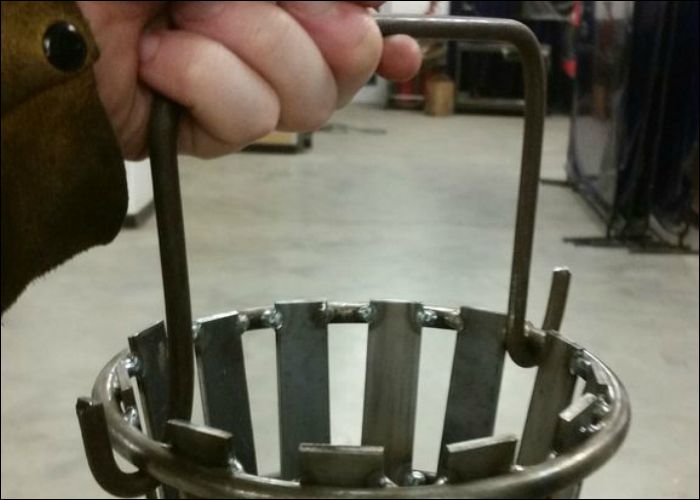
 After I had the rings welded I cut down some bar stock metal for the slats. Each slat was 1in x 4in x 1/8in. I used 12 total and welded then haphazardly to the rings for a rustic look. I then traced the bottom angles onto the bar stock so I could trim them to size and maintain the round shape.
Finally, I used the vice again to bend up a handle and hook it between slats for it to hold into the top ring.
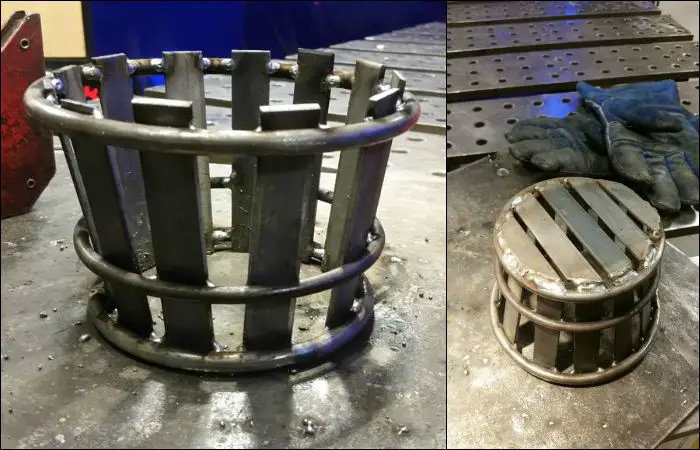
Now you have a heavy duty metal bucket ready to brave the heat of a fire to ensure you have perfectly warmed meals.
Continued Page 3…


