Most garage doors are now made from aluminum or composites as they’re lightweight, and last longer compared to their older timber counterparts. As homes get refurbished and modernised, that old timber garage door is usually one of the casualties. Most will end up in landfill. But here’s a much better solution.
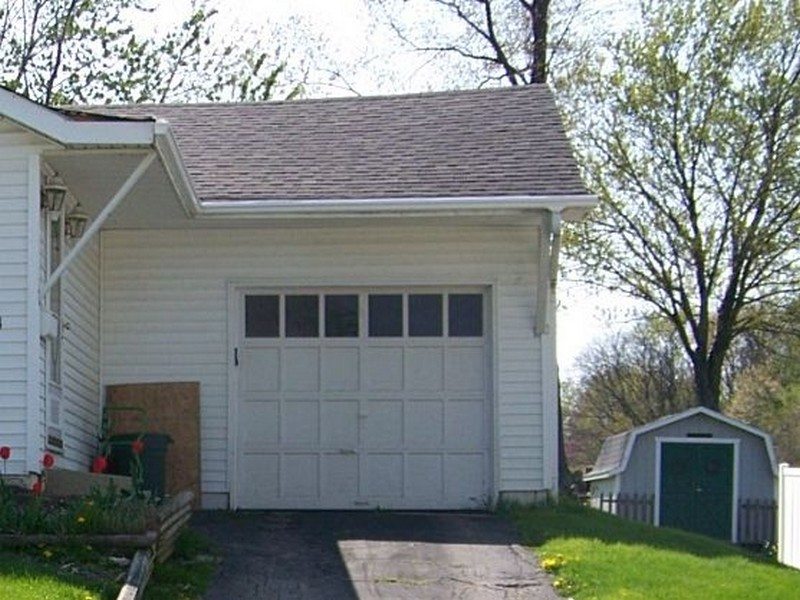
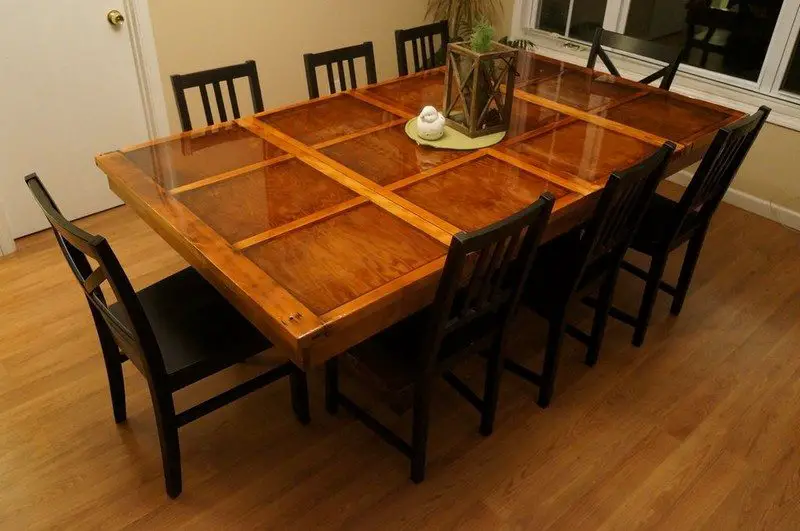
Instead of taking them to the dump, why not turn them into something useful for your home: a garage door table. This makes sense as most of these doors were made to last in all types of conditions and weather. They are made from quality timber that has beautiful grain, they’re still durable, and they’re free!
This project is a perfect example of how you can repurpose old timber garage doors. The owner decided to turn them into an awesome dining table! The build turned out very well that you won’t even notice that it’s made from an old garage door that would otherwise end up in the trash.
What do you think? Would you also do this if you had an old garage door?
Click on any image to start lightbox display. Use your Esc key to close the lightbox. 8-)
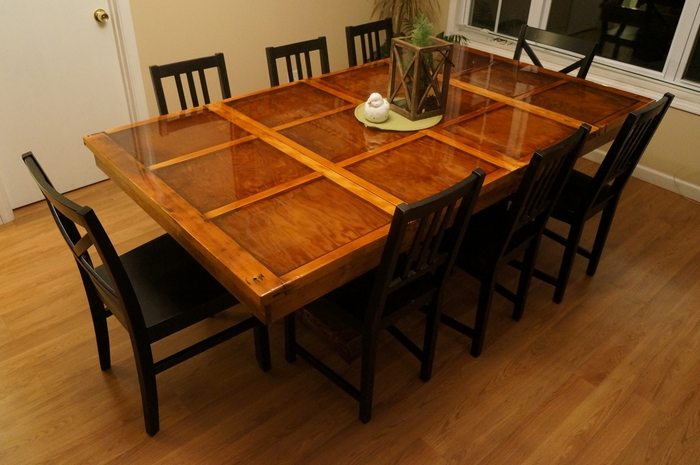
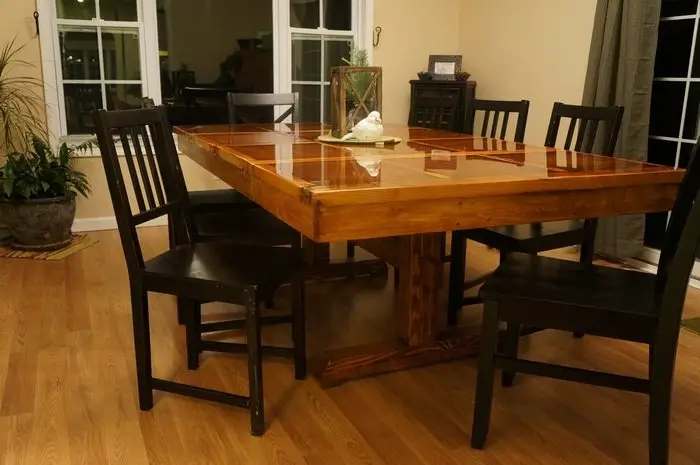
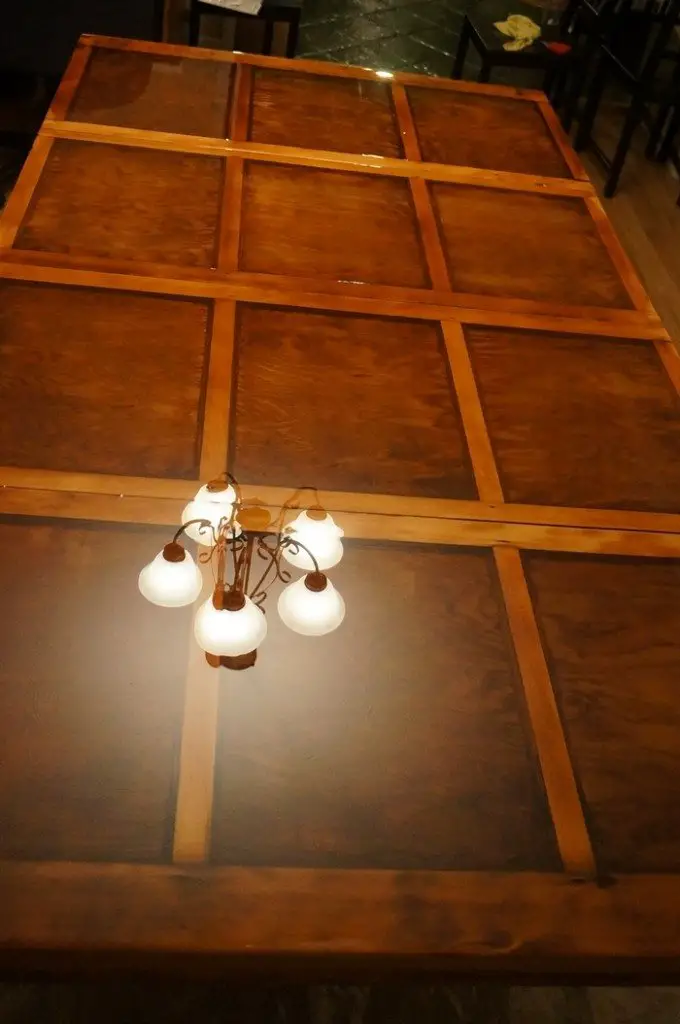

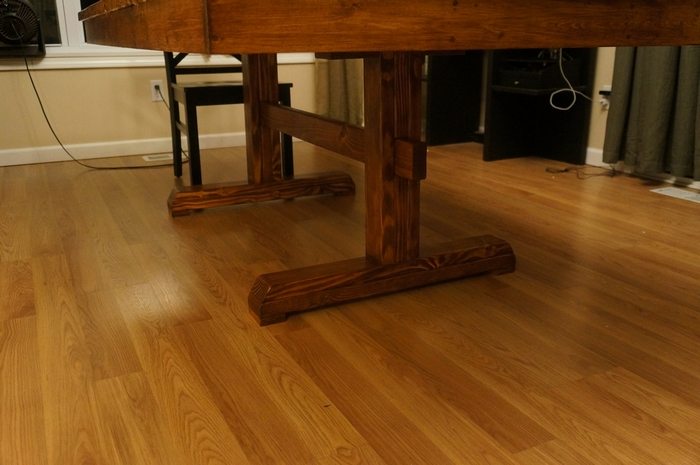
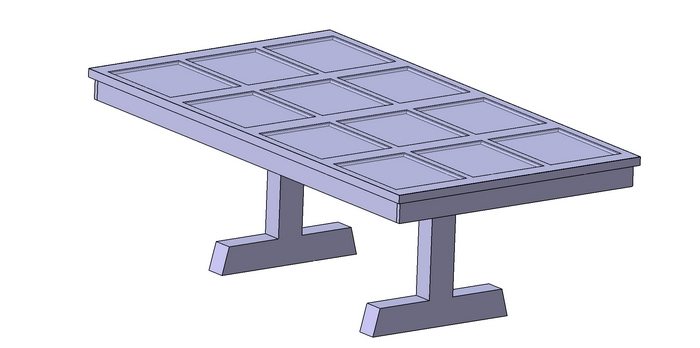
Building a Garage Door Table
Materials
- Clear Epoxy
- Wooden Garage Door
- 2×4 Timber
- 1×4 Timber
- Polyurethane
- Wood Stain
Tools
- Sander
- Circular Saw
- Power Drill/Driver
- Scraper
- Paint Brush
- Torch
Steps
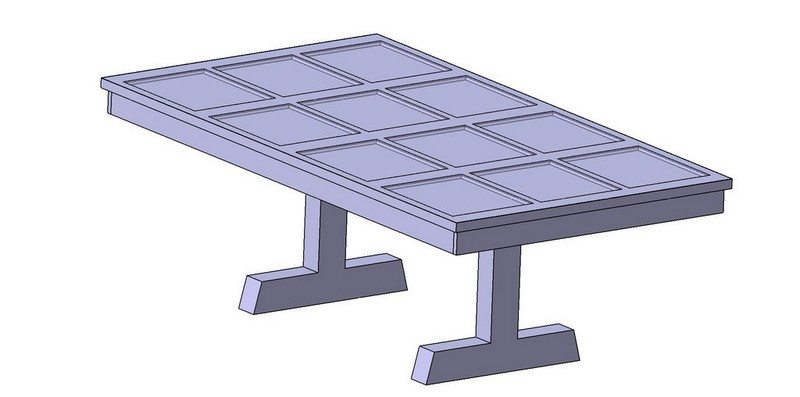
I actually used the CAD model to calculate the exact amount of Epoxy I would need for my garage door table.
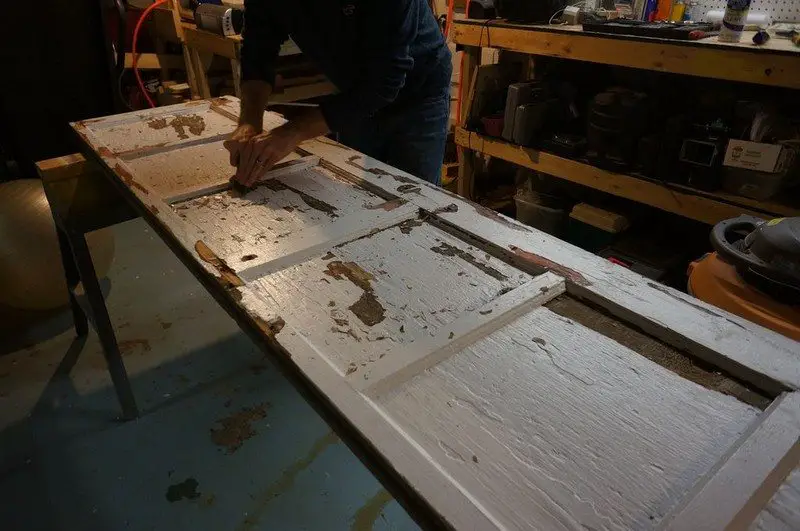
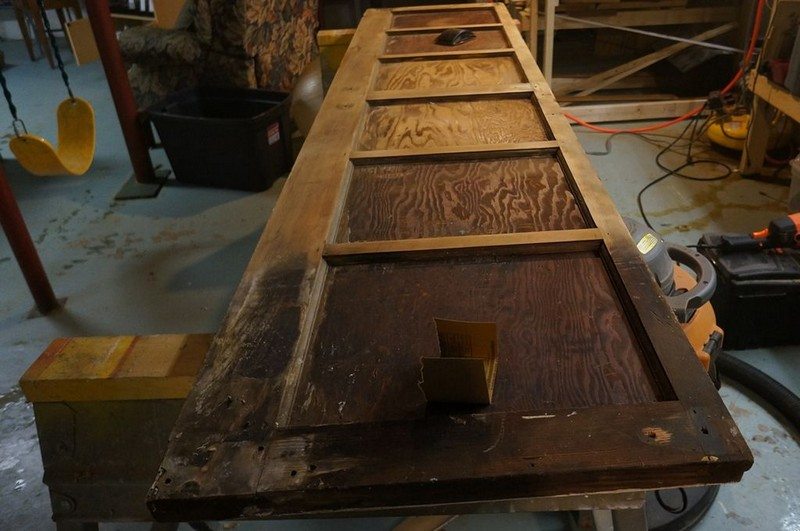
DISCLAIMER : I started by attempting to scrape the peeling paint off the doors. This proved to be very difficult as there were approximately 60 years worth of paint stuck to the door. Since I wasn’t using the painted side of the door for the top, I didn’t spend a lot of time trying to remove paint. I basically wanted to make sure I didn’t have loose paint chips coming off the bottom of the garage door table.
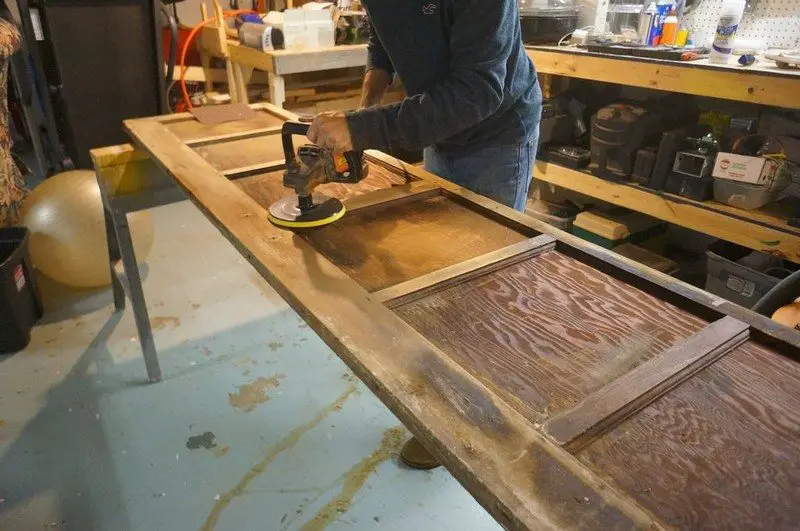
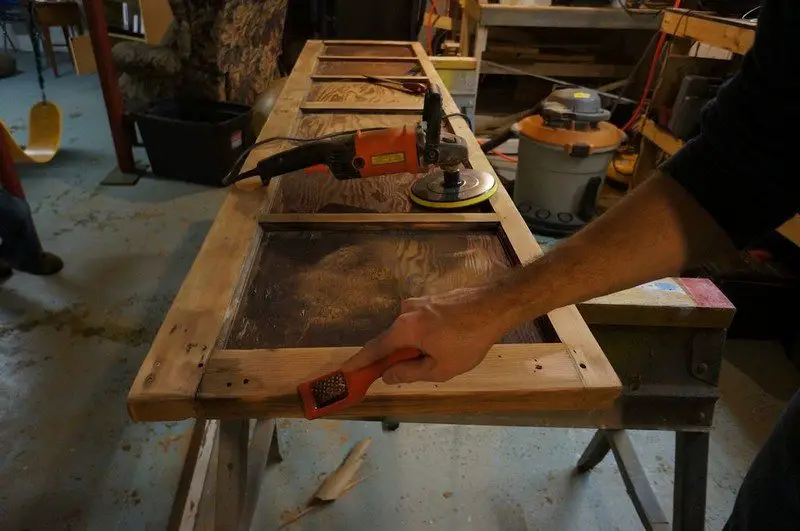
I sanded the upper surfaces of the ribs of my garage door table with an orbital sander and finished them by hand.
Use metal grill brush for the surfaces of the garage door table pockets. It would easily take the loose materials off and would do a sort of sanding action as well. I wasn’t too worried about getting the surfaces of the pockets smooth since they were going to be filled with 1/2″ of epoxy in the end. Please note when sanding, it is highly advisable to use a respirator or at the very least, a dust mask while working on your garage door table.
After the cutting and sanding, I tried to round off the sharp edges of my garage door table created by the cuts. I wasn’t very particular with this either since it was a worn, rustic, industrial look I was going for.
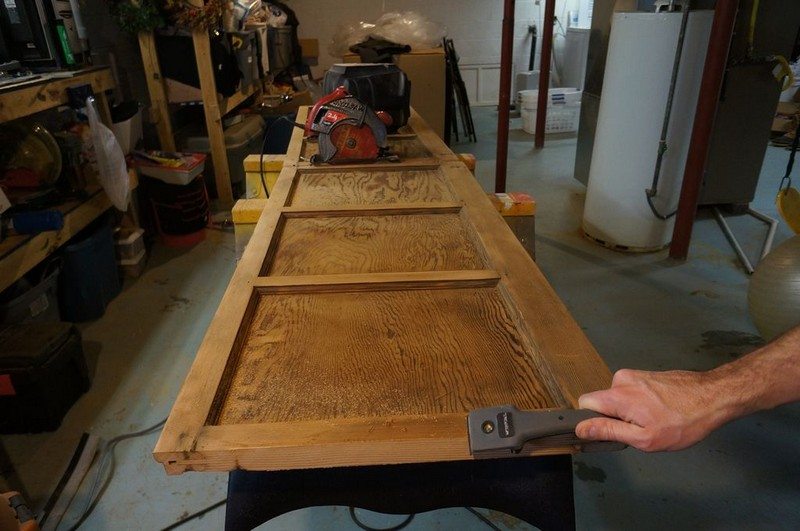
CLEAN UP THE ROT: The bottom section of my garage door table had some areas that were starting to rot, so I cut about an inch and a half off the bottom section.
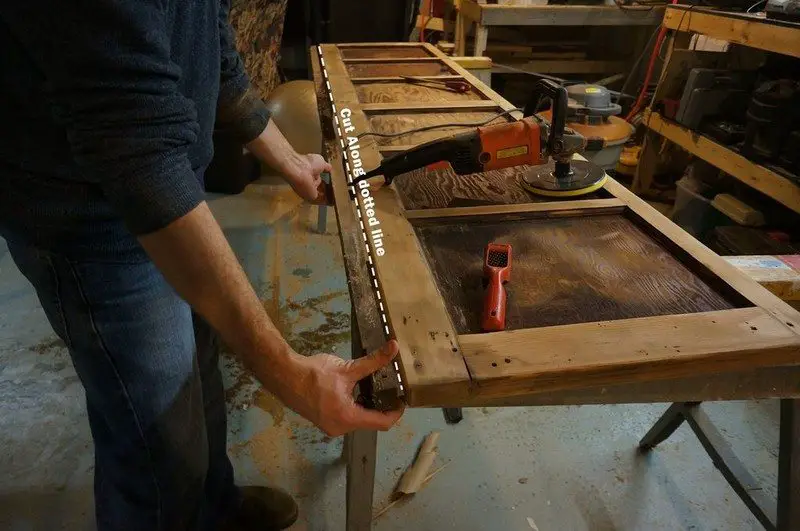
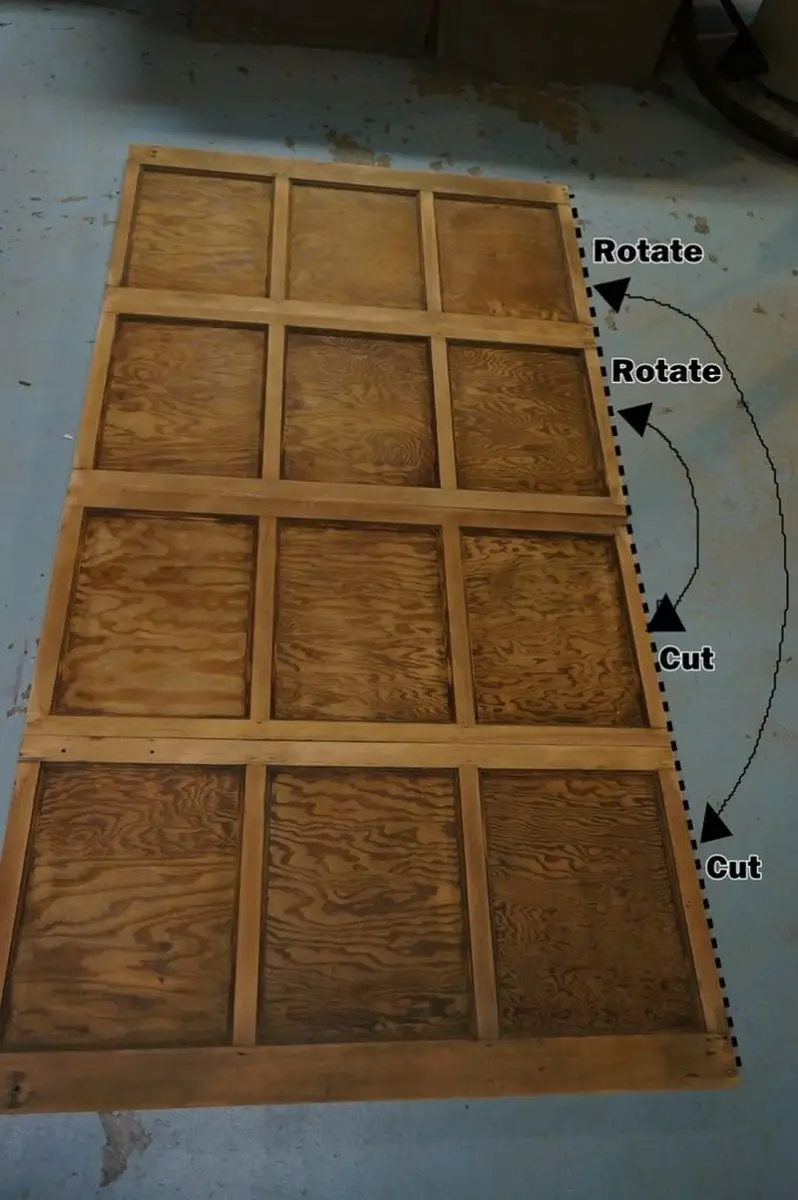
Then I cut each section in half.
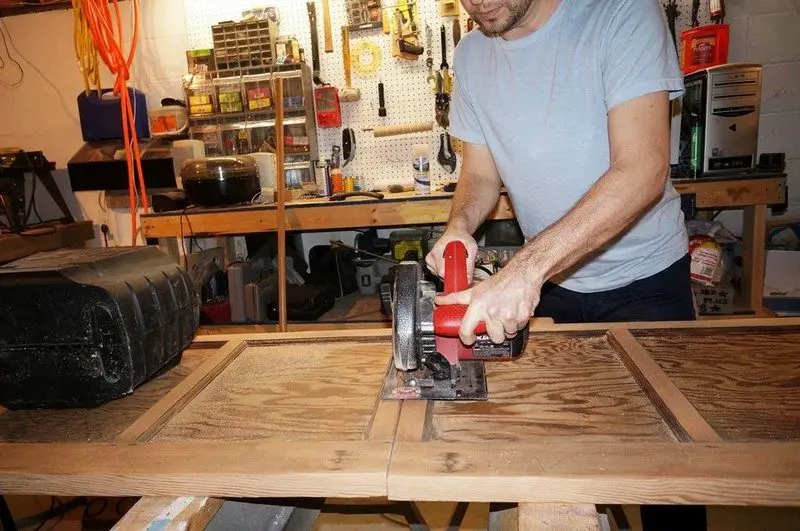
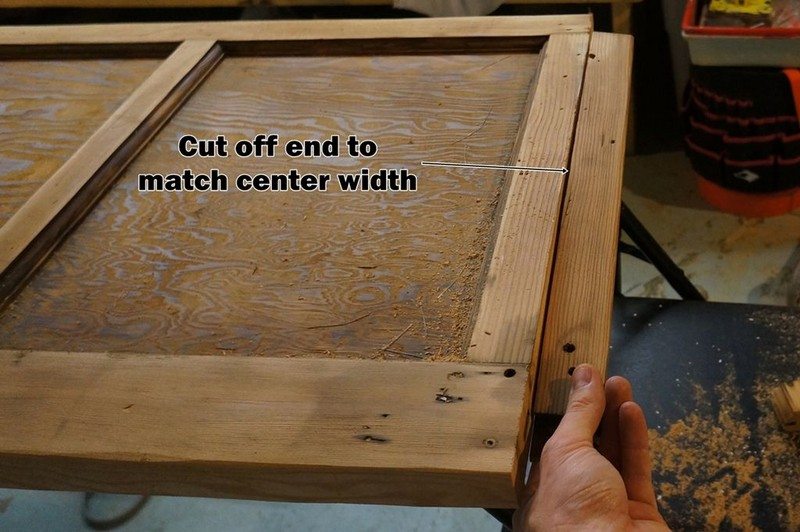
Once I cut the sections in half, I had to cut about an inch off what used to be each edge of the sections so the width of the edges would be the same.
