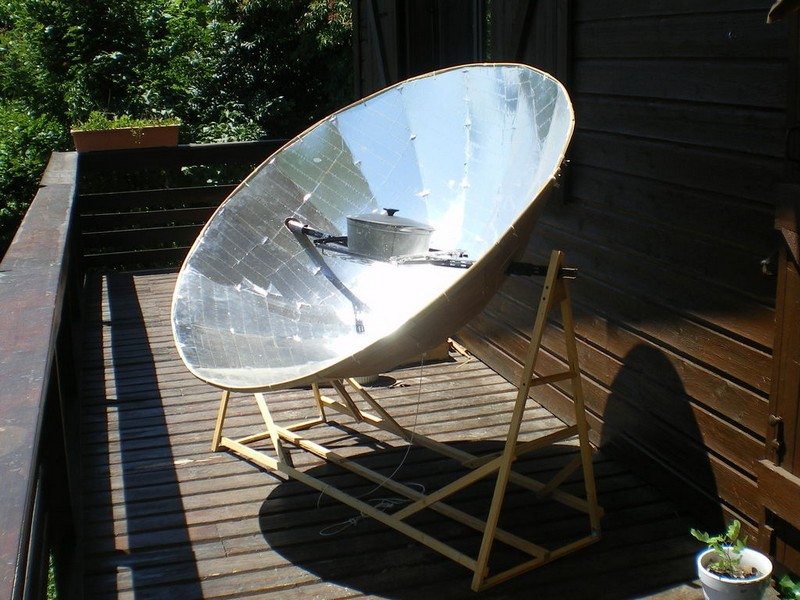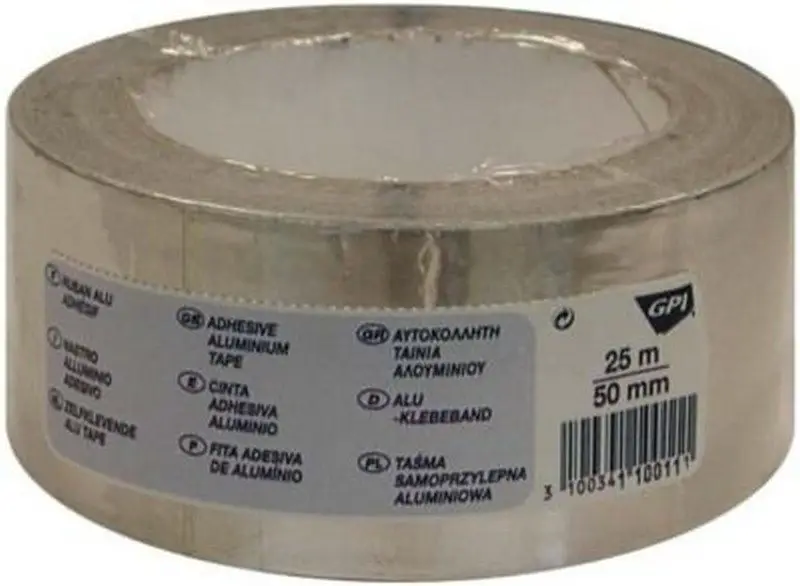
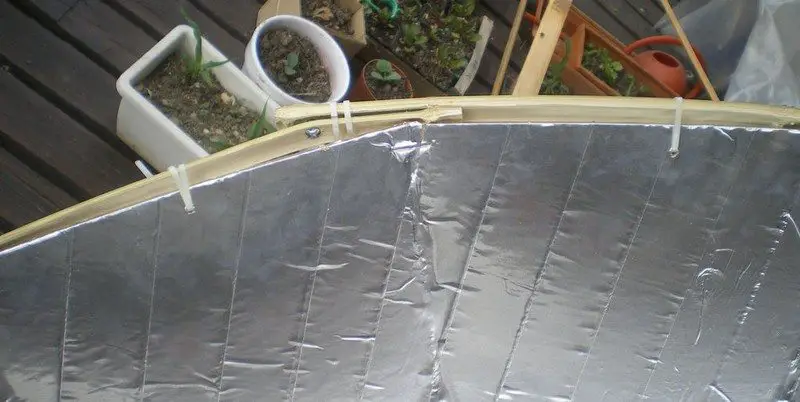
The aluminium will reflect the sunlight on the cooking pot. I used 2 adhesive aluminium tapes of 25mx5cm which cost me 10 € each.
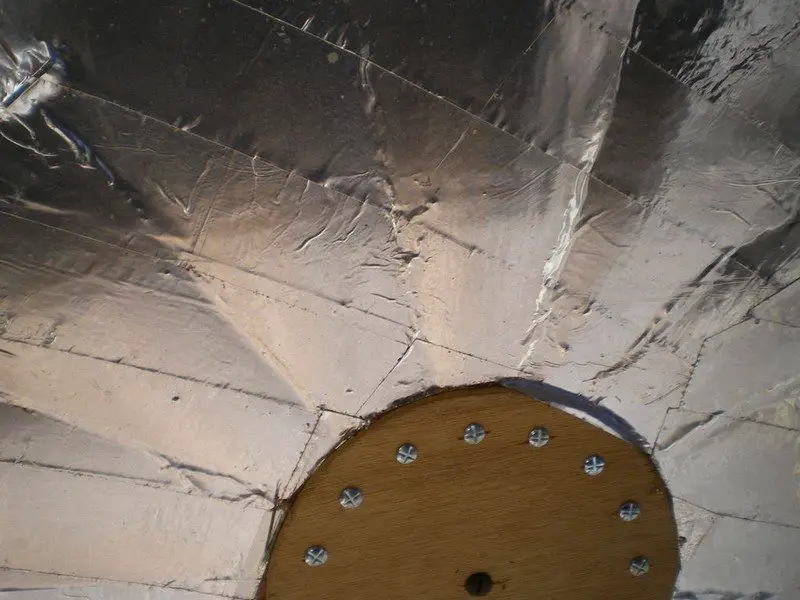
I’ve found that is better to add the aluminium tape when the plywood is already bended (else the surface won’t be flat once bended)
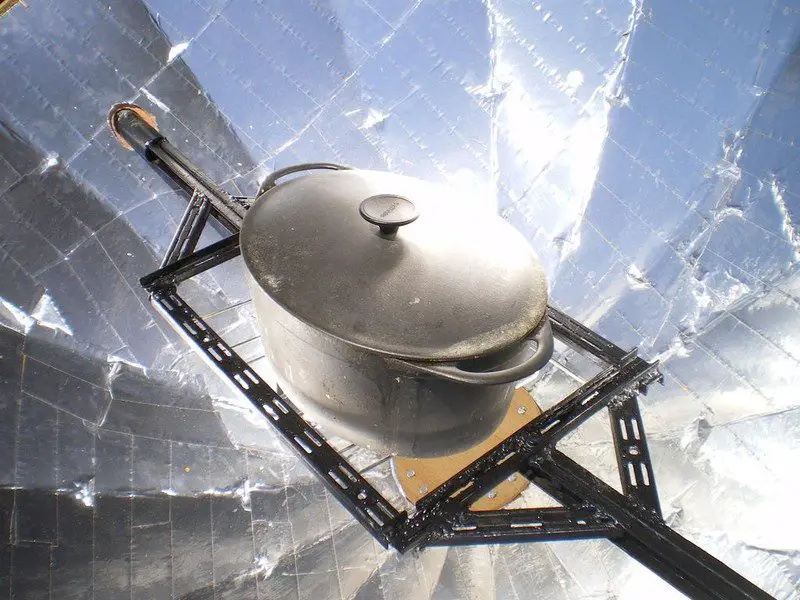
The pot holder is on the focal axis of the parabola so that it can also be used as a pivot for the parabola.
The position of the pot holder depends on the shape and the size of your parabola but in any case you can find it in the spreadsheets of the first step.
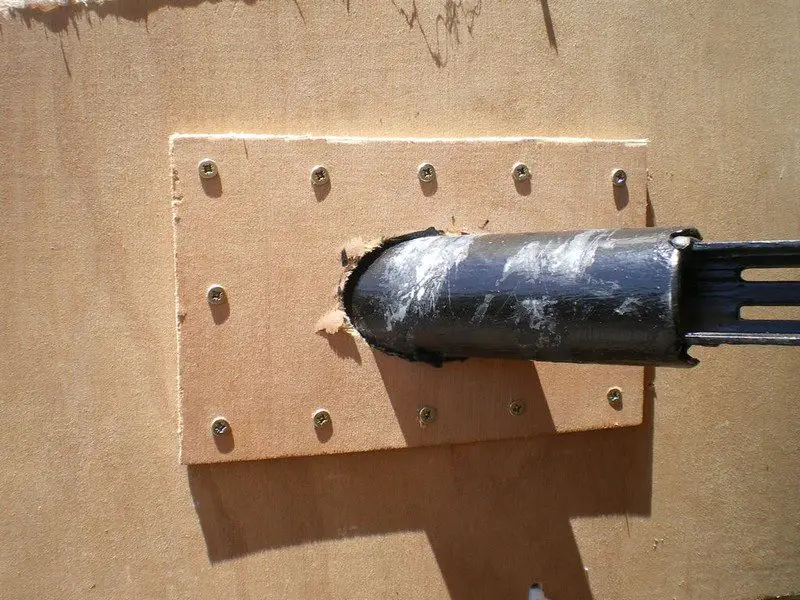
Drill a hole on two opposite petals. I used an electric wood saw to cut an ellipse (the intersection of a parabola and a cylinder can be approximated by an ellipse). The cylinder I used has a diameter of 4cm so I cut an ellipse of 4x6cm.
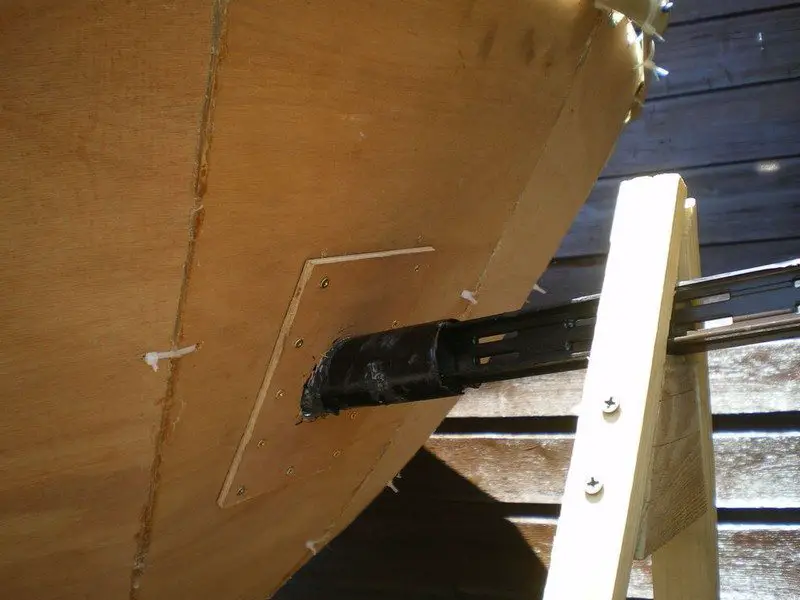
The welding should be very strong! I’ve added two extra “branches” on each side because of the weigth of the pot (I have a pot of 20L).
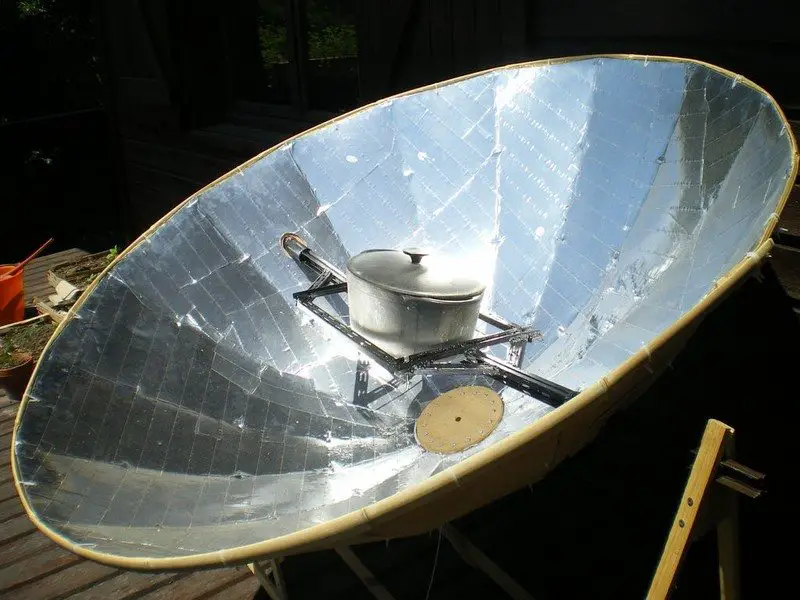
The place where you put the pot should be a bit lower than the rest so that the center of the pot will be on the focal point.
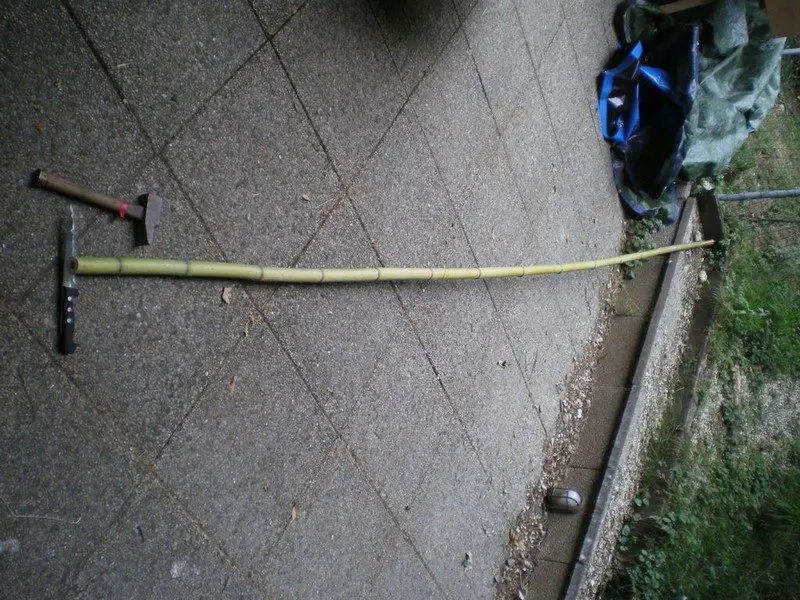
I used a big green bamboo pole that I cut in 4 to stiffen the parabola. The parabola could be stiffer, but it’s alright like this!
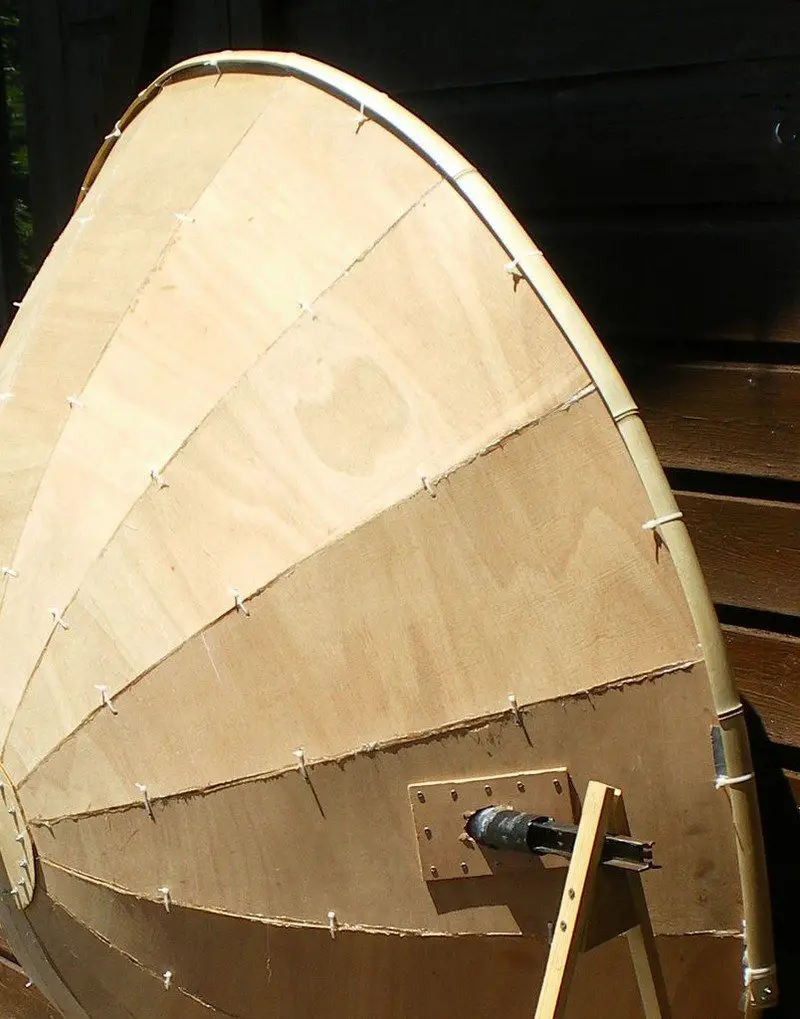
Bamboo poles are very easy to cut, use a big knife and a hammer. Cut it while green and flexible and then let it dry on the parabola.
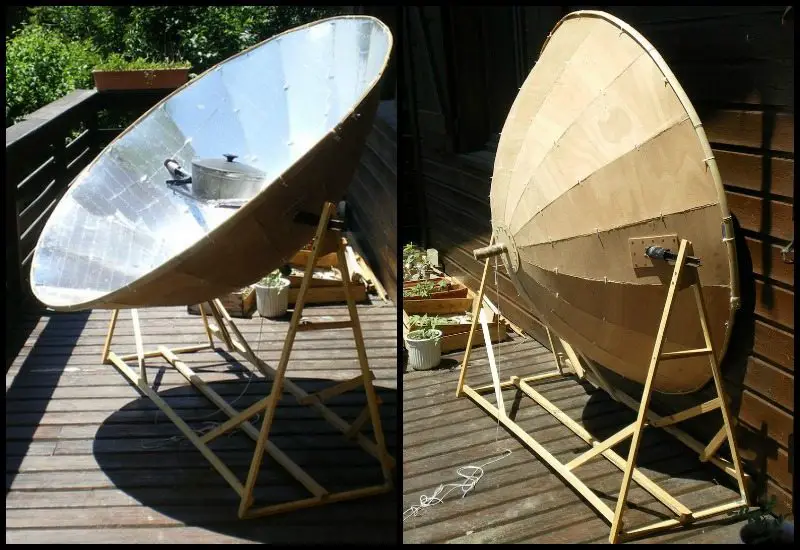
The support should be strong enough for the parabola and the cooking pot. I made it stiffer by adding wood along the diagonal.
I’ve also added a little handle to the parabola so that it is easier to rotate and to transport.
This is a great way to prepare any basic meal when camping or to use in any emergency situation. The materials that are needed for this project are easy to obtain from your local hardware store, and may even be found around your home.
Thanks to

