Thinking of what to do with your old table that’s seen better days? Why not give it a makeover! And it doesn’t have to be expensive – use recycled bottle caps!
Depending on the size of your table, you might need some time to collect enough bottle caps. You can ask for help from local bartenders. Get your friends to help you collect too.
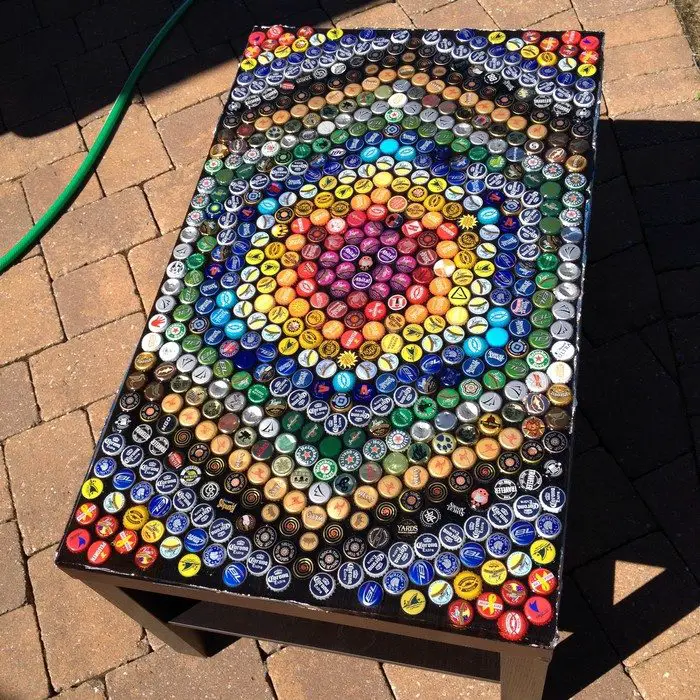
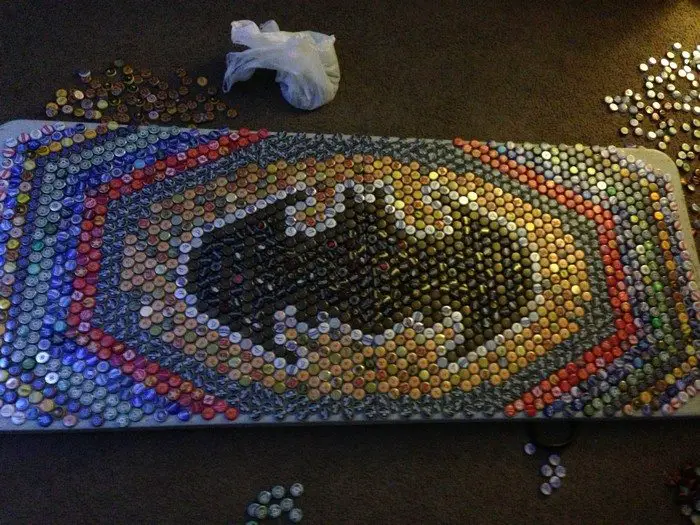
After you’ve collected the bottle caps decide on your pattern. You can arrange the caps according to color or design, your imagination is the limit.
A table like this would make a great table for your patio, it’s easily a talking piece especially if you frequently entertain outdoors.
Contents
Building a DIY Bottle Cap Table
Materials:
- Table
- Bottle Caps
- Super Glue
- Aluminum Foil
- Duct Tape
- Painter’s Tape
- High Gloss Finish Resin
Tools:
- Old Plastic Card (old ID)
- Cutter
Steps:

Collect lots of bottle caps. It would be better if you could collect many for each kind/brand.
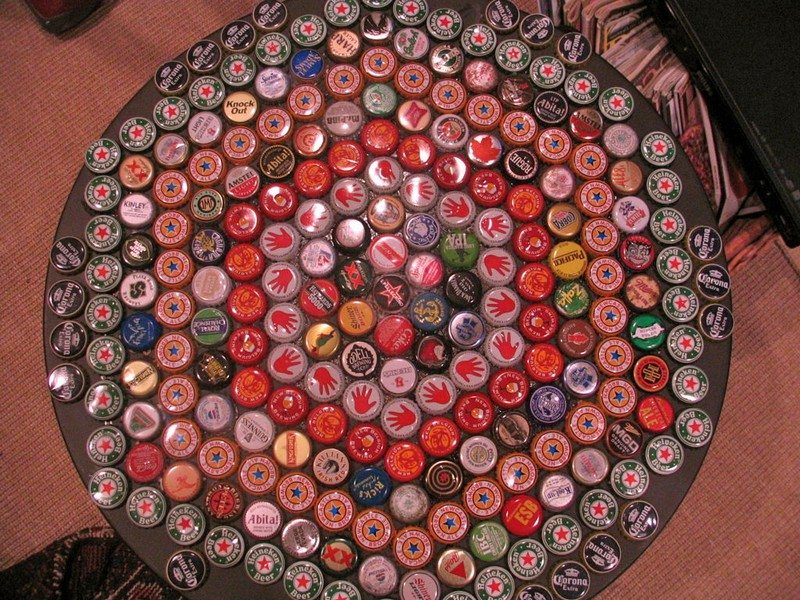
Lay out the bottle caps. Arrange them until you have covered the table with as much caps as you can.
Once you are happy with how it looks, the next important step is to glue them. The best adhesive to use for this is super glue – dries quickly, leaves the least marks, and is enough to keep the caps in place.
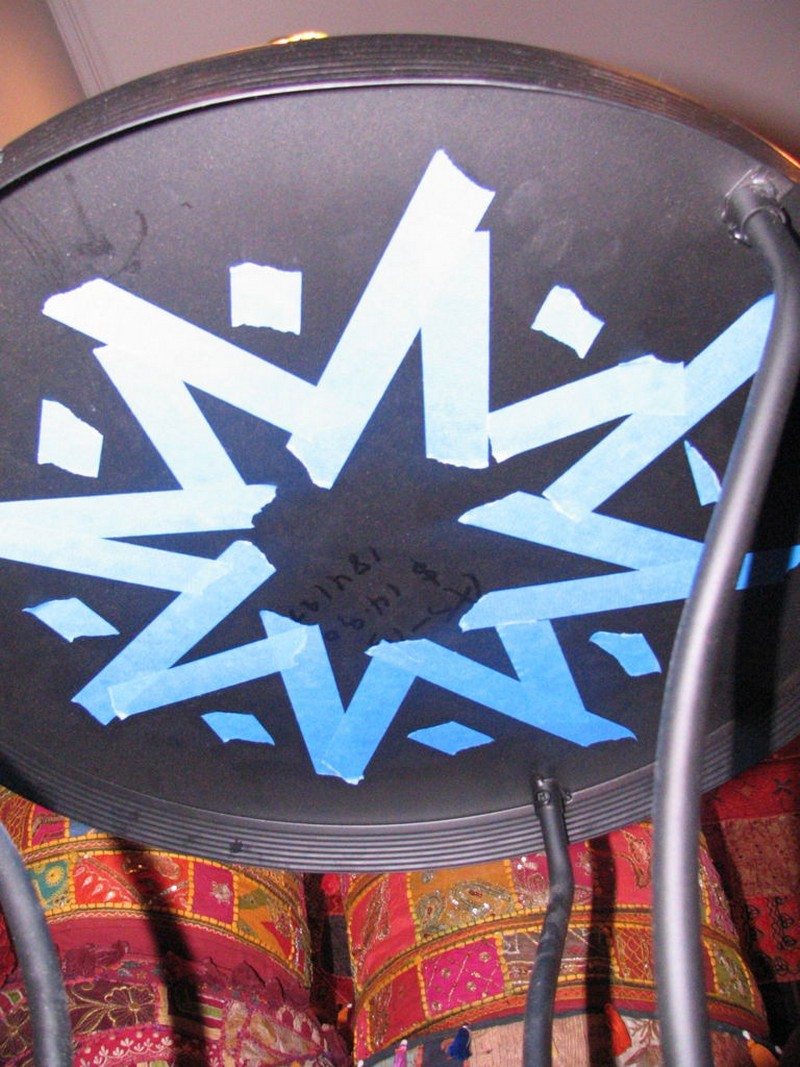
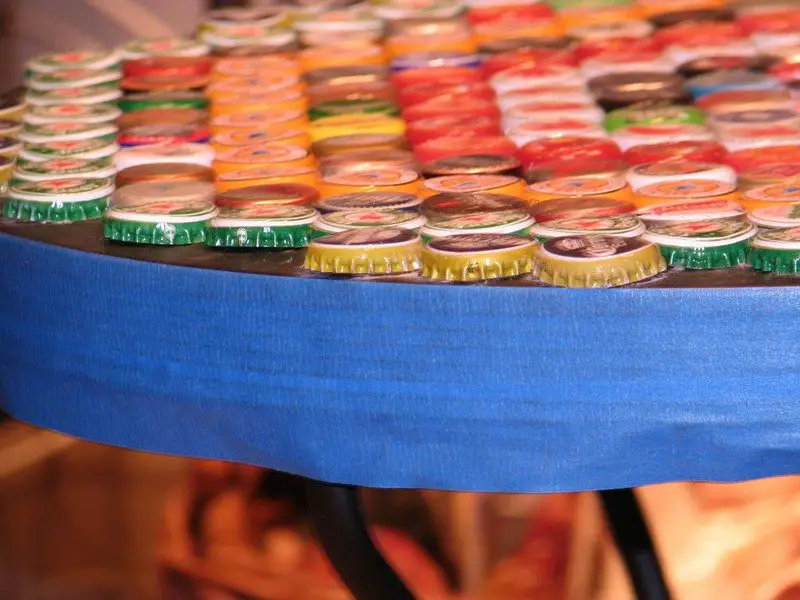
After gluing all pieces the next step is to pour in the resin, but you have to make sure your table is all set. One of the things to look out for are holes on the surface your table. Here, the holes are covered from underneath so that the blue tape won’t show in the final design. If your table has plenty of holes in it, like a mesh, you might want to cut an MDF as cover for the entire table. Don’t forget to tape the sides of your table, too, as shown in the previous picture. This will protect your table from getting sticky with duct tape which you will be using in the next step.
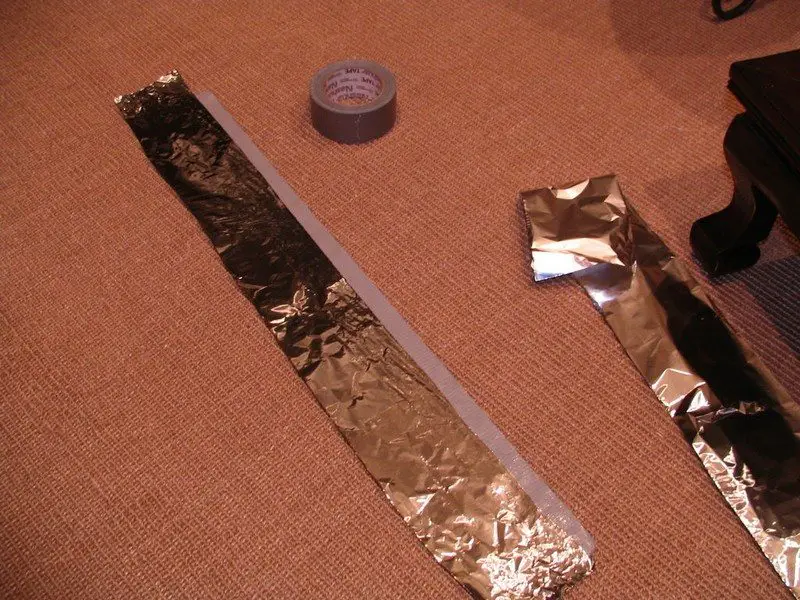
Resin obviously needs some molding from which to shape itself. If your table already has a rim around it, you probably won’t need to do this step. Get a foil 6 inches thick, and fold it lengthwise so that it is 3 inches. Stick half of the duct tape on one bottom side of the foil, as shown in the picture.
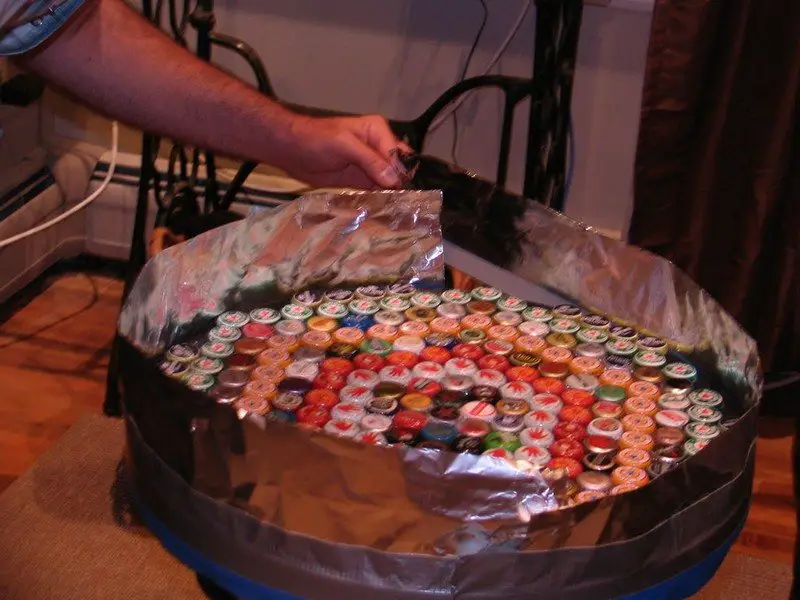
Carefully tape the foil/tape strips around your table. Make sure that the bottom edge of the foil falls just below the edge of the tabletop itself. The reasons: If the exposed sticky side of duct tape is above the table top, resin will stick to it and thus destroy the resin later when you remove the barrier. If you place the foil far below (overlapping with the blue tape), the resin may seep in and will later trap the blue tape on the sides of your table.
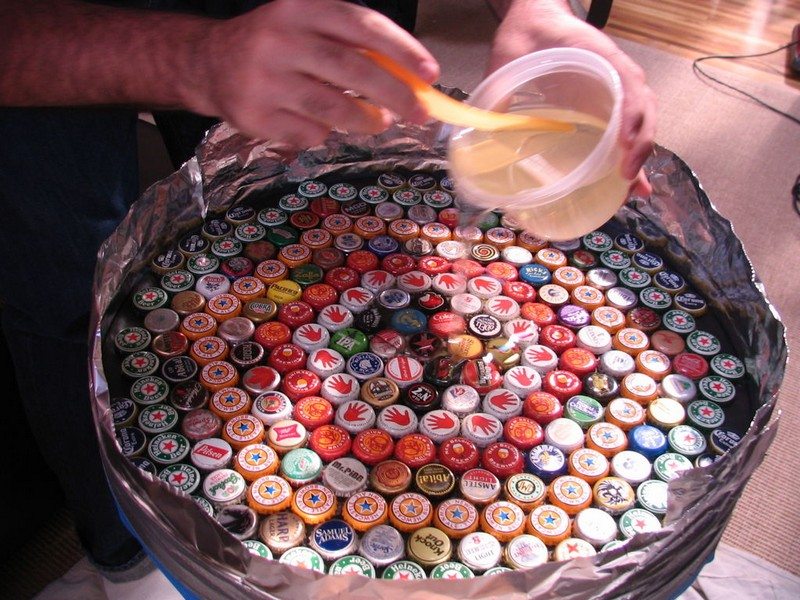
Follow the instructions found in the box of your resin to mix. Carefully pour it on your table, using a plastic card to make sure gaps and edges are properly filled.
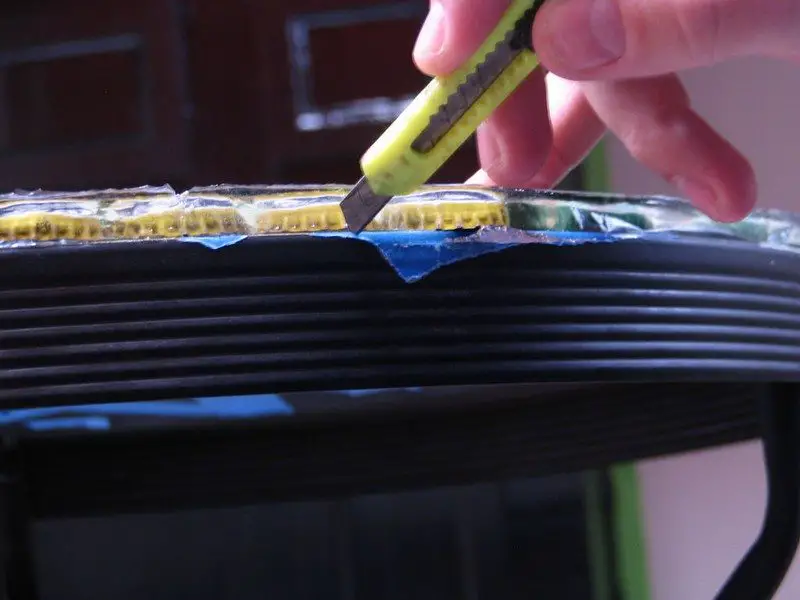
Once the resin has set and dried, you can now remove the foil barrier. Check for some tapes or foil that might have been stuck. Carefully get them out with the help of a cutter.
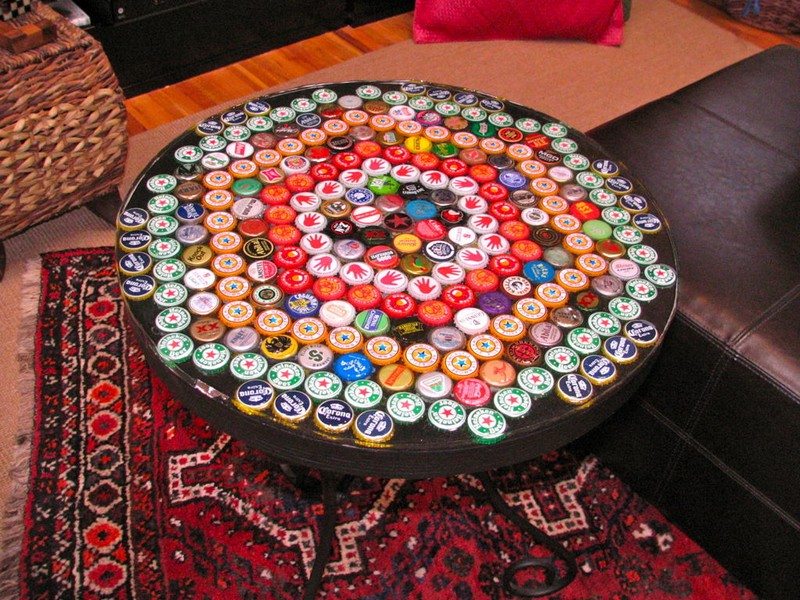
You are now done with your DIY bottle cap table!
This would be a great conversation starter at home, don’t you think?
Thanks to americangypsy for this wonderful tutorial!
Creative Bottle Cap Patterns and Designs
A DIY bottle cap table is more than just a functional piece of furniture. It is an artistic statement that reflects creativity and personality. The way bottle caps are arranged can turn an old table into a unique conversation piece. Whether you prefer a simple pattern or an intricate design, the possibilities are endless.
Color-Coded Arrangements
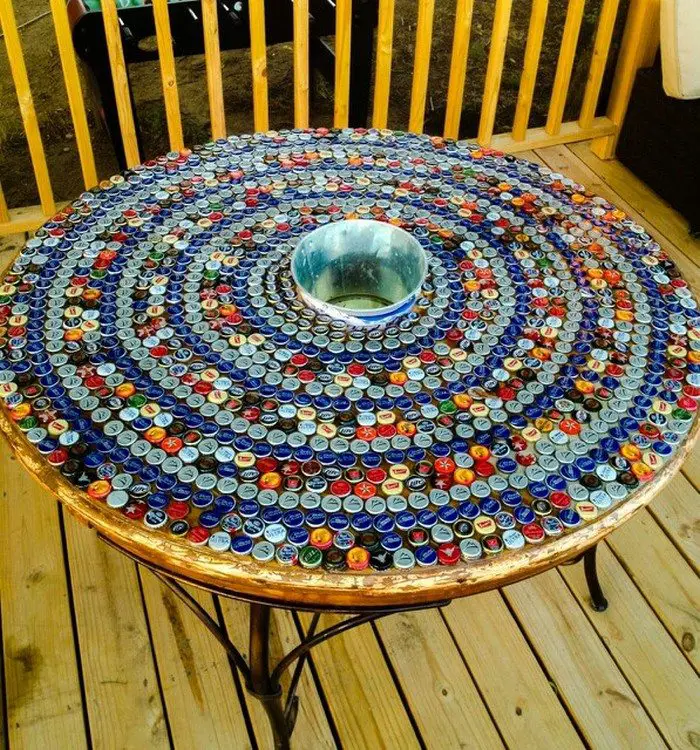
One of the easiest ways to create a visually appealing design is by sorting bottle caps by color. This allows you to form gradients, rainbows, or bold contrast patterns. For example, a circular table can have a sunburst effect with warm-colored caps radiating from the center. A square table could feature a checkerboard pattern using caps in two contrasting colors. This approach works well if you have access to a variety of bottle cap brands with distinct hues.
Geometric Designs
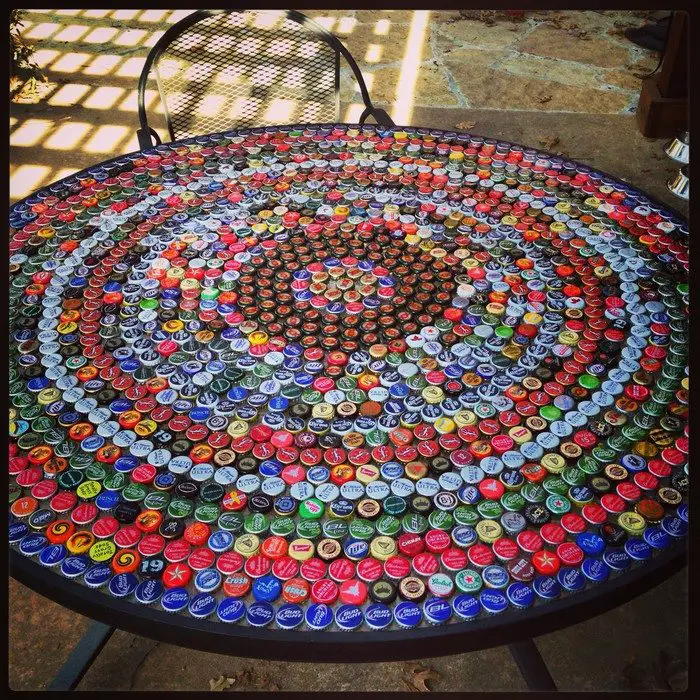
Symmetry and repetition can enhance the visual appeal of a DIY bottle cap table. Patterns such as hexagons, diamonds, or concentric circles provide a structured look that is pleasing to the eye. You can create these designs by carefully laying out bottle caps before gluing them down. Using a light pencil outline on the table surface can help ensure accuracy in positioning.
Logos and Brand Collections
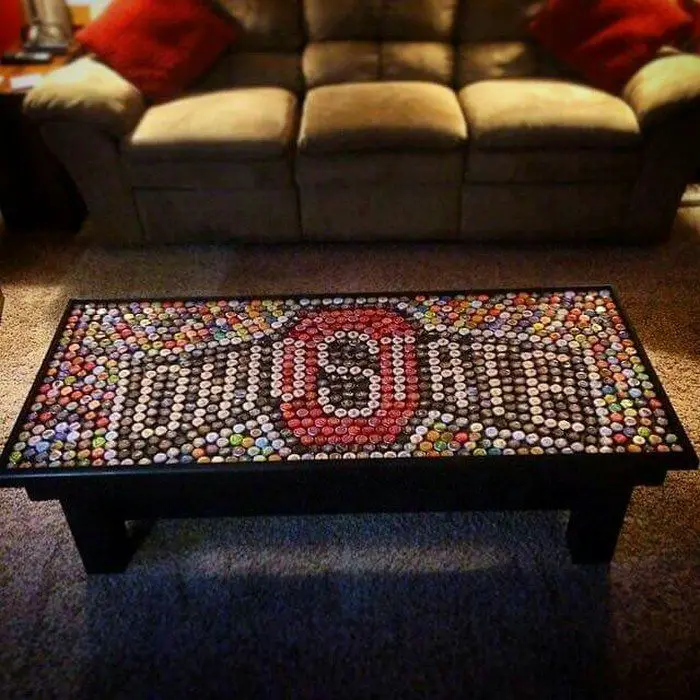
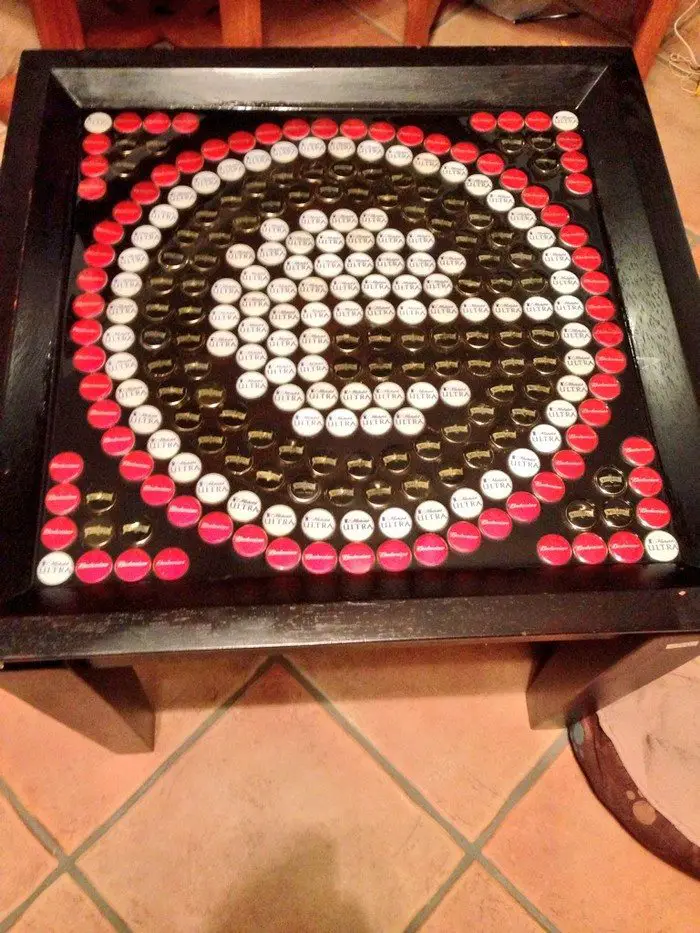
If you have a passion for craft beer, soda, or vintage beverage brands, showcasing specific logos can make your table a tribute to your favorite drinks. Some collectors arrange caps to highlight certain brands in sections of the table. Others use only one brand for a uniform look. For a more intricate design, you can spell out words or initials using bottle caps with different logos.
Mosaic and Pixel Art Designs
For a truly artistic touch, consider using bottle caps to create mosaic-style or pixel art images. This can include simple symbols like hearts or stars or more complex images like animals or landscapes. The key is to use a wide variety of bottle cap colors and carefully arrange them to resemble a digital pixelated image. Larger tables work best for this technique, as they provide enough space for detail.
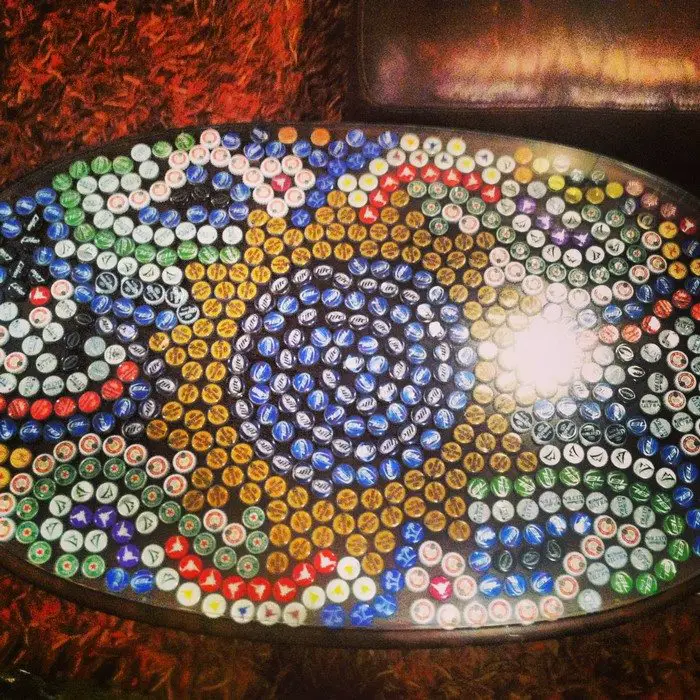
Abstract and Freeform Designs
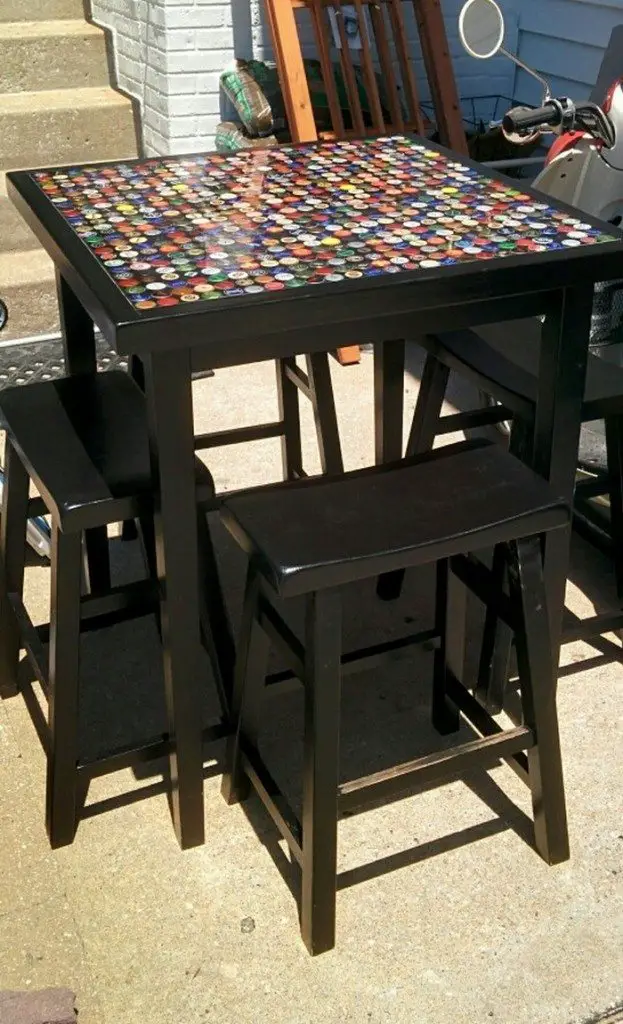
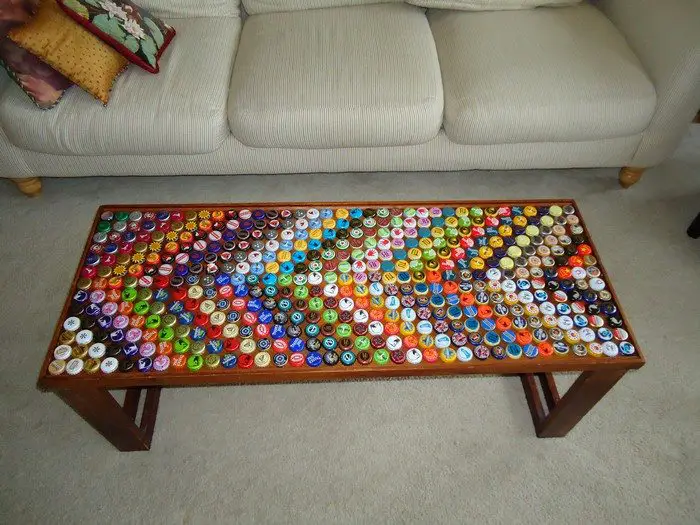
Some DIYers prefer a more organic approach by arranging bottle caps in a random or swirling pattern. This method gives a relaxed, free-spirited look to the bottle cap table, making it ideal for casual, rustic, or bohemian-style spaces. By mixing different bottle cap colors and brands without a structured plan, you can create an eclectic and visually dynamic design.
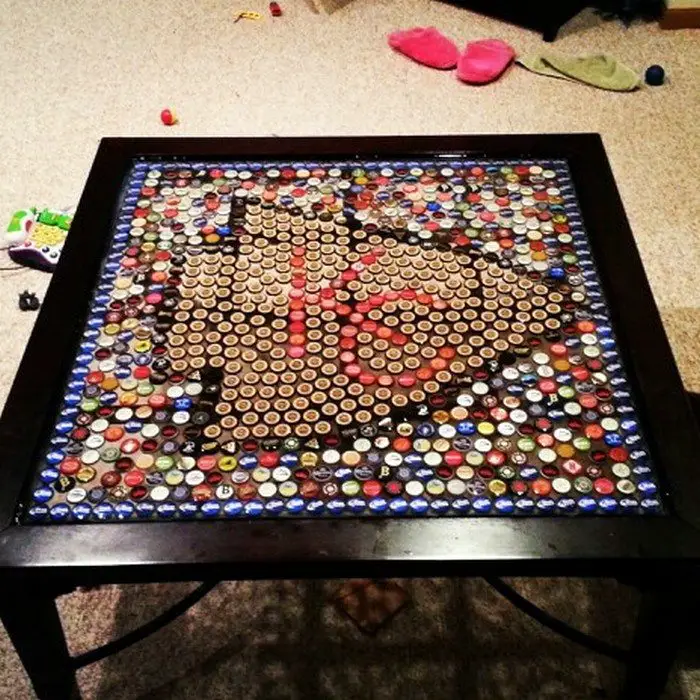
Border and Centerpiece Accents
Adding intentional focal points to the table design enhances its overall look. A border using matching bottle caps can frame the table surface, giving it a polished feel. Similarly, a standout centerpiece made from a single logo, monogram, or burst of color can add a unique touch. This strategy works well for round tables, where a central design can create symmetry and balance.
A DIY bottle cap table is a perfect way to blend creativity with sustainability. With thoughtful design choices, it transforms an ordinary surface into an eye-catching statement piece. Whether you go for bold colors, intricate patterns, or a simple freeform layout, the result is a one-of-a-kind table that reflects your personal style.
DIY Bottle Cap Table Gallery
Click on any image to start lightbox display. Use your Esc key to close the lightbox.![]()


Choosing the Right Resin for a Bottle Cap Table
A DIY bottle cap table needs a strong, clear, and durable resin to protect the design and ensure a smooth, glossy surface. Choosing the right resin is essential for achieving a long-lasting finish that resists wear, scratches, and UV damage. With various options available, it is important to know which type will work best for your project.
Epoxy vs. Polyester Resin
Epoxy resin is the most commonly used option for a bottle cap table because it provides a clear, high-gloss finish and is easy to work with. It has strong adhesive properties and creates a thick, protective layer over the bottle caps. Epoxy resin also resists yellowing, especially if it contains UV inhibitors. Polyester resin, on the other hand, is harder but less flexible, making it more prone to cracking over time. It also has a strong odor and requires more precise handling. For most DIYers, epoxy resin is the better choice due to its clarity and durability.
UV Resistance and Durability
If your DIY bottle cap table will be used outdoors or in a sunlit space, UV resistance is a key factor. Some resins naturally yellow over time when exposed to sunlight. Look for an epoxy resin labeled as UV-resistant or containing UV stabilizers. These formulas help maintain the clarity and prevent discoloration, ensuring that your table remains vibrant for years.
Self-Leveling and Bubble Resistance
A smooth, even surface is crucial for a professional-looking finish. Self-leveling resin spreads evenly across the table, minimizing the need for excessive spreading or manipulation. To avoid trapped air bubbles, choose a resin that is designed to release bubbles naturally. Warming the resin slightly before pouring and using a heat gun or torch can also help eliminate bubbles.
Cure Time and Workability
Different resins have varying cure times, ranging from a few hours to several days. A slower curing resin allows more time to remove bubbles and adjust the pour, but it also means a longer wait before using the table. Fast-curing resins set quickly, which can be useful for smaller projects but may not allow enough time for bubble removal. Consider the working time you need when selecting a resin.
Thickness and Pouring Depth
Some resins are designed for thin coatings, while others can be poured in thicker layers. For a bottle cap table, a deep pour resin that allows for at least 1/4-inch layers is ideal. If your table requires a thicker resin layer to cover the caps, choose a formula that supports deep pours without excessive heat buildup.
Choosing the right resin ensures that your bottle cap table is both functional and visually appealing. Epoxy resin is the best choice for most DIYers due to its clarity, durability, and ease of use. Look for a UV-resistant, self-leveling formula with bubble-reducing properties for the best results. With the right resin, your table will have a smooth, glossy finish that enhances the bottle cap design and protects it for years to come.
Conclusion
A DIY bottle cap table is a fun and creative way to upcycle bottle caps into a functional piece of art. With the right design, adhesive, and resin, you can transform an old table into a unique and durable centerpiece for your home or patio. Choosing quality materials and following careful steps will make your finished table a long-lasting conversation piece showcasing craftsmanship and creativity.
There are other objects you can turn into an incredible table. Check out our guide to turn a suitcase into a picnic table!


