Reclaimed timber… built in cooler and a planter! What more could you ask for to have an awesome outdoor setting?
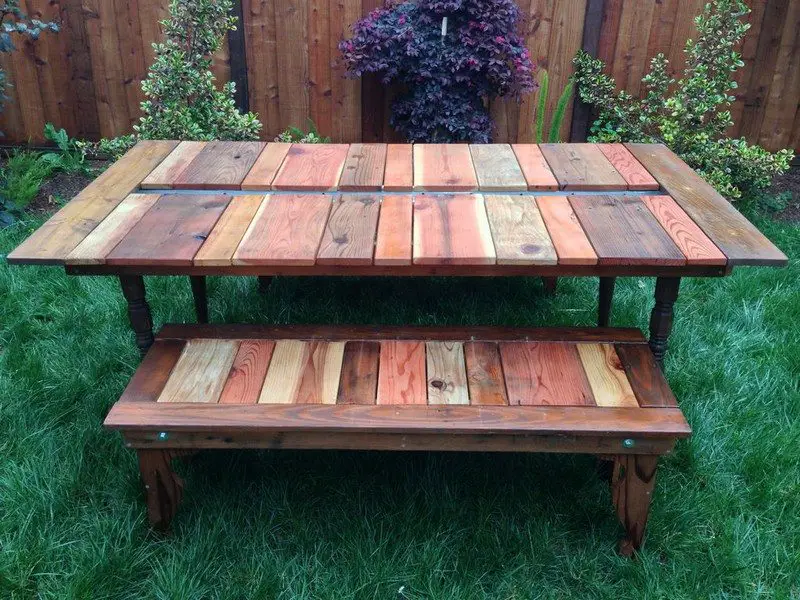
You’ll find this picnic table handy when entertaining outdoors. The built-in cooler will keep food and drinks chilled. Isn’t this the perfect table for summer?
And when not used to hold cold drinks, you can turn it into a planter for a living centerpiece. Use it to plant succulents, or herbs so you have fresh ones to go with your food.
This picnic table won’t cost you a lot as it is made from reclaimed timber, and salvaged table legs. Depending on the spare time you have, you can finish this project in a weekend if you have all the needed materials.
Are you building one for your outdoor area?
Materials:
- 1” thick Reclaimed Wood
- 2” thick Reclaimed Wood
- 1 box 1-1/4” Deck Screws
- 1 box 2” Deck Screws
- 1 box 1-1/2” Nails
- 8 pieces Bolts
- 8 pieces Nuts
- 16 pieces Washers
- Metal Plates
- Wood Glue
- 6 ft long Sheet Metal/Gutter
- Spray-on Indoor-Outdoor Finish
Tools:
- Nail Gun
- Table Saw
- Palm Sander
- Drill
- Clamps
Table Structure:
2 Inner Aprons
- 4 pieces 1x4x64 1/2″ – long apron
- 4 pieces 1x4x10″ – short inner end pieces of the apron
- 4 pieces 2x4x10″ – table leg supports
2 Outer Aprons
- 2 pieces 1x4x25″ – outer end pieces of the apron
- 2 pieces 1x any width x41″ – long tabletop slats
[embedit snippet=”adsense-728×15-inline-text-only-ad”]
Steps:
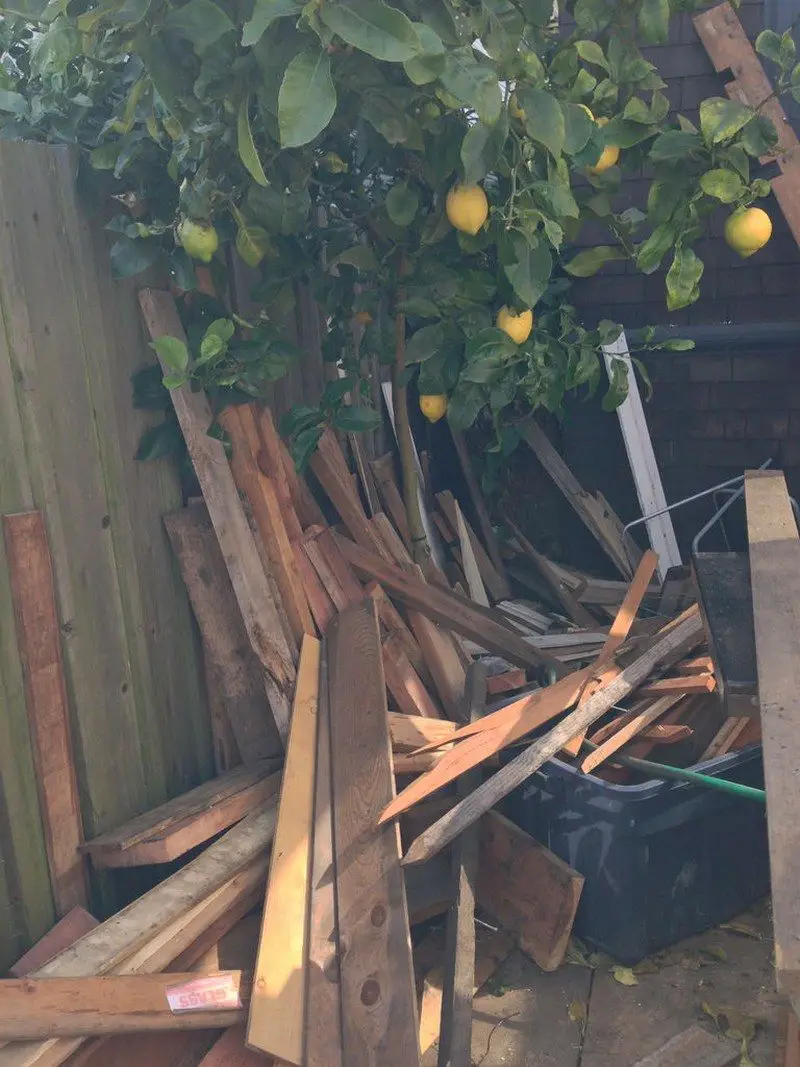
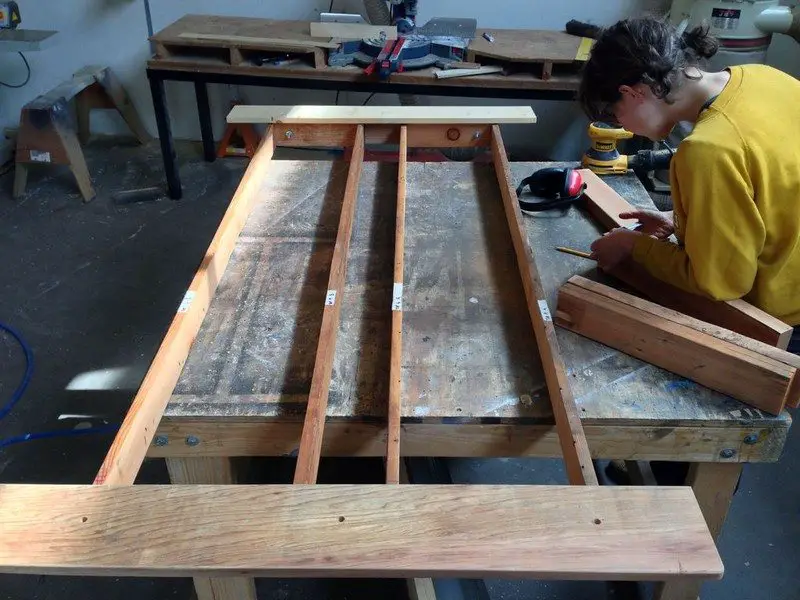
First thing to do is to look for some (free) wood. They do not have to be of the same colour and sizes, but of course you would want go for the approximate 1″ and 2″ thick pieces.
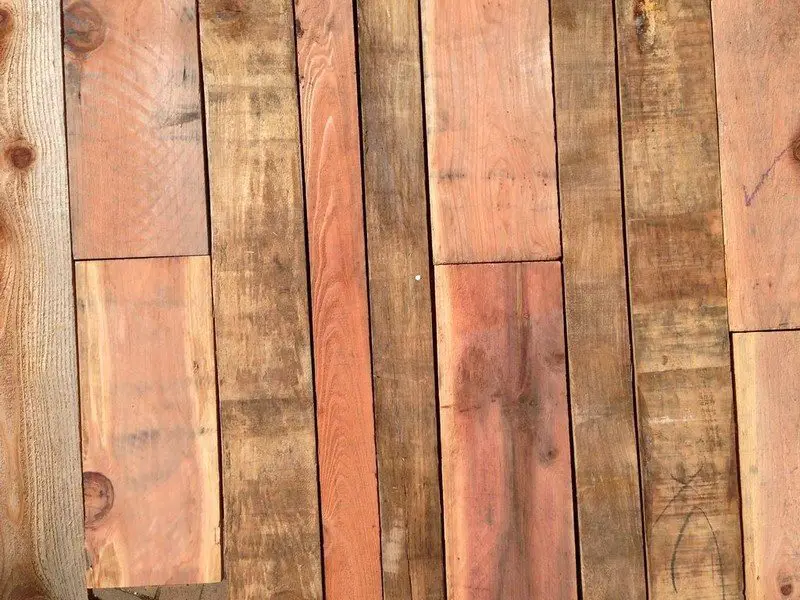
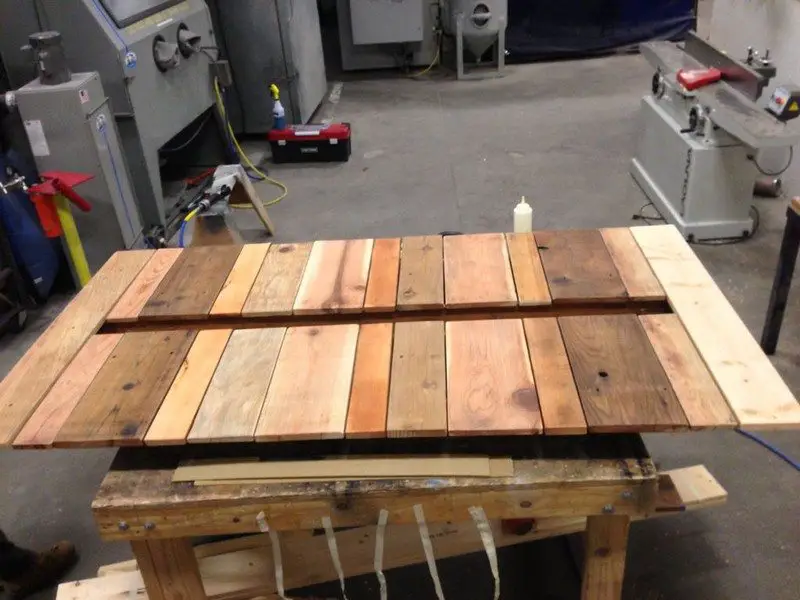
Before doing some cutting, lay out the wood pieces for your tabletop until you are happy with the arrangement of colours and width. Label each piece with small numbers so you know how to assemble it again later.
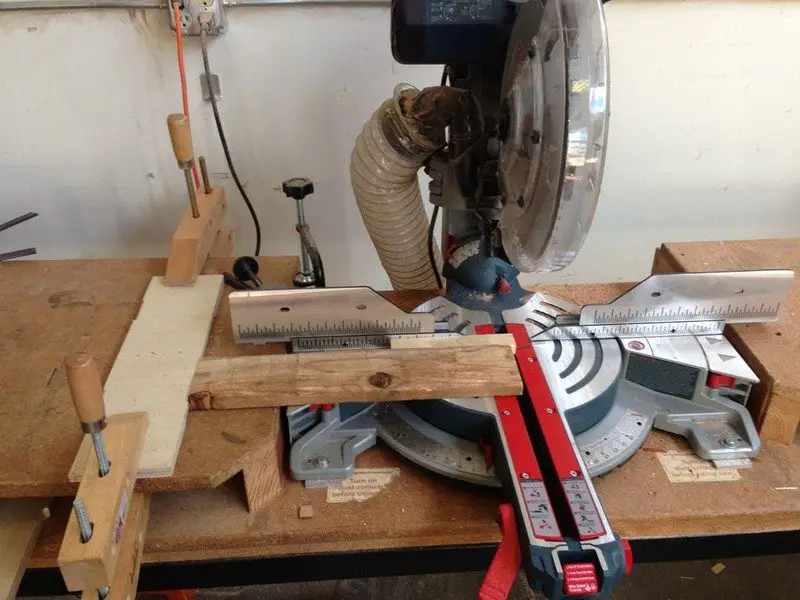
And on to the table saw! To cut all pieces to the same size, you can use a scrap wood clamped at the end of your table to use as a guide. In determining your measurement, you might want to take note of having some extra inch for an overhang in the middle of your table, if you desire. This should cover the ugly parts of your gutter installation.
Polish all pieces by using a palm sander. Make sure to go through all sides/faces and edges of the wood piece. If you have access to a planer or jointer, then this task will be done faster.
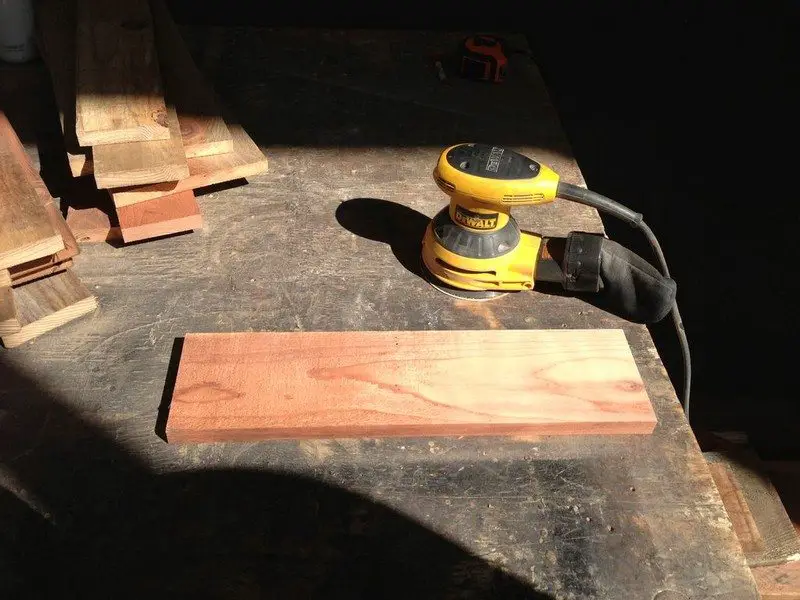
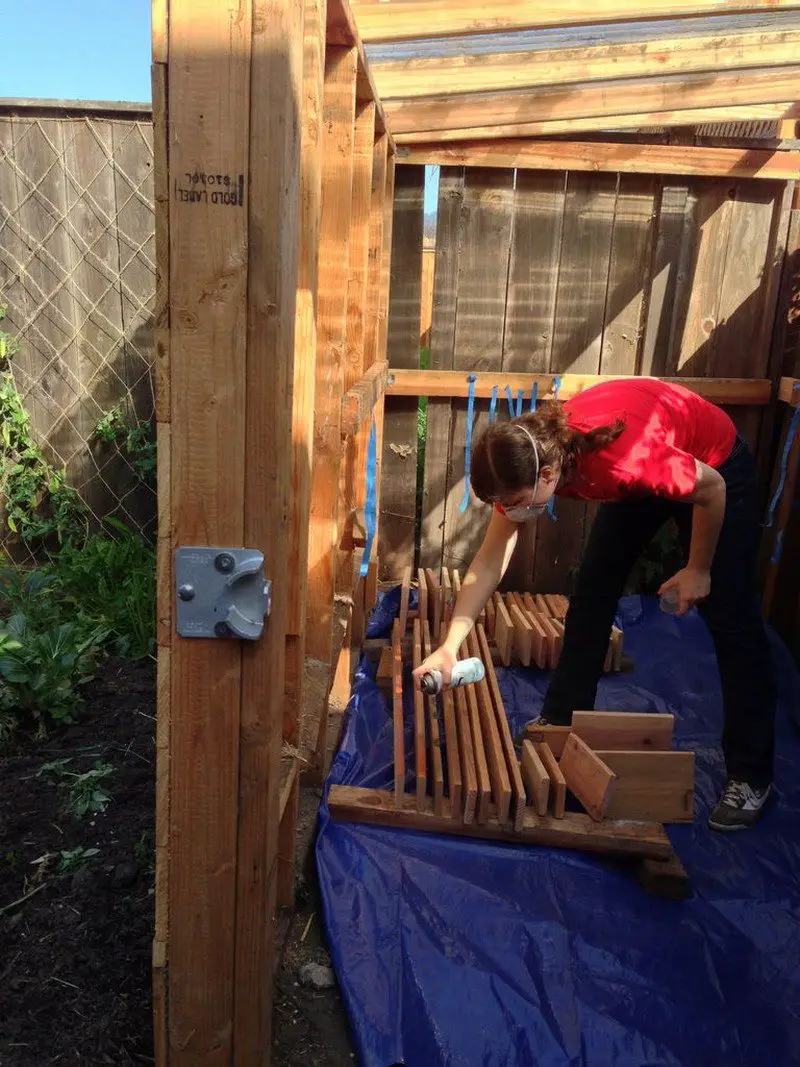
It would be wise to coat the pieces with your chosen finish at this point. This way you’ll be sure that even the hard to reach spots, once installed, are already nicely coated.
Now you are ready to assemble the parts. The picture below shows the inner aprons, with dimensions according to preference.
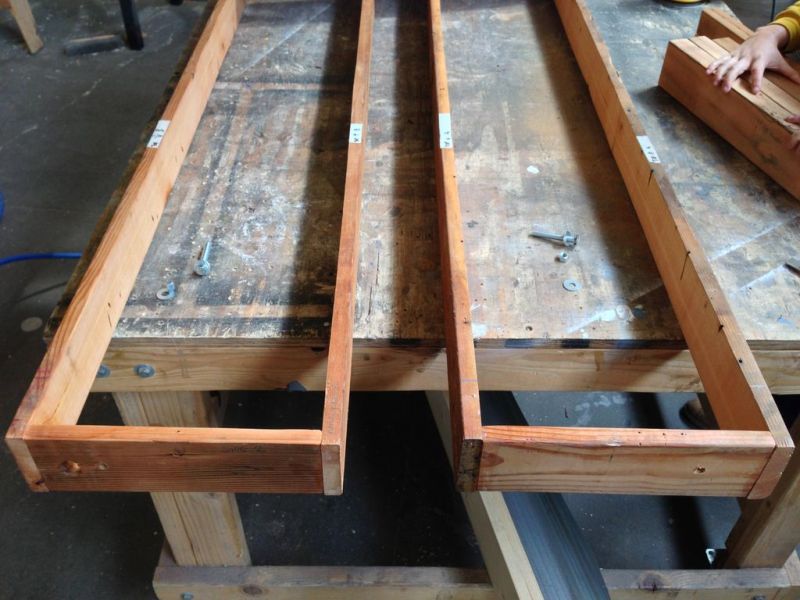
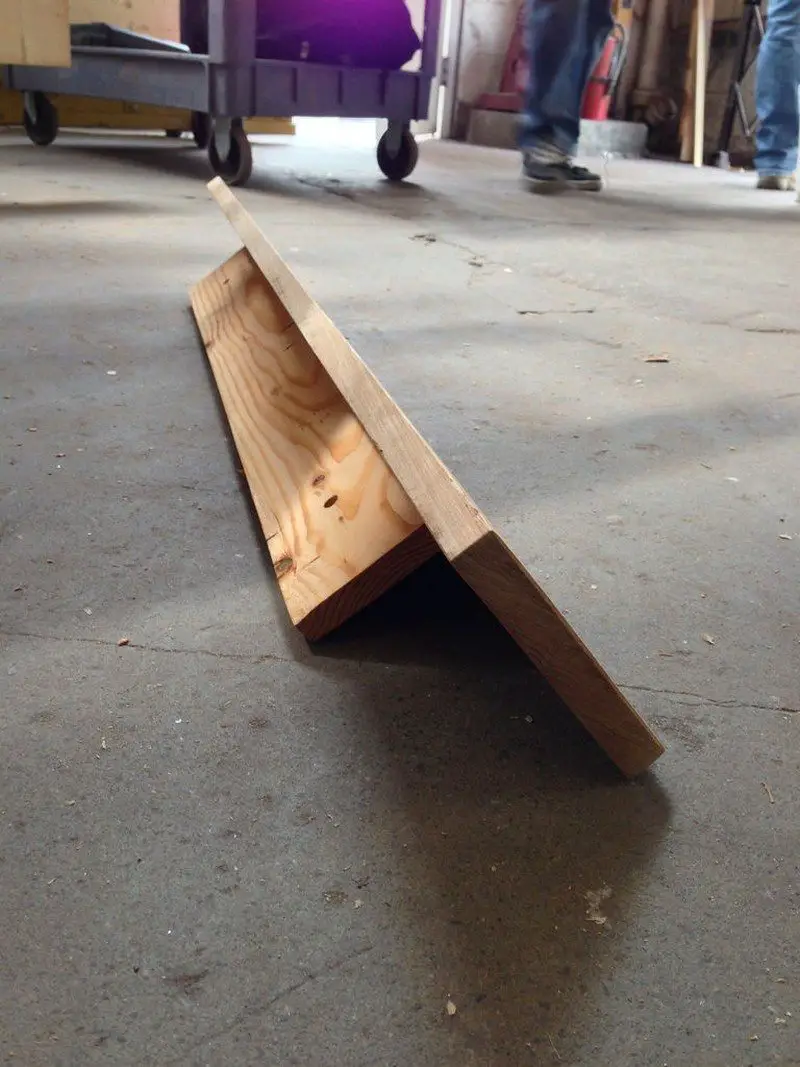
And this photo here shows one of the two outer aprons.
Here you’ll see the aprons put together. The longer piece of the outer aprons are also the end slat of your tabletop. The inner aprons have a gap in between them, where the gutter will be later on.
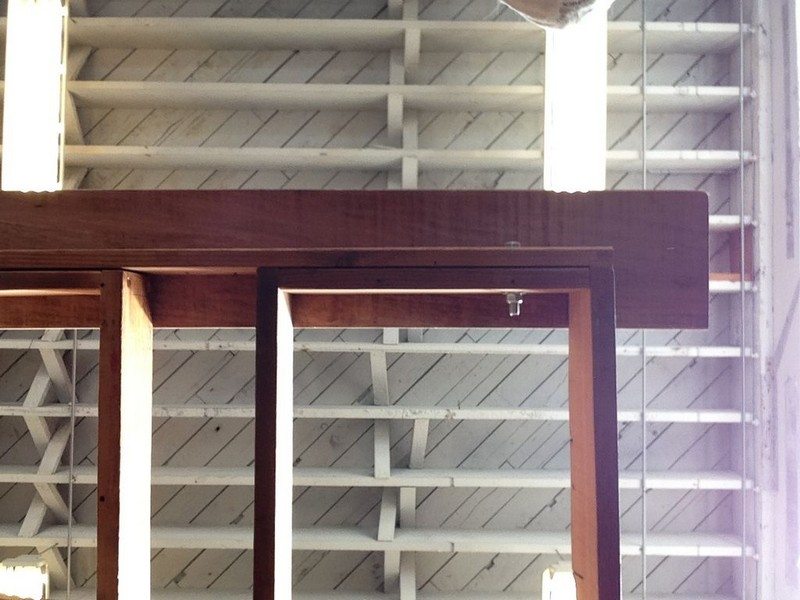
This is the view from under the structure.
Once you see that everything fits well, you can deal with the gutter. Measure and cut as needed. Don’t forget to make small holes so excess water can drip. You can take the structure apart again and then screw the gutter in place.

You would also want to screw some metal plates in the middle of your outer aprons (where the gap is) to prevent wood rotting.

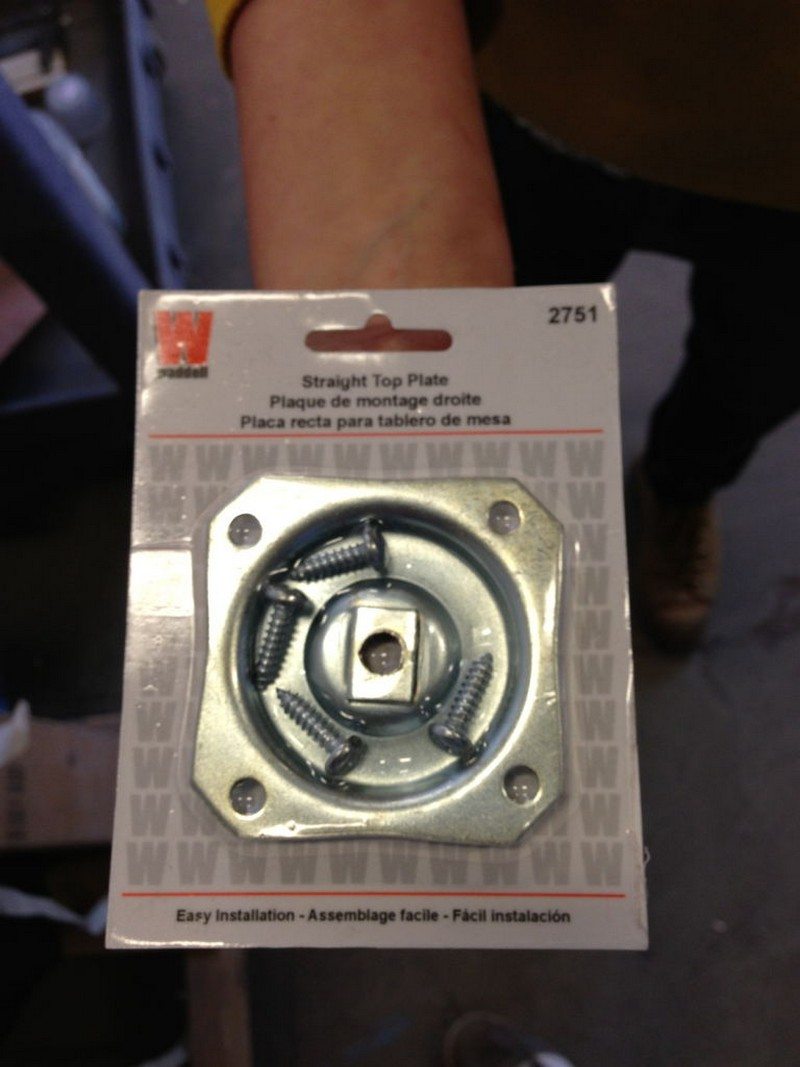
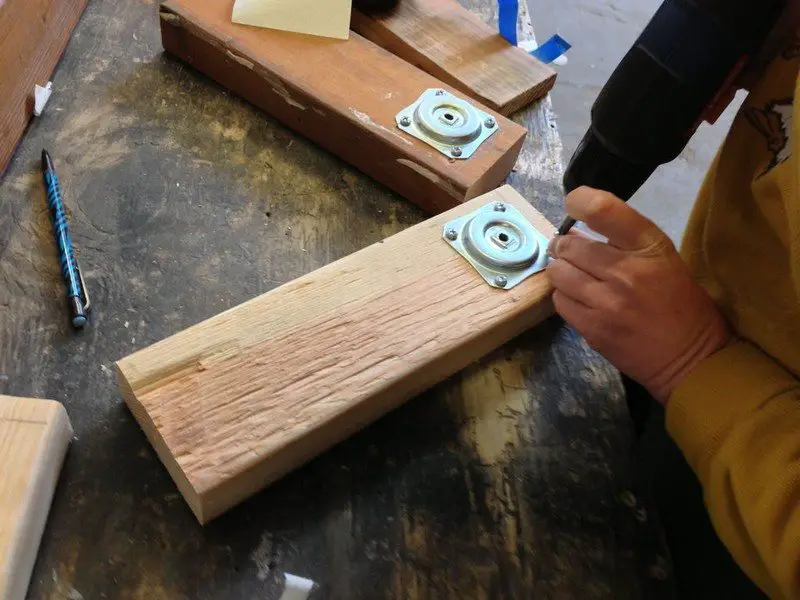
In this particular project, the table legs were bought at a discount store that came with metal plates and machine screws on it for easy assembly/dis-assembly.
Four scrap wood pieces were used where the metal plates are mounted. These were then attached to the inner aprons.
Now you’re almost done. You just need to drill the other tabletop slats in place. Lay them out once again to make sure that the pieces fit perfectly. Use a thin spacer – anything – for even gaps between the slats. You might need to cut one or two pieces again for some adjustments. Don’t forget to sand and coat them again as well. Work one side at a time. Place your spacer, apply wood glue, and put the slat in place. Repeat these steps until you reach the end. Then drill to permanently put them in place.
And you’re done with your picnic table!
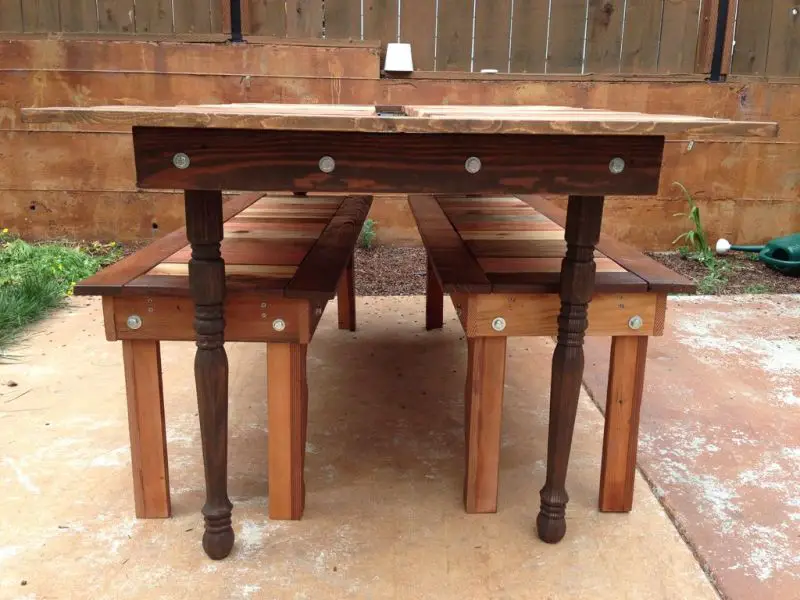
Thanks to quitethecontrary for the great idea.
[embedit snippet=”media-net-inline-ad-728×90″]


