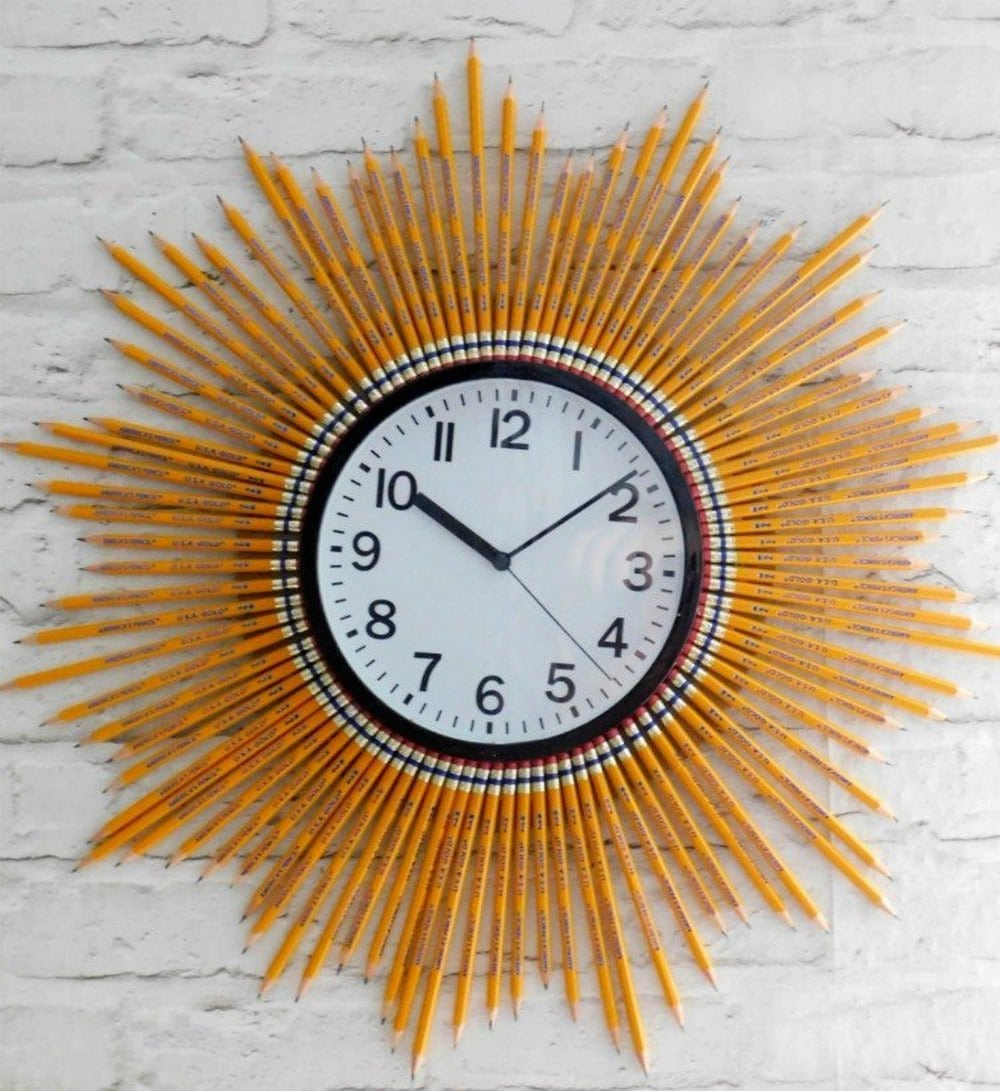
As working parents, it’s important that we spend quality time with the family. For us, our weekends are reserved solely for the kids. We spend each week differently: a trip to the mall, a movie date, or a day at the park.
There’s one activity though that’s been an all-time favorite. We call it the DIY Weekend. We look for simple do-it-yourself projects and work on them. It’s actually very productive.
Just last week, our wall clock ran out of batteries so I kept it off the wall first. My daughter had this idea that we perk it up a little bit before putting it back. Luckily, we found this DIY sunburst pencil clock which my daughter adored. We did it over the weekend and she said it’s one of the best projects ever.
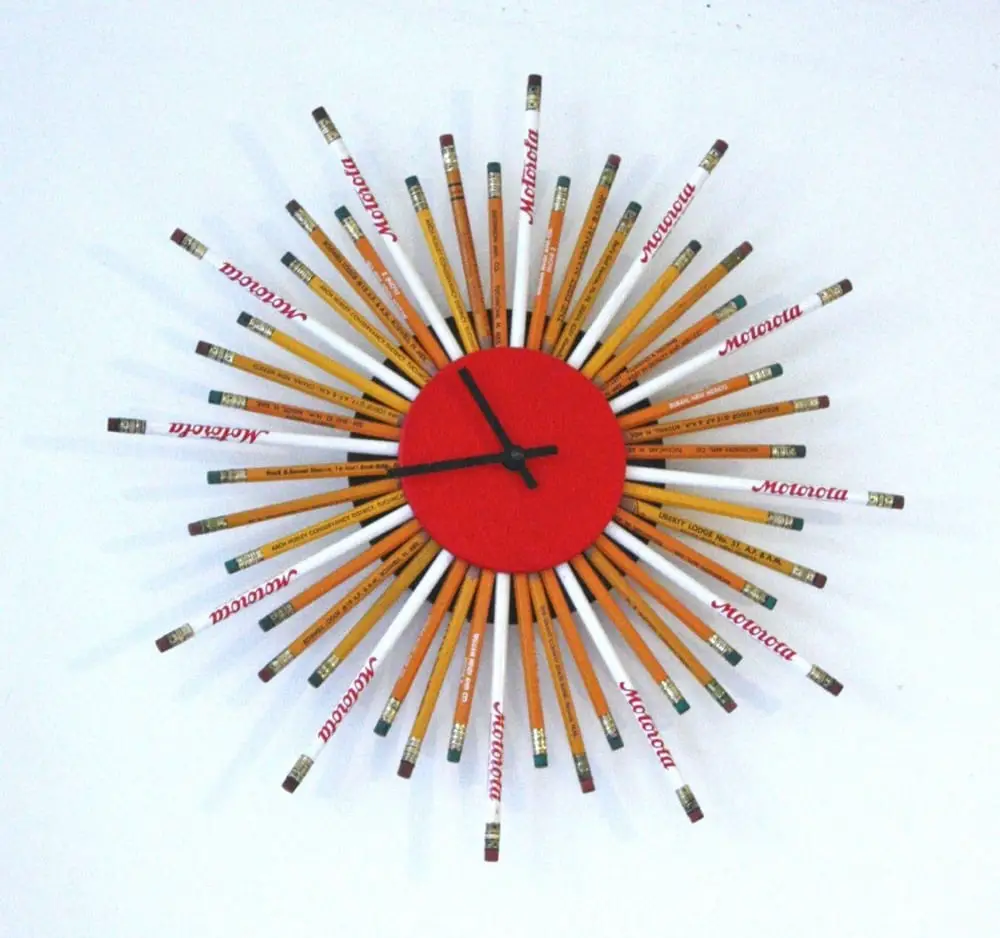
One look at the photos and you’d think this project would be time-consuming. I must say it’s enjoyable – a perfect bonding activity with the kids. So what are you waiting for? The clock’s ticking!
Contents
Crafting a Sunburst Pencil Clock
Materials
- Cardboard
- Super glue
- Sharpened pencils
- Elmer’s craft glue
- Clock
Tools
- Scissors
- Pencil
- Gardening shears
Instructions
Step 1: Prepare the Base
- Take the cardboard and cut a circle that will serve as the base for your clock. The size of the circle should be slightly larger than the clock mechanism. You can trace a large bowl or use a compass to make a perfect circle.
Step 2: Mark the Center
- Use a pencil to mark the center of the cardboard circle. This point will be where you will attach the clock mechanism.
Step 3: Arrange the Pencils
- Begin arranging the sharpened pencils around the center mark. Place the pointed ends of the pencils outward to create the sunburst effect. You can experiment with different layouts—some might prefer a tight cluster of pencils while others might like them spaced out.
Step 4: Glue the Pencils
- Once you are satisfied with the arrangement, use Elmer’s craft glue to adhere each pencil to the cardboard. Apply the glue generously at the base of each pencil to ensure they are securely attached. Allow the glue to dry completely.
Step 5: Trim the Pencil Lengths
- To add dimension to your clock, use gardening shears to trim the outer pencils into varying lengths. This step is optional but adds a dynamic aesthetic to the clock.
Step 6: Attach the Clock Mechanism
- Once all pencils are glued and the glue has dried, flip the cardboard base over to the backside. Cut a small hole in the center of the cardboard where you marked earlier. Insert the clock mechanism through this hole and secure it according to the manufacturer’s instructions.
Step 7: Apply Super Glue for Reinforcement
- Turn the clock to the front side and apply super glue at the points where each pencil meets the cardboard. This step will provide additional strength to hold the pencils in place.
Step 8: Set the Time and Test
- Attach the clock hands to the mechanism on the front side. Set the correct time and insert a battery into the clock mechanism. Test the clock to ensure that the hands move freely without hitting the pencils.
Step 9: Finishing Touches
- You may choose to add a hook on the backside for hanging the clock or add rubber feet to the back to rest it on a surface.
Step 10: Display
- Your DIY sunburst pencil clock is now ready to be displayed. Hang it on a wall or place it on a mantle to add a creative and personal touch to your space.
Click on any image to start the lightbox display. Use your Esc key to close the lightbox.

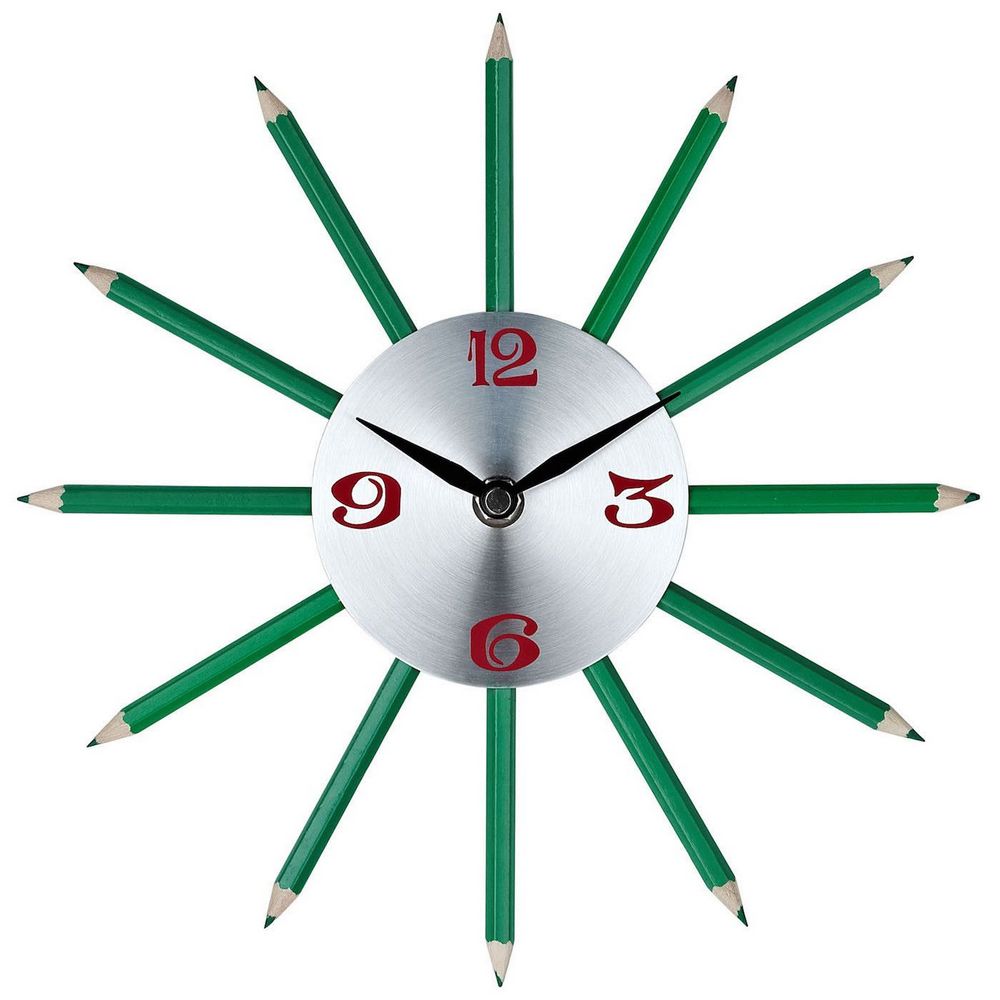

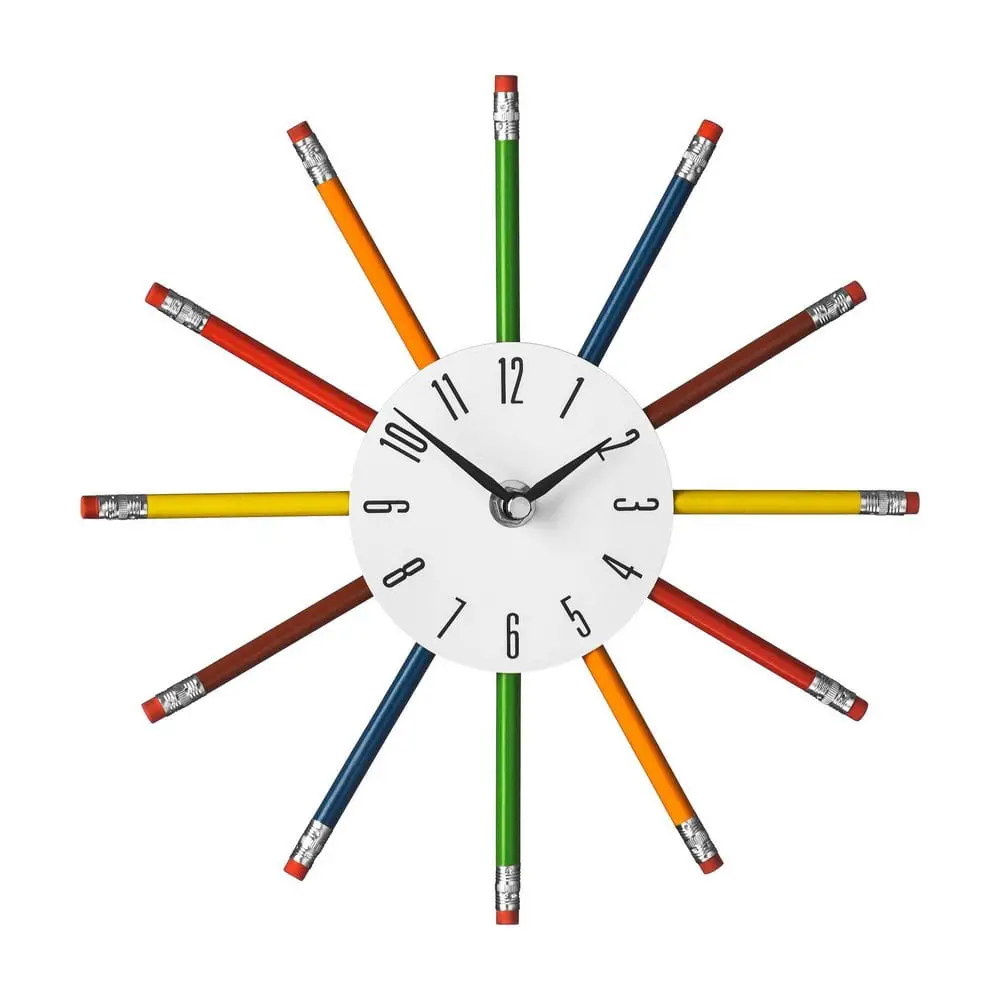
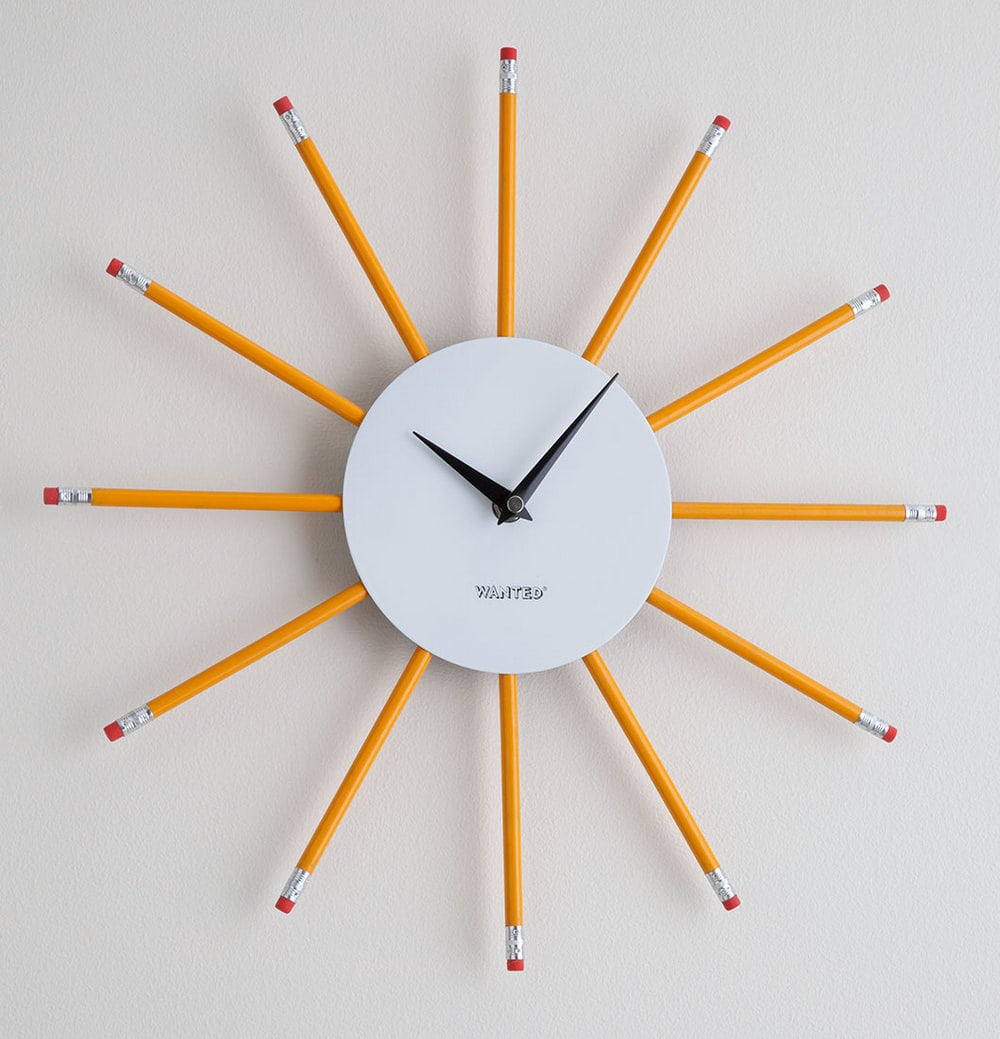
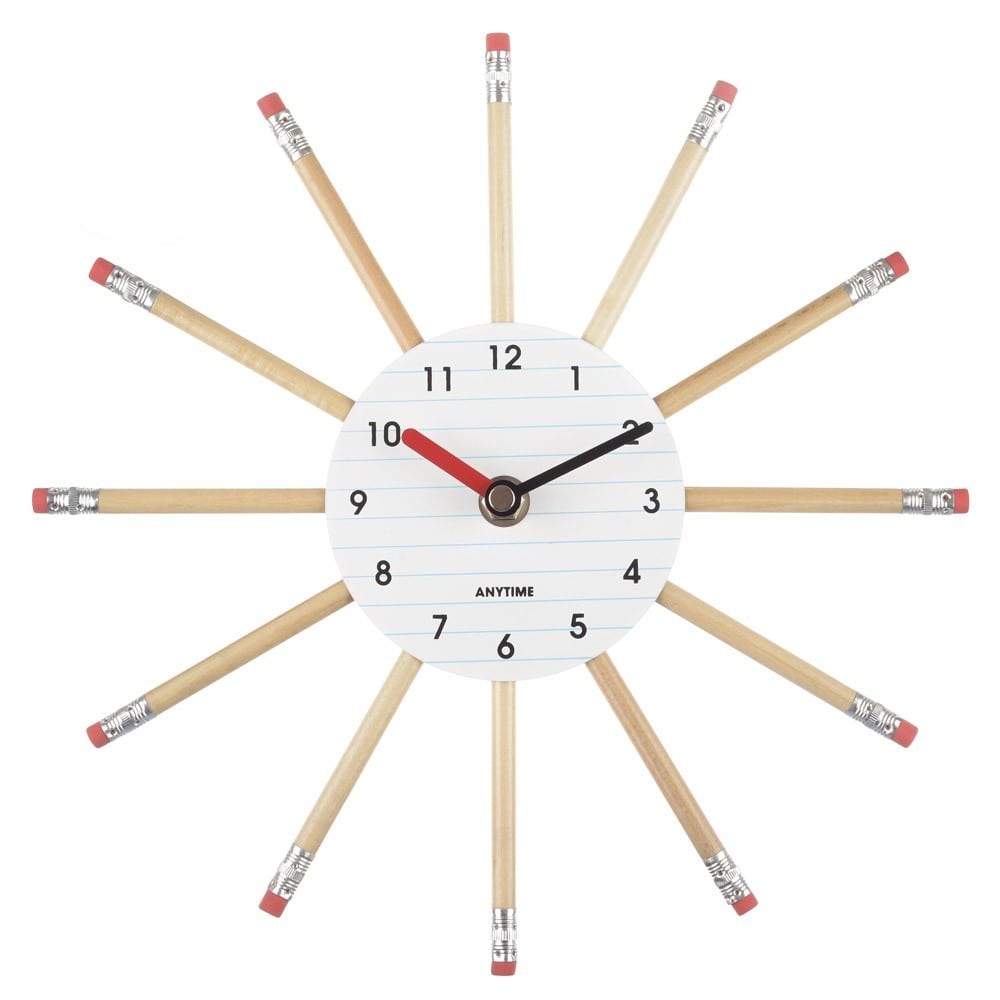

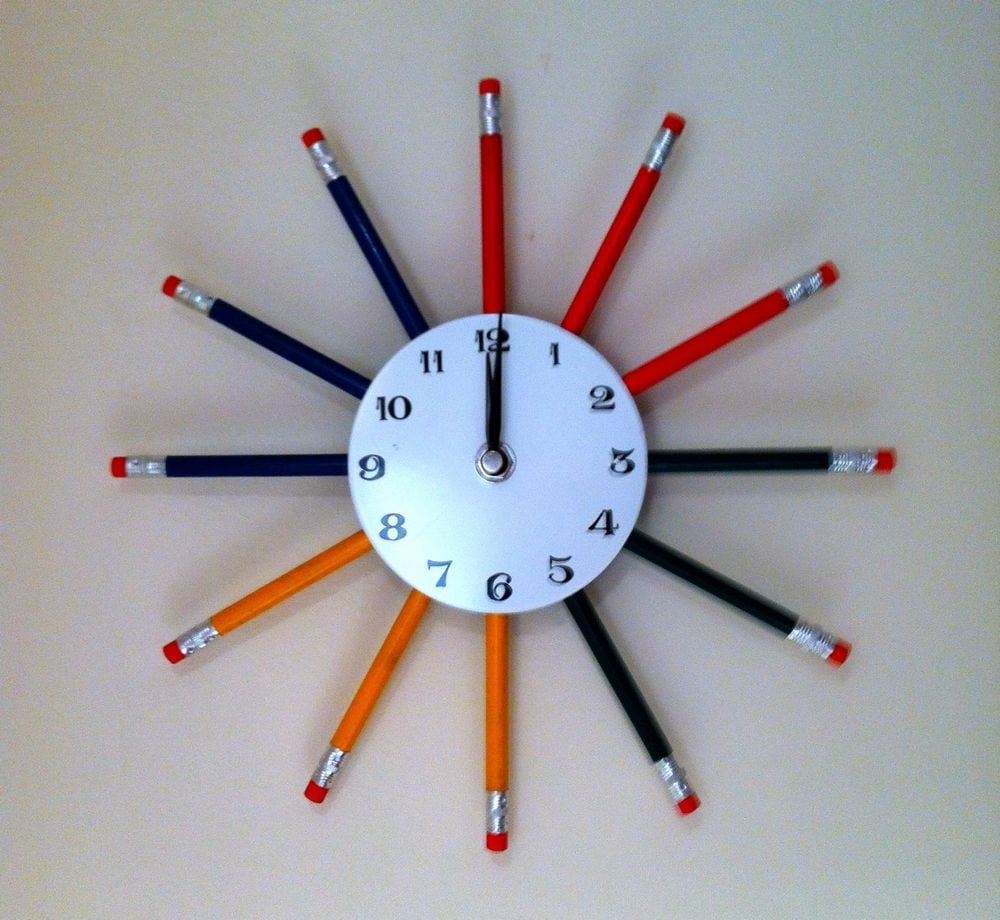

You can also get a detailed step-by-step instructions here…
Alternative Uses for the Sunburst Design
The sunburst design, exemplified by the sunburst pencil clock, is a timeless aesthetic that radiates creativity and flair. This iconic pattern can be adapted to various DIY projects, transforming ordinary objects into striking pieces of art.
Below are several alternative uses for the sunburst design, each providing an opportunity to breathe new life into everyday items.
Sunburst Mirror
Elevate a simple mirror by creating a sunburst frame using pencils or wooden dowels. Similar to the sunburst pencil clock, this project involves arranging the materials in a radial pattern around a central mirror. The pencils can be painted or left in their natural wooden finish for a rustic look. This piece would make a bold statement in any room.
Sunburst Wall Art
Create a captivating piece of wall art by adapting the sunburst pencil clock design. Instead of using a clock as the centerpiece, you can mount a decorative plate, a painted canvas, or even a woven basket. Arrange pencils or other elongated items like bamboo sticks around the centerpiece to form the sunburst motif.
Decorative Headboard
Take the concept of the sunburst pencil clock and apply it to a larger scale to create a stunning headboard for your bed. Use longer items like thin wooden slats or metal rods to achieve the sunburst effect. This headboard will serve as a dramatic backdrop and a focal point in any bedroom.
Ceiling Medallion
Incorporate the sunburst design into your ceiling décor by crafting a sunburst ceiling medallion. This can be placed around a light fixture or ceiling fan, mirroring the radial symmetry of the sunburst pencil clock. Materials like lightweight balsa wood or foam board are ideal for this project and can be painted to complement the room’s color scheme.
Jewelry Organizer
Adopt the sunburst pattern for a practical and stylish jewelry organizer. Just like the sunburst pencil clock, this organizer uses a central point from which several rays extend. Attach small hooks or fabric loops to the ends of the rays to hold necklaces, bracelets, and earrings. This organizer is not only functional but also serves as an attractive piece of wall decor.
These alternative uses for the sunburst design demonstrate its versatility and appeal. Whether you’re updating your home decor or creating functional art pieces, the sunburst pattern, inspired by the sunburst pencil clock, offers endless possibilities.
Customization Ideas
The sunburst pencil clock is a striking and versatile DIY project that allows for a wide range of customization options. Whether you want to adapt the design to fit your personal style or match your home decor, there are plenty of ways to make your sunburst pencil clock uniquely yours.
Here are several customization ideas to inspire your creativity and help you personalize your clock.
Color Variations
One of the simplest yet most impactful ways to customize your sunburst pencil clock is by playing with color. You can paint the pencils in a gradient pattern, use metallic colors for a chic look, or even try neon for a pop-art vibe. Mixing colors can also reflect seasonal themes or complement the existing palette of your room.
Mixed Materials
Instead of using only pencils, consider mixing other materials to give your sunburst pencil clock additional texture and dimension. Incorporate elements like thin metal rods, wooden skewers, or bamboo sticks. You can also intersperse small decorative items like beads or crystals between the pencils for a bit of sparkle.
Themed Designs
Tailor your sunburst pencil clock to specific themes such as nautical, floral, or modern minimalist. For a nautical theme, you might use shades of blue and white and add small seashell or starfish ornaments. For a floral theme, incorporate green and pastel pencils with small artificial flowers at various points.
Lighting Effects
Adding lighting to your sunburst pencil clock can transform it from a simple timepiece to a mesmerizing wall feature. Fit small LED lights behind the pencils so that they cast a soft glow on the wall, or use string lights woven through the pencils for a magical effect, especially in darker rooms.
Size Adjustments
The size of the sunburst pencil clock can be adjusted to make a more subtle or more striking statement. For a large wall space, a bigger base with longer pencils can serve as a central art piece. Conversely, a smaller version can be a quaint addition to a gallery wall or a narrow space.
Layered Dimensions
Create depth by layering multiple circles of pencils or other materials around the clock face. You could start with a base layer of shorter pencils and overlay longer ones, or alternate materials between layers for a more dynamic effect. This layered look adds complexity and shadow effects that are visually intriguing.
Vintage or Distressed Look
Give your sunburst pencil clock a vintage or distressed appearance by using techniques like sanding down painted pencils to reveal layers of color beneath or applying an antiquing glaze over them. This approach is perfect for a rustic or shabby chic décor style.
Interactive Elements
Make your sunburst pencil clock interactive by attaching movable elements. Small magnetic pieces or hooks can allow you to hang notes, photos, or seasonal decorations directly on the clock, making it functional as well as decorative.
Clock Face Customization
Instead of a standard clock face, use a printed photograph, a piece of artwork, or even a mirrored surface as the backdrop for the clock hands. This not only personalizes the sunburst pencil clock but also integrates it beautifully with your room’s décor.
Eco-Friendly Materials
For those interested in sustainability, opt for eco-friendly materials to construct your sunburst pencil clock. Use recycled pencils, reclaimed wood, or biodegradable components to minimize environmental impact while still creating a stylish and functional piece.
Cultural Motifs
Incorporate cultural motifs into your design to give your sunburst pencil clock a global or ethnically inspired feel. Use patterns and color schemes that reflect specific cultural aesthetics, like African tribal, Japanese minimalism, or Scandinavian simplicity.
By exploring these customization options, your sunburst pencil clock will not only keep time but also reflect your personal style and creativity, making it a truly special piece in your home.
Conclusion
Creating a sunburst pencil clock offers a delightful opportunity to engage in a DIY project that combines art with functionality. This clock can be customized in numerous ways, allowing it to perfectly complement your home decor and showcase your personal style. Moreover, the process of crafting this clock serves as a fun, creative activity that families can enjoy together, making it more than just a timepiece but a memorable experience.
We have more creative DIY clocks. Check out our wood block clock project!


