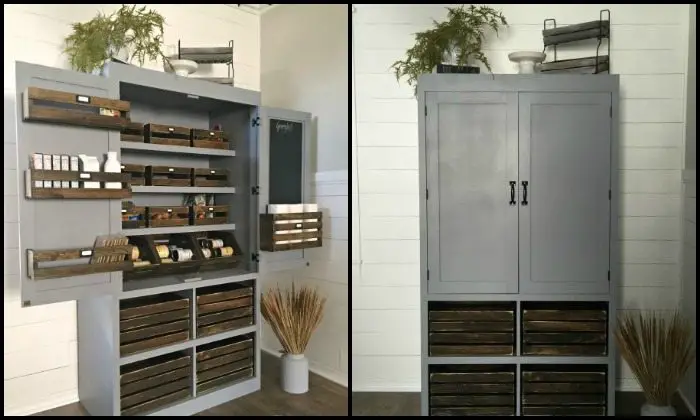
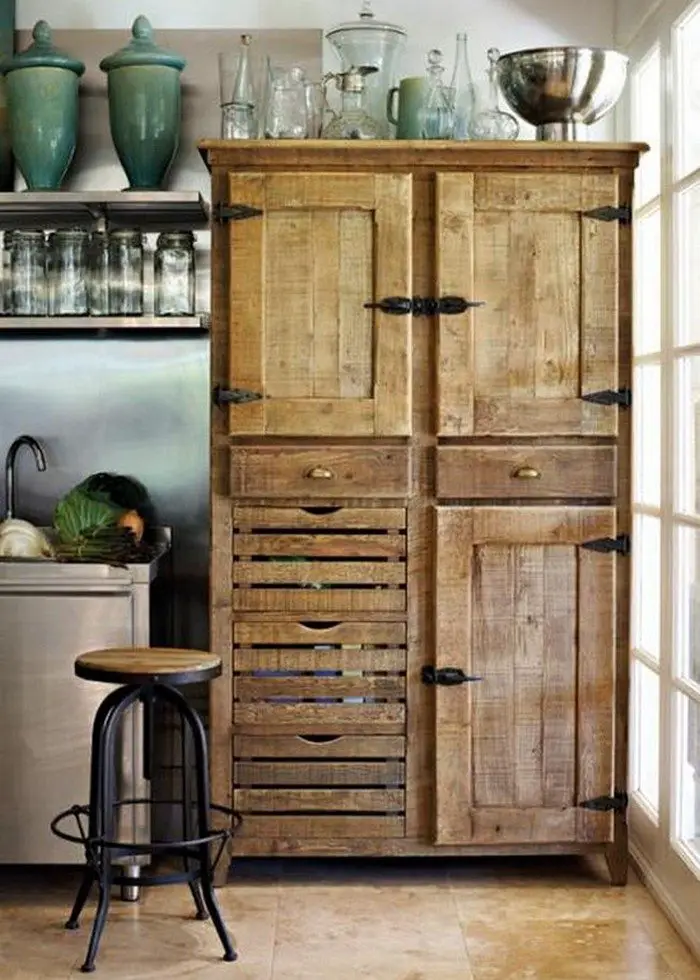
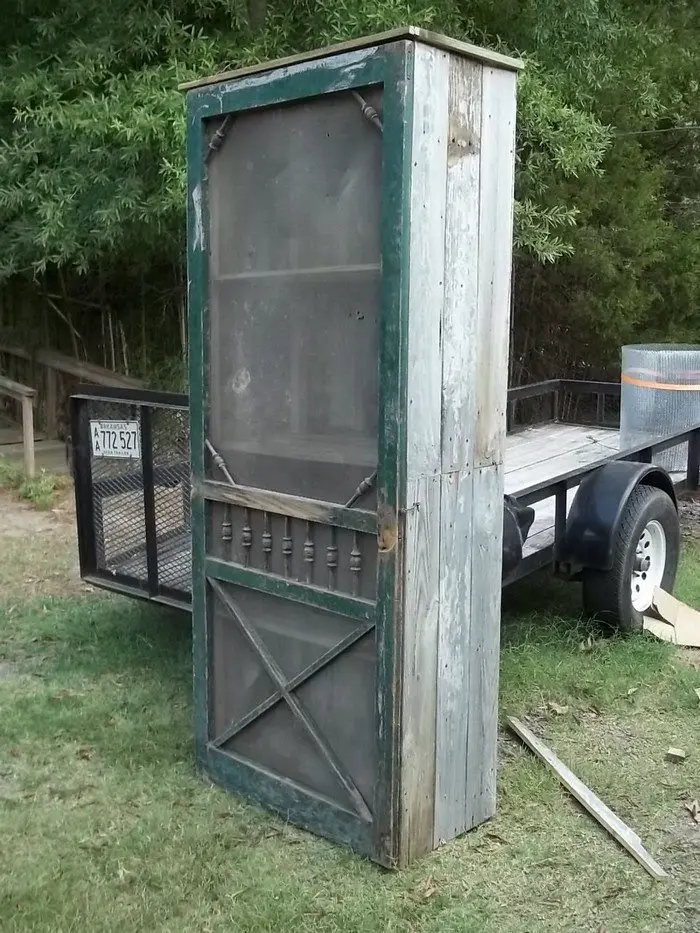
Who says you need a big space to have a pantry? If you have a tiny room, check out this DIY project that’s perfect for your space.
A stand-alone pantry is a game-changer for organizing your kitchen, especially when space is limited or you need extra storage. Building your own pantry can be a fun and rewarding DIY project that not only maximizes storage but also adds a personalized touch to your home.
Whether you’re looking to store canned goods, dry foods, or small kitchen appliances, a well-designed pantry can help you keep everything in order and within easy reach.
However, building it from scratch can seem intimidating at first. The good news is, with the right approach and a few helpful tricks, you can create a functional and stylish one without the stress. In this post, we’ll guide you through eight essential tips for success.
From choosing the right materials to designing a layout that fits your space, these tricks will help you build a stand alone pantry that meets your needs and exceeds your expectations. Whether you’re a seasoned DIYer or a first-time builder, these strategies will set you up for a smooth and successful project.
Contents
- 1 Transform Your Kitchen: Tips to Build a DIY Stand Alone Pantry
- 1.1 How to Make a DIY Stand Alone Pantry
- 1.1.1 Materials Overview
- 1.1.2 Tools Needed
- 1.1.3 Steps-by Step Instructions
- 1.1.4 Step 1: Planning and Measuring
- 1.1.5 Step 2: Cutting the Wood
- 1.1.6 Step 3: Assembling the Frame
- 1.1.7 Step 4: Installing Shelves
- 1.1.8 Step 5: Building and Attaching the Doors
- 1.1.9 Step 6: Sanding and Finishing
- 1.1.10 Step 7: Final Touches and Installation
- 1.2 Extra Help
- 1.3 Advantages of Kitchen Organization 101: DIYStand Alone Pantry
- 1.1 How to Make a DIY Stand Alone Pantry
- 2 Unlocking Kitchen Organization!
Transform Your Kitchen: Tips to Build a DIY Stand Alone Pantry
Let’s dive into these easy yet effective steps to create your perfect stand alone pantry! You can also do this project if you’re looking for storage for your arts and crafts materials or other items.
How to Make a DIY Stand Alone Pantry
Are you tired of cluttered kitchen countertops and disorganized cabinets? It’s time to channel your inner designer and develop a storage solution that is both functional and fashionable.
Building a stand alone pantry is the ideal project to tackle whether you have a small kitchen or just want to maximize your space. You can regain control of your kitchen organization with this DIY stand alone pantry.
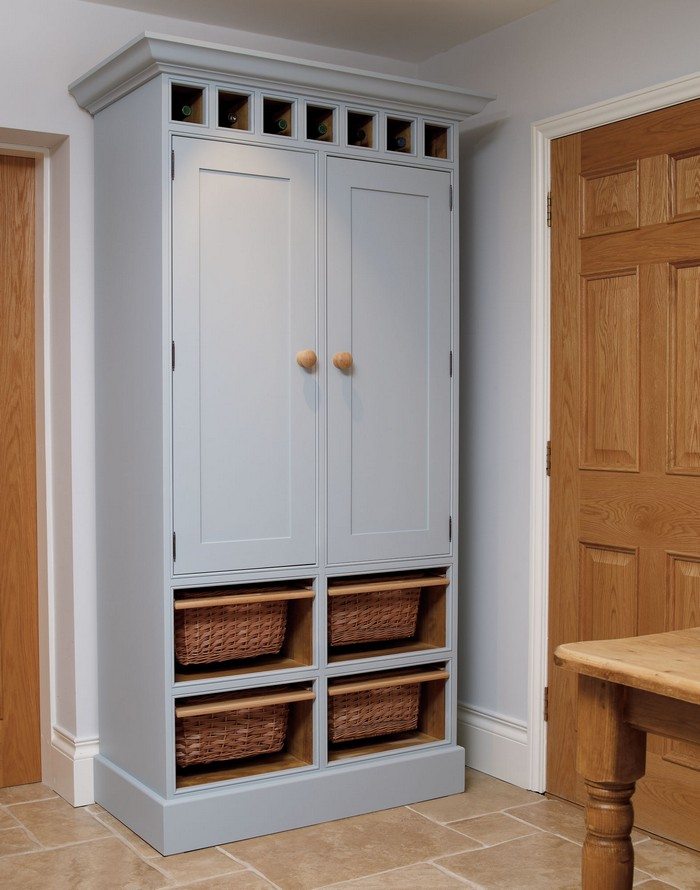
This guide will follow you through the step-by-step process of making your DIY stand alone pantry, giving you the equipment, tips, and inspiration you need to transform your kitchen into a well-organized and efficient space.
Materials Overview
Wood & Paneling:
- 2 pcs – 4×8′ 3/4″ Plywood (for the structure of the pantry)
- 1 pc – 1×4 Wood Board (for trim and door frames)
- 5 pcs – 1×2 Wood Board (for shelves and door frames)
- 3 pcs – 1×3 Wood Board (for additional support and door frames)
- 1 pc – 4×8′ 1/4″ Paneling (for backing)
- 1/4″ MDF Paneling (for smooth interior surface)
Hardware:
- 6 pcs – Non-Mortise Butt Hinges for 3/4″ Door (for the doors)
- 2 Door Handles (for easy access)
- Double Magnetic Catch (for securing doors)
- 2″ 16 gauge Finish Nails (for assembly)
- 1 1/2″ Pocket Hole Screws (for securing shelves and panels)
- Wood Glue (for bonding)
- Wood Filler (for filling gaps and holes)
Finishing:
- Crates (for optional storage baskets or drawers)
- Wood Stain (for finishing and protecting wood)
- Paint (for color and finish, optional)
Tools Needed
- Measuring Tape: For precise measurements.
- Pencil: To mark cutting lines.
- Kreg Jig: For making pocket holes and joining wood pieces.
- Cordless Drill: For drilling holes and driving screws.
- Table Saw: For making straight cuts in plywood.
- Miter Saw: For precise crosscuts and angled cuts.
- Finish Nailer: For securing trim and paneling.
- Sander: To smooth surfaces before finishing.
- Safety Glasses and Ear Protection: Always use these when working with power tools.
Click on any image to start the lightbox display. Use your Esc key to close the lightbox.![]()
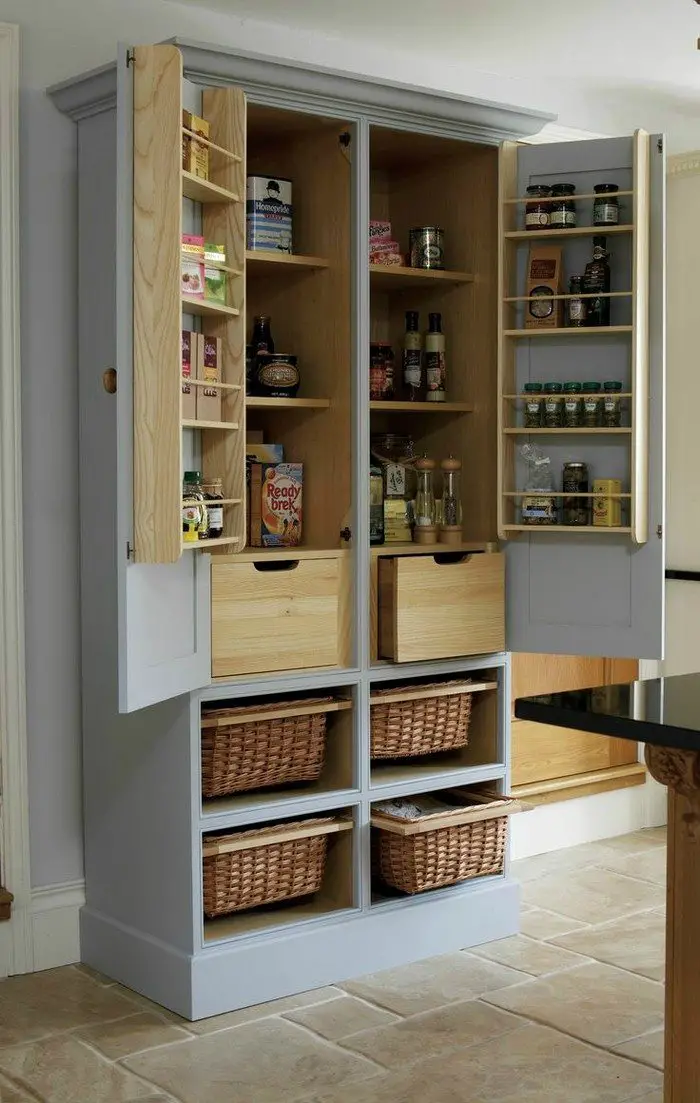

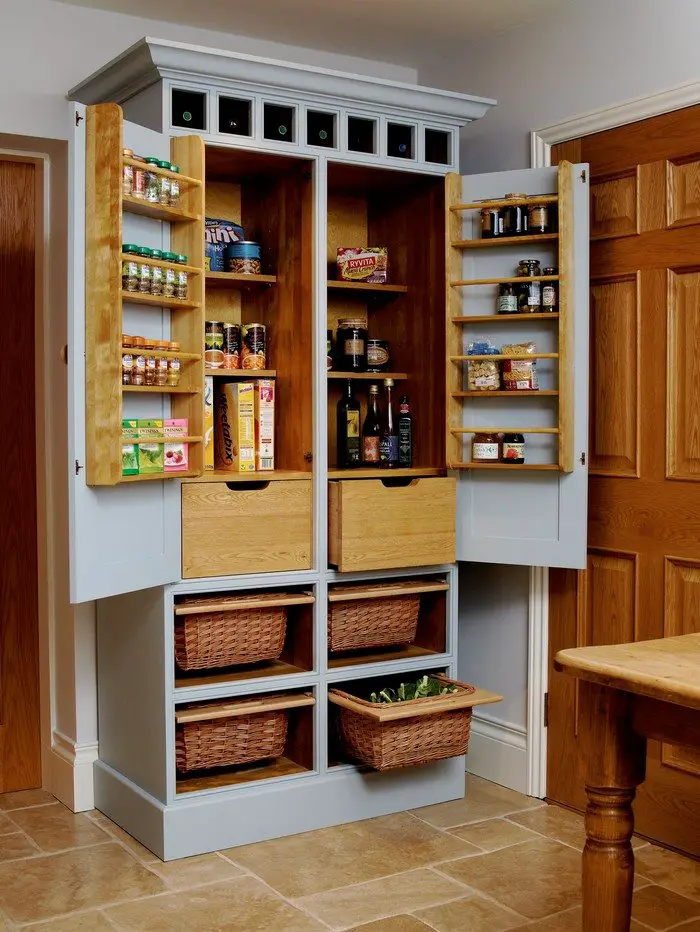
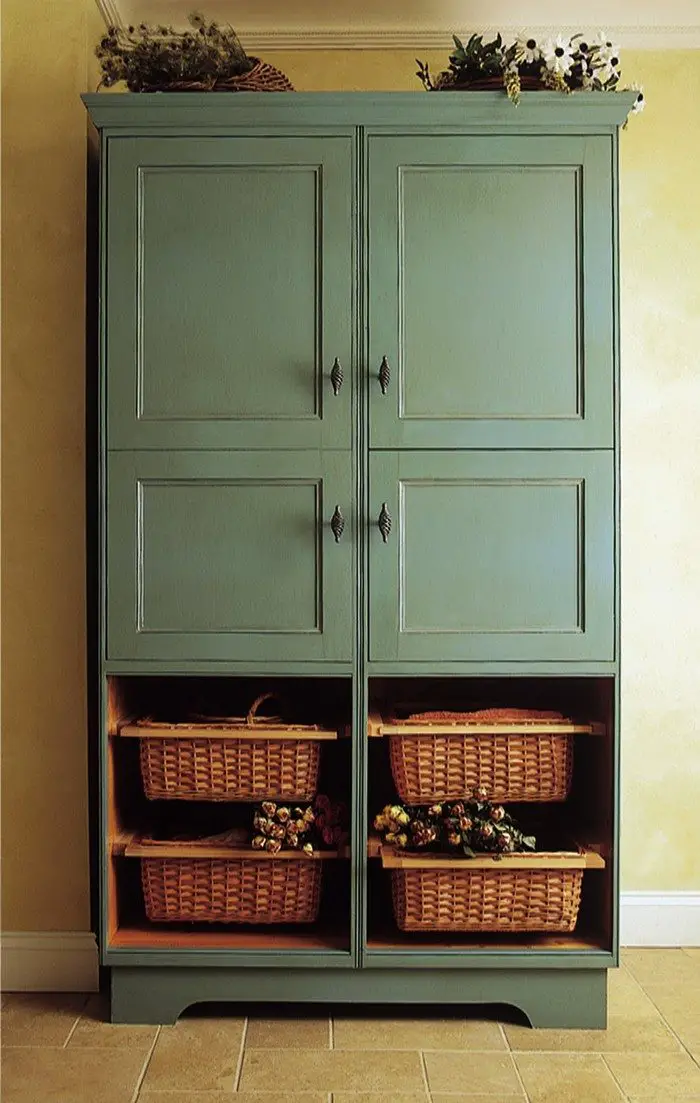
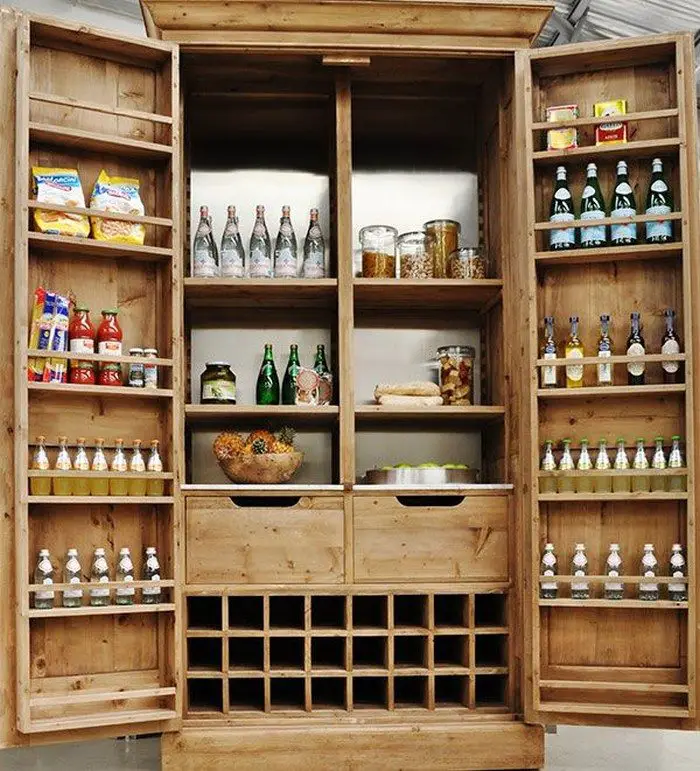
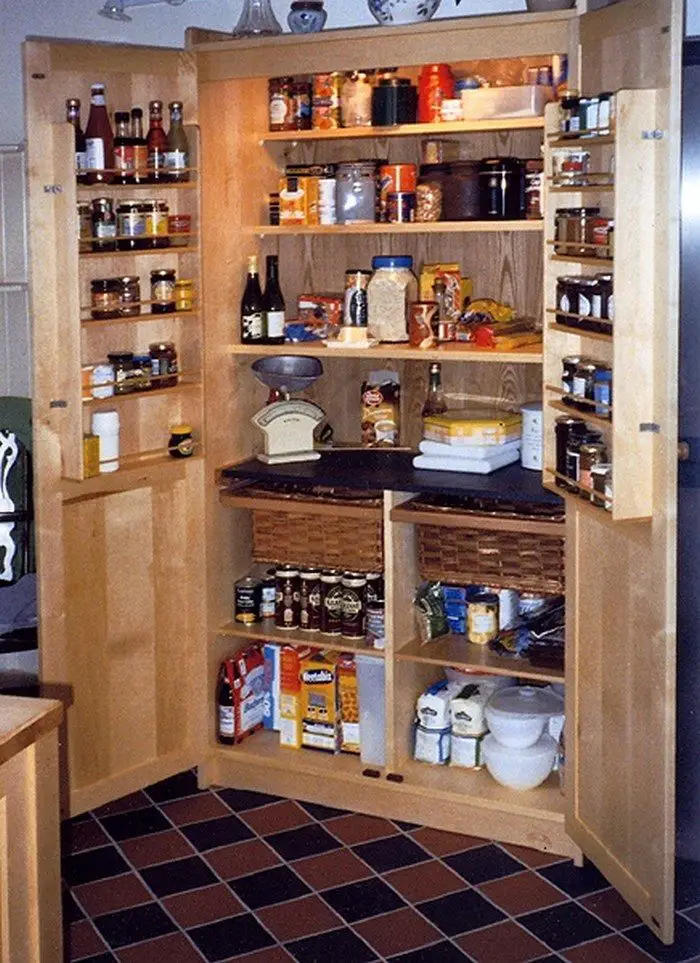
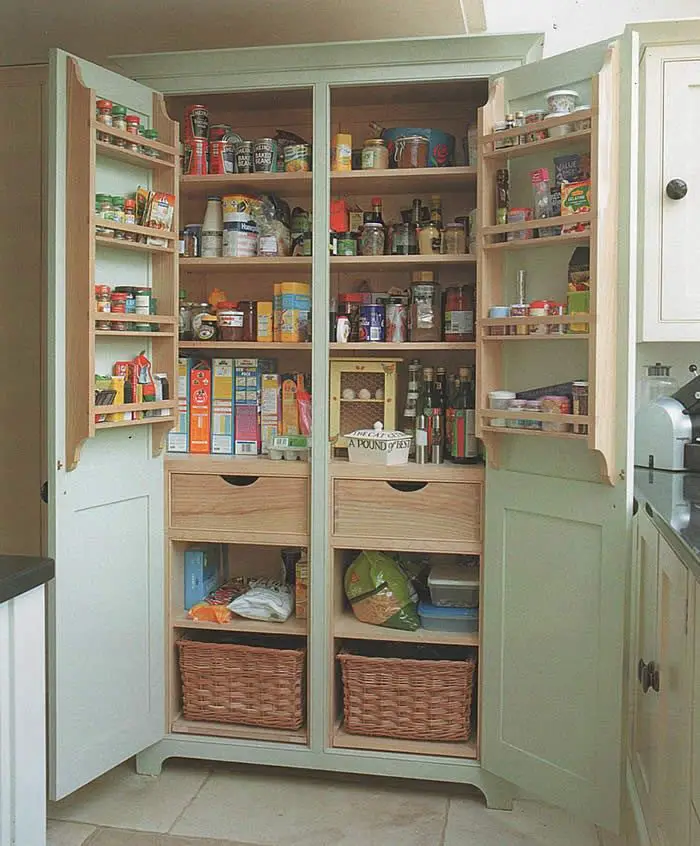
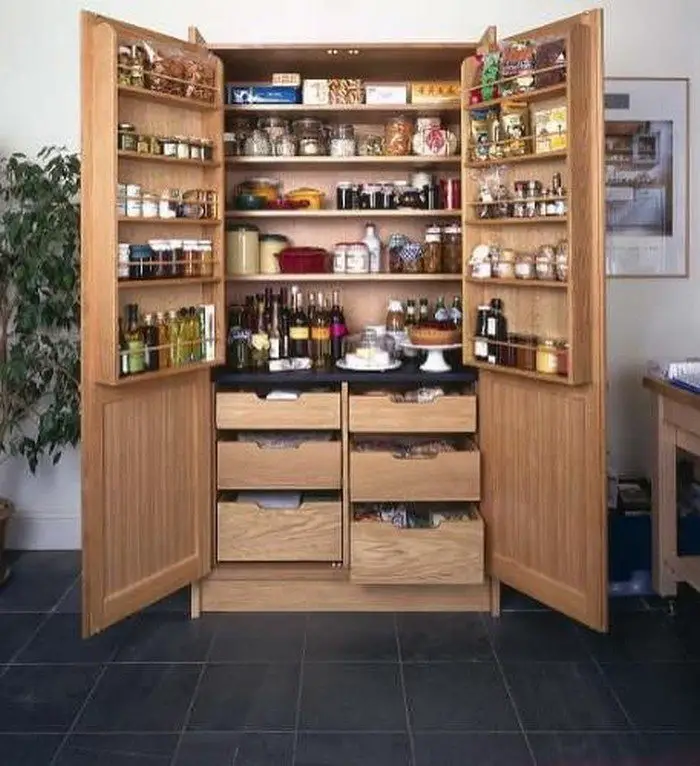
Steps-by Step Instructions
Step 1: Planning and Measuring
Before you start cutting any wood, take time to plan its dimensions. A standard size for a stand-alone pantry might be around 36” wide, 72” high, and 24” deep, but feel free to adjust these measurements based on your space and needs.
- Measure the height, width, and depth of your pantry space.
- Sketch a basic design with door dimensions and the number of shelves you want (usually 4-5 shelves depending on its height).
- List all the cuts you will need to make and create a cut list for your plywood, trim, and panelling.
Step 2: Cutting the Wood
Using your measuring tape and pencil, mark its dimensions and its parts on the plywood and other wood boards.
- Cut the panels for the sides, top, bottom, and shelves:
- From the 3/4″ plywood, cut two pieces for the sides (each 72” high and 24” deep).
- Cut one piece for the top and one for the bottom (each 36” wide by 24” deep).
- Cut shelves from the remaining plywood, each 36” wide by 24” deep (you can make as many shelves as you want, but four shelves are standard).
- Trim pieces for the frame:
- From the 1×4 and 1×2 wood boards, cut pieces for the door frames (see door dimensions below) and the trim.
- Cut 1×3 boards for additional vertical and horizontal framing supports if necessary.
Tip: Make sure to use your miter saw for clean crosscuts and your table saw for long, straight cuts.
Step 3: Assembling the Frame
Once all the pieces are cut, start assembling the frame.
- Build the frame of the pantry:
- Using wood glue and pocket hole screws, attach the top and bottom panels to the two side pieces.
- Ensure everything is square by measuring diagonal corners to confirm the frame is not warped.
- If needed, add additional vertical supports with your 1×3 wood boards to increase stability.
- Attach the back paneling:
- For the back panel, use your 1/4″ MDF or paneling sheet. This provides it with structural integrity and a smooth finish on the back.
- Attach it with finish nails or screws.
Step 4: Installing Shelves
Determine how many shelves you want in it and where to place them. Typically, shelves are spaced about 12-14” apart, but you can adjust depending on your needs.
- Drill pocket holes into the side panels (on the inside edges) using your Kreg Jig.
- Install the shelves by aligning them with the pocket holes and securing them in place with pocket hole screws.
- Check for level: Use a level to ensure each shelf is installed straight before securing it completely.
Step 5: Building and Attaching the Doors
You can build the doors using your 1×2 and 1×3 boards.
- Assemble the door frames:
- For each door, cut four pieces of wood (two vertical and two horizontal) to size using your miter saw. The height of the door will match its height opening.
- Assemble the door frame using wood glue and finish nails or screws.
- Add panels to the doors:
- Cut a piece of the 1/4″ paneling to fit inside each door frame, ensuring it fits snugly.
- Attach the panel to the frame using wood glue and small nails or finish nails.
- Install the hinges:
- Use non-mortise butt hinges to attach the doors to the frame.
- Mark where the hinges will go, drill pilot holes, and attach the hinges to both the doors and the frame.
- Install the door handles:
- Mark the desired location for your door handles and drill holes accordingly.
- Attach the handles securely.
Step 6: Sanding and Finishing
After assembling the stand alone pantry, you’ll want to make everything smooth and ready for staining or painting.
- Sand all surfaces: Use a sander to smooth out the wood surfaces, including the doors, edges, and shelves. Sand with progressively finer grits of sandpaper, starting with 80-grit and finishing with 220-grit for a smooth surface.
- Fill any gaps or holes: If there are any visible nail holes or gaps between joints, use wood filler to fill them. Once dry, sand again to make the surface even.
- Stain or paint:
- Apply wood stain to the exterior surfaces for a natural wood look, or paint it to match your kitchen’s decor.
- Allow sufficient drying time between coats.
- Add a magnetic catch:
- Install the double magnetic catch at the top of the doors to keep them securely closed.
Step 7: Final Touches and Installation
Once the paint or stain has dried and the finish is set, it’s time to install it.
- Place the pantry in position and check for stability. You may need to secure it to the wall with brackets if it’s unstable or at risk of tipping over.
- Arrange your crates inside for easy organization of items. You can also add baskets or bins on the shelves to keep things tidy.
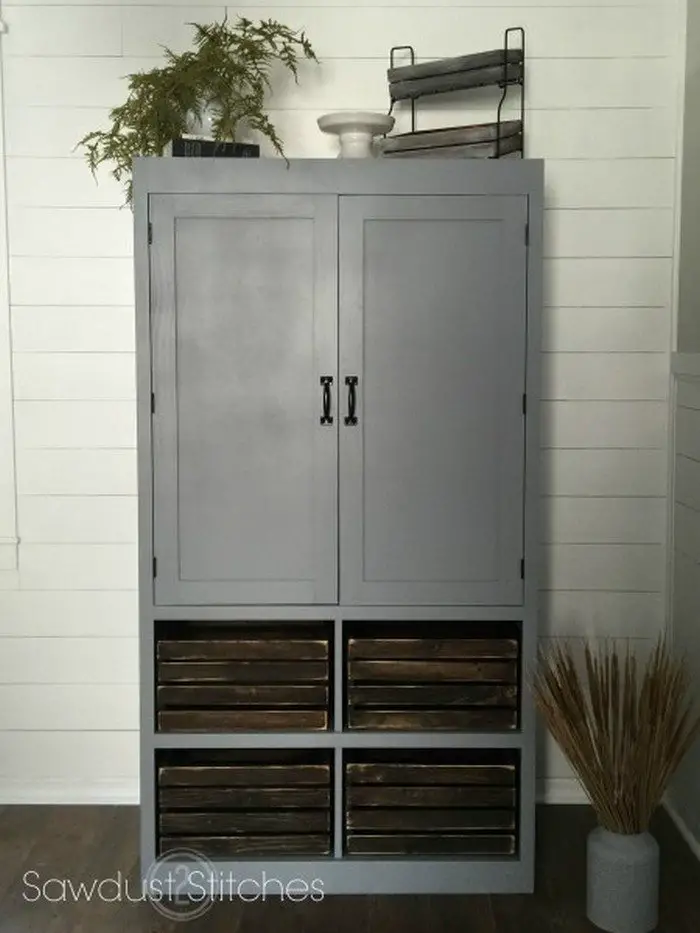
Congratulations, your DIY stand-alone pantry is now complete! This custom project will not only give you more storage space but also enhance the overall look of your kitchen. With a little effort, you now have a personalized, organized pantry that meets your needs and adds value to your home. Enjoy your new storage solution!
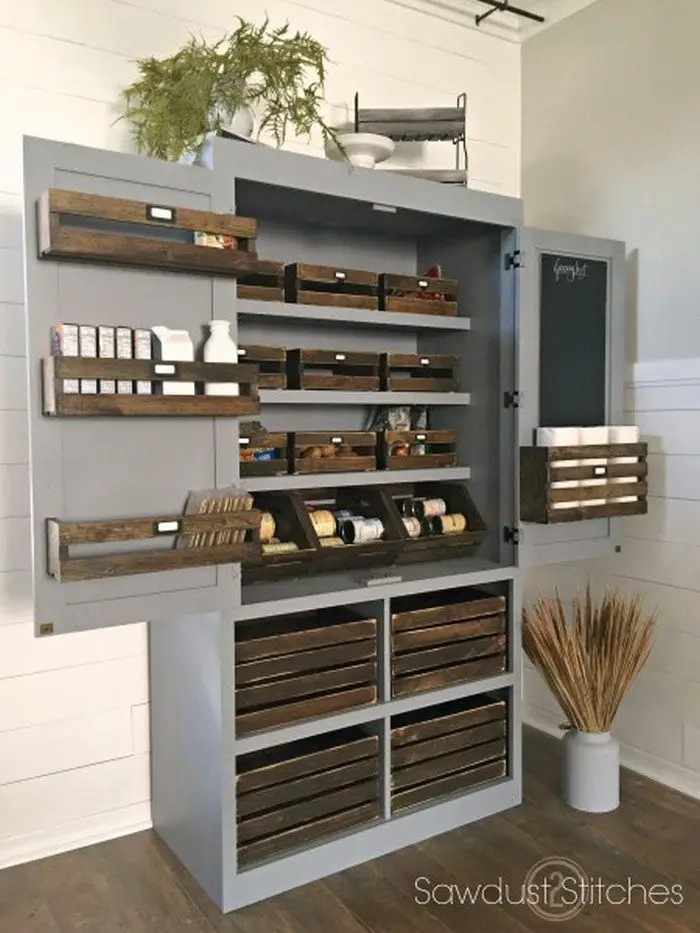
A big thank you to Sawdust 2 Stitches for sharing this fantastic DIY project. You can the version of this stand alone pantry along with illustrations.

Extra Help
Building a DIY stand alone pantry requires careful planning and execution. To ensure success, here are some additional tips and tricks to consider:
- Optimize storage space
- Revamp it with adjustable shelves, silverware organizers, pull-out drawers, and door-mounted organizers for a more organized space. Create a customized storage system tailored to your needs to declutter and bring it order.
- Consider lighting
- Install energy-efficient LED lights for better visibility and aesthetics. LED lights consume less energy, saving you money on bills and eliminating the need for frequent bulb replacements.
- Their bright illumination will ensure every corner is well-lit, making it easier to find items even in dark spots.
- Use durable materials
- Choose high-quality materials like sturdy plywood or solid wood to build durable stand alone pantry shelves and cabinet doors.
- Solid wood options, such as oak, maple, or pine, offer strength, longevity, and a timeless aesthetic for your kitchen storage needs.
- Add a chalkboard or whiteboard
- Add a chalkboard or whiteboard inside the door for writing lists and reminders, blending practicality and creativity in your kitchen organization.
- Utilize vertical space
- Maximize space by adding hooks, baskets, or a pegboard for smaller items, utensils, and spices. These versatile solutions help create space for frequently used items and free up shelf space.
- Consider ventilation
- To keep your pantry fresh, install vents or leave space between the wall to prevent moisture buildup, reducing risks like mould and extending shelf life for organized and hygienic kitchen storage.
- Customize to your needs
- Customize your it to suit your needs by designing shelves and compartments based on the items you usually store. This will maximize space and allow for storage of various-sized items.
- Maintain organization
- Organize it by grouping similar items, and labeling containers/shelves for easy access. Keep baking supplies, canned goods, and spices in designated sections. Helps find items quickly and avoid clutter.
Advantages of Kitchen Organization 101: DIYStand Alone Pantry
- Increased Storage Space
- A DIY stand alone pantry in the kitchen adds storage space for items like cookware, and appliances, keeping the kitchen organized and clutter-free by utilizing vertical space effectively.
- Customization Options
- Creating a customized stand alone pantry allows you to personalize its size, shelving, and design to meet your kitchen’s storage requirements and style preferences.
- Cost-Effective Solution
- DIY kitchen pantry offers a cost-effective way to organize your kitchen without hiring professionals. By utilizing cheap materials and repurposing furniture, you can create a functional project on a budget.
- Flexibility and Portability
- Freestanding pantries offer flexibility and portability, making it easy to move around the kitchen or to another room for rearranging or renovating without the need for extensive remodelling.
- Ease of Construction
- DIY freestanding pantries can be easily built by beginners with basic carpentry skills and tools. Use plywood, lumber, and screws for construction. Online tutorials and plans can assist in the step-by-step process.
- Improved Organization and Accessibility
- Kitchen pantry plans improve kitchen efficiency by keeping ingredients and utensils easily accessible. Categorize and arrange items on shelves or in bins to streamline meal prep and reduce food waste.
- Enhanced Visual Appeal
- It not only adds practicality but also boosts the aesthetic of your kitchen. Utilize decorative moulding, glass doors, or painted finishes for a stylish look that complements your decor.
By investing time and effort into building a DIY stand alone pantry, you can transform your kitchen into a well-organized and efficient space that meets your storage needs and enhances your culinary experience.
Unlocking Kitchen Organization!
Transform your kitchen into an organized and efficient space by following this comprehensive guide to building a DIY stand alone pantry.
No matter the size of your room, this project is a perfect solution for maximizing storage and adding a personal touch to your home. With a little creativity and effort, you can design a pantry that suits your needs and enhances your kitchen’s overall aesthetic.
So, what are you waiting for? Grab your tools, gather your materials, and start building your dream pantry today! Let’s get started and bring your vision to life!
Frequently Asked Questions
- What is a DIY stand alone pantry, and why should you consider building one?
- It is a standalone storage unit designed to organize kitchen items, cookware, and small appliances. Building one offers several benefits, including increased storage space, customization options, and cost-effectiveness compared to pre-built options.
- How difficult is it to build a DIY stand alone pantry?
- Building a DIY stand alone pantry can vary in difficulty depending on your woodworking skills, the complexity of the design, and the tools available. However, many simple designs can be constructed with basic carpentry skills and commonly available tools, making them accessible to DIY enthusiasts of all levels.
- What materials and tools do you need to build a DIY stand alone pantry?
- The materials and tools needed to build a DIY stand alone pantry can vary depending on the design and size of the project. Common materials include plywood, lumber, screws, and finishing materials such as paint or stain. Basic tools such as a saw, drill, hammer, and measuring tape are typically required.
- Can I customize its design to fit my kitchen space and storage needs?
- Yes, one of the advantages of building a DIY stand alone pantry is the ability to customize the design to suit your specific requirements. You can adjust the size, shelving configuration, and features of the pantry to optimize storage space and functionality for your kitchen.
- Are there any safety considerations to keep in mind when building a DIY stand alone pantry?
- Yes, safety is important when undertaking any DIY project. Be sure to wear appropriate protective gear, use proper tools and techniques, and follow safety guidelines throughout the construction process. Additionally, ensure that the pantry is securely anchored and stable to prevent accidents.
- How can you maximize organization and efficiency in your DIY pantry?
- There are several tips and tricks you can use to maximize organization and efficiency in your DIY pantry, such as categorizing items, using storage containers or bins, labelling shelves, and regularly decluttering and organizing the space.
- Where can you find inspiration and guidance for building a DIY freestanding pantry?
- You can find inspiration and guidance for building a DIY pantry from a variety of sources, including online DIY tutorials, woodworking websites, home improvement blogs, and social media platforms such as Pinterest. Additionally, consider consulting with experienced DIYers or seeking advice from local hardware stores.

