Here’s a wonderful outdoor decor you can do for this year’s Christmas season!
While today’s Christmas ornaments seem rather commercial, experts say the tradition of decorating a Christmas tree goes back to 16th-century Germany.
Germans decorated evergreen trees with apples, which were referred to as paradise trees. Later, they decorated their trees and homes with wafers, candles, and pastries in the shapes of angels, flowers, hearts, and stars.
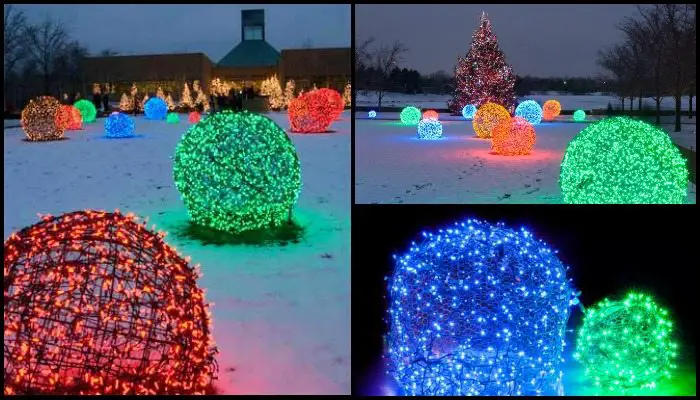
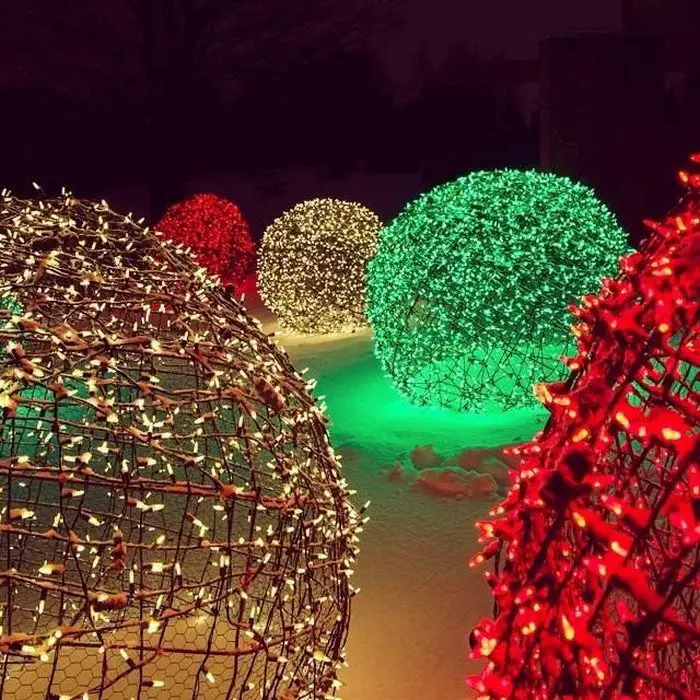
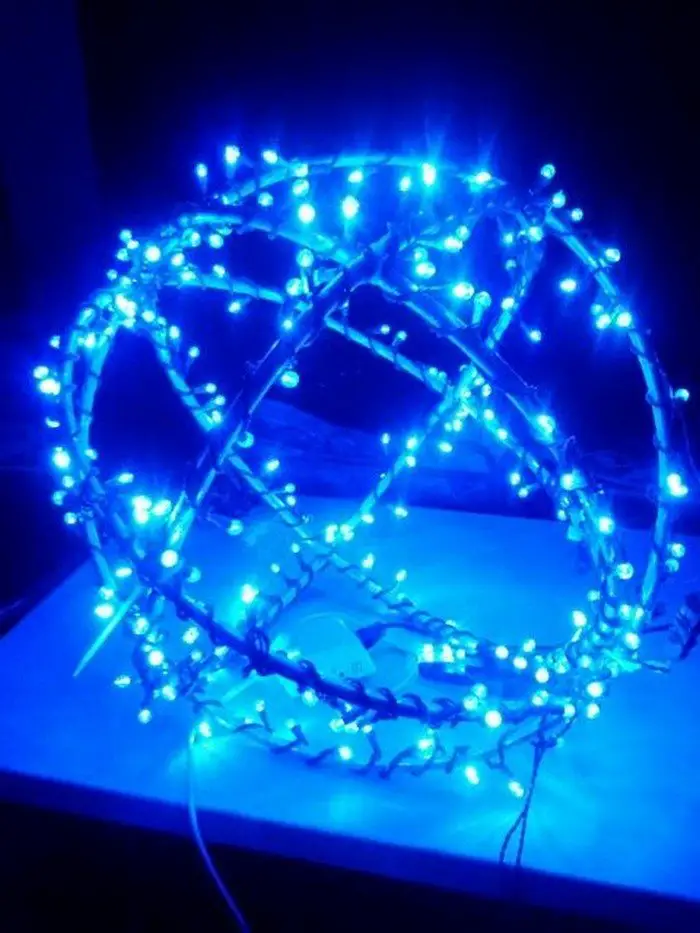
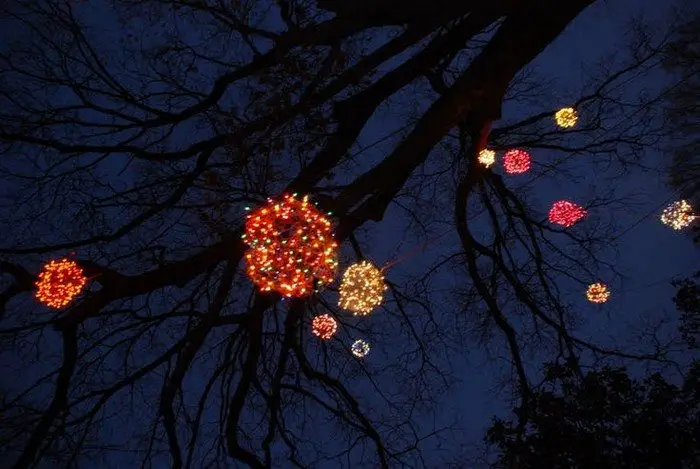
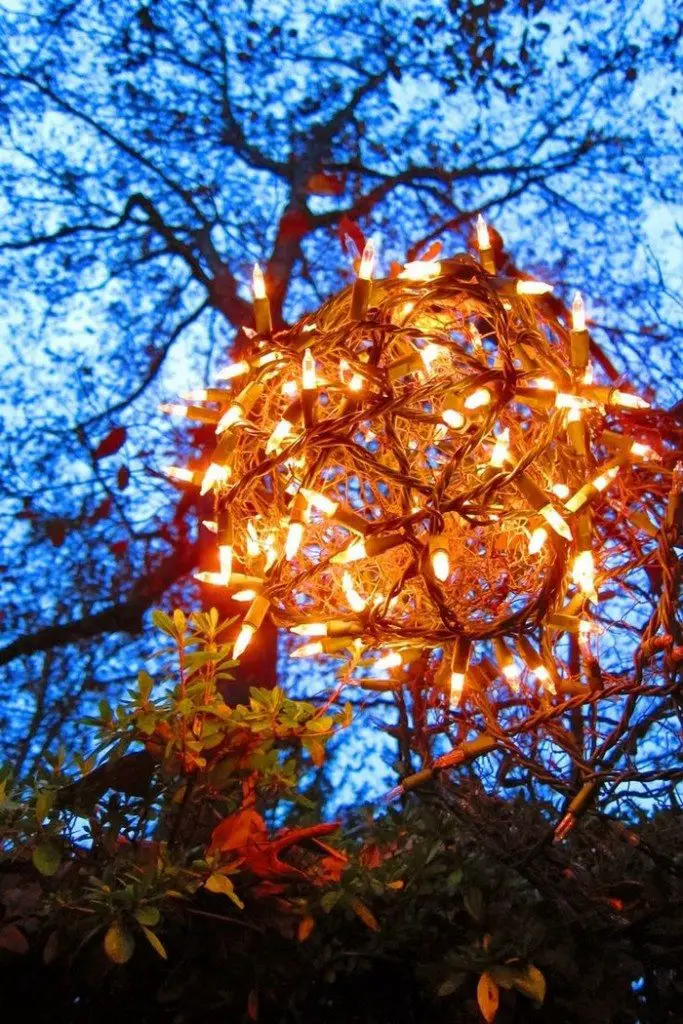
These large Christmas light balls are simply made with chicken wire and LED mini lights. They are a bit time-consuming to make but it’s definitely an easy process.
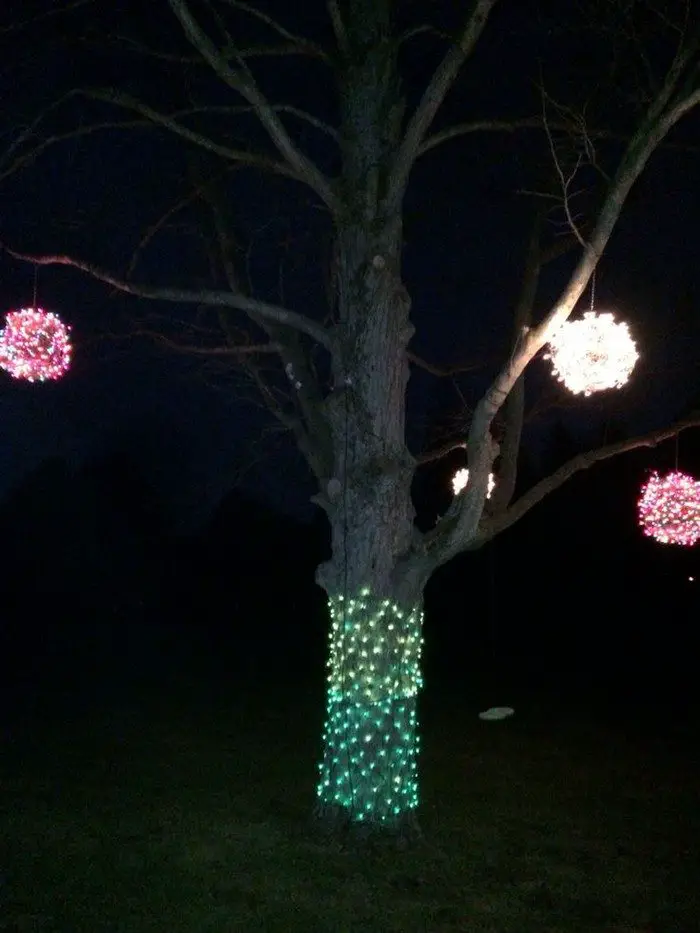
A number of these with different colors will look great in your yard. You can also create smaller versions to display on your patio or even indoors, like in your living room area. If you have trees that need holiday decorations, go ahead and hang these light balls!
We have collected a few more Christmas light ball ideas that will excite you to make your own from our album below!
Is this going to be this year’s Christmas decor for your home? :)
Contents
Crafting Christmas Light Balls
Materials
- LED Mini Lights
- Chicken Wire (2’x 4′ for a 2′ Christmas Light Ball)
- Gloves
Tools
- Pliers
- Tape Measure
Instructions
Prepare Your Workspace: Choose a spacious and well-lit area to work. Lay out all materials and tools so they’re easily accessible. Make sure to wear gloves to protect your hands from the chicken wire.
Measure and Cut the Chicken Wire: Use the tape measure to find the center of your chicken wire piece. For a 2′ light ball, measure and mark 2’ from the center on all sides. Use the pliers to cut the chicken wire to size. You should end up with a piece that’s about 4’ x 2’.
Shape the Chicken Wire: Start shaping the chicken wire into a spherical shape. Begin by curling the 4’ length into a cylinder. Connect the edges using the pliers to twist the wires together securely.
Form the Sphere: Push the ends of the cylinder towards each other to form a sphere. Adjust the shape by bending the wire until you have a relatively even sphere. Make sure to secure any loose ends with the pliers.
Test the Sphere’s Stability: Check the stability of the sphere by gently pressing on it. It should maintain its shape without any major dents or distortions. Make any necessary adjustments.
Wrap the LED Lights: Begin wrapping the LED mini lights around the chicken wire sphere. Start from one point and gradually cover the entire sphere. Distribute the lights evenly. Use the wire itself to secure the strand of lights in place; twist the wire around the lights using your fingers or pliers if needed.
Secure the Light Ends: Ensure the end of the LED light strand is positioned near the bottom of the sphere for easy connection to your power source. Secure the end with a small piece of wire or by twisting it around the chicken wire.
Final Adjustments: Make any final shape adjustments to your Christmas light ball. Ensure the lights are spread evenly and securely attached.
Installation: Hang the Christmas light ball from a sturdy branch, hook, or other supports. Use an additional wire or a string if necessary. Connect the lights to a power source. If outdoors, ensure the connection is safe and protected from moisture.
Enjoy Your Decoration: Once everything is set up and connected, turn on the lights to see your Christmas light ball glowing beautifully. Adjust the placement or the density of the lights as needed.
Click on any image to start lightbox display. Use your Esc key to close the lightbox.![]()

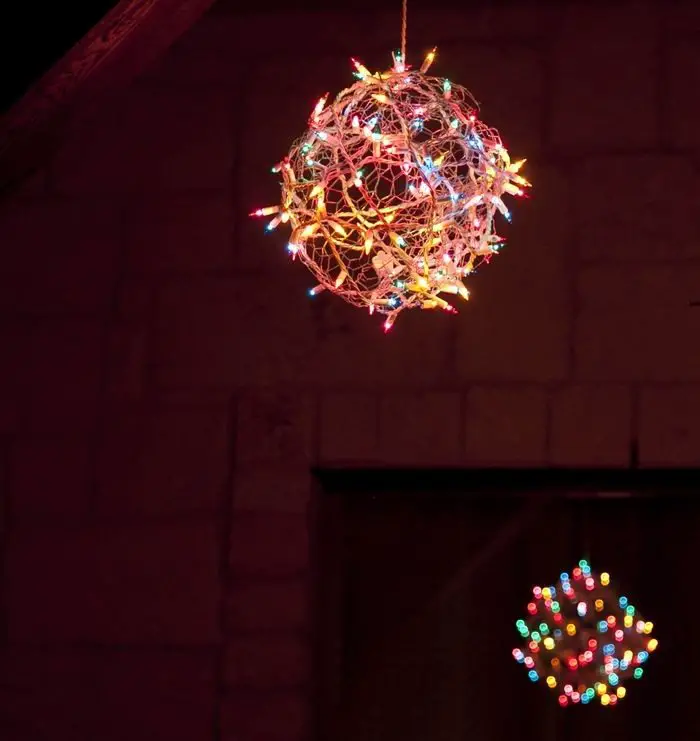
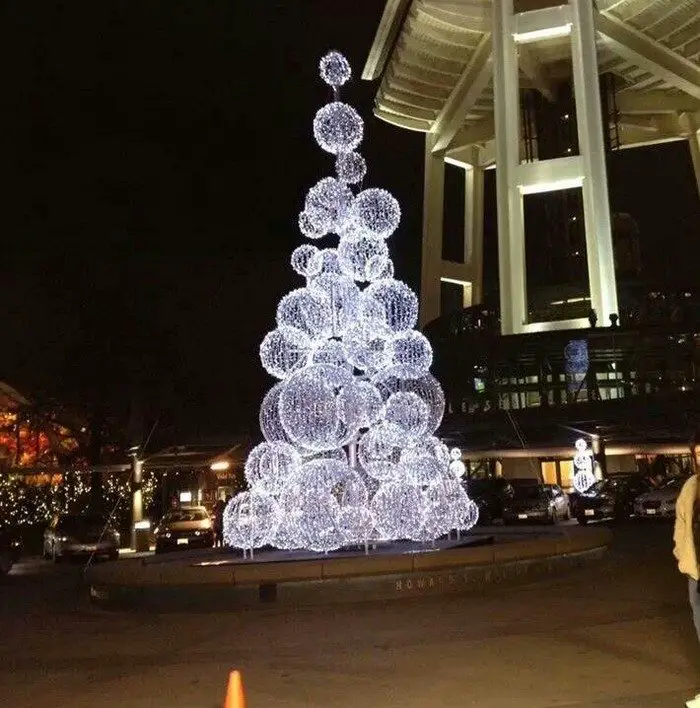
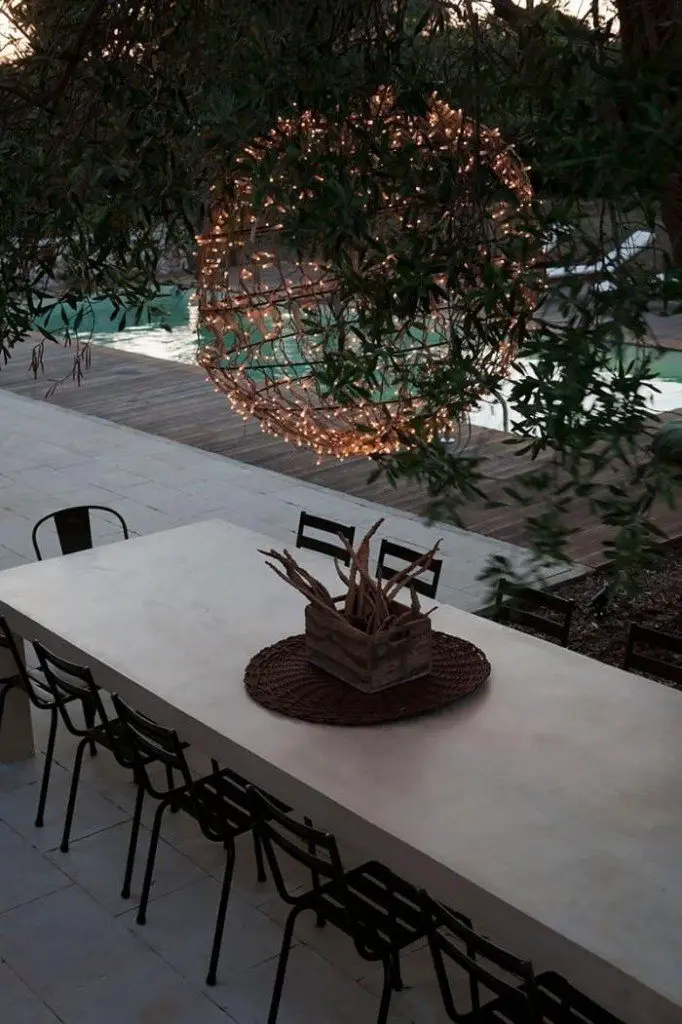
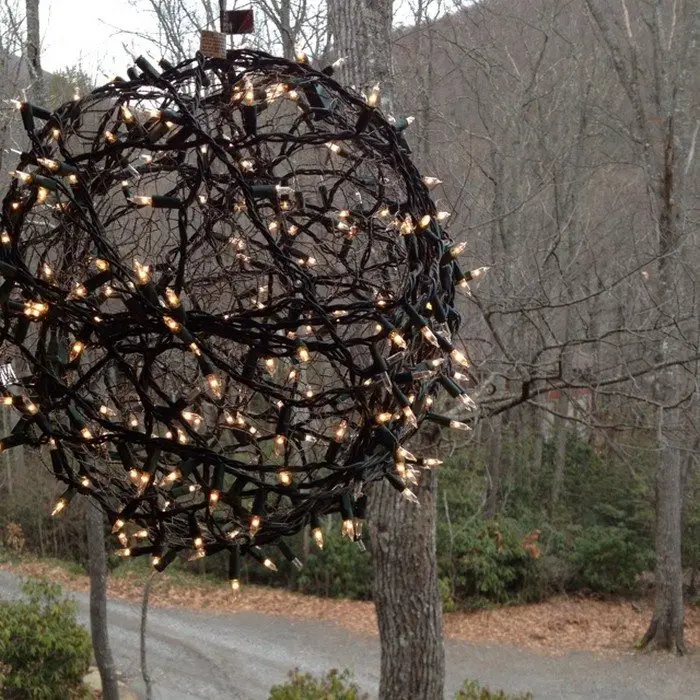


Thanks to Christmas Lights Etc for this project. You can get step-by-step instructions here…
Safety Tips for Handling and Installation
Safety is paramount when creating and installing Christmas light balls. Handling materials like chicken wire and working with electrical components can pose risks if not managed properly. Here are some essential safety tips to ensure that the creation and installation of your Christmas light ball is both safe and enjoyable.
Wear Protective Gear
Always wear gloves when handling chicken wire to protect your hands from cuts and scratches. Safety goggles are also recommended to shield your eyes from any sharp wire ends or other particles that could cause injury.
Handle Chicken Wire with Care
Chicken wire can have sharp edges that might not only cut you but can also snag and damage the LED lights. Carefully unroll and cut the chicken wire, smoothing out any sharp ends using pliers. This precaution reduces the risk of injury and protects the integrity of your Christmas light ball.
Check LED Lights Before Installation
Before wrapping your Christmas light ball with LED lights, inspect the string for any damage such as frayed wires or broken bulbs. Use only lights that are in good condition to avoid electrical hazards. Also, ensure that the lights you use are suitable for outdoor use if you plan to install the Christmas light ball outside.
Secure Installations
When installing the Christmas light ball, make sure it is securely attached to a firm support, such as a strong branch or a hook. This prevents the light ball from falling, which could cause injuries or damage to the lights. Use sturdy wires or ties for hanging and check their strength periodically throughout the season.
Electrical Safety
Always plug the lights into a ground fault circuit interrupter (GFCI) outlet, especially when the Christmas light ball is displayed outdoors. This type of outlet will help prevent electric shocks and is a critical safety feature for any outdoor electrical installations. Keep all connections away from water and moisture and use covers for additional protection against the elements.
Turn Off When Unattended
Never leave the Christmas light ball lit when unattended or while sleeping. Always turn off the lights to prevent any overheating risks or electrical malfunctions. Using a timer can help manage this safely, ensuring the lights are on only at desired times.
By following these safety tips, you can enjoy your Christmas light ball throughout the holiday season with peace of mind, knowing that you’ve taken the necessary steps to ensure safety for yourself, your family, and your guests.
Maintenance and Storage Tips
Maintaining and storing your Christmas light ball properly not only ensures that it lasts through many holiday seasons but also helps in preserving its beauty and functionality.
Here are some comprehensive tips on how to care for and store your Christmas light ball efficiently, ensuring it remains a festive highlight for years to come.
Regular Maintenance
- Inspect Regularly: Periodically check your Christmas light ball throughout the holiday season. Look for any signs of damage such as broken lights, exposed wires, or loose connections. Immediate repairs can prevent further damage and ensure safety.
- Clean the Lights: Dust and dirt can accumulate on your Christmas light ball, dimming its brightness. Gently wipe the lights with a dry cloth to keep them shining brightly. For tougher grime, a slightly damp cloth can be used, but make sure the lights are unplugged first.
- Avoid Prolonged Exposure: If your Christmas light ball is outdoors, try to avoid prolonged exposure to harsh weather conditions such as heavy rain, snow, or extreme cold, which can damage the electrical components and the structure of the chicken wire.
End of Season Care
- Disconnect Carefully: Once the holiday season is over, carefully disconnect your Christmas light ball. Make sure it is switched off before unplugging from the power source, and handle the wire and lights gently to avoid any strain or damage.
- Cleaning Before Storage: Give your Christmas light ball a good cleaning before storing it. Ensure all dirt and debris are removed, and that the lights are completely dry. This prevents mold and mildew from forming during storage.
- Check for Repairs: Before packing the light ball away, check once more for any needed repairs. Fix minor issues like replacing burnt-out bulbs or mending loose connections. This way, your Christmas light ball will be ready to go for the next holiday season.
Storage Tips
- Choose the Right Container: Store your Christmas light ball in a large, sturdy container that can accommodate its size without compressing it. This prevents the frame from bending or the lights from tangling. Containers with a lid will keep out dust and pests.
- Label for Ease: Clearly label your storage containers with the contents and handling instructions. This makes it easier to find and unpack your decorations next season, and informs others how to handle the box carefully.
- Controlled Environment: Store your Christmas light ball in a cool, dry place. Basements, closets, or attics are suitable if they are free from dampness and extreme temperature changes. Avoid storing in areas prone to moisture which could damage the electrical components.
- Pack Strategically: If space allows, try not to stack other items on top of your Christmas light ball container. Pressure can deform the shape of the chicken wire sphere and potentially fray the lights. If stacking is unavoidable, ensure that it is under lightweight items only.
- Ready for Next Use: Taking the time to properly maintain and store your Christmas light ball will keep it in excellent condition, ready for the festive sparkle it brings each year. By following these tips, you can enjoy a delightful display every Christmas season without the need for extensive repairs or replacements.
By adhering to these maintenance and storage tips, your Christmas light ball will continue to be a dazzling part of your holiday décor, bringing joy and light to your celebrations year after year.
Conclusion
Making your own Christmas light balls is a satisfying do-it-yourself hobby that accentuates your holiday décor with individuality. Careful handling and correct storage can help these festive decorations illuminate your house for many seasons to come. Dive into this artistic project and savor the glitter and delight it offers for your festivities.
We have more holiday projects in our site. Check out our Christmas Tree Base Guide!


