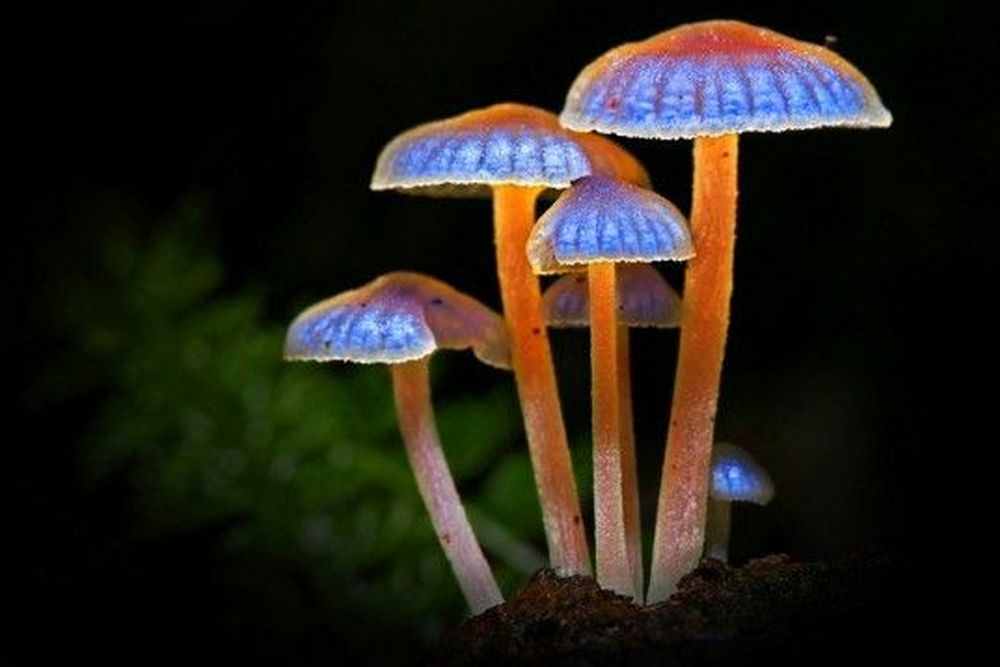
I bet I’m not the only one who’s into lights. Regardless of how small or big it is, as long as it has lights on it and it’s pretty useful, I’ll most probably buy it… or make it.
Our house feels like it’s Christmas all the time because of the number of lights we switch on every night. The receiving area has a large chandelier with more than 20 light bulbs, the veranda has hanging lights on both ends of the wall, and the lamp posts in our garden are of different colors.
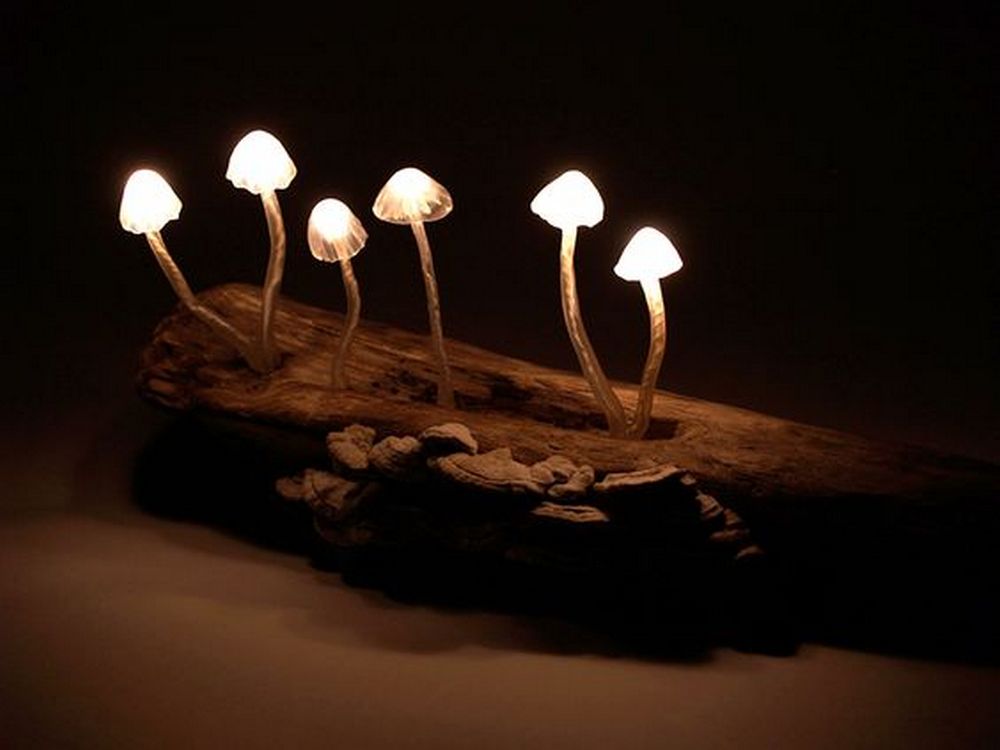
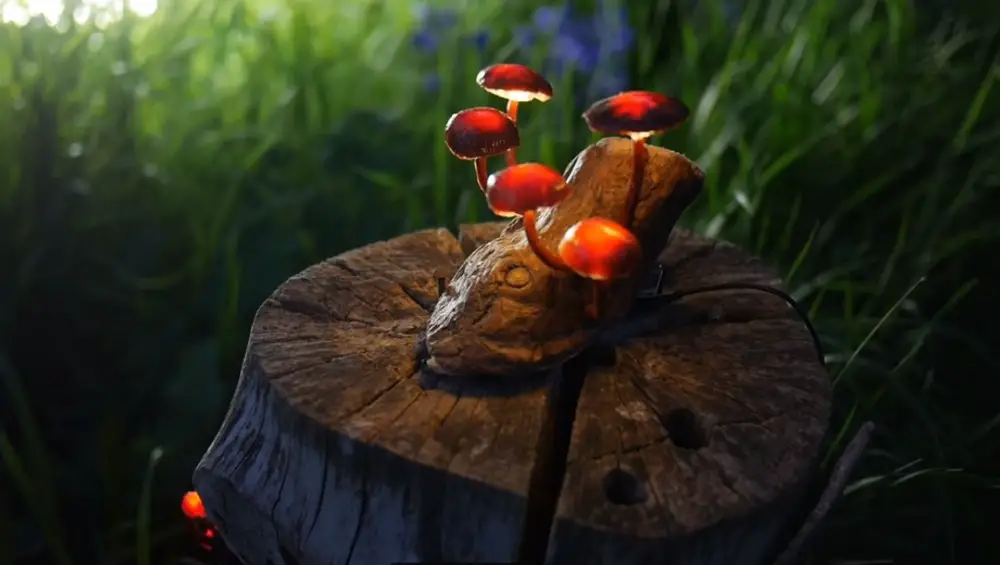
My family has grown to accept this part of me, which is why there were no questions asked when I showed them the video of how to make these little mushroom lights. They knew it was another ‘necessity’, and it’s obviously our next family project.
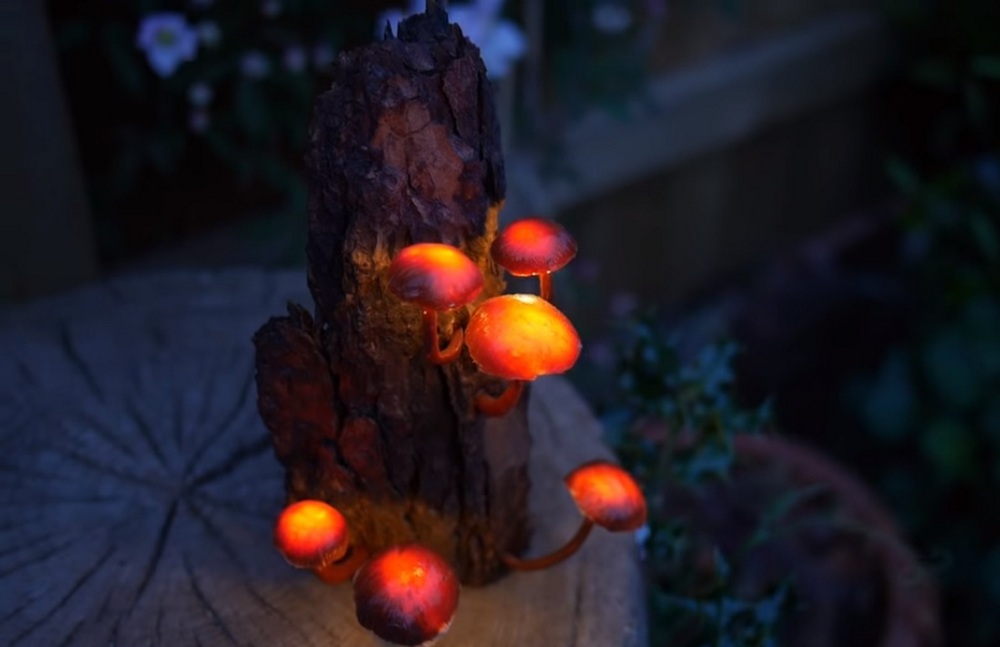
When I started putting them in the garden, my excitement intensifies as nighttime comes close. When it began to get dark, I switched them on and, they made me so happy. They were so cute, and so tiny, and so perfect. I’m pretty sure you’ll love these mushrooms lights, too!
Contents
Making Mushroom Lights
Materials
- SMD LEDs
- Resistors
- Clear silicone
- Watercolour paints
- Thin wire
- Stiff wire
- Wood (driftwood, bark, etc)
- Battery box for 3 x AA batteries, with built-in switch
- Battery Holder
Tools
- Plastic food wrap
- Scissors
- Wire cutters
- Small pliers
- Soldering iron
- Solder Drill
Instructions
Step 1: Prepare the LED and Resistor
- Solder a resistor to the positive (longer) lead of each SMD LED. This will limit the current passing through the LED, preventing it from burning out.
Step 2: Create the Mushroom Cap
- Shape a small amount of clear silicone into a mushroom cap. You can use your hands or a mold. Ensure the cap is hollow inside.
- Allow the silicone to cure according to the manufacturer’s instructions.
Step 3: Add Color to the Cap
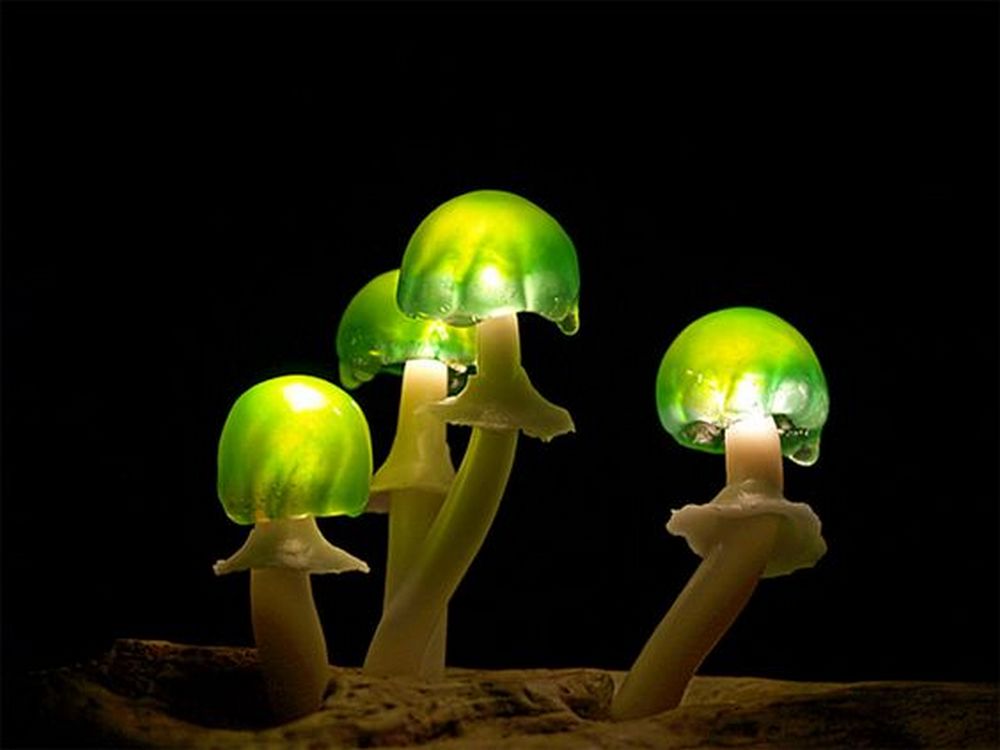
- Once the silicone cap is cured, paint it with watercolour paints to resemble a mushroom. You can use traditional mushroom colors like red with white spots or get creative with different colors.
Step 4: Attach the Thin Wire
- Cut a piece of thin wire to your desired length for the mushroom stem. This wire will also act as a conduit for the electricity.
- Solder the thin wire to the leads of the SMD LED. Make sure the connections are secure.
Step 5: Insert the LED into the Cap
- Carefully insert the LED into the silicone mushroom cap, ensuring the LED is centered and the wire runs through the stem.
- Secure the LED in place with a small amount of additional silicone if needed.
Step 6: Prepare the Stiff Wire
- Cut a piece of stiff wire to serve as the main support for your mushroom light.
- Drill a small hole in the wood (driftwood or bark) to insert the stiff wire.
Step 7: Attach the Thin Wire to the Stiff Wire
- Wind the thin wire with the LED around the stiff wire, making sure it’s secure and the LED is positioned at the top.
- Insert the stiff wire into the hole you drilled in the wood, securing it with glue or silicone if needed.
Step 8: Connect to the Battery Box
- Solder the ends of the thin wires to the leads of the battery box. Ensure the connections match the positive and negative terminals correctly.
- Insert 3 AA batteries into the battery box.
Step 9: Test the Mushroom Light
- Switch on the battery box to test your mushroom light. The LED should light up, illuminating the painted silicone cap.
Step 10: Final Adjustments
- Make any final adjustments to the positioning of the mushroom cap and stem to ensure it looks natural and sturdy.
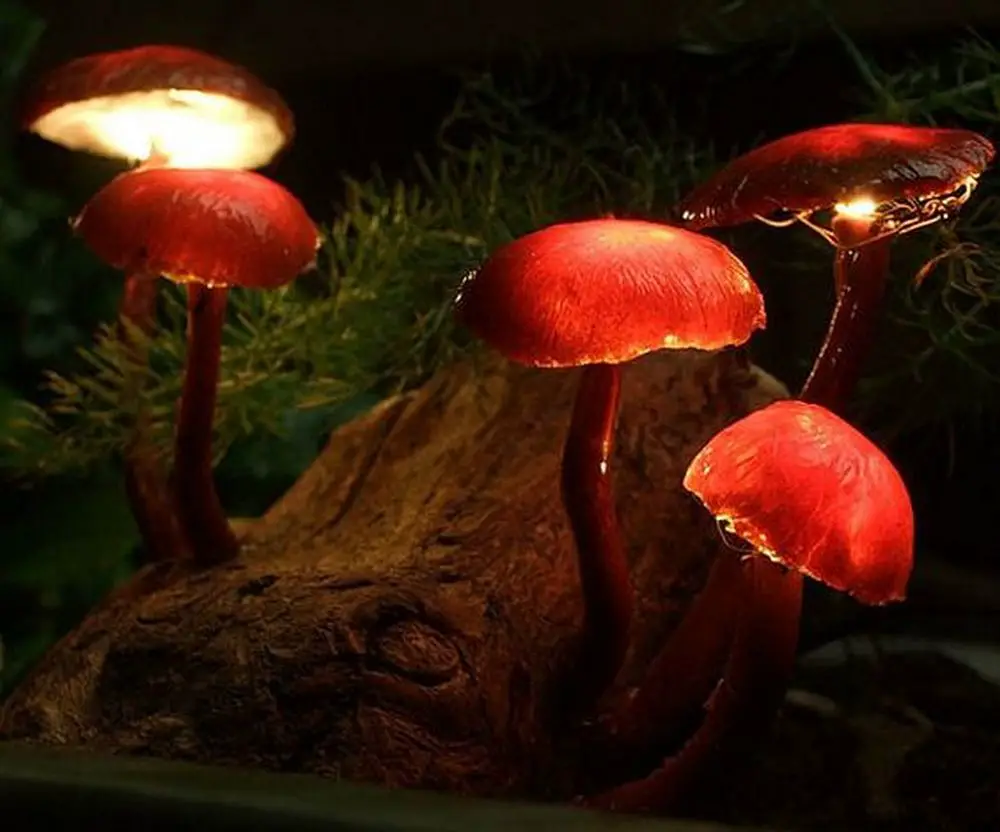
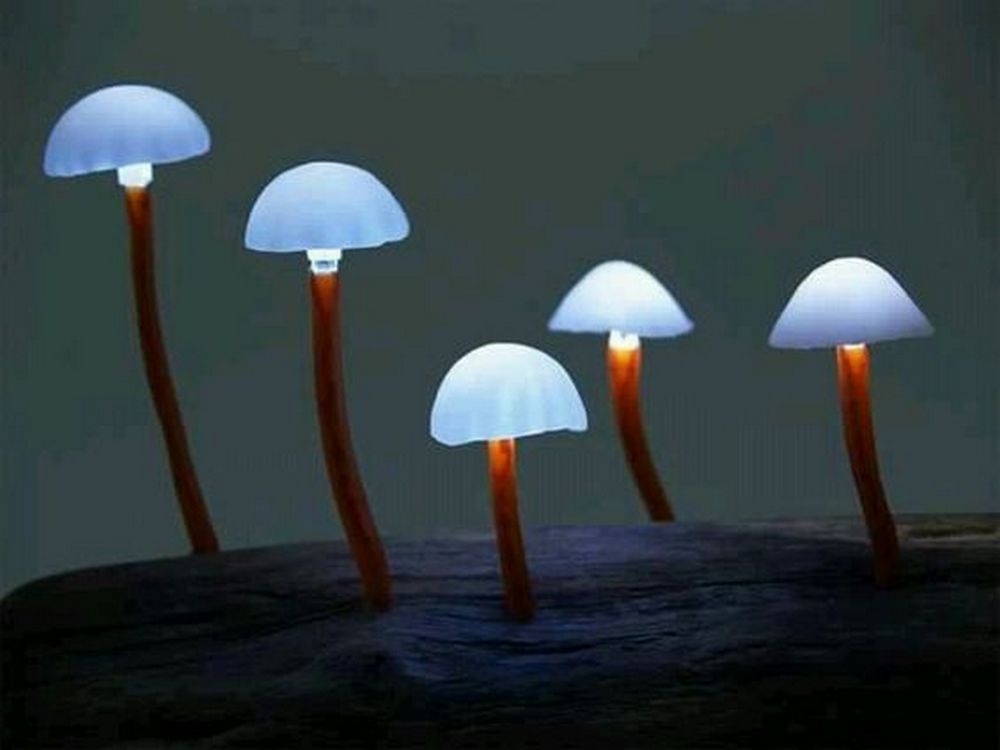
- If desired, create multiple mushroom lights and arrange them on the piece of wood to create a cluster effect.
Step 11: Secure the Battery Box
- Secure the battery box to the underside of the wood using screws, adhesive, or tape, making sure it’s accessible for battery changes.
Click on any image to start lightbox display. Use your Esc key to close the lightbox.




You can get step-by-step instructions here…
Creative Uses for Mushroom Lights
A wonderful addition to any decor, mushroom lights provide a whimsical and enchanted glow that may turn everyday surroundings into magical settings. These lights can be used indoors or outside and have many uses that will accentuate your décor and provide utility. These imaginative applications of mushroom lights should excite you.
Indoor Nightlights
Perfect nightlights for bedrooms, corridors, and children’s rooms are Mushroom Lights. Their delicate glow offers just enough illumination to negotiate the dark without upsetting slumber. To create a warm and soothing environment, arrange them on shelves, windows sills, or bedside tables. To give kids’ rooms a whimsical touch, think about painting the mushroom caps in interesting, vivid hues.
Terrarium Enhancements
Mushroom lights can help your terrariums to have a little imagination. These lights can produce a fairy-tale atmosphere and accentuate plants’ inherent beauty. Arange them deliberately among the vegetation to resemble a forest floor covered with brilliant mushrooms. This will make your terrarium a distinctive conversation piece in addition to improve its visual appeal.
Outdoor Garden Accents
Mushroom lights will help your yard to become a fantastic world. Use them to highlight paths, flower gardens, and water features. Arrange them among bushes and plants to create a charming nighttime garden active long after dark. Garden parties or outdoor events can also have these lights, hence enhancing the environment.
Themed Decorations
Mushroom lights fit so well for several themed decorations. Use these lights to accentuate your holiday decorations—Christmas, Halloween, or Easter. Plan a wonderful forest scenario for a party or a fairy garden for your lawn. Their appealing look qualifies them for any occasion needing some magic.
Including mushroom lights into your décor will greatly improve the look and atmosphere of your place. Whether for daily use or a particular event, their adaptability and appeal make them a great accent to any environment.
Troubleshooting Common Issues
Although making mushroom lights can be an interesting and fulfilling endeavour, occasionally things go wrong. Trouhooting typical problems with the lighting, wiring, or general assembly will enable you to have your mushroom lights operating as they should. These are some typical issues and fixes to guarantee brilliant Mushroom Lights.
LEDs Not Lighting Up
An often occurring problem is the LEDs not lighting up. Check the battery box first to be sure the batteries have charge and are installed correctly. Check to be sure the resistor is correctly fastened to the LED’s positive lead and that the soldering connections are strong. Try substituting a new LED to rule out any flaws if everything seems right.
Flickering Lights
Should your mushroom lights flutter, either a loose connection or poor wiring could be the cause. Check every soldered junction and connection to be sure they are tight and strong. Make sure your batteries are fresh and well seated in the battery holder; occasionally flickering may also be brought on by a weak battery.
Waterproofing Issues
Your mushroom lights must be waterproof if they will be used outside. Apply extra clear silicone to close any gaps if you find moisture around the wiring or inside the silicone caps. Make sure every connection is secure; think about covering the battery box with waterproof tape to stop water infiltration.
Dim Lights
Low battery power or improper resistor values are among the various causes of dim lights. Verify that your LEDs are running on the right resistor and that the batteries are completely charged. Should the lights stay low, consider using larger capacity batteries or changing the resistor value to let more current pass through the LEDs.
Overheating LEDs
Should the LEDs in your mushroom lights overheate, this could indicate too high current. Make sure the resistors are rated correctly to restrict LED current flow. It’s important to solve overheating right away by reviewing the resistor values and maybe using resistors with more resistance since it can harm the LEDs and shorten their lifetime.
Color Inconsistencies
Should the colors of your mushroom lights seem erratic, the problem could lie in the paint or the kind of LEDs employed. For all of your mushroom caps, be sure you are using the same brand and type of watercolor paints. Try to use LEDs from the same batch as various batches of LEDs might occasionally emit somewhat distinct colors.
Battery Box Not Working
Check the built-in switch to be sure the battery box is running the lights as it seems to be doing. The switch occasionally may get damaged or loose. Opening the battery box, check the internal connections. Verify that the batteries box’s wires are tightly fastened and that corrosion or damage is not evident.
Loose Mushroom Caps
If the silicone mushroom caps are not staying in place, they might need a better adhesive. You can use a stronger clear silicone adhesive or even a small amount of epoxy to ensure the caps stay securely on the stems. Allow the adhesive to fully cure before handling the lights.
Wiring Too Short
If you find that the wires you initially cut are too short to comfortably reach the battery box, you can extend them using additional wire and soldering the connections. Make sure to insulate the soldered joints with heat shrink tubing or electrical tape to prevent short circuits.
Corroded Connectors
For outdoor mushroom lights, exposure to the elements can cause connectors to corrode over time. Regularly inspect the connectors and apply a thin layer of dielectric grease to prevent corrosion. If corrosion has already occurred, clean the connectors with a small wire brush and reapply the grease.
Unstable Mushroom Lights
If your mushroom lights are not standing upright or seem unstable, check the base and the stiff wire support. Ensure the wire is firmly inserted into the wood and that the wood base is stable. You can add extra support by securing the base to a larger piece of wood or by adding small weights to the base.
Difficulty Soldering
If you’re having trouble soldering the thin wires to the LED leads, ensure your soldering iron is properly heated and that you’re using the right type of solder. Sometimes, using a soldering iron with a fine tip can make the process easier. Also, make sure the surfaces you’re soldering are clean and free of oxidation.
Battery Drain Issues
If your mushroom lights are draining batteries quickly, it could be due to a short circuit or using LEDs with higher current requirements than expected. Double-check your wiring for any potential shorts and ensure you are using the appropriate resistor values to limit the current to the LEDs.
Addressing these common issues can ensure your mushroom lights function properly and provide the enchanting glow you desire. Proper troubleshooting will help you enjoy your DIY project without frustration, making your mushroom lights a magical addition to your space.
Conclusion
Creating mushroom lights is a fun and rewarding project that adds a whimsical touch to any space. With careful attention to detail and proper troubleshooting, you can ensure your lights function beautifully. Enjoy the enchanting glow of your handmade mushroom lights and the magical atmosphere they create.


