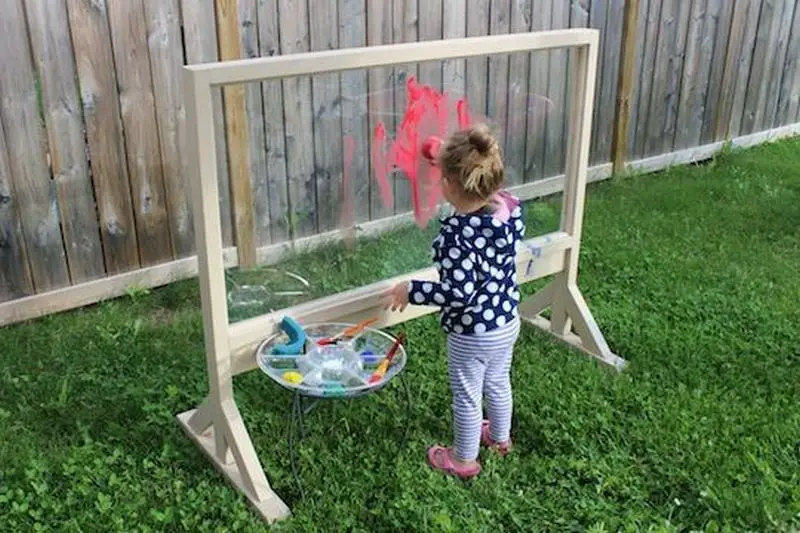
It’s summertime once again, and you know what that means. Since the kids are at home, you’ll have to find ways to keep them busy. Otherwise, you’ll constantly hear them complaining that they’re bored. So what should you do? Get them outdoors with an acrylic painting easel!
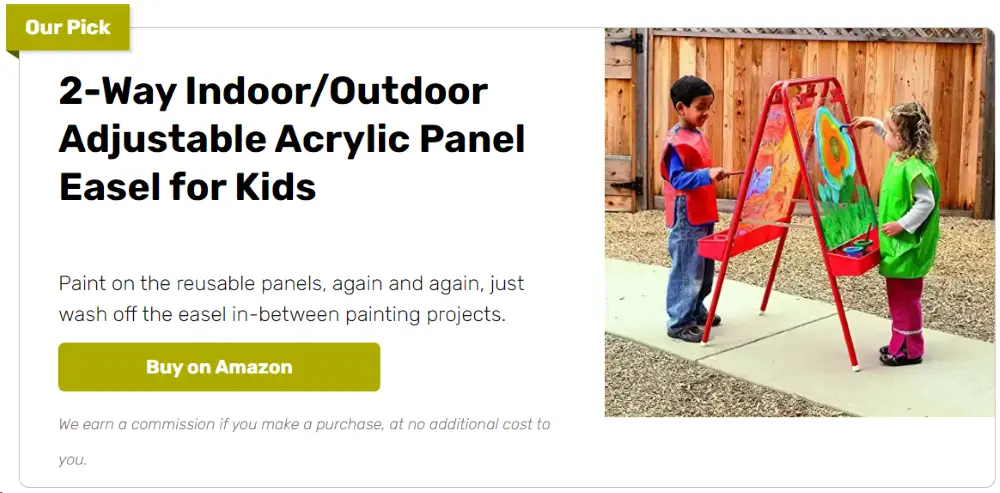
Children should be active for an hour every day, and getting them outside to play is one way to ensure that happens. They can play and exercise indoors, but sending them out into the sun and open air encourages creative play, ultimately the most rewarding activity for children.
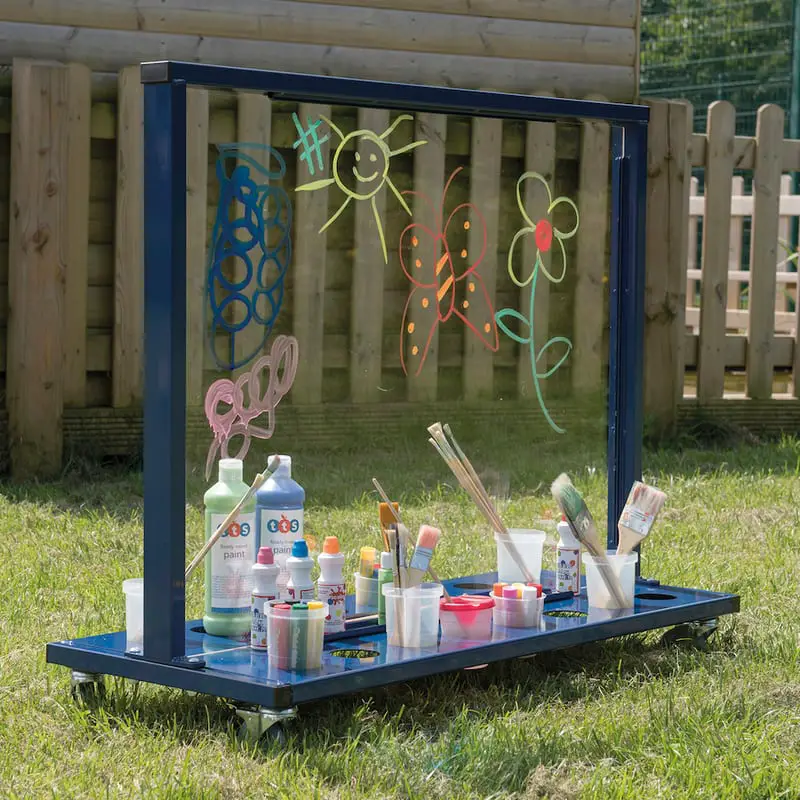
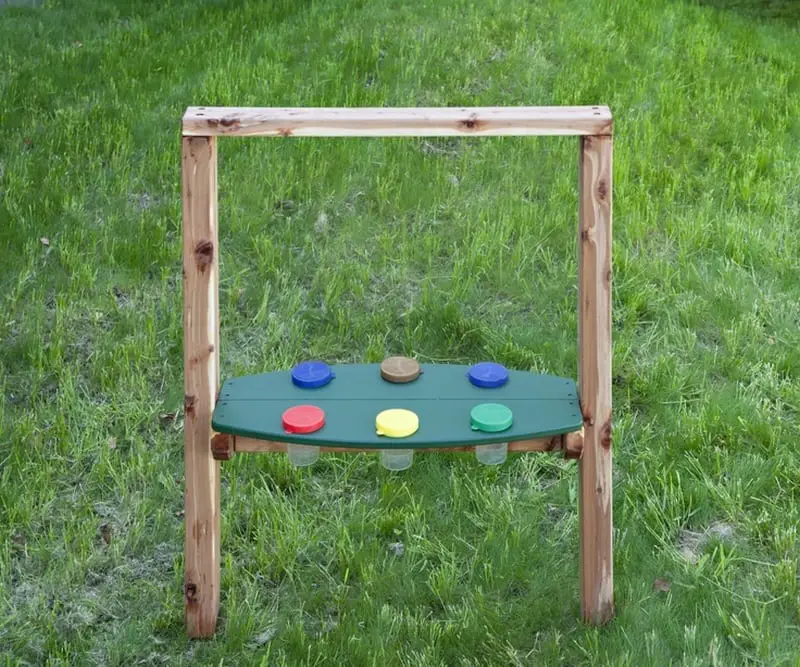
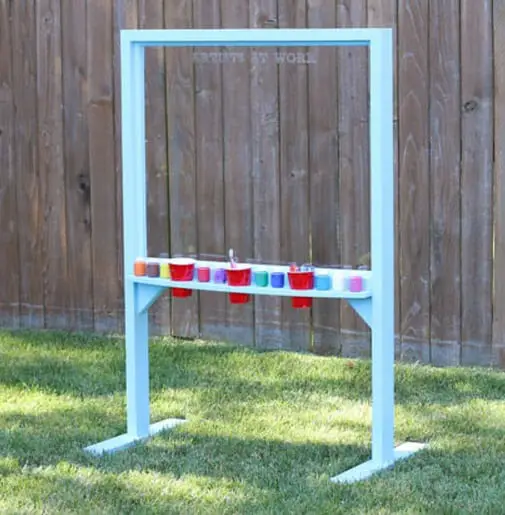
This DIY acrylic painting easel will have your kids look forward to spending time outside. It’s a fun way to encourage them to paint and draw – your little artists will love it! You can also use this easel as a scoreboard during a football game. Lovely, isn’t it?
Contents
Making a DIY Acrylic Painting Easel Made Simple!
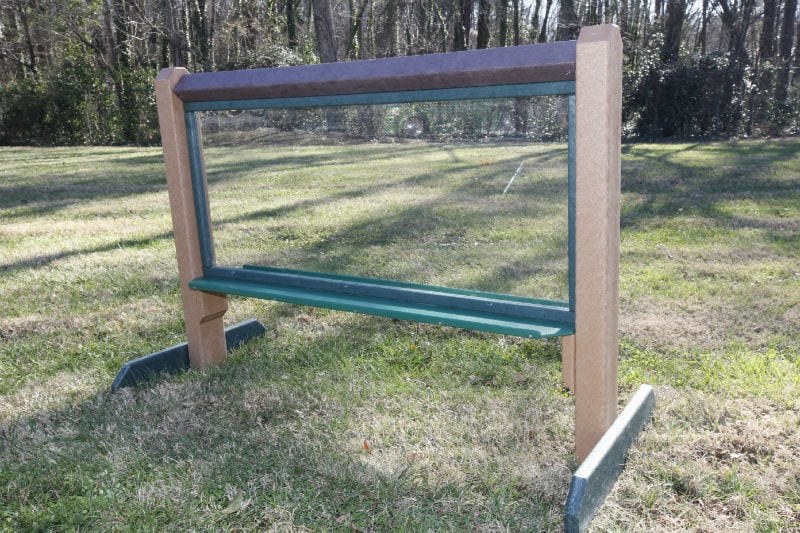
If you have little Picassos or budding artists at home, you know how essential it is to nurture their artistic talents. In this guide, discover how easy it is to make a DIY acrylic painting easel for kids.
Having their easel can inspire children to explore their artistic abilities more freely. It becomes a dedicated space where they can experiment with colors, shapes, and techniques, boosting their confidence as budding artists.
Making a DIY acrylic painting easel allows you to tailor the design and size to suit your needs and preferences perfectly. Also, it can be more budget-friendly than purchasing pre-made ones from stores. By using readily available materials and repurposing items, you can save money while still providing your kids with a high-quality artistic tool.
Engaging in this DIY acrylic painting easel project is a creative endeavor and a wonderful way to strengthen the bond between parents and kids. Building the easel together provides a precious opportunity for quality bonding time, fostering a deeper connection. Collaborating on this creative venture cultivates shared memories that will be cherished forever.
With basic materials and easy-to-follow instructions, you and your kids can easily craft an enjoyable and practical DIY acrylic painting easel that will ignite their passion for colors and art.
Building an Acrylic Painting Easel
Materials & Tools
- (3) 8′ 2×4 pine boards
- (1) 8′ 1×6 pine board
- (4) 68″ 11/16″ quarter round
- (1) 36″ x 30″ acrylic sheet 0.093″
- 3″ wood screws
- 2″ Pocket Hole Screws
- 1-5/8″ wood screws
- 1″ brad/pin nails
- Miter saw
- Pocket hole jig
- Random orbital sander
- Cordless drill
- Jigsaw
- Brad nailer
- Router (optional)
- Entire spectrum hobby laser 20×12
Click on any image to start the lightbox display. Use your Esc key to close the lightbox.



Instructions
Step 1: Cut the Wood to Size
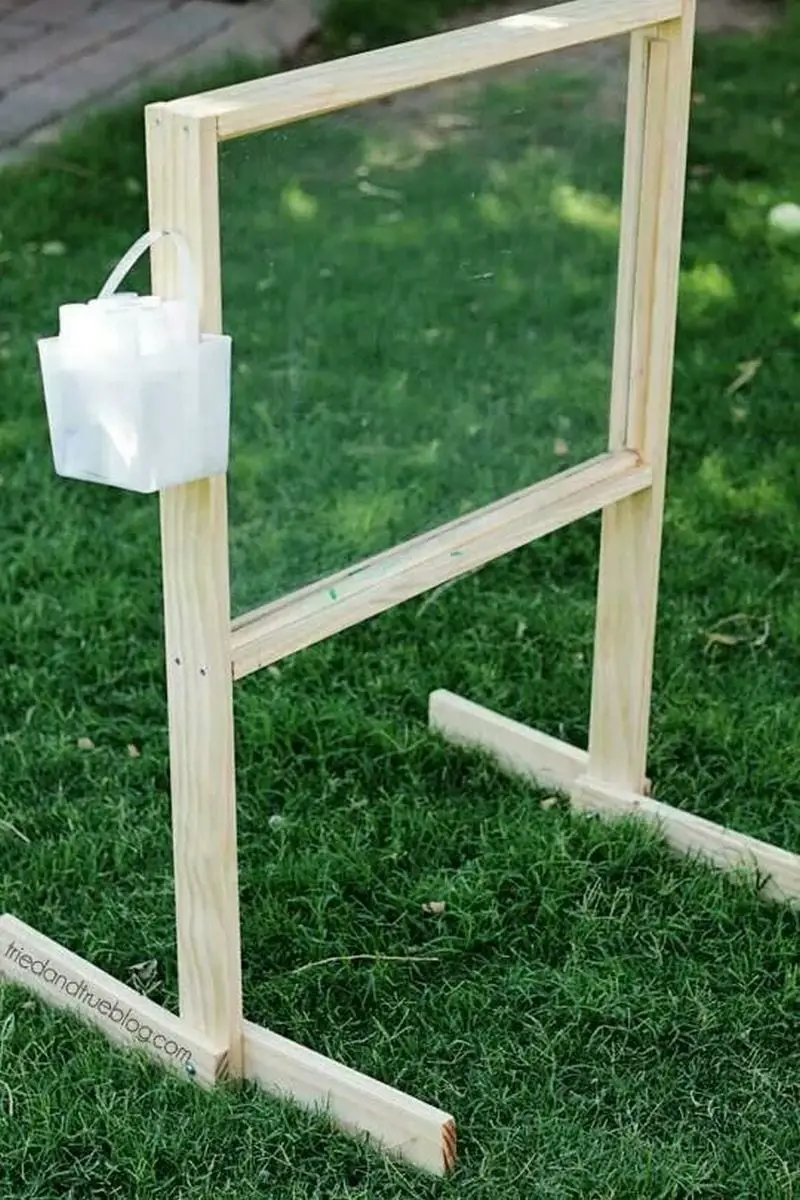
- Cut the 2×4 pine boards using the miter saw to create the frame. You’ll need four legs and cross pieces to support the structure and the acrylic painting surface. Use the 1×6 board to cut shelves for storage.
Step 2: Sand and Prep the Wood
- Smoothing all cut pieces with the random orbital sander to remove any splinters or rough edges. This is crucial for ensuring the safety and comfort of young artists.
Step 3: Assemble the Frame
- Drill pocket holes at the ends of the cross pieces.
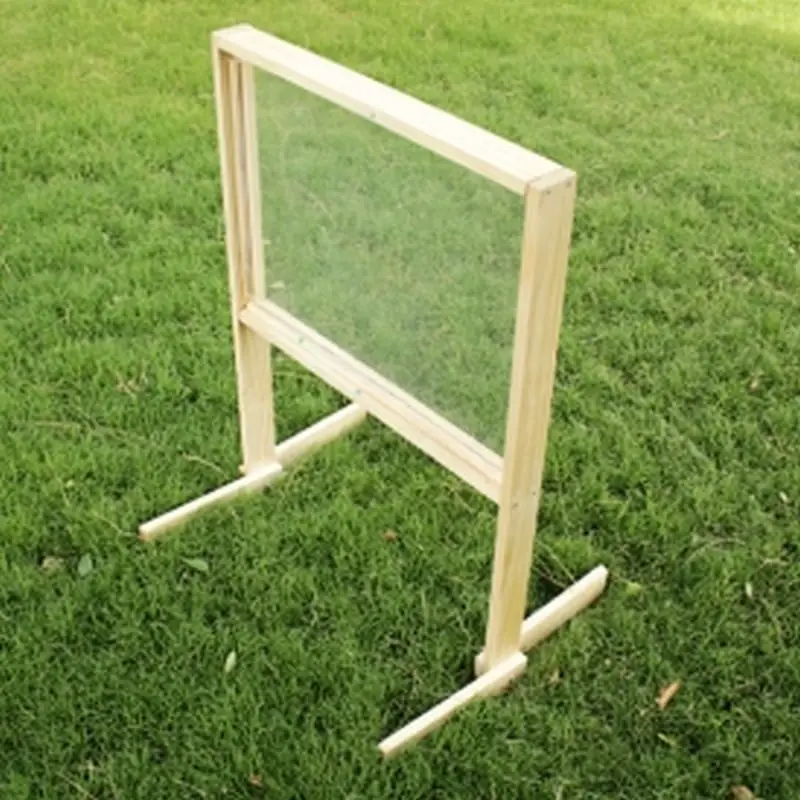
- Using 3″ wood screws, attach the cross pieces to the legs to form the frame. Ensure the frame is square and stable.
- Attach the 1×6 shelves to the frame using 1-5/8″ wood screws for built-in storage.
Step 4: Install the Quarter Round Moldings
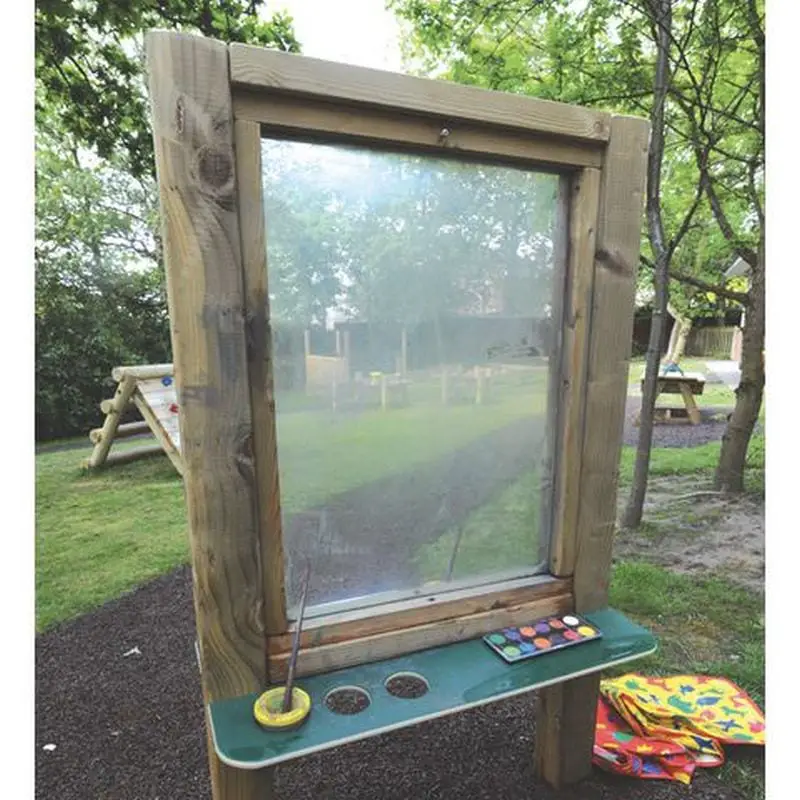
- Cut the quarter-round moldings to fit the inside dimensions of the frame. These will act as a ledge to hold the acrylic sheet. Secure them in place with 1″ brad nails.
Step 5: Prepare the Acrylic Sheet
- If adjustments are needed, measure and mark the acrylic sheet to fit the frame.
- Use the jigsaw to cut the acrylic to size. Wear safety goggles and proceed slowly to avoid cracking the sheet.
Step 6: Attach the Acrylic Sheet
- Place the acrylic sheet onto the quarter-round moldings inside the frame. If desired, drill pilot holes and use 1″ brad nails at the corners to secure the sheet. Alternatively, the acrylic can be left removable for easy cleaning or replacement.
Step 7: Round the Edges (Optional)
- Use a router to round any sharp edges on the wood frame for added safety. This step is especially important if young children will use the easel.
Step 8: Custom Engraving (Optional)
- Use the hobby laser to directly engrave the child’s name, fun patterns, or educational markers onto the wood or acrylic. This step personalizes the easel and can add an element of ownership and pride for the young artist. Follow laser safety guidelines when using this tool.
Step 9: Final Touches
- If painting the easel, apply non-toxic, child-safe paint to all wooden surfaces. Allow to dry thoroughly.
- Ensure all screws are tightened and that the easel stands stable on a level surface.
Here’s a quick video as well…
Extra Tips in Making Your Acrylic Painting Easel
Ensure roaring success when building a DIY acrylic painting easel for kids with these extra tips:
Kid-Friendly Height
When constructing an acrylic painting easel tailored for children, adjusting the height to accommodate young artists is essential. Design the easel so the painting surface is easily accessible at their eye level, enhancing their ability to engage and express themselves without physical discomfort. This adjustment nurtures a child’s artistic development by removing barriers to their creativity and promotes a more enjoyable and sustained interest in painting.
Rounded Edges
In crafting the acrylic painting easel, prioritizing rounded edges is a fundamental safety measure. Smoothing out any sharp corners ensures that the environment remains injury-free, allowing children to focus solely on their creative exploration. Such a design choice reassures parents and educators of the child’s safety, encouraging a stress-free and uninhibited artistic experience. This consideration enhances the overall usability and appeal of the acrylic painting easel, making it a valuable addition to any creative space designed for children.
Colorful and Fun Design
Creating an acrylic painting easel that captures a child’s imagination starts with its design. Incorporating vibrant colors and playful patterns or adorning the easel with stickers transforms it into an inviting and stimulating creative tool for kids. By personalizing the easel with elements from their favorite stories, such as characters, animals, or symbols, children find a personal connection to their workspace.
An easel featuring starry constellations, adorable animal friends, or beloved cartoon characters becomes more than just an art tool; it becomes an inspiration source, making every painting session an adventure. This approach enhances the aesthetic appeal of the acrylic painting easel and plays a crucial role in stimulating a child’s interest in art and creativity.
Sturdy Construction
Given the boundless energy and enthusiasm young artists bring to their painting activities, the durability of an acrylic painting easel cannot be overlooked. Ensuring that the easel is constructed with reinforced joints and made from high-quality materials is essential for withstanding the vigor of children’s artistic expressions.
Choosing sturdy wood, robust fasteners, and reliable hardware ensures the easel remains stable and secure, regardless of the intensity of use. This durability guarantees that the easel can support the child’s creative journey over the years, becoming a lasting fixture in their development as artists. A well-built easel not only provides a reliable surface for painting projects but also reassures parents of its safety and longevity.
Adjustable Angle
Incorporating an adjustable angle into the design of the acrylic painting easel introduces an invaluable layer of versatility to the young artist’s experience. This feature allows children to experiment with different painting positions, catering to their comfort and introducing them to various artistic techniques.
Whether they prefer painting on a flat surface or at an incline, the ability to adjust the easel’s angle accommodates their preferences and encourages exploration. This adaptability enriches the painting process, enabling kids to discover and refine their unique style. The adjustable angle feature makes the easel more user-friendly and supports a child’s artistic growth by allowing them to express themselves in diverse and dynamic ways.
Built-in Storage
Adding a built-in storage into the design of an acrylic painting easel significantly enhances its functionality and convenience for young artists. By adding trays or small shelves directly on the easel, all necessary art supplies, such as paintbrushes, paints, and other materials, can be kept organized and within arm’s reach.
A storage drawer or tray allows children to easily access their tools without interrupting their creative flow, fostering a more seamless and enjoyable painting experience. The built-in storage tidies up the workspace and teaches children the importance of organization and preparation in their creative endeavors, making it a valuable addition to any child-focused easel.
Non-Toxic Paint
Choosing non-toxic, child-safe paint to coat the acrylic painting easel is a critical safety consideration that cannot be overstated. Selecting paints free from harmful chemicals ensures a safe environment for children to engage in their painting activities.
This precaution provides peace of mind to parents and educators, knowing that the children’s health and safety are protected during their artistic explorations. Using non-toxic paint also reflects a commitment to fostering a healthy and conducive space for creativity, allowing children to focus purely on expressing themselves through their artwork without any health risks.
Personalize With Names
Adding a personalized touch to the acrylic easel by stenciling or painting the child’s name on it is a powerful motivator and source of pride for young artists. This customization makes the easel a tool and a personal possession they can identify with and cherish. Seeing their name on the easel reinforces their sense of ownership and encourages a deeper engagement with their art.
This simple yet impactful gesture celebrates their individuality and signifies your support for their artistic journey. Personalizing the easel in such a manner elevates it from being merely functional to being a cherished item that inspires and delights.
Building a DIY acrylic painting easel for kids can be a rewarding and fun project that ignites the spark of creativity in your young artists. With these extra tips, your kids will have an easel that not only nurtures their artistic talents but also becomes a cherished part of their creative journey.

Unlocking Kids’ Creativity!
Embark on a creative journey as you delve into the world of DIY acrylic painting easels. This comprehensive guide acts as your trusted companion, unlocking the secrets and revealing the wonders of crafting your cool and functional easel.
By acquainting yourself with the essential materials and mastering the techniques through additional tips and insights, you are poised to create a fantastic DIY acrylic painting easel for your kids. With this invaluable resource, you can confidently undertake the project, ensuring success is well within reach.
And the satisfaction of witnessing your children delight in their personalized easel, brimming with potential for artistic exploration, will be immeasurable.
Are you ready to set free the boundless creativity of your kids? Embrace the wondrous journey of unlocking their inner artist, where imagination knows no bounds and vibrant colors dance on the canvas.
Equip them with the tools and inspiration they need to explore the magical world of art and watch as their talents blossom and their confidence soars!


