
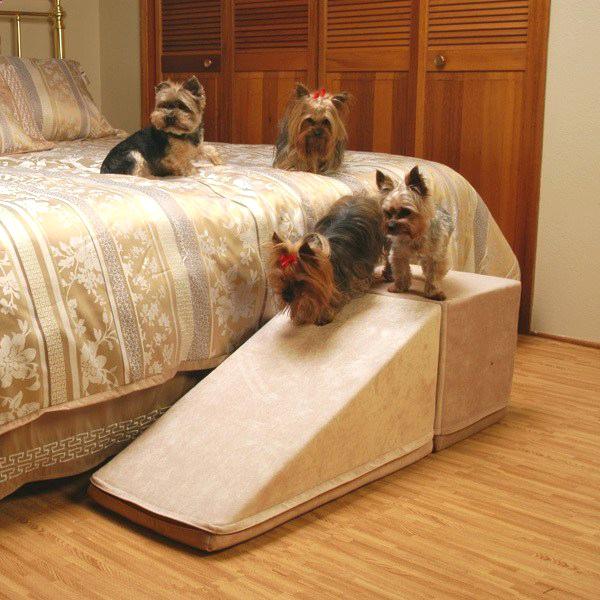
Pet ramps are a convenient way to ease your dog’s access to certain areas of your home – or even your car. Whether you’re caring for an aging pet in need of extra support, or a small breed dog requiring help with elevated areas, dog ramps alleviate canine mobility issues safely and effectively.

Pet ramps are excellent aids for our fur babies who need support going up and down. These ramps are especially useful for dogs with limited mobility due to injury or old age. When you see your dog struggling to get up or climb down, it’s time for a dog ramp.
Buying a dog ramp will set you back anywhere from $40-$120. These are pre-made so you don’t have the option to customize them. Your dog will simply have to make do with whatever the manufacturer made.
But why buy when you can build one? You will have the full freedom to customize the size, height, slope, and color. Plus, you’ll be glad you did something really special for your furry friend.
Gather the tools and materials and start this dog ramp project for your beloved pet!
Contents
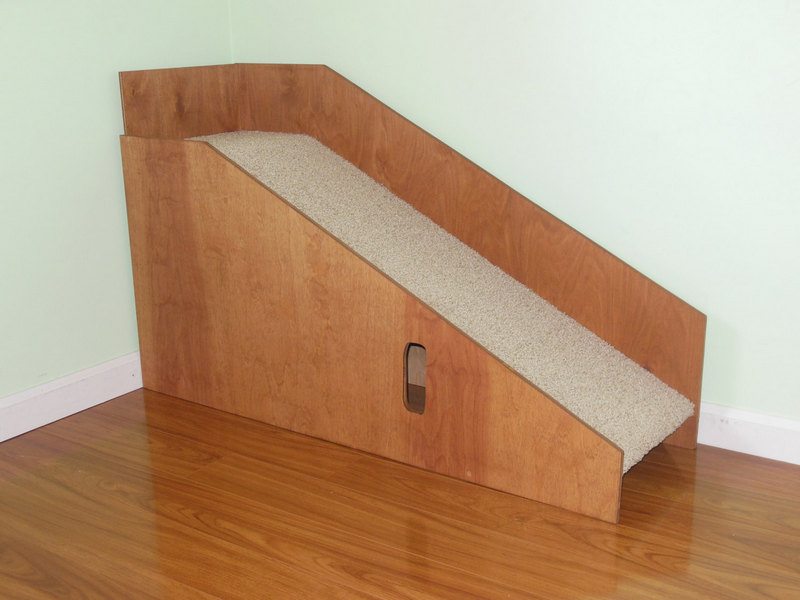
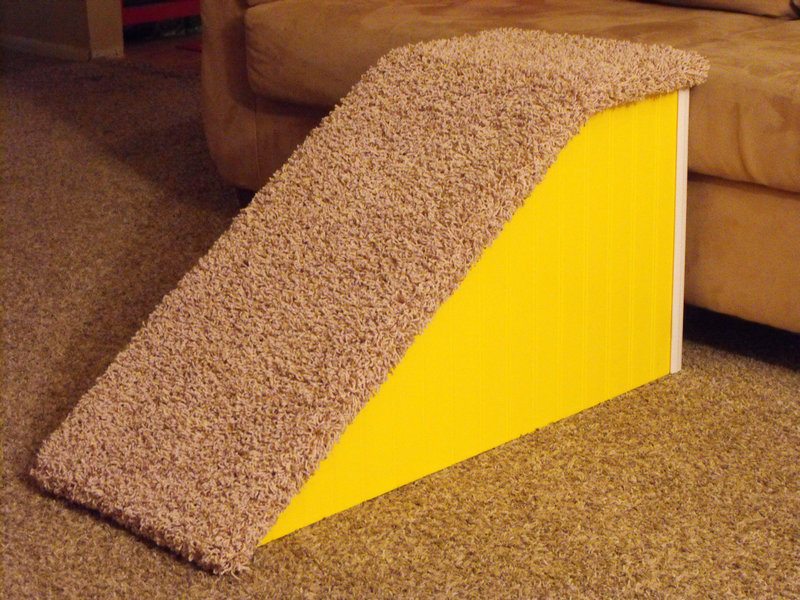
Building a Pet Ramp
Materials
- ½-inch plywood, 15 feet x 2 inches wide
- 2/4-inch plywood or scrap wood, 5 inches
- ¼-inch plywood, 32 inches x 10 inches
- Thick, shaggy carpet measuring 50 inches long and 10 inches wide
- Nails
Tools
- Circular Saw
- Table Saw
- Hammer
- Pencil
- Wood glue
Instructions
Step 1: Design Your Ramp
- Determine the Length and Slope: First, decide how long the ramp needs to be to comfortably fit your intended space (e.g., car, bed, or couch). The slope should be gentle enough for your pet to climb without strain.
- Sketch the Design: Using a pencil, sketch out the ramp design including the base, sides, and top surface. Include dimensions to guide your cutting.
Step 2: Cut the Wood
- Base and Top Surface: Use the ½-inch plywood to cut a piece for the ramp’s surface. Depending on the length of your ramp, 15 feet may allow for a ramp approximately 30 to 36 inches long. Use the circular saw for this task.
- Sides/Supports: With the ¼-inch plywood, cut two side supports using the table saw. Each piece should be 32 inches long; their height should equal the desired height of your ramp (usually 10 to 12 inches).
Step 3: Assemble the Structure
- Attach the Sides: Apply wood glue to the edges of the base where the side supports will attach. Position the side supports and secure them using nails and a hammer.
- Reinforce with Scrap Wood: Use the 2/4-inch plywood or scrap wood to create additional supports underneath the ramp. Cut several pieces to span the width between the side supports. Glue and nail these in place for extra stability.
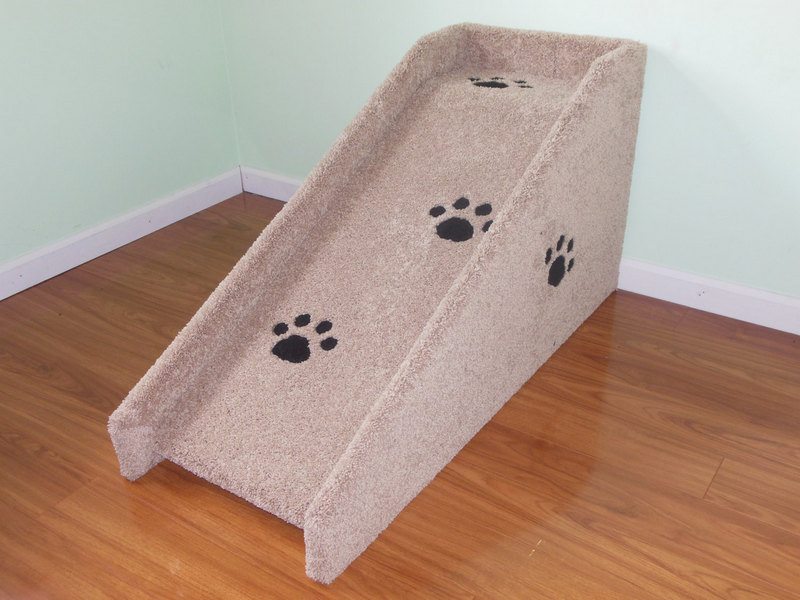
Step 4: Cover the Ramp
- Prepare the Carpet: Cut the thick, shaggy carpet to the size of the ramp’s surface plus extra to wrap over the sides.
- Attach the Carpet: Lay the carpet over the top surface of the ramp, ensuring it covers completely and hangs slightly over the sides. Staple the carpet in place along the edges, pulling it tight to prevent any wrinkles or bumps.
Step 5: Finishing Touches
- Trim Excess Carpet: Use a utility knife or scissors to trim any excess carpet around the edges.
- Smooth Edges: Check for any sharp edges or protruding nails. Hammer down any protruding nails and smooth rough edges with sandpaper.
Step 6: Test and Place
- Test the Stability: Before letting your pet use the ramp, test its stability and sturdiness. Apply slight pressure to ensure it holds without wobbling.
- Place the Ramp: Position the ramp against the intended area (e.g., a car, bed, or sofa). Encourage your pet to walk on it by guiding them with treats or their favorite toy.
Click on any image to start the lightbox display. Use your Esc key to close the lightbox.


Thanks to eliteMET for this great project. You can get step-by-step instructions here…
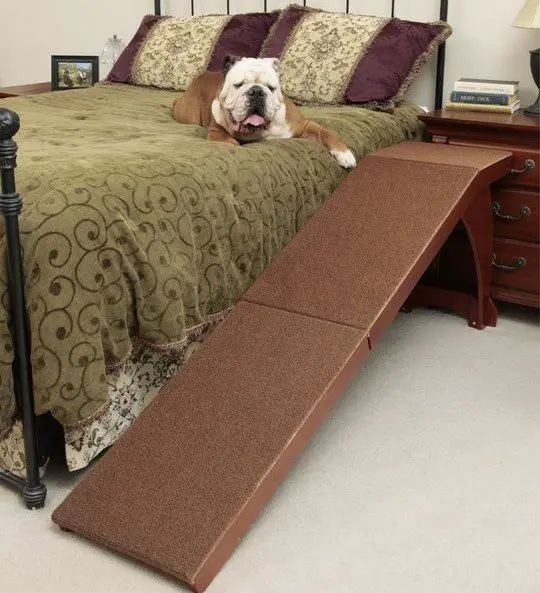
Benefits of Pet Ramps
Pet ramps are a practical solution for pets who need assistance navigating elevated surfaces, whether due to age, injury, or size. These ramps can significantly enhance the quality of life for both pets and their owners, making everyday movements safer and more comfortable.
Here, we explore several benefits of using pet ramps.
Enhances Mobility
Pet ramps provide essential aid to pets with limited mobility. By enabling access to higher surfaces such as beds, couches, and cars, ramps help pets maintain their independence and continue to enjoy their home environment without strain or injury.
Prevents Injuries
Regular jumping onto high surfaces can lead to joint stress and eventual injury, especially in older pets or those with pre-existing conditions like arthritis. A pet ramp offers a gentle incline that reduces the impact on joints, preventing the wear and tear that can lead to painful injuries.
Promotes Confidence and Comfort
For smaller breeds or timid pets, high surfaces can be daunting, making them hesitant and fearful. A pet ramp empowers these pets, providing them with the means to access their favorite spots safely and confidently, which can enhance their overall well-being.
Supports Aging Pets
As pets age, their ability to jump diminishes, and they may struggle with activities that were once effortless. Pet ramps support the health and mobility of aging pets, ensuring they can continue to navigate their living spaces comfortably and safely.
Versatile and Convenient
Pet ramps are versatile tools that can be used in various settings, including homes, vehicles, and even while traveling. They are designed to be portable and can often be folded for easy storage and transport, making them a convenient solution for pet owners on the go.
Encourages Inclusion
Pets are part of the family, and a pet ramp helps ensure that they can participate in family activities. By providing access to vehicles, ramps make it easier to take pets along on outings and trips, promoting inclusion and allowing pets to be part of family memories.
Pet ramps are an excellent investment for pet owners looking to enhance their pets’ quality of life. They not only make daily routines easier and safer but also help in nurturing a supportive and inclusive environment for every member of the family.
Materials Guide for DIY Pet Ramps
Building a DIY pet ramp is a rewarding project that can greatly enhance your pet’s mobility and comfort. Choosing the right materials is crucial for creating a durable, safe, and functional ramp.
Here’s a guide to selecting the best materials for your DIY pet ramp project.
Wood: Popular and Versatile
- Plywood: A common choice due to its strength and ease of handling. Plywood is affordable and can be cut to various sizes, making it ideal for the ramp’s surface and supports.
- Solid Wood: For a sturdier and more aesthetic option, consider using solid wood like pine or cedar. These woods are durable and can be stained or painted to match your home decor.
Metals: Durable and Sturdy
- Aluminum: Lightweight and rust-resistant, aluminum is perfect for portable ramps. It’s strong enough to support larger pets and can be used with anti-slip tape or paint for added safety.
- Steel: Heavier and more robust, steel is suitable for permanent outdoor ramps. Ensure it’s properly treated or painted to prevent rust.
Plastics: Lightweight and Weather-Resistant
- PVC: PVC pipes can be used to construct a lightweight frame for indoor ramps. They are easy to assemble and disassemble.
- High-Density Polyethylene (HDPE): This material is tough, slip-resistant, and can withstand outdoor conditions. It’s ideal for outdoor ramps where weather resistance is key.
Carpets and Coverings: Safe and Comfortable
- Carpet: Provides excellent traction and is gentle on your pet’s paws. Choose a thick, durable carpet that can be securely attached to the ramp surface.
- Rubber Mats: Offer great grip and are easy to clean. Rubber is also weather-resistant, making it suitable for outdoor ramps.
Adhesives and Fasteners: Secure and Reliable
- Wood Glue: Essential for securing wooden joints, especially in the assembly of the ramp frame.
- Screws and Nails: Use galvanized or stainless steel screws and nails to prevent rusting. Screws typically offer more strength and durability than nails.
Finishing Materials: Protective and Decorative
- Paints and Stains: Protect the ramp from moisture and wear while adding a touch of style. Choose non-toxic, pet-safe products.
- Sealants: Apply a water-resistant sealant to wood and metal ramps to extend their lifespan and maintain their appearance.
Choosing the right materials for your DIY pet ramp will ensure it is safe, comfortable, and durable enough to meet the needs of your pet. With the right supplies, you can create a ramp that fits perfectly into your living space and provides your pet with the freedom they deserve.
Conclusion
Building a DIY pet ramp is a thoughtful way to enhance your pet’s accessibility and comfort. You can create a safe and sturdy pet ramp for your furry friend by considering the materials. This project not only provides your furry friend with greater independence but also adds a personalized touch to your home. Overall, a custom pet ramp is an excellent investment in the health and happiness of your pet.
We have more ways to make your pets comfortable. Check out our pet bed suitcase project!


