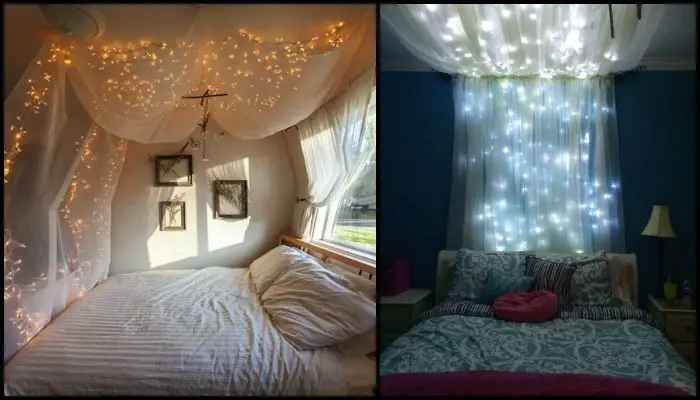
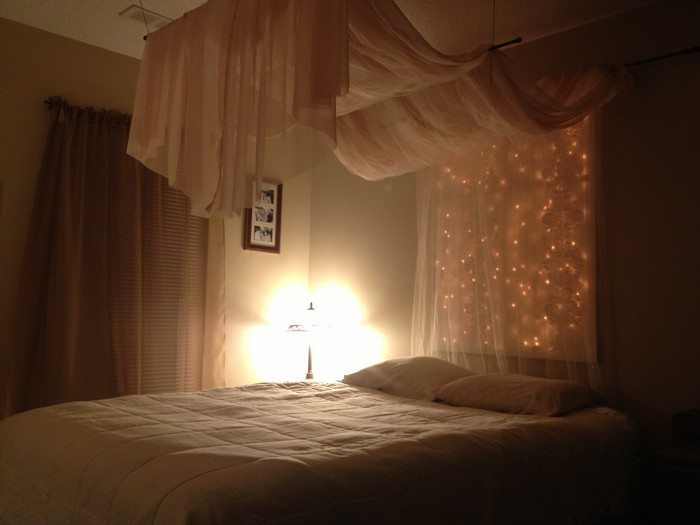
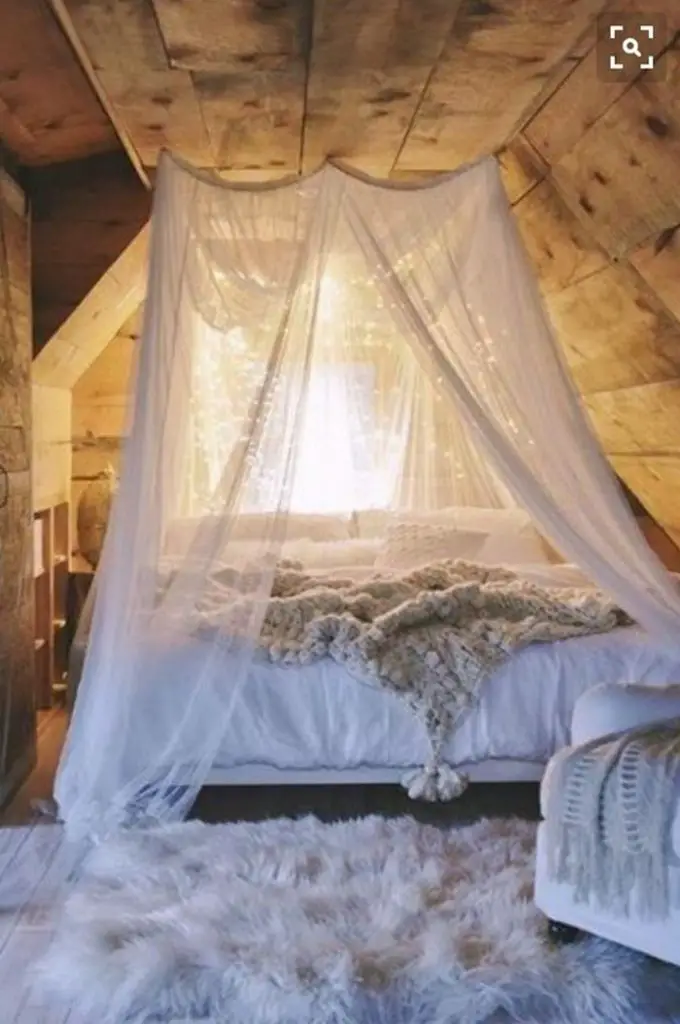
Don’t like sleeping in total darkness? A bed canopy with lights would help. It doesn’t just serve as a nightlight, it’s a beautiful decor for your bed too!
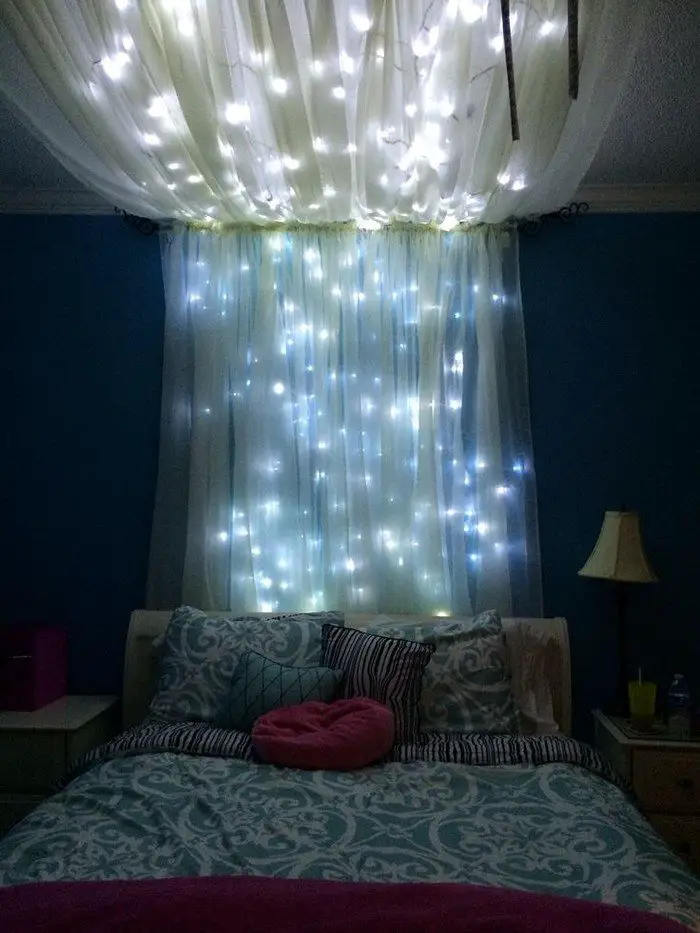
The DIY bed canopy with lights is a lovely way to provide mood lighting in your personal space. It’s perfect for people who are afraid of the dark, especially if they are sharing the room with someone who can’t sleep with the lights on!
Dreamy Bedrooms: Build Your Own DIY Bed Canopy with Lights
You can do this project no matter what type of bed you have in your room – single, twin, or queen-sized – even if you don’t have a canopy bed frame! You can use hooks, nails, a towel rod, or a tree branch for hanging your netting from the ceiling.
Your materials would depend on the arrangement that you want to do, but a rope definitely comes in handy for this bedroom decor project.
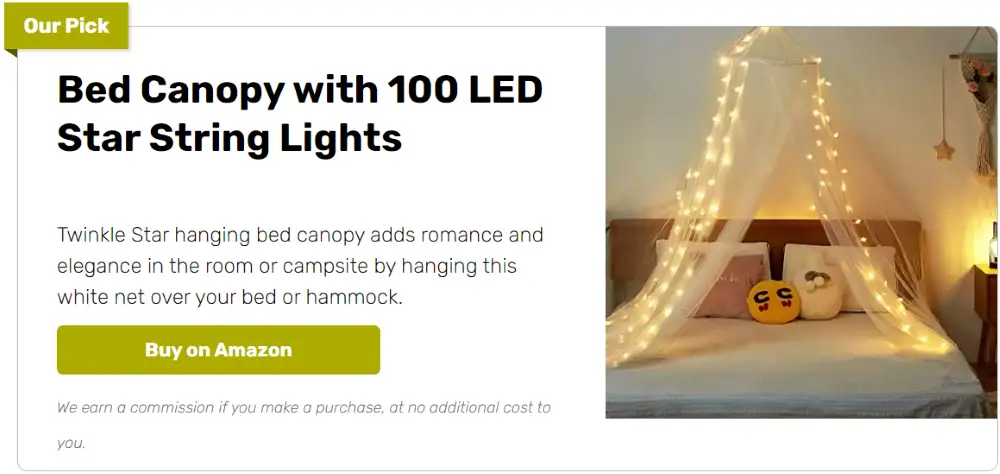
If you are feeling extra creative and inspired, you can add a rug, a rustic lantern, or a beautiful fabric to complement your lighted DIY bed canopy.
If your kids are afraid of monsters under the bed, then they will surely love this idea. It will help them think of happy thoughts at night (instead of monsters under the bed) as they drift off to la-la land. And if you have a little girl, the dreamy lights and canopy would surely make her feel like a princess!
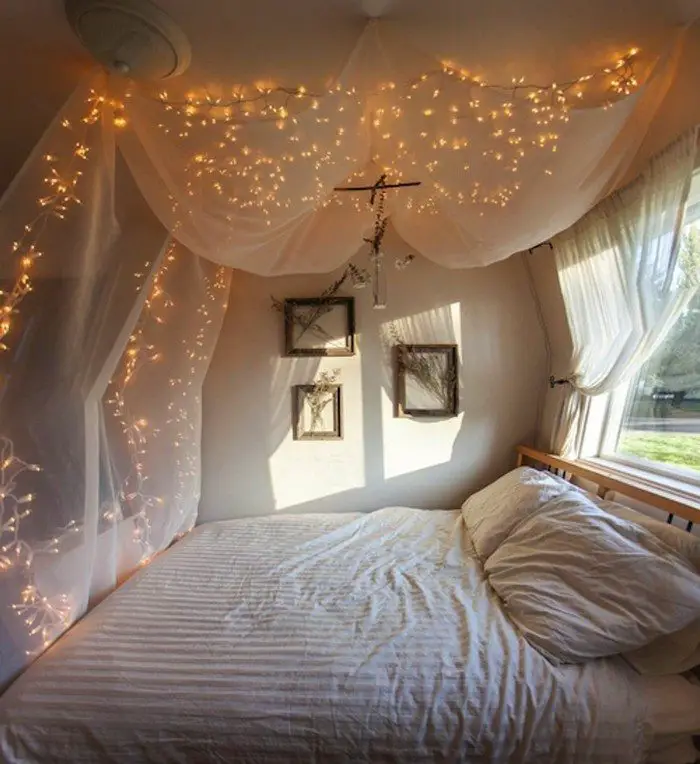
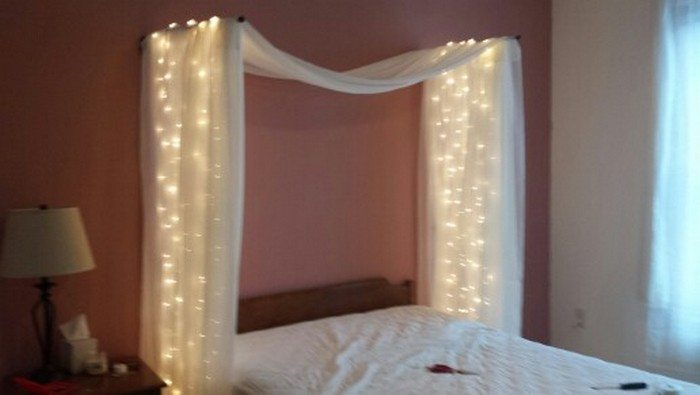
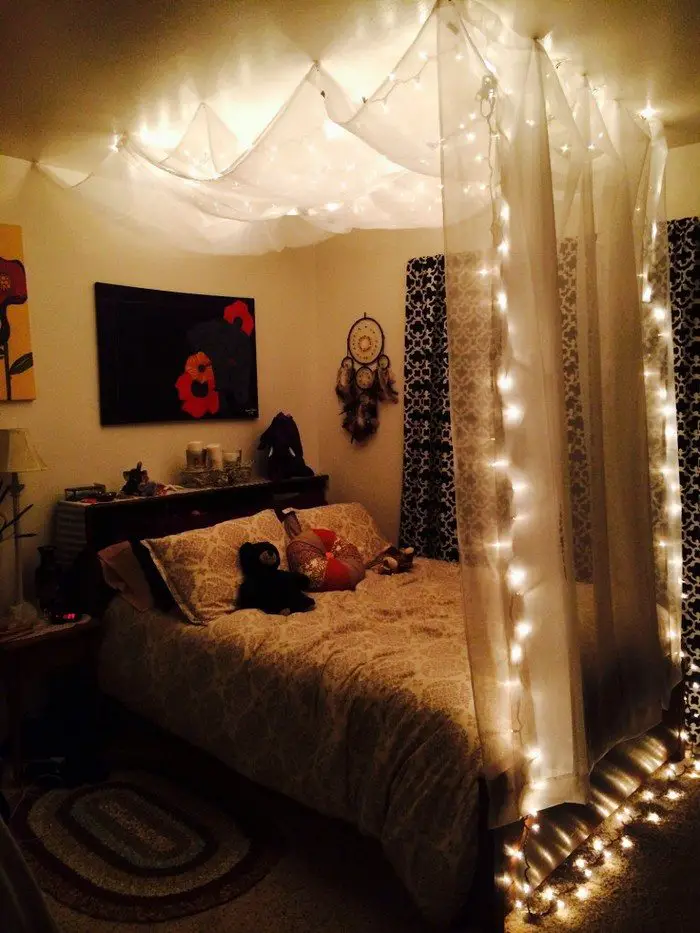
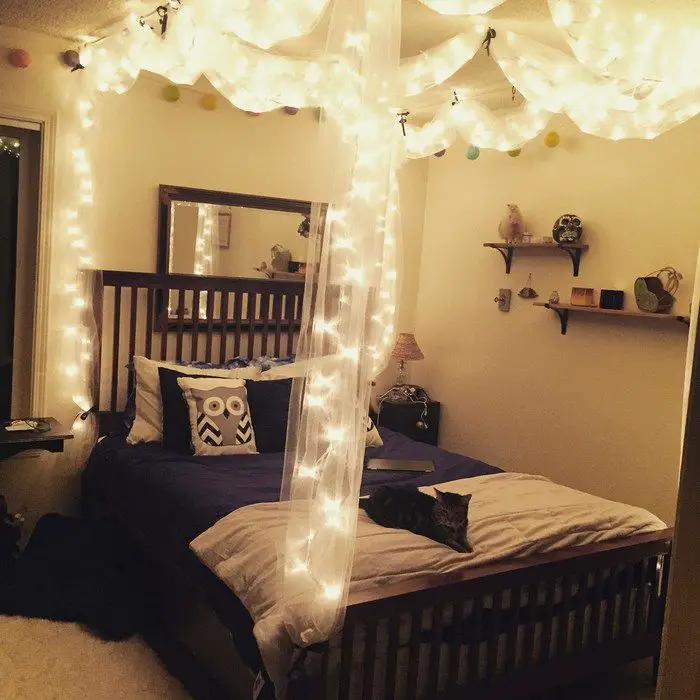
Is this going to be your next bedroom project? Have a look at the beautiful examples we have for you below for inspiration! ;)
Choosing the Right Materials
Selecting the right materials is crucial when creating a DIY bed canopy with lights. The choices you make determine not just the look, but also its durability and safety. Here, we guide you through picking the best materials for your magical retreat.
- Fabric Selection for Your DIY Bed Canopy
- The fabric is the heart of your project. Lightweight materials like tulle, chiffon, or voile are popular. They allow light to filter through beautifully, creating a dreamy effect.
- For a more dramatic look, heavier fabrics like velvet or silk can be used. Consider the room’s color scheme and personal style when choosing your fabric.
- Choosing the Right Lights
- Safety is key when adding lights to your DIY bed canopy. LED lights are a great choice. They are energy-efficient and don’t heat up like traditional bulbs.
- Look for string lights or fairy lights for a whimsical effect. You can also choose lights with different settings, like dimming or color-changing options, to adjust the ambiance as desired.
- Combining Style and Safety
- When combining your fabric and lights for your project, ensure the lights are securely attached and the fabric is arranged safely.
- This setup should not pose any fire hazards or falling risks. With the right materials and careful installation, your DIY bed canopy with lights will be a stunning and safe addition to your bedroom.
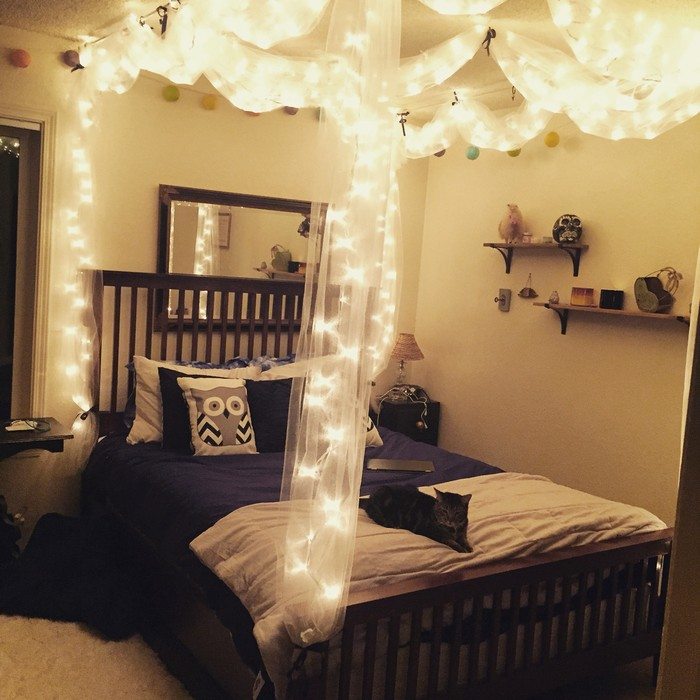
How to Make a Stunning DIY Bed Canopy with Lights in Just 8 Steps
To create your enchanting DIY bed canopy with lights, you’ll need specific materials and tools. Here’s a comprehensive list:
Canopy Fabric:
- Lightweight fabric (e.g., tulle, chiffon, voile)
- Heavier fabric options (e.g., velvet, silk) for a different aesthetic
Lights:
- LED string lights or fairy lights
- Lights with adjustable settings (optional)
Tools and Accessories:
- Curtain rods or hoop to hang the canopy
- Hooks or wall anchors for secure installation
- Clear cable ties or small clips to attach lights
- Scissors for fabric trimming
- Measuring tape for accurate sizing
Safety Gear:
- Ladder or step stool for installation at height
- Safety gloves to protect hands during installation
With these materials and tools, you’re ready to create your DIY project. Remember to consider the size of your bed and the height of your ceiling when selecting the size of your materials.
Step-by-Step Guide
Creating a DIY bed canopy with lights is an exciting project that transforms your bedroom into a magical space. Follow these straightforward steps to bring your dreamy bed.
- Measuring Your Space
- Before you start creating your DIY bed canopy with lights, it’s essential to measure your space. Accurate measurements ensure your canopy fits perfectly and looks stunning. Use a measuring tape to determine the length and width of your bed.
- Don’t forget to measure the height from the ceiling to the floor. This helps in choosing the right amount of fabric and lights. Keep in mind that its sizeshould complement the room, not overwhelm it.
- Choosing the Perfect Spot for the Canopy
- Its location significantly impacts its effectiveness and charm. The ideal spot is usually centered above the bed. This provides an even, symmetrical look.
- Ensure there’s enough space around the bed for the canopy to drape gracefully. If you’re using a hoop or rod, center it over the bed.
- For wall-mounted canopies, choose a spot that allows the fabric to flow evenly on all sides. The right placement will enhance the overall appeal of your DIY bed canopy with lights.
- Installing the Canopy Support
- Its foundation is its support structure. Start by deciding if you’ll use a ceiling-mounted hoop, rod, or wall-mounted brackets. For a hoop or rod, find the ceiling joists using a stud finder.
- Mark the spot directly above the center of your bed. Securely install the hook or mounting hardware at this point. If you’re using wall-mounted brackets, ensure they’re evenly placed and securely fastened to the wall. This step is crucial for the safety and stability of your project.
- Hanging the Canopy Fabric
- Once the support is in place, it’s time to drape the canopy fabric. If using a hoop or rod, evenly distribute the fabric around it. For a wall-mounted canopy, drape the fabric over the brackets, creating a swooping effect.
- Make sure the fabric falls evenly on all sides of the bed. Adjust as needed to create the desired look. The fabric should flow gently and not be too taut. Properly hanging your canopy fabric sets the stage for the magical addition of lights in your DIY bed canopy with lights.
- Attaching the Lights
- After hanging the canopy fabric, it’s time to add the lights. Start by laying out your LED string lights or fairy lights on the floor. This helps you visualize the pattern you want to create on your it.
- Begin at the top, near the support structure, and attach the end of the light string. Use clear cable ties or small clips to attach the lights to the fabric or support. Ensure the power source is close enough to plug in the lights. Distribute the lights evenly for a balanced look. The lights should add a soft glow without overpowering the fabric.
- Securing and Arranging the Lights
- Securing the lights properly is crucial for both safety and aesthetics. Ensure all lights are securely attached to the canopy fabric or support structure. Avoid any loose hanging wires. Arrange the lights so they’re spread out evenly across the canopy.
- This creates an enchanting, star-like effect. If your lights have different settings, experiment with them to find the perfect ambiance. Once secured, double-check that everything is stable and safe. With the lights securely in place, your DIY bed canopy with lights is almost ready to illuminate your room.
- Final Adjustments and Safety Check
- Before enjoying your DIY project, a final review is essential. Check every part of the canopy and lights. Make sure the fabric hangs evenly and the lights are distributed as you desire. Ensure all attachments are secure. This prevents any potential hazards.
- Also, verify that the electrical setup is safe. The wires should be neatly organized and away from areas where they could be tripped over or pinched. Confirm that the lights do not overheat. Once you’re satisfied with the setup and safety, it is ready.
- Enjoying Your New Project
- Your magical bed is now complete. It’s time to enjoy your transformed space. Turn on the lights and watch as your room becomes a cozy, enchanting haven. The soft glow of the lights under your canopy creates a peaceful ambiance. It’s perfect for relaxing, reading, or just daydreaming.
Whether it’s a personal retreat or a whimsical touch to a child’s room, your DIY bed canopy with fairy lights adds charm and comfort. Revel in the serene, dream-like atmosphere you’ve created. Your project is not just a beautiful addition to your room; it’s a portal to a world of calm and wonder.
Click on any image to start the lightbox display. Use your Esc key to close the lightbox.![]()
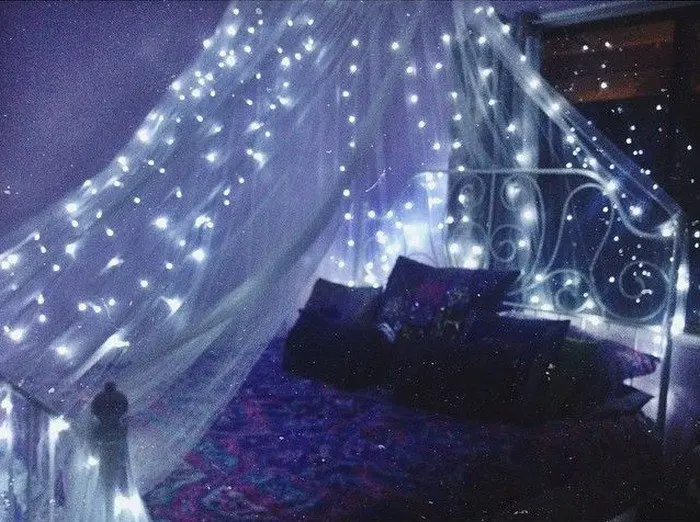

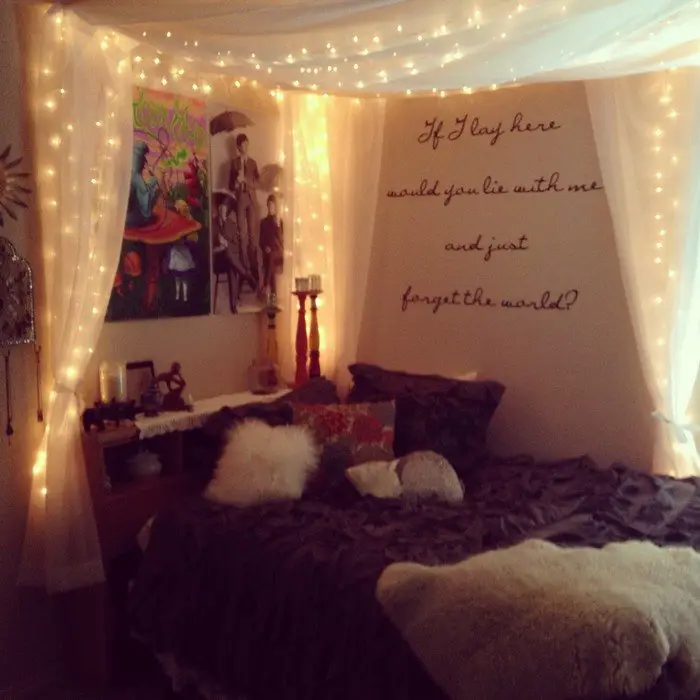
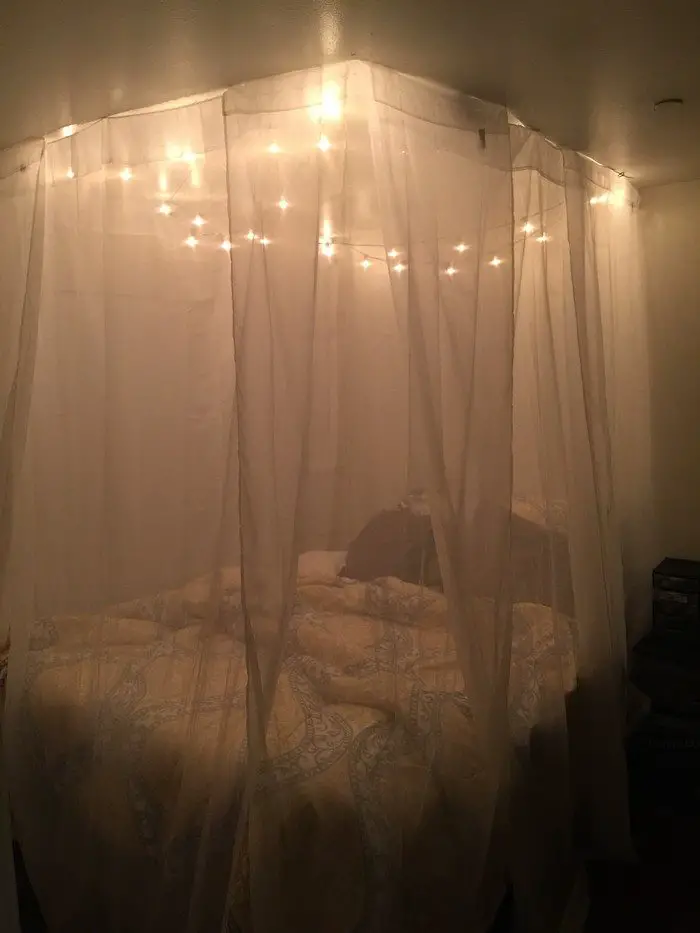



Creative Ideas and Themes
Adding a DIY bed canopy with lights opens a world of creative possibilities. This section explores various themes and ideas to personalize your space. Whether you’re crafting a whimsical wonderland for a child or a serene sanctuary for yourself, these ideas will inspire you.
Themes for Children’s Rooms
- Fairy Tale Fantasy
- Use pastel-colored fabrics and twinkling fairy lights to create a magical fairy tale theme.
- Space Explorer
- Opt for darker fabrics with star-patterned lights to mimic a night sky, perfect for little astronomers.
- Jungle Safari
- Green fabrics and yellow lights can create a jungle canopy, ideal for adventurous spirits.
Romantic and Serene Setups
- Bohemian Chic
- Combine eclectic fabrics with warm lights for a boho-inspired look.
- Elegant Retreat
- Use sheer white fabric with soft white lights for a sophisticated, calming effect.
- Coastal Escape
- Light blue fabrics and cool white lights can evoke a peaceful, beachy feel.
Seasonal and Festive Designs
- Winter Wonderland
- Incorporate icy blue lights and white fabric for a cozy, winter-themed canopy.
- Autumn Harvest
- Use orange and yellow lights with earth-toned fabrics to celebrate fall.
Personalizing Your DIY Bed Canopy with Lights
- Add Decorative Elements
- Embellish your canopy with hanging ornaments, feathers, or beads.
- Incorporate Nature
- Intertwine artificial flowers or vines with the lights for a natural touch.
- Play with Color
- Experiment with different colored lights and fabrics to match your mood or season.
Each theme offers a unique way to make your it a centerpiece of your bedroom. Let your imagination guide you in creating a space that reflects your personality and style.
Creative Uses for Canopies in a Child’s Room
A canopy can transform a child’s room into a magical sanctuary with several creative applications beyond the traditional use over a bed.
- Reading Nook:
- Position a canopy above a comfortable armchair or swivel chair to establish a cozy reading corner.
- Enhance this space with a colorful rug and a collection of soft lounge pillows, creating an inviting environment for kids to dive into their favorite books.
- Study Zone:
- Center a canopy above a study desk to create a whimsical and focused area for homework and creative projects.
- Add a string of fairy lights or paper lanterns inside the canopy to inspire concentration and creativity.
- Play Space Refuge:
- Create a separate play area by enclosing a section of the room with a canopy.
- Fill it with plush stuffed animals and soft throws, making it a fun and adventurous hideaway.
- Imaginative Dress-up Corner:
- Use a canopy to designate a dress-up area where costumes and props are arranged for easy access and playful exploration.
- Attach mirrors and hooks around the canopy’s base to organize accessories.
Incorporating these imaginative ideas will make the room not just visually appealing but also a functional and engaging space for children.

Maintenance and Safety Tips
Maintaining it ensures it stays beautiful and safe. Here are some key tips to keep in mind:
Regular Cleaning and Care
- Dust Regularly
- Gently dust the canopy fabric and lights to prevent buildup.
- Wash the Fabric
- If the fabric is removable and washable, clean it according to the care instructions. This keeps the canopy fresh and inviting.
- Check Lights for Damage
- Regularly inspect the lights for any signs of wear or damage. Replace them if needed to prevent electrical hazards.
Ensuring Electrical Safety
- Avoid Overheating
- Ensure the lights, especially non-LED types, don’t overheat. Overheated lights can be a fire risk.
- Secure Electrical Connections
- Keep wires and connections secure and out of the way to prevent tripping or damage.
- Use a Surge Protector
- Plugging your lights into a surge protector can prevent electrical issues.

General Safety Checks
- Inspect Mounting Hardware
- Regularly check hooks, rods, or brackets to ensure they’re secure.
- Keep Fabric Away from Flame
- If you use candles or incense in your room, keep them away from the canopy fabric.
- Child Safety
- If the canopy is in a child’s room, ensure all elements are securely out of reach to prevent pulling or climbing.
Enhancing the Longevity of Your Canopy and Lights
- Gentle Handling
- Be careful when adjusting the fabric or lights to prevent tearing or breaking.
- Protect from Sun Damage
- If your bed is near a window, consider a fabric that is less prone to fading in sunlight.
- Check for Moisture
- In damp climates, watch for mold or mildew on the fabric and address it promptly.
Energy Efficiency and Sustainability
- Use Energy-Efficient Lights
- Opt for LED lights, which consume less energy and last longer.
- Timers and Sensors
- Consider installing a timer or a motion sensor to conserve energy when the canopy is not in use.
- Eco-Friendly Materials: Choose sustainable fabrics and lights to reduce environmental impact.
Adapting Your Canopy for Different Seasons
- Seasonal Updates: Change the fabric or lights to match seasonal decor or themes.
- Insulation Considerations: In colder months, use heavier fabrics for added warmth.
Light Adjustment: Vary the light intensity or color based on the time of year for a seasonal mood.
Safety for Pets and Young Children
- Pet-Proofing
- Ensure the canopy and lights are out of reach of pets to prevent them from climbing or chewing.
- Childproofing
- Secure all elements firmly and avoid small, detachable parts that could be a choking hazard for young children.
- Soft and Safe Materials
- Use soft, non-irritating fabrics that are safe for kids and pets.
By following these maintenance and safety tips, your DIY project will remain a safe, charming, and cozy addition to your room. Regular care keeps it looking great and functioning safely, letting you enjoy its magical ambiance for years to come.
Conclusion
Creating a DIY bed canopy with lights is a wonderful way to transform your bedroom into a cozy, magical space. This DIY project not only enhances the aesthetics of your room but also offers a personal touch of enchantment and comfort. By following the steps and tips outlined in this article, you can easily design and maintain a safe and stunning canopy.
FAQ for DIY Bed Canopy with Lights
- How do I choose the right size canopy for my bed?
- Measure your bed’s length, width, and height from the ceiling to get the right size. Ensure the canopy is neither too large nor too small for your bed.
- Can I install it if I have a low ceiling?
- Yes, you can. Opt for wall-mounted canopies or smaller hoops to accommodate lower ceilings.
- Are LED lights the best choice for a DIY bed canopy?
- Yes, LED lights are ideal because they are energy-efficient and don’t heat up like traditional bulbs, reducing the risk of fire.
- How can I clean the canopy fabric?
- Check the fabric’s care instructions. Most lightweight fabrics can be gently hand-washed or machine-washed on a delicate cycle.
- Is it safe to leave the lights on all night?
- It’s generally safe, especially with LED lights. However, using a timer or turning them off when not in use is more energy-efficient.
- Can I change the lights’ color for different moods or seasons?
- Absolutely. Use multi-colored or changeable LED lights to switch up the colors for different occasions.
- Absolutely. Use multi-colored or changeable LED lights to switch up the colors for different occasions.

