A stockpile of highly flammable fibers is accumulated in your dryer vent over time. The volume of lint per cycle depends on the type of material being dried inside. Loose fabrics contribute the most.
Needless to say, lint can cause a fire. This happens when the dryer vent is left to rack up lint. These fine fibers can easily trigger a fire given the elements of heat and oxygen. Hence, regular cleaning of your dryer vent is a must!
Cleaning your dryer vent can extend the life of your machine. It is something that has to be done in order for your dryer to function well. A clogged dryer vent can hinder the dryer to perform at its best. In fact, some dryer has a built-in indicator to notify the need for cleaning.
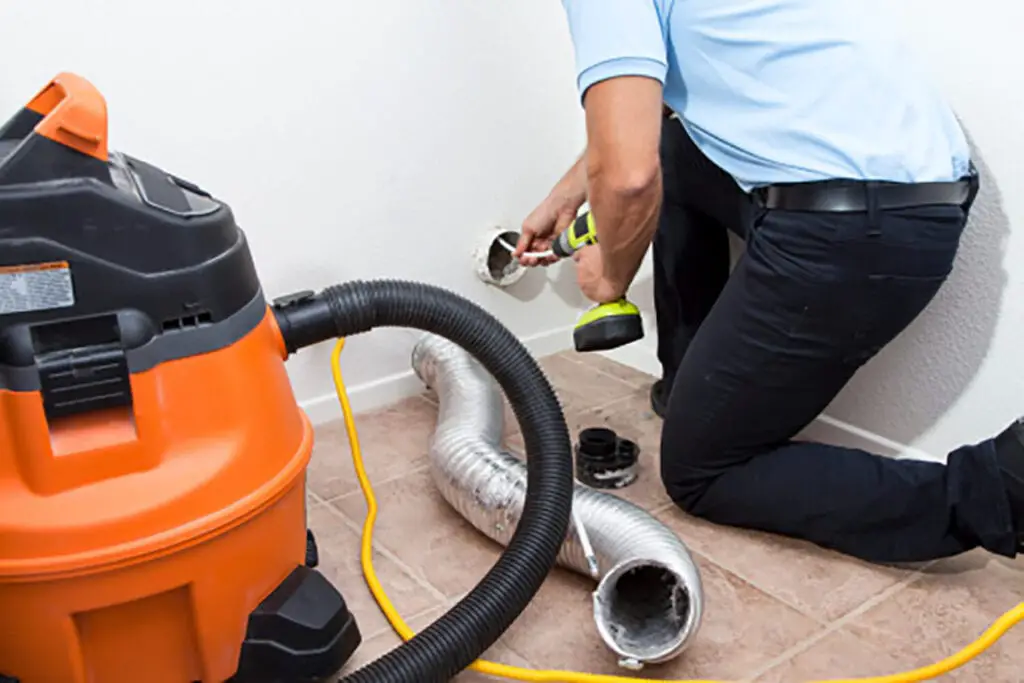
How often should you clean your dryer vent? It is recommended to clean your dryer vent at least once a month. You can also perform the cleaning every fifth cycle of your dryer. If in doubt, refer to your dryer’s manual.
Dryer vents has a standard design. However, they might differ in size and duct system. It is worth noting that dryer vents are designed to be easily dismantled. This makes the cleaning process easier for the owner.
Here’s a general way on how to clean your dryer vent:
- Ensure that the dryer is unplugged. This must not be taken for granted for safety. If your dryer is run with the gas supply, close the supply line.
- Move the dryer carefully to enable access to its vent. More often than not, the vent is located at the back.
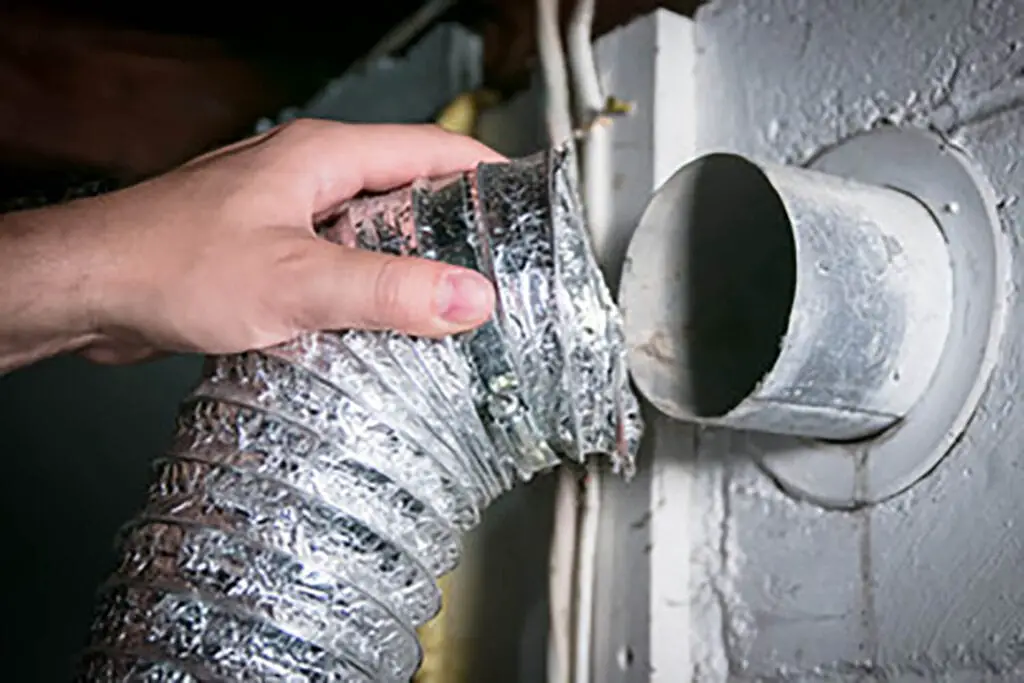
- Check how your duct is attached. Use a screwdriver if it is fastened by a stainless steel hose clamp. There are also those that use plastic clamps.
- Remove the dryer exhaust carefully. Expect that there will be loose lint when detached.
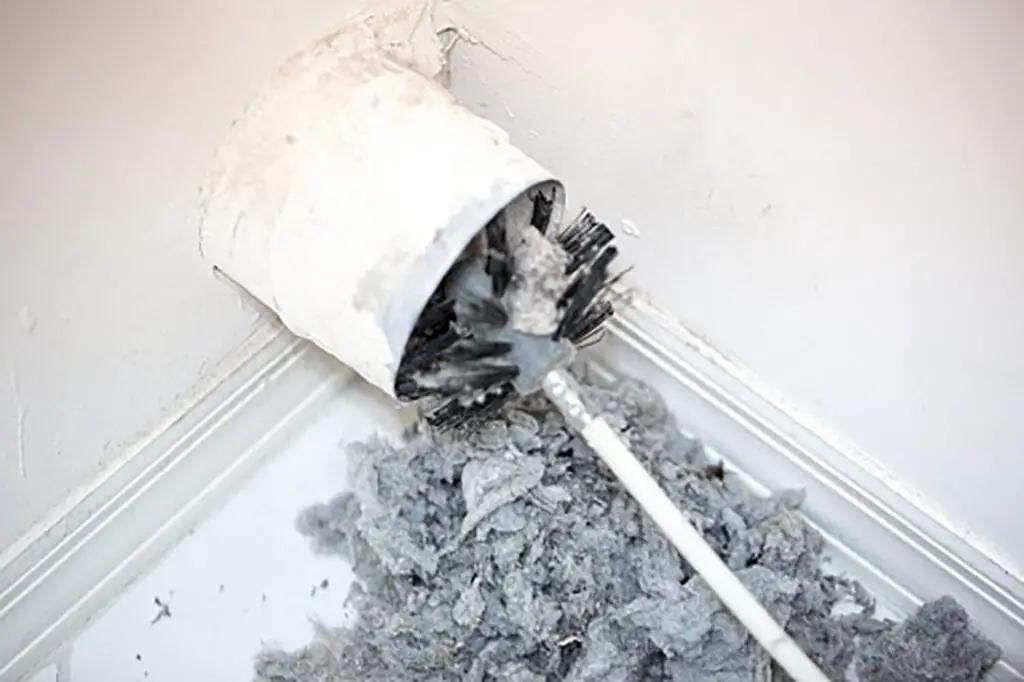
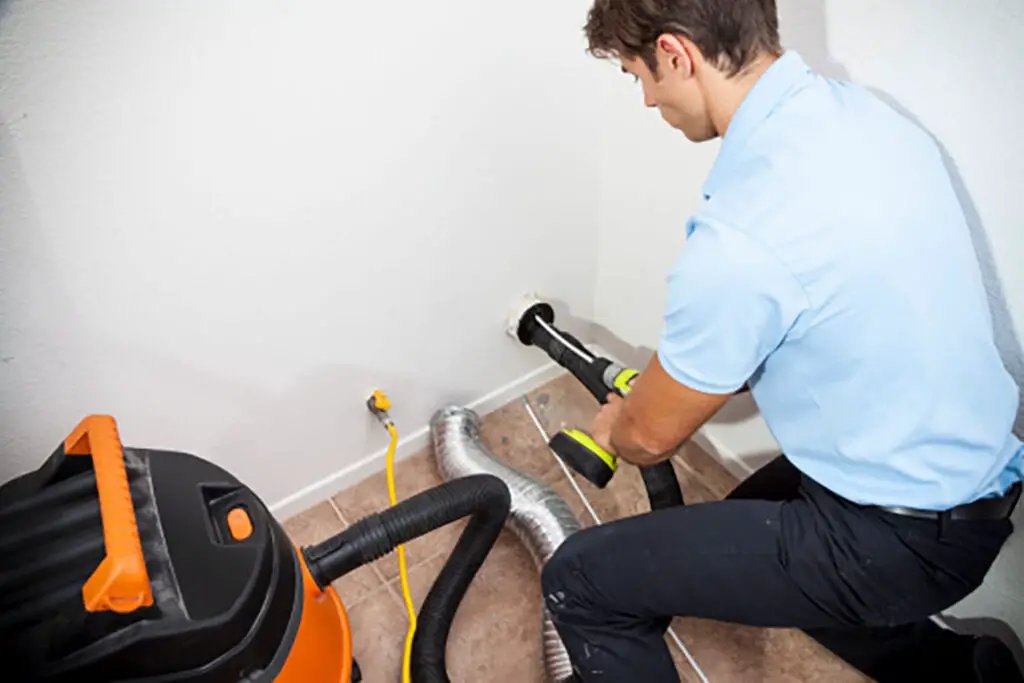
- Clean the exhaust pipe by flushing it with soap and water. You can use a flexible brush to ensure that you reach all areas. It is also advisable to use an extendable stick to reach the inner surface of your exhaust pipe.
- Let the exhaust pipe dry out for a few minutes. You can use a vacuum cleaner to make sure that no lint is left inside the exhaust. If you have an air compressor, blow it out from inside out.
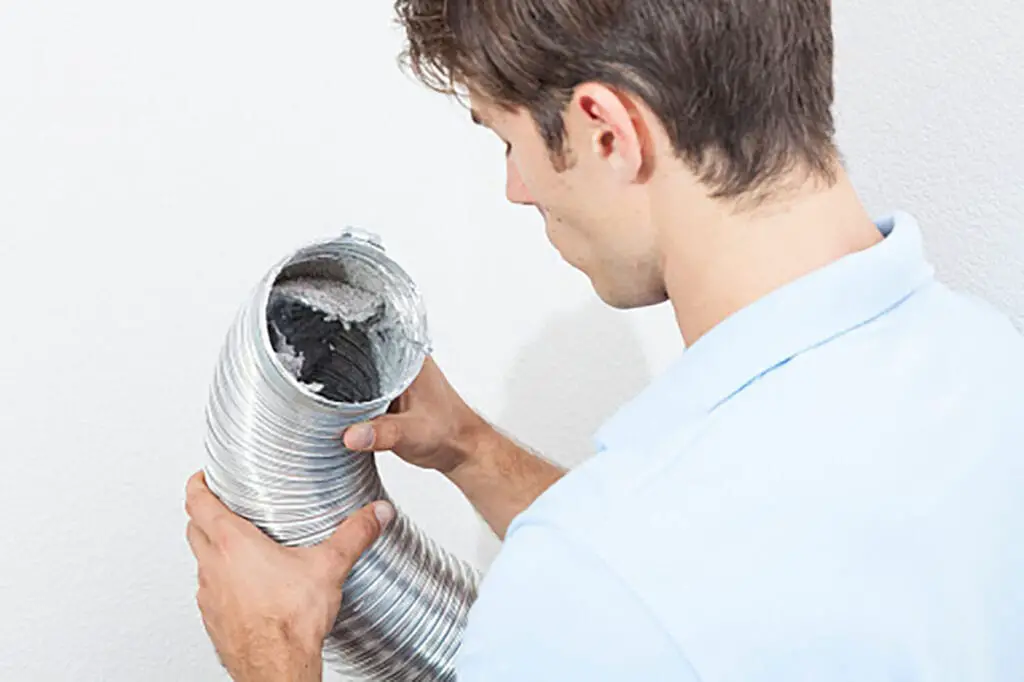
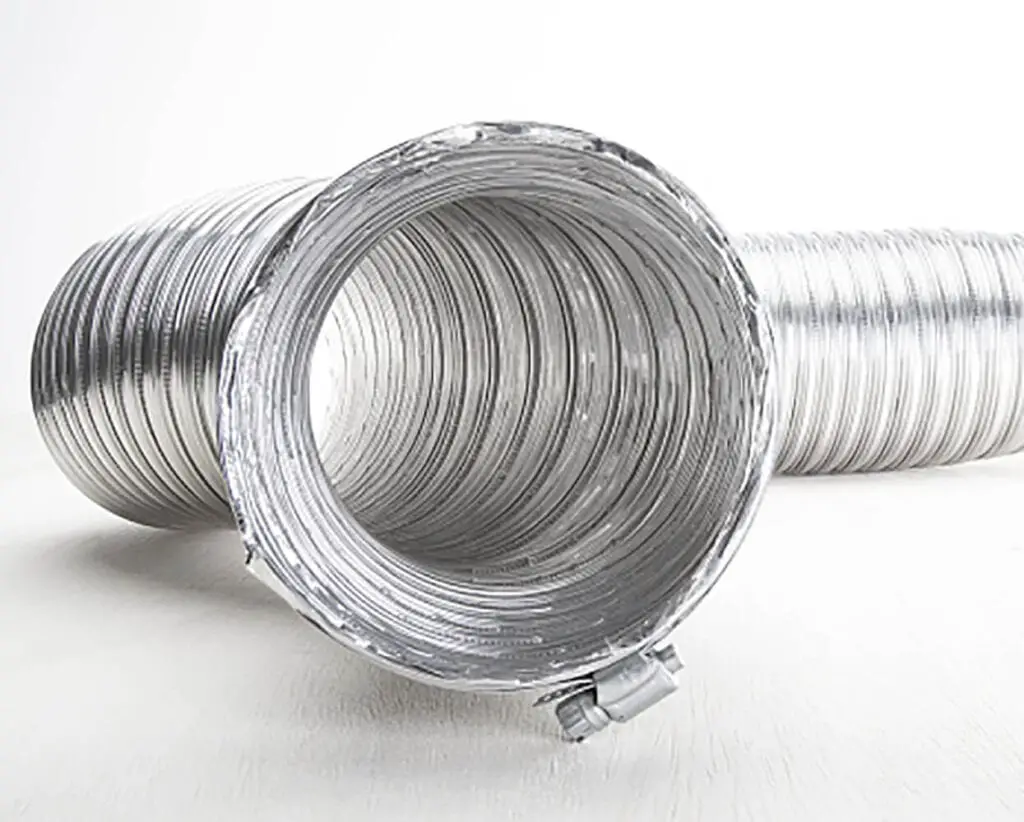
- Inspect the dryer duct for signs of wear and tear. Also, check for cracks. If you see significant damage, don’t hesitate to replace it.
- After you are satisfied with the results, prepare to assemble it back. Keep in mind how you disassemble the parts. Make sure all the items are back in their correct position.
- Check for loose thread or screw. Feel free to do a bit of wiggle, push, and pull to check if everything is tightly assembled.
- Move the dryer to its normal position carefully. Then, turn on the power supply to check if everything is good.
These few steps in cleaning your dryer can be tedious. However, it will make a huge difference in making sure that your dryer is in perfect condition. It can also provide peace of mind for any possibility of a fire.
Don’t forget to take note of the date that you have performed the maintenance. You can write it down on a piece of paper and post it on top of the dryer. This will serve as your guide and notification for your next cleaning schedule.
But wait, there’s more! It is very important to clean the area behind your dryer. Sweep the floor with dust and dirt. If possible, wipe the floor area with a rug to ensure that it is clean and free from moisture.
Lastly, you don’t have to worry about having any experience at all in cleaning your dryer vent. Keep in mind that manufacturers are making sure that their dryer vent has a user-friendly design. So keeping your dryer vent will be easy to work with.
When was the last time you cleaned your dryer vent?


