I visited a friend’s house the other day to catch up and talk about our business plans. She has started selling fruits and vegetables in this little corner of a commercial building. She mentioned wanting to get a decent stall. I was really interested in partnering with her when she brought it up, so I decided to give her a visit.
We have laid both our plans, agreed on most parts, and compromised on the others. Because I have an unused stockroom, we agreed that we’ll use it as the storage space for our business. In turn, I get to keep the crates and boxes of our products.
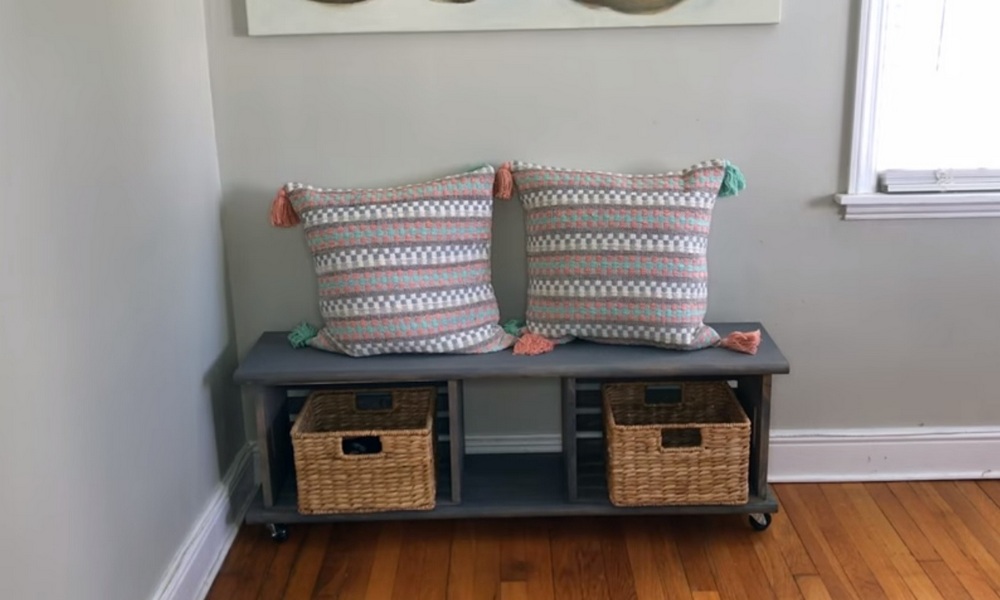
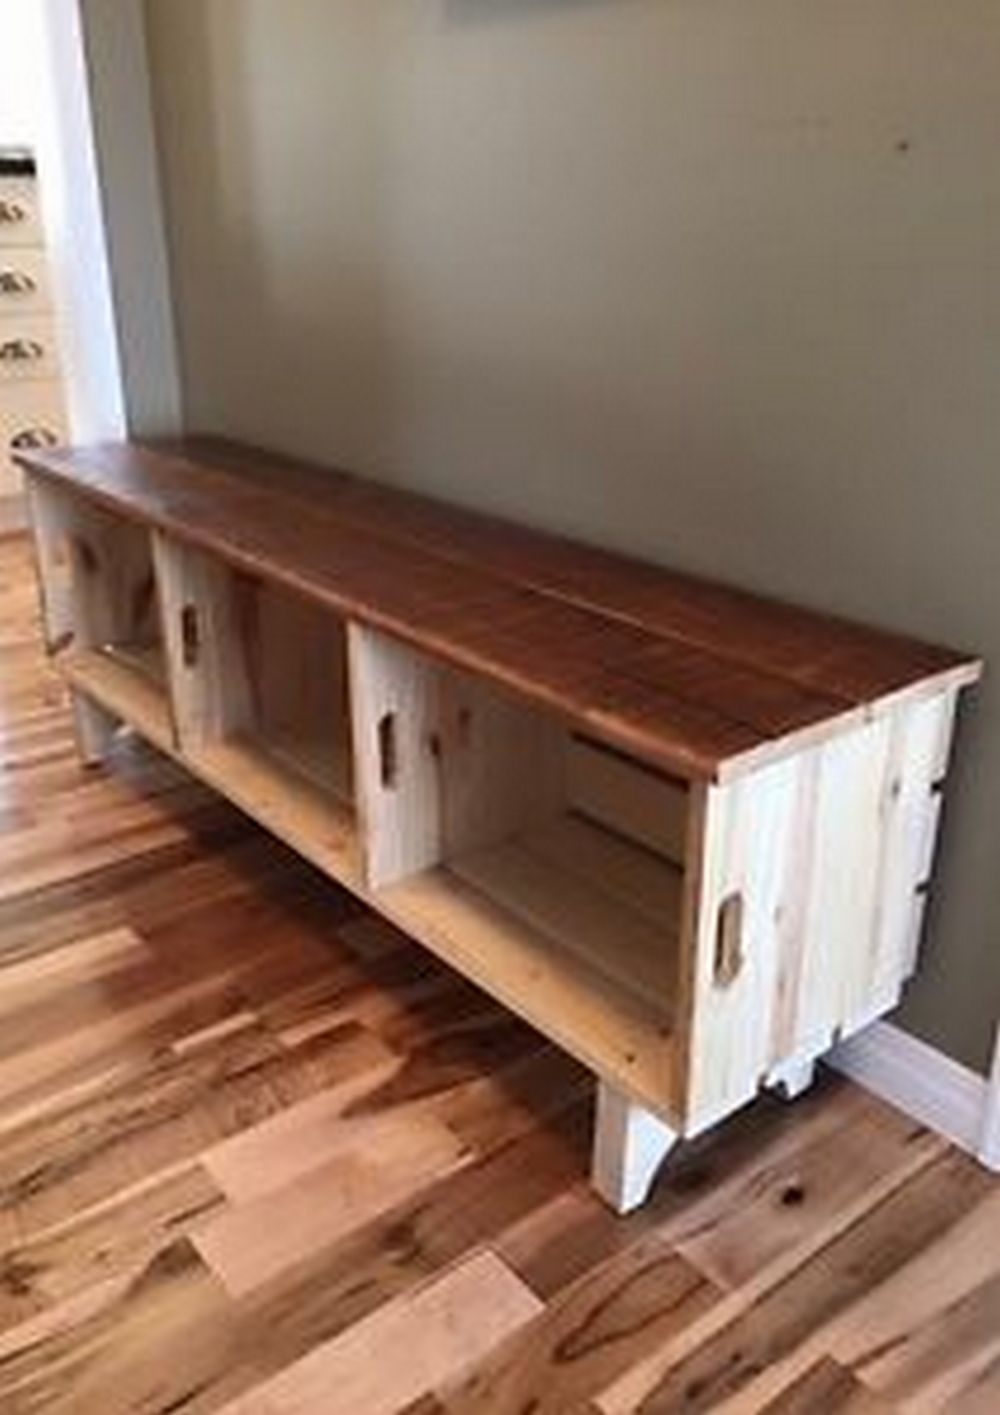
I initially found my stockroom messy when I saw boxes and crates piling up. Thankfully, my husband has carpentry skills so he decided to make a bench from crates. It was such perfect timing because we were about to join our first-ever Weekend Market. I can’t believe we were able to convert what we refer to as ‘mess’ into something useful.
Contents
How to Make a Bench From Crates
Materials:
- Stair Treads x 2
- Wood Crates x 2
- Caster Wheels (with brakes) x 4
- Screws
- Wood Glue
- Stain or Paint (optional)
Tools:
- Screwdriver
- Sandpaper
Click on any image to start the lightbox display. Use your Esc key to close the lightbox.

Watch the video below and see how you can build a bench from crates…
Unique Bench From Crates Ideas
Designing a bench from crates offers endless possibilities for creativity and customization. Whether you prefer a rustic, industrial, or modern aesthetic, there are numerous design options to suit your taste and space. Here are various design ideas for benches made from crates:
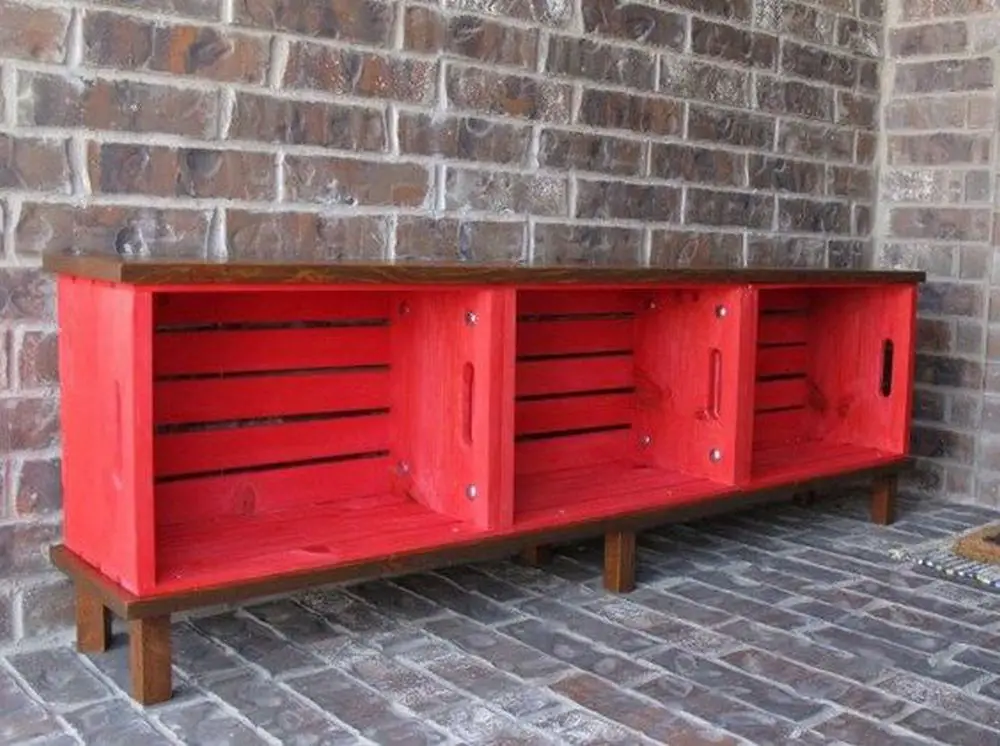
1. Basic Crate Bench
The simplest design involves arranging several crates horizontally to create a basic bench structure. Stack the crates side by side and secure them together with screws or brackets. This design is versatile and easy to customize by adding cushions, pillows, or upholstery to enhance comfort and style.
2. Stacked Crate Bench
For a more visually interesting look, stack crates vertically to create a multi-tiered bench. Vary the heights and orientations of the crates to add dimension and visual appeal. This design works well for outdoor seating areas or entryways and can be embellished with plants, lanterns, or decorative accents to enhance the aesthetic.
3. Floating Crate Bench
Create a floating effect by suspending crates from a wall-mounted frame to form a bench seat. Attach the crates to the frame using brackets or hardware for stability. This design maximizes floor space and lends a contemporary feel to the space. Customize the bench with cushions or pillows for added comfort and style.
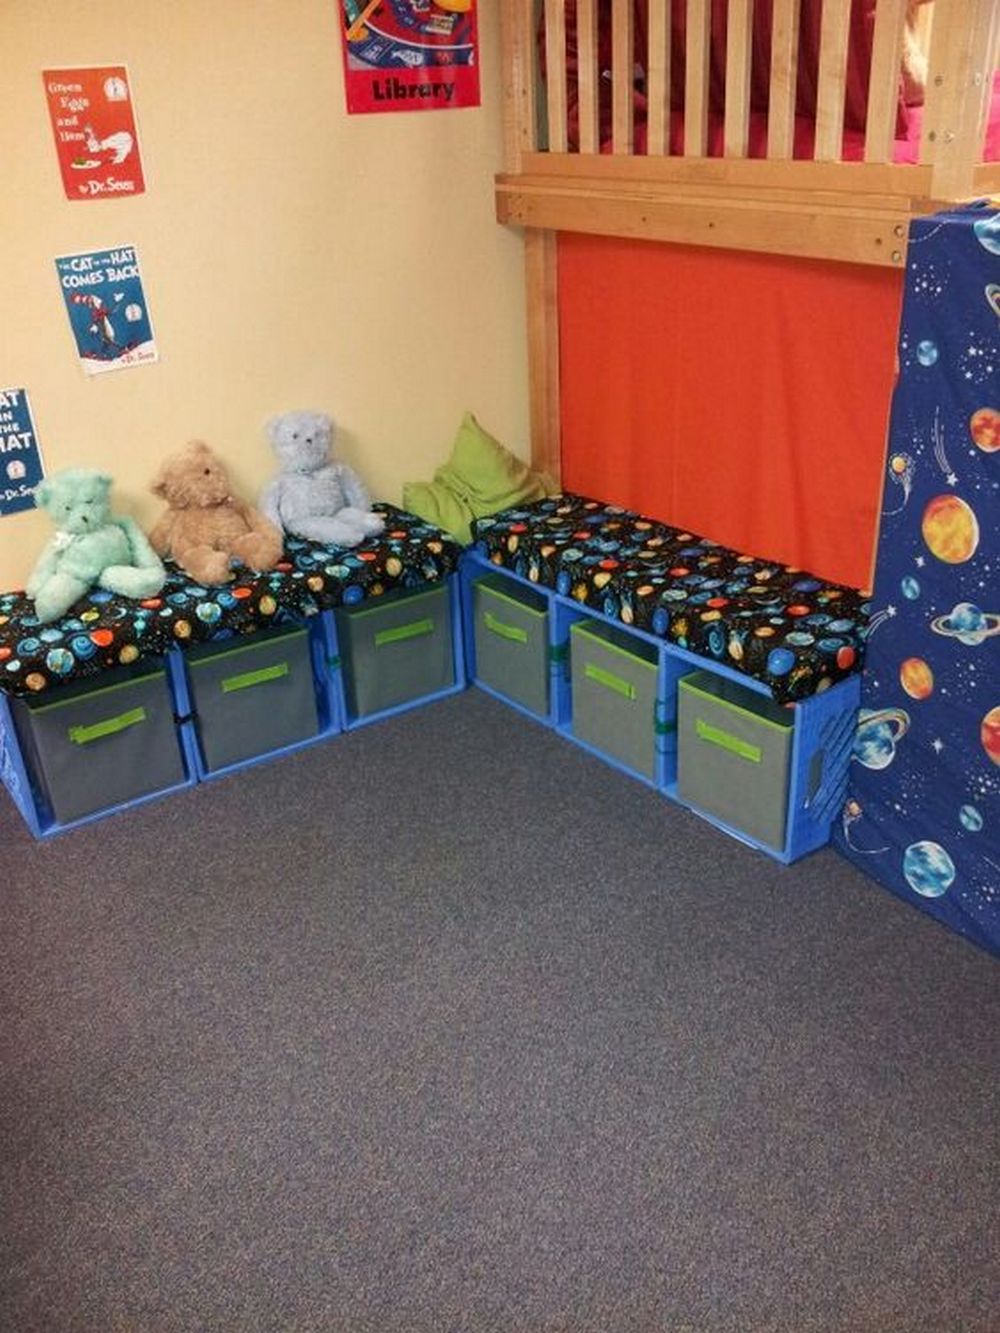
4. L-Shaped Crate Bench
Arrange crates in an L-shaped configuration to create a corner bench ideal for small spaces or cozy nooks. This design provides ample seating while optimizing space efficiency. Add a corner table or ottoman to complete the seating area and create a versatile and inviting space for relaxation or socializing.
5. Modular Crate Bench
Create a modular bench by arranging individual crates in various configurations to form a customizable seating arrangement. Mix and match crate sizes, orientations, and colours to create a unique and dynamic seating area. This design allows for easy reconfiguration to accommodate different seating arrangements or spatial constraints.
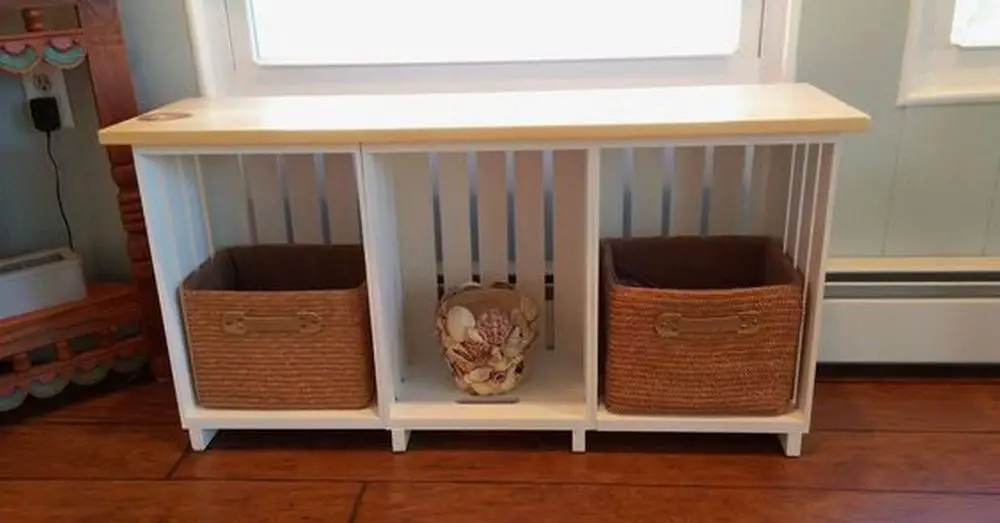
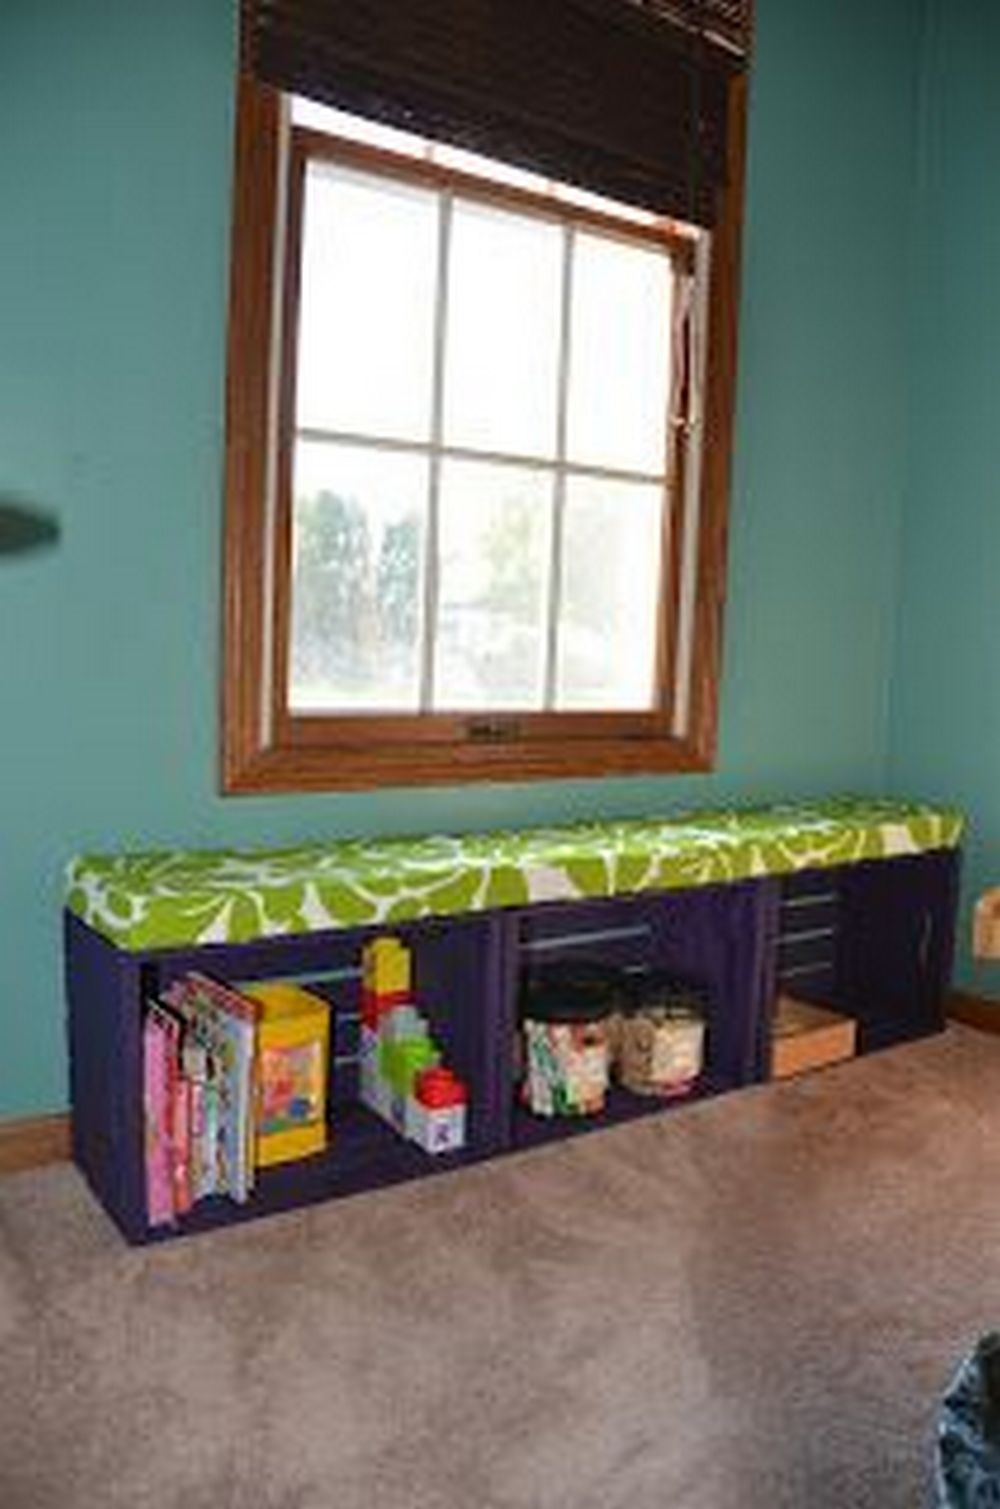
6. Crate Storage Bench
Combine seating and storage functionality by incorporating crates with built-in storage compartments into the bench design. Use larger crates as the base of the bench to provide ample storage space for blankets, shoes, toys, or other items. Top the bench with a cushion or lid to conceal the storage compartments and create a comfortable seating surface.
7. Crate and Pallet Bench
Combine wooden crates with pallets to create a charming and rustic bench design. Use pallets as the base and stack crates vertically to form the backrest and armrests of the bench. This design adds visual interest and texture to the bench while repurposing two common materials for a sustainable and eco-friendly approach.
8. Crate Bench with Built-in Planters
Incorporate greenery into your bench design by adding built-in planters made from crates. Arrange crates horizontally to form the bench seat and integrate planters into the sides or backrest of the bench. Fill the planters with soil and your favourite plants or flowers to create a vibrant and inviting seating area that seamlessly blends nature with functionality.
9. Crate Bench with Integrated Lighting:
Enhance the ambience of your outdoor or indoor seating area by incorporating integrated lighting into the crate bench design. Install LED strip lights or battery-operated candles inside the crates to create a warm and inviting glow. This design adds a touch of whimsy and sophistication to the bench while providing practical illumination for evening gatherings.
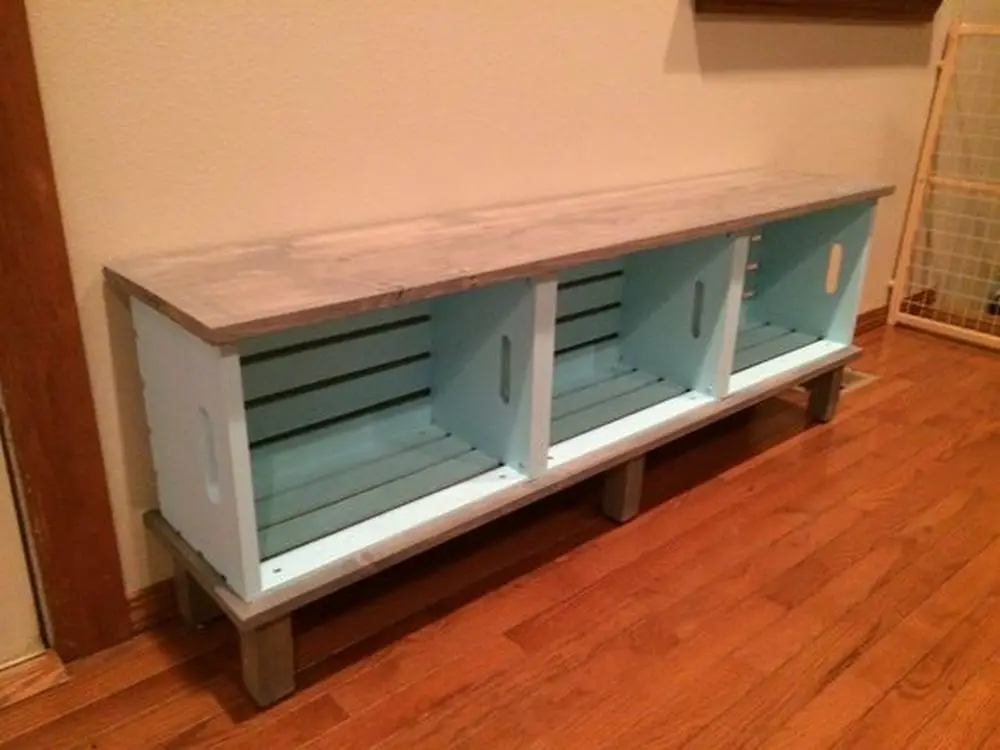
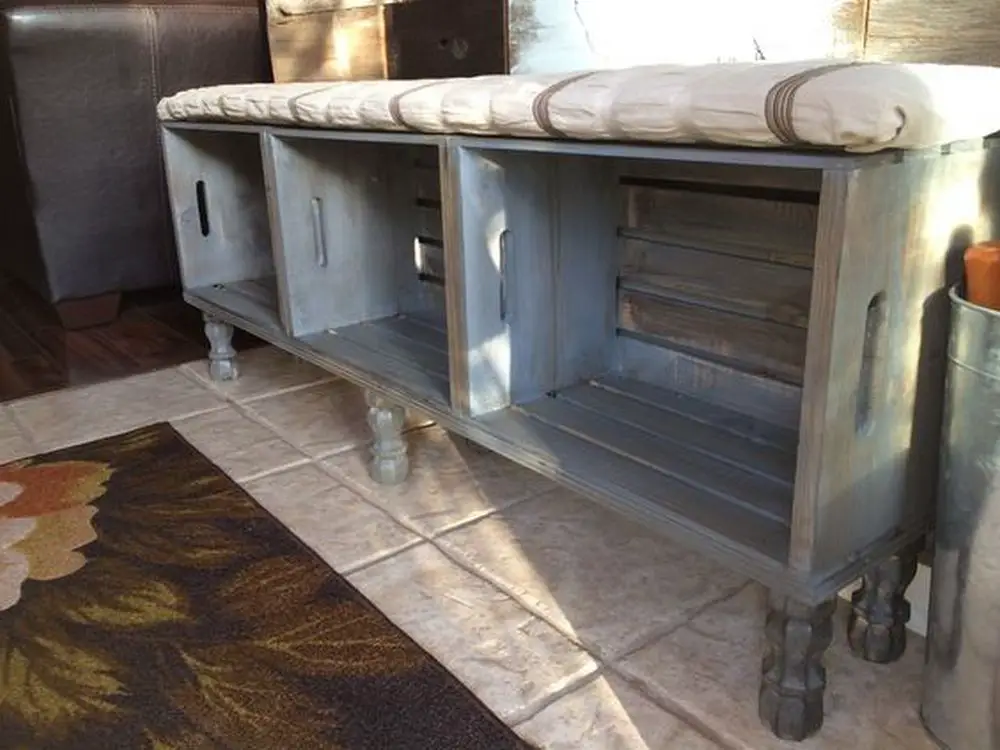
10. Customized Crate Bench
Let your imagination run wild and customize your crate bench to reflect your style and preferences. Paint or stain the crates in your favourite colours, add decorative hardware or trim, or stencil patterns or designs onto the wood for a unique and personalized touch. Experiment with different materials, textures, and finishes to create a one-of-a-kind bench that truly stands out.
When designing a bench from crates, consider factors such as the intended use, available space, and aesthetic preferences to create a functional and visually appealing seating solution. With creativity and ingenuity, you can transform simple wooden crates into a beautiful and versatile bench that enhances any indoor or outdoor space.
Prioritizing Safety
Building a sturdy bench from crates can be a fun and rewarding DIY project, but it’s essential to prioritize safety throughout the construction process. Here’s an in-depth guide on safety precautions to consider:
1. Wear Personal Protective Equipment (PPE)
Before starting any DIY project, including building a bench from crates, ensure you’re wearing appropriate personal protective equipment (PPE). This typically includes safety glasses to protect your eyes from flying debris, work gloves to shield your hands from splinters and sharp edges, and closed-toe shoes to protect your feet from dropped tools or heavy materials.
2. Work in a Well-Ventilated Area
Choose a well-ventilated workspace for your project to minimize exposure to dust, fumes, and potentially hazardous chemicals. If working indoors, open windows and doors to improve airflow. If working outdoors, take precautions to protect yourself from extreme weather conditions such as heat, cold, or rain.
3. Inspect and Prepare Materials
Before assembling the bench, thoroughly inspect each crate and other materials for any defects, damage, or protruding nails. Sand down rough edges and remove any splinters to create a smooth surface. Additionally, ensure that all crates are securely fastened together to prevent them from shifting or collapsing during use.
4. Use Proper Tools and Equipment
Select the appropriate tools and equipment for the job and ensure they are in good working condition. Common tools needed for building a bench from crates may include a power drill with screwdriver bits, screws, a hammer, a saw, and a measuring tape. Follow manufacturer instructions and safety guidelines when operating power tools, and always use tools as intended.
5. Follow Safe Lifting Practices
When lifting heavy crates or other materials, use proper lifting techniques to avoid strain or injury. Bend at the knees and lift with your legs, keeping your back straight and using your core muscles to support the weight. If a crate is too heavy to lift safely on your own, ask for assistance from a friend or use a dolly or hand truck to transport it.
6. Secure Workpieces During Assembly
Assemble the bench on a stable and level surface, ensuring that all components are securely fastened together. Use clamps or other holding devices to stabilize workpieces and prevent them from shifting or moving during assembly. Avoid working on uneven or unstable surfaces that could increase the risk of accidents or injuries.
7. Mindful of Sharp Objects and Edges
Be cautious when handling crates and other materials with sharp edges or protruding nails. Wear gloves to protect your hands and fingers from cuts, and use caution when sawing or drilling to avoid accidental injuries. Keep work areas clean and free of clutter to minimize the risk of tripping or stepping on sharp objects.
8. Supervise and Educate Children
If children are present in the workspace, ensure they are supervised at all times and educated about the potential hazards associated with DIY projects. Keep sharp tools and materials out of reach, and teach children about the importance of safety precautions such as wearing PPE and using proper lifting techniques.
9. Clean Up and Store Tools Properly
Once the bench is assembled, clean up any debris or leftover materials from the work area to prevent slips, trips, or falls. Store tools and equipment properly in designated areas, ensuring that sharp objects are safely secured and out of reach of children and pets.
10. Test Bench for Stability
Before using the bench, thoroughly test its stability by sitting on it and applying pressure in different directions. Ensure that all joints are secure and that the bench from crates can support the intended weight without wobbling or collapsing. Make any necessary adjustments or reinforcements to improve stability and safety.
By following these safety precautions, you can enjoy a successful and injury-free experience while building a sturdy bench from crates. Remember to prioritize safety at every step of the project, and don’t hesitate to seek assistance or guidance if needed. With careful planning and attention to detail, you can create a beautiful and functional bench from crates that will enhance your outdoor or indoor space for years to come.
The Wrap Up
Building a bench from crates is a testament to your craftsmanship and creativity. Through careful planning, precise measurements, and skilled assembly, you’ve transformed simple wooden crates into a functional and aesthetically pleasing piece of furniture. Your ability to envision and execute a design concept demonstrates your passion for DIY projects and your commitment to creating something unique
The bench you’ve created offers both practicality and versatility. It serves as a comfortable seating solution for various settings, whether it’s a cozy corner in your living room, a charming addition to your entryway, or a functional piece for your outdoor patio. Its adaptable design allows it to seamlessly integrate into different environments, providing seating where it’s needed most.
By repurposing crates as the primary building material for your bench, you’ve embraced eco-friendly and sustainable practices. Instead of discarding old crates, you’ve given them new life and purpose, reducing waste and minimizing your environmental footprint. Your commitment to sustainability extends beyond the bench itself and serves as a reminder of the importance of mindful consumption and resourcefulness.
One of the most rewarding aspects of building a bench from crates is the opportunity for personalization and character. Whether you’ve chosen to paint the crates in vibrant colours, stain them for a rustic look, or leave them unfinished for a minimalist aesthetic, your bench reflects your unique style and personality. It’s a reflection of your individuality and adds a touch of charm and character to your living spaces.
As you admire your finished bench from crates, take a moment to appreciate the sense of accomplishment that comes with completing a DIY project. From the initial planning stages to the final touches, you’ve invested time, effort, and creativity into bringing your vision to life. The satisfaction of seeing your bench take shape and knowing that you’ve created something with your own hands is immeasurable and serves as a source of pride and fulfillment.
Building a bench from crates is just the beginning of your DIY journey. As you enjoy the fruits of your labour, let it inspire you to explore new projects, experiment with different materials, and push the boundaries of your creativity. Whether it’s building furniture, crafting home decor, or tackling larger renovation projects, there’s always room to grow and learn as a DIY enthusiast.
Your bench from crates represents more than just a piece of furniture—it’s a testament to your creativity, resourcefulness, and commitment to sustainability. It’s a reflection of your style and a symbol of the joy that comes from creating something with your own hands.
As you embark on future DIY endeavours, may your bench from crates serve as a reminder of the satisfaction that comes from turning simple materials into something extraordinary.
Frequently Asked Questions
1. Where can you find crates for this project?
Crates can be found at various locations, including craft stores, home improvement centres, and online retailers. Additionally, you may come across crates at flea markets, garage sales, or recycling centres. Be sure to choose crates that are in good condition and sturdy enough to support seating.
2. How many crates do you need to build a bench?
The number of crates you’ll need depends on the desired size and configuration of your bench. Typically, you’ll require three to four crates for the seat and additional crates for the legs or support structure. Consider the dimensions of your space and the intended use of the bench when determining the quantity of crates needed.
3. Do you need any woodworking experience to complete the bench from crates project?
While some basic woodworking skills are helpful, the bench from crates project is suitable for DIYers of all skill levels. The step-by-step instructions provided in the guide make it easy to follow along, and there are plenty of resources available online to help you learn essential woodworking techniques if needed.
4. Can you customize the design of the bench from crates to suit your preferences?
Yes, one of the advantages of building a bench from crates is the opportunity for customization. You can choose the size, shape, and configuration of the bench to fit your space and style preferences. Additionally, you can paint or stain the crates, add cushions or upholstery, and incorporate decorative elements to personalize the design.
5. How much weight can the bench from crates support?
The weight capacity of the bench from crates depends on various factors, including the strength of the crates, the quality of the lumber used for reinforcement, and the assembly method. By using sturdy materials and following proper construction techniques, you can build a bench that can support the weight of multiple adults.
6. Is the bench from crates suitable for indoor or outdoor use?
The versatility of crates makes this bench suitable for both indoor and outdoor use. If you plan to place the bench outdoors, consider using weather-resistant materials and applying a protective finish to prolong its lifespan and prevent damage from the elements.
7. Can you add storage to the bench from crates?
Yes, you can easily incorporate storage into the design of the bench by using crates with open bottoms or adding hinged lids to some of the crates. This allows you to store items such as shoes, blankets, or toys neatly out of sight, maximizing the functionality of the bench.
8. How long will it take to complete the bench from crates project?
The time required to build the bench depends on factors such as your skill level, the complexity of the design, and the availability of tools and materials. While some DIYers may complete the project in a single day, others may prefer to spread it out over a weekend to allow for adequate drying time between steps.
9. Are there any safety considerations you should be aware of?
When working with tools and materials, it’s essential to prioritize safety. Wear appropriate protective gear, such as safety glasses and gloves, and use caution when operating power tools. Additionally, ensure proper ventilation when using adhesives or finishes indoors, and follow manufacturer instructions for safe handling and disposal.


