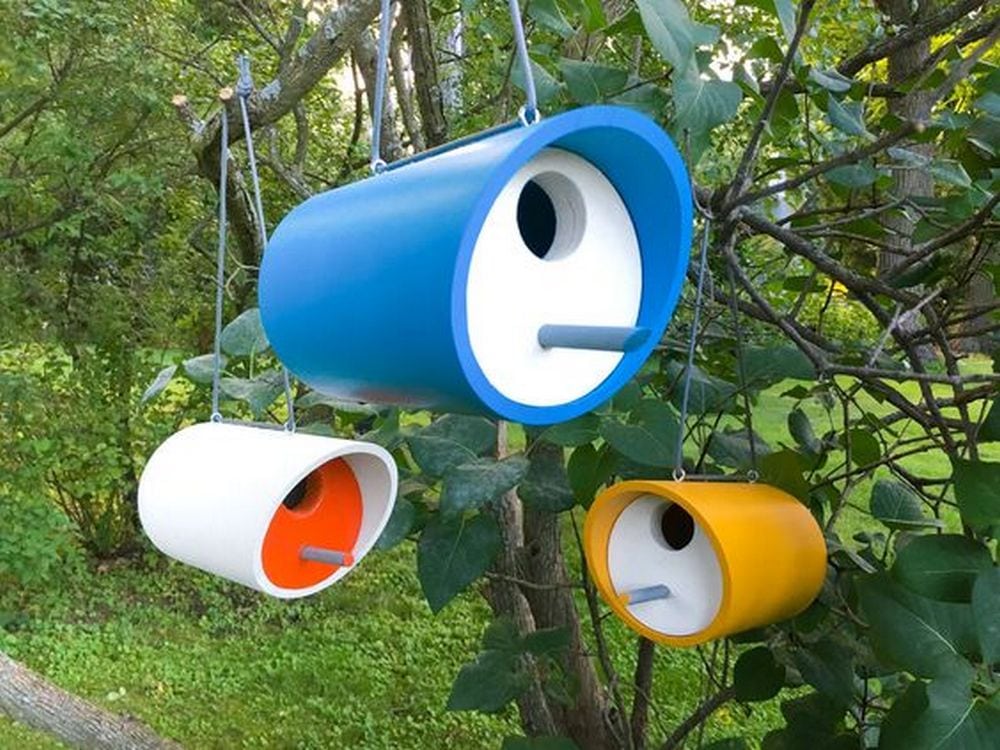
Owning a pet nowadays surely feels like you’re raising a child. Besides having to feed them, they also need to be regularly checked by a vet. Some people even clothe and pamper their pets which adds up to the expense. Not to mention that buying cages are costly as well – whether it’s brand new or second-hand. This is where a PVC birdhouse comes in handy.
Contents
Why PVC Birdhouses?
Owning a pet can be quite an investment. From regular vet check-ups to feeding and pampering, the expenses can quickly add up. Similarly, purchasing cages can be costly, whether you opt for new or second-hand ones. However, DIY options offer a budget-friendly alternative.
For bird enthusiasts, PVC birdhouses offer an opportunity to attract migrating birds to your backyard. While they may not be your pets, providing them with a home can be a fulfilling and rewarding experience.
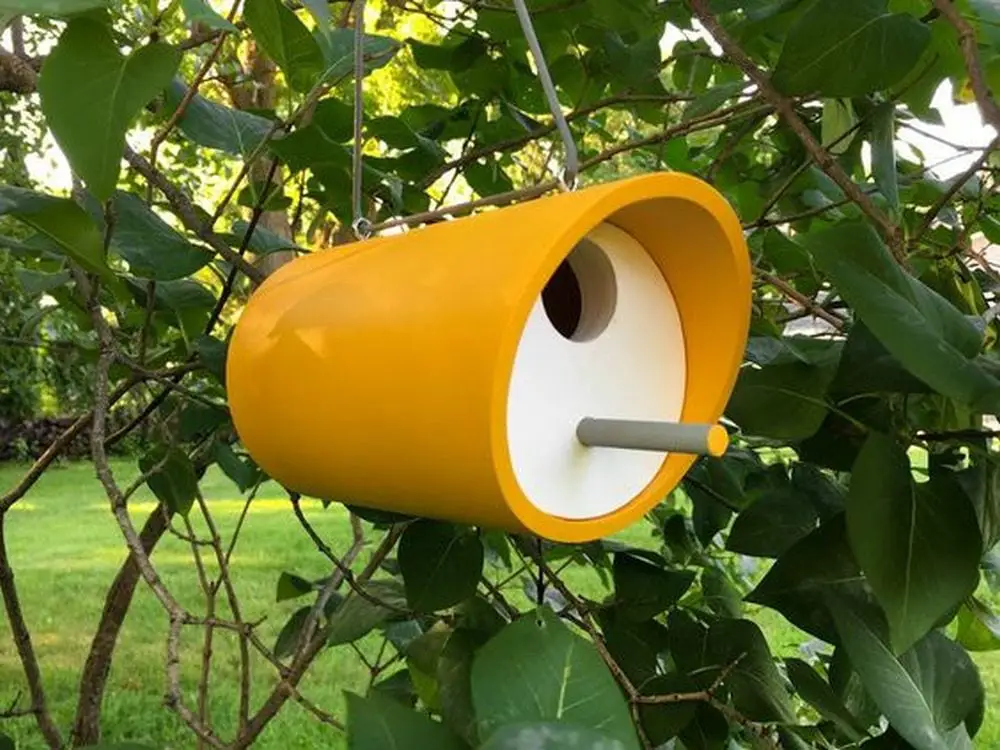
These DIY PVC birdhouses will be a great project. Since they’re fully customizable, you can design them your way. If you want to save some bucks, you should definitely give this project a try.
Materials
- 4-inch PVC pipe (at least 8 inches in length)
- The PVC pipe serves as the main structure of the birdhouse.
- The 4-inch diameter provides enough space for birds to nest comfortably.
- 2 Pcs 4-inch wooden rounds
- The wooden rounds act as the base and roof of the birdhouse.
- They provide stability and protection against the elements.
- Wood is a natural material that blends well with the environment and offers insulation for the birds.
- 2 Pcs 1-inch eye screws
- The eye screws are used for hanging the birdhouse.
- 24 inches of thin paracord
- The paracord is used for suspending the birdhouse.
- It is strong and durable, capable of withstanding outdoor conditions.
- The length of the paracord allows you to adjust the height at which the birdhouse is hung.
- Glue
- Glue is essential for securing the wooden rounds to the PVC pipe.
- Use a strong adhesive suitable for bonding plastic and wood.
- 220 grit sandpaper
- Sandpaper with a grit of 220 is used to smoothen the surfaces of the wooden rounds.
- 100 grit sandpaper
- This coarser sandpaper is used to roughen the exterior surface of the PVC pipe. Roughening the surface helps the paint adhere better, ensuring long-lasting colour and protection against weathering.
- Outdoor spray paint (2 colours of your choice) suitable for plastic
- Spray paint is used to add colour and aesthetics to the birdhouse. Opt for outdoor spray paint specifically designed for plastic surfaces to ensure durability and resistance to fading. Using two colours allows you to create patterns or accents that make your birdhouse visually appealing.
Each of these materials plays a crucial role in constructing a functional and attractive PVC birdhouse. They ensure the durability, stability, comfort, and visual appeal of the final product, providing a safe and inviting home for the birds in your backyard.
Tools
- Handsaw
- The handsaw is essential for cutting the PVC pipe.
- Electric drill
- In the case of building a PVC birdhouse, the electric drill is used to create holes for the entrance and attachment points. It provides accuracy and efficiency in the drilling process.
- 1 1/4 inch drill bit
- This specific drill bit size is used to create the entrance hole on the PVC pipe.
- The size may vary depending on the bird species you want to attract.
- The 1 1/4-inch hole provides enough space for most small to medium-sized birds to enter and exit comfortably.
- 1/8 inch drill bit
- The 1/8-inch drill bit is used for pilot holes when installing the eye screws.
- It creates small holes that guide the screws and prevents the PVC pipe from splitting or cracking.
- 1/4 inch drill bit
- This drill bit size is used to create holes in the wooden rounds for attaching the eye screws.
- It ensures that the eye screws fit securely into the wood, providing stability and strength to the birdhouse structure.
- 5/64 inch drill bit
- The 5/64-inch drill bit is used to create pilot holes.
- Clamp
- You’ll need a clamp for holding the PVC pipe and wooden rounds in place during assembly. It ensures stability and prevents the materials from shifting or moving while attaching them together.
- Pencil
- it is used for marking measurements and guidelines on PVC pipe and wooden rounds.
- Rubber mallet
- A rubber mallet is used to gently tap and secure the wooden rounds onto the PVC pipe.
- Quick square
- A quick square is a measuring and marking tool that ensures precise right angles during construction.
- Metal file
- It ensures that the surfaces are clean and free from any sharp edges that could potentially harm the birds.
- 1/4 inch wooden dowel: The wooden dowel is used to create a perch for the birds near the entrance hole. It provides a resting spot for the birds and adds to the functionality of the birdhouse.
Building Your PVC Birdhouse: Step-by-Step Guide
Cut PVC to the Desired Birdhouse Design
Cutting the PVC pipe into your desired birdhouse shape is the crucial initial step in building your PVC birdhouse. By shaping the PVC pipe, you can create a structure that not only provides a safe haven for the birds but also reflects your personal style and preferences.
To begin, gather the necessary tools for the cutting process, including a handsaw and a measuring tape. Ensure that you have a clear and well-lit workspace to work comfortably. Follow these steps to cut the PVC pipe:
Measure and Mark
Use a measuring tape to determine the desired length of your PVC birdhouse. Mark the measurement on the PVC pipe with a pencil. This step allows you to achieve the appropriate size for the birdhouse based on the bird species you wish to attract.
Secure the Pvc Pipe
Hold the PVC pipe securely in place. You can use a clamp or ask a partner to hold it steady while you make the cut. This ensures stability and helps maintain accuracy during the cutting process.
Align the Saw and Start Cutting
Position the handsaw perpendicular to the PVC pipe, aligning it with the marked measurement. Ensure that the saw teeth are in contact with the pipe’s surface, and ready to begin the cut.
Apply steady and even pressure as you begin to saw through the PVC pipe. Use smooth and controlled back-and-forth motions to create a clean cut. Take your time to maintain accuracy and avoid rushing the process.
Complete the Cut
Continue sawing until you reach the endpoint marked on the PVC pipe. Be mindful of maintaining a straight and even cut throughout the process. Take breaks if needed to avoid fatigue and ensure the quality of the cut for your PVC birdhouse.
Inspect and Refine
Once the cut is complete, carefully inspect the edges of the PVC pipe. Look for any rough or uneven areas that may need further refinement. Use sandpaper or a metal file to smoothen the edges, ensuring a safe and comfortable environment for the birds.
Remember, precision and attention to detail are crucial when cutting the PVC pipe. Take your time and follow the measurements and markings to create the desired shape for your birdhouse. With a well-cut PVC pipe, you can proceed to the next steps of assembling and customizing your PVC birdhouse, bringing it closer to completion.
Attaching the Wooden Rounds
Attaching the wooden rounds is an important step in the construction of your PVC birdhouse. Depending on your design preferences, the wooden rounds can serve as either the roof or the end wall of the birdhouse. This step adds structural integrity and aesthetic appeal to the overall design.
Determine the Placement
Decide whether you want the wooden round to serve as the roof or the end wall of your PVC birdhouse. This will affect the positioning and orientation of the wooden round during attachment.
If you opt for a horizontal birdhouse, this wall will function as an end wall. Alternatively, selecting a vertical orientation will dictate the flow of your PVC birdhouse.
Apply Glue
Apply a generous amount of glue to one end of the PVC pipe. Ensure that the area where the wooden round will be attached is thoroughly coated with glue. This will provide a strong bond and prevent any potential separation.
Position the Wooden Round
Carefully position the wooden round on the glued area of the PVC pipe. Align it with the edges of the pipe, ensuring a flush and secure fit. Press the wooden round firmly against the glue, applying even pressure to promote adhesion.
Secure and Stabilize
To ensure a strong bond, hold the wooden round in place for a few moments. Apply gentle pressure to keep it firmly attached to the PVC pipe. This will allow the glue to set and create a secure connection.
Allow For Drying Time
After attaching the first wooden round, give it sufficient time to dry according to the instructions provided with the glue. This will vary depending on the type of glue used. Follow the recommended drying time to ensure optimal bonding.
Orientation is key for birdhouse placement. For horizontal birdhouses, attach the second wooden round to the opposite end of the PVC after drilling a 1 1/4-inch hole for the door. Repeat on the other end, glue and secure the rounds, and let dry for a balanced look.
If you opt for a vertical birdhouse, refrain from drilling a hole into the other wooden round prior to attachment. Rather, drill a hole in the PVC pipe for the door.
By attaching the wooden rounds with glue, you create a durable and stable structure for your PVC birdhouse. The glue forms a strong bond between the PVC pipe and the wooden round, ensuring that it remains securely in place even in various weather conditions.
Once the glue has dried completely and the wooden rounds are securely attached, you can proceed to the next steps of sanding, painting and adding additional elements to personalize and enhance your PVC birdhouse.
Install Eye Screws
Drill two small pilot holes on the opposite sides of the PVC pipe, slightly below the entrance hole. Screw in the eye screws securely. These eye screws will serve as attachment points for the paracord later on.
Attach the Parachord
Using paracord to secure the PVC birdhouse creates a sturdy hanging mechanism for positioning it in your preferred location. The durability and strength of the paracord guarantee that the birdhouse will remain suspended, even in the face of wind, thus providing a secure and comfortable habitat for birds.
With the paracord securely attached, you can now proceed to the final steps of sanding, painting and adding any additional decorative elements to customize your PVC birdhouse and make it a visually appealing addition to your backyard.
Painting the Birdhouse
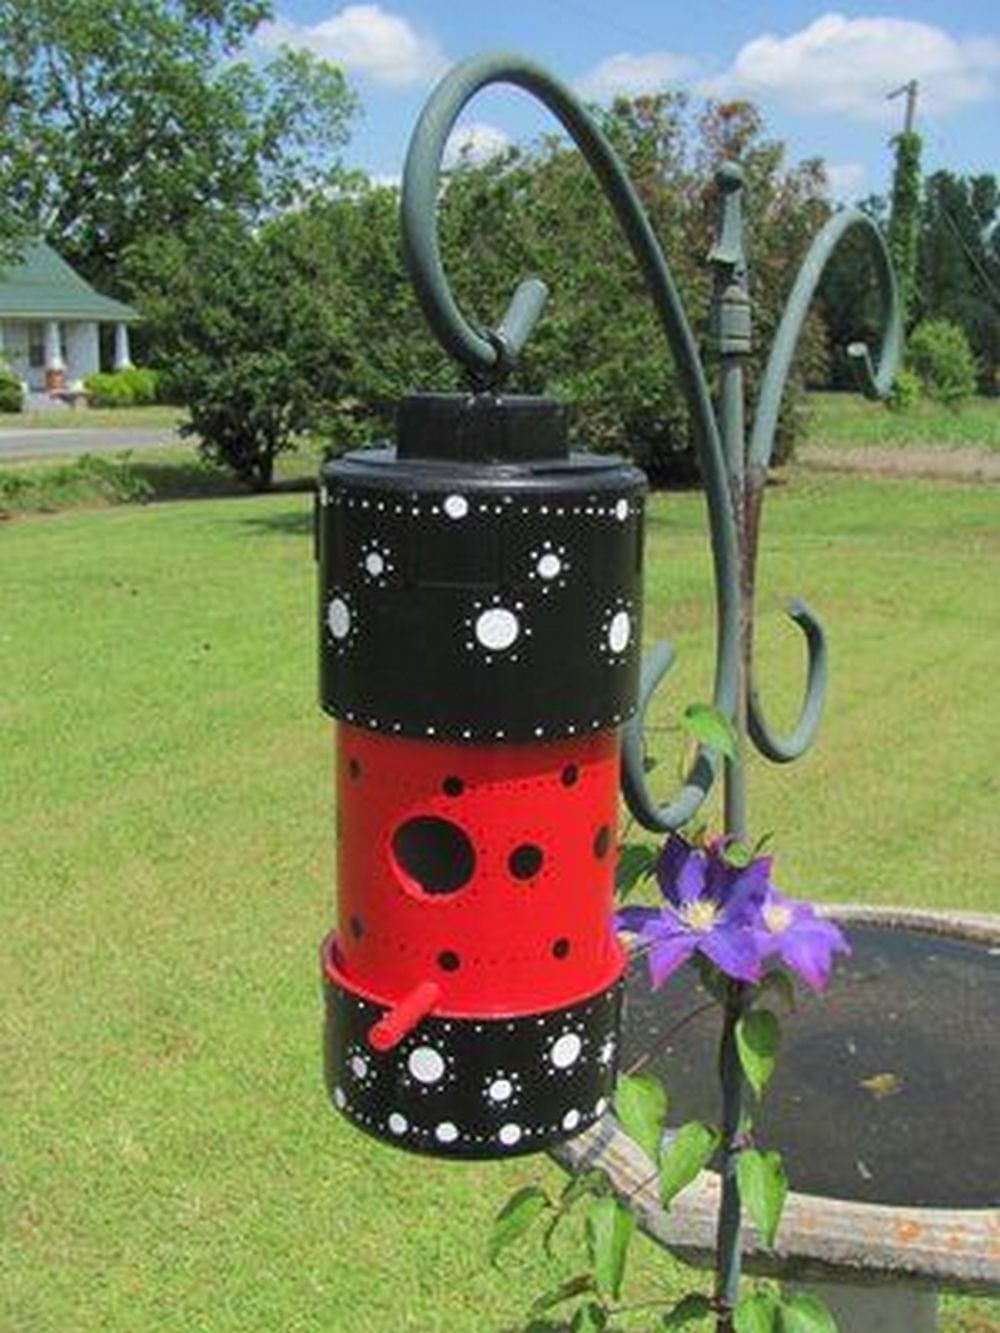
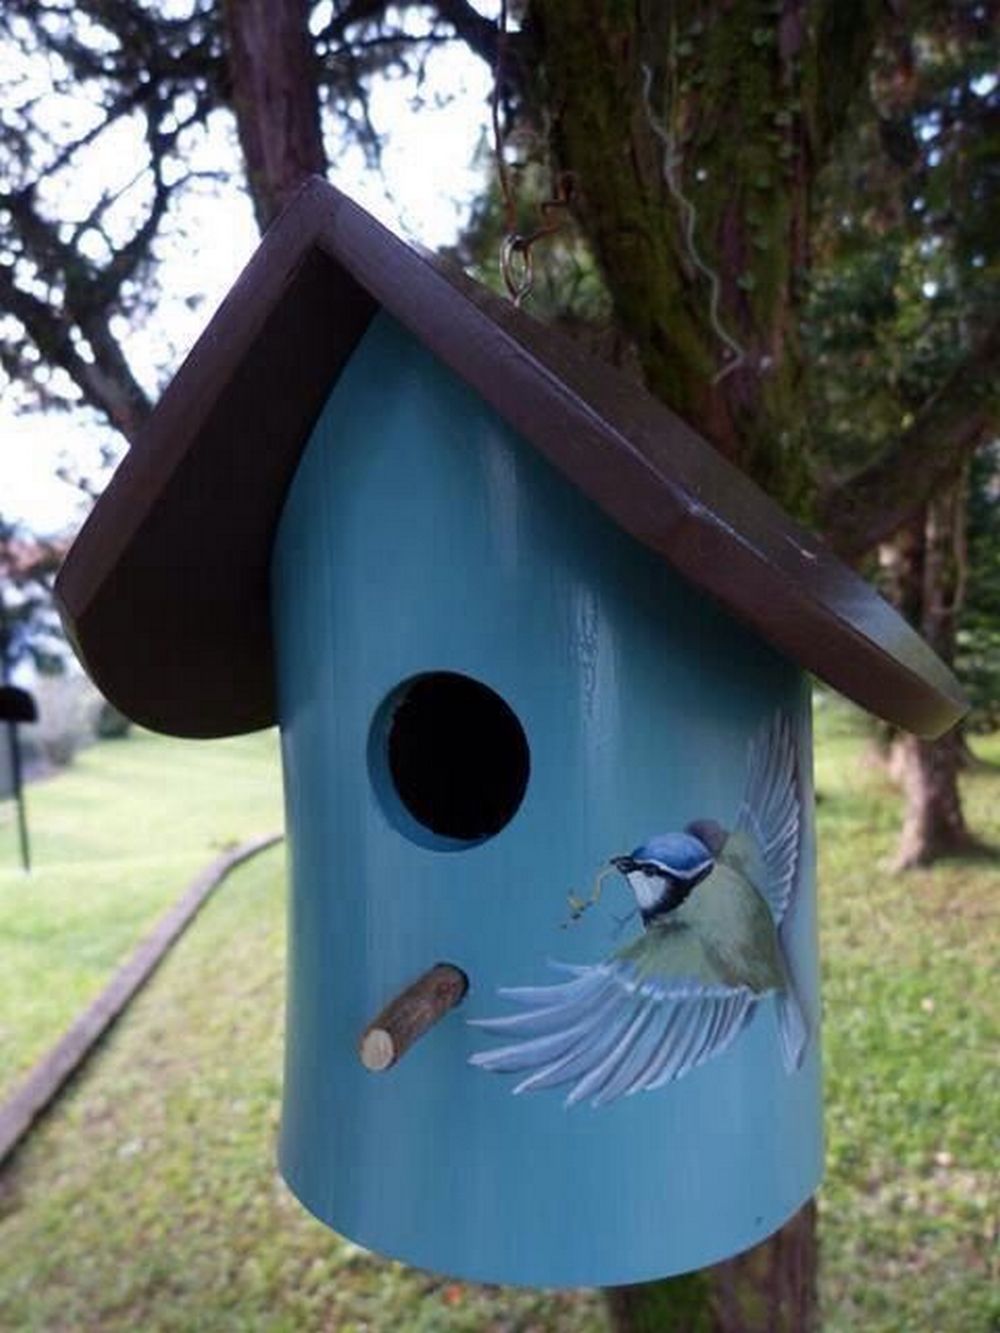
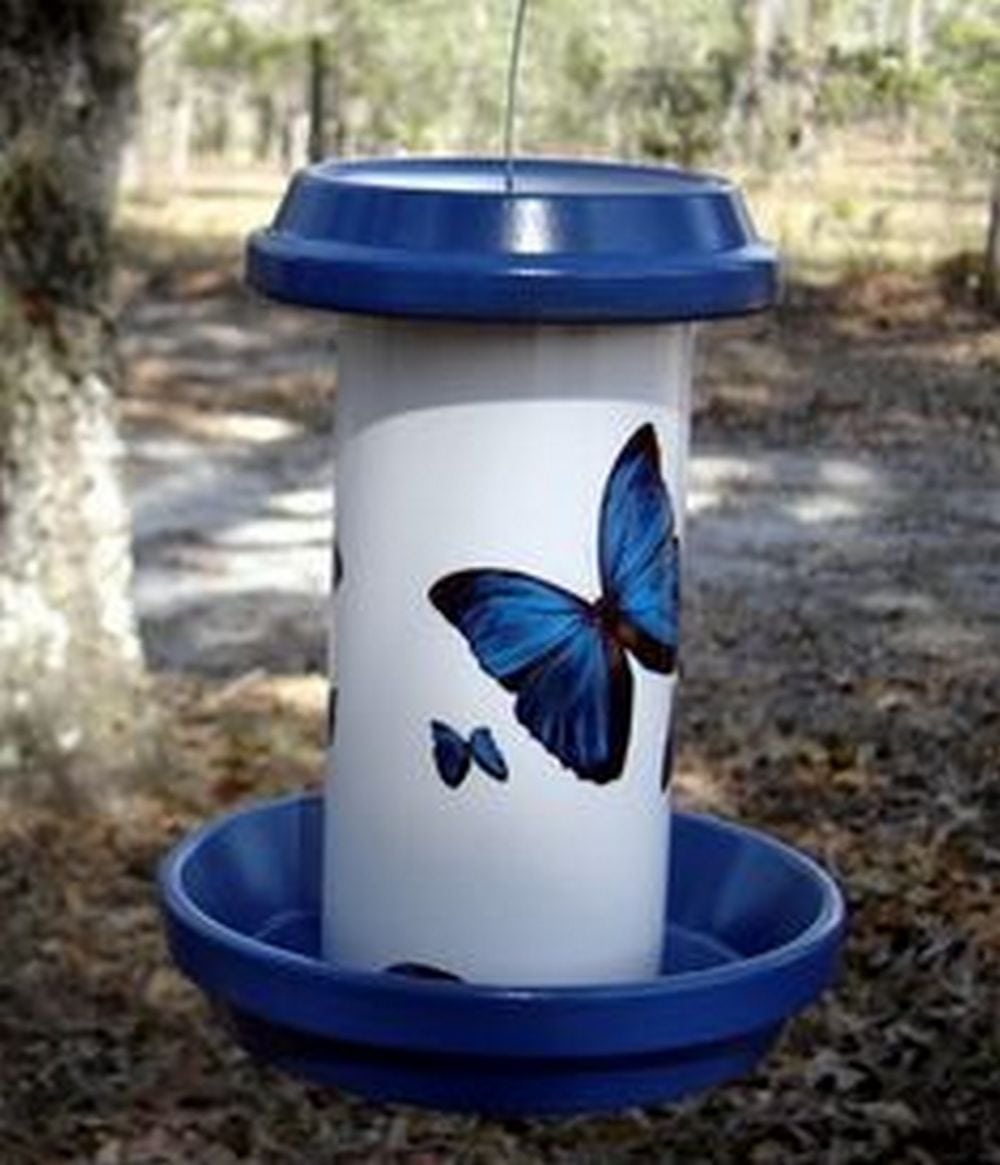
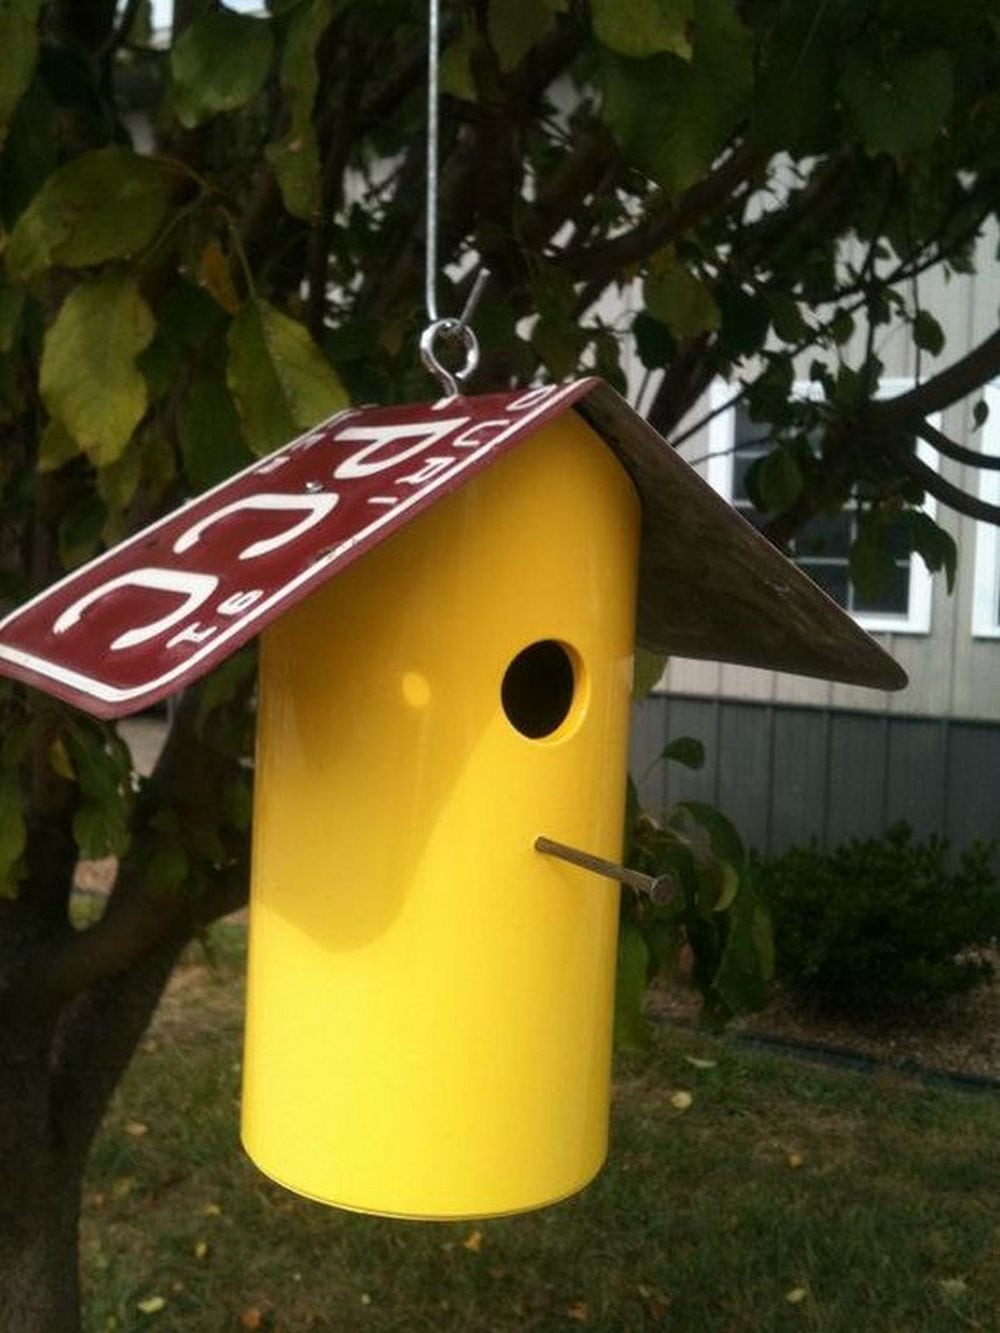
Choose two colours of outdoor spray paint that complement each other. Apply the base colour to the entire birdhouse, including the wooden rounds. Allow the paint to dry according to the manufacturer’s instructions.
Once dry, use the second colour to add patterns, designs, or accents to your liking. Let the paint dry completely before proceeding.
Click on any image to start the lightbox display. Use your Esc key to close the lightbox.
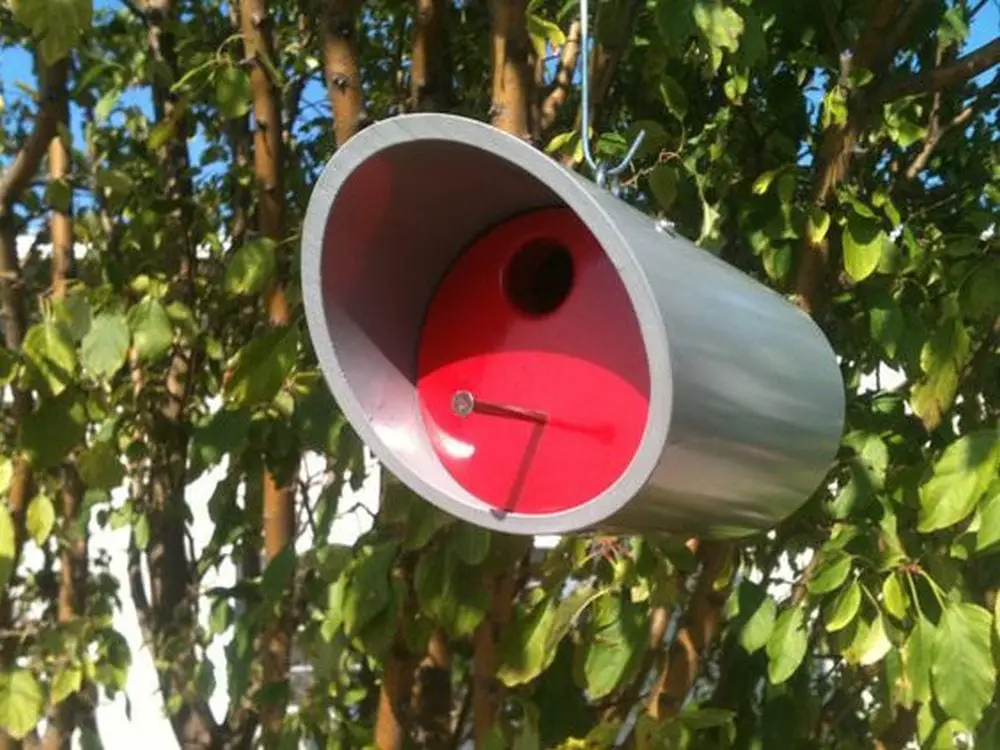


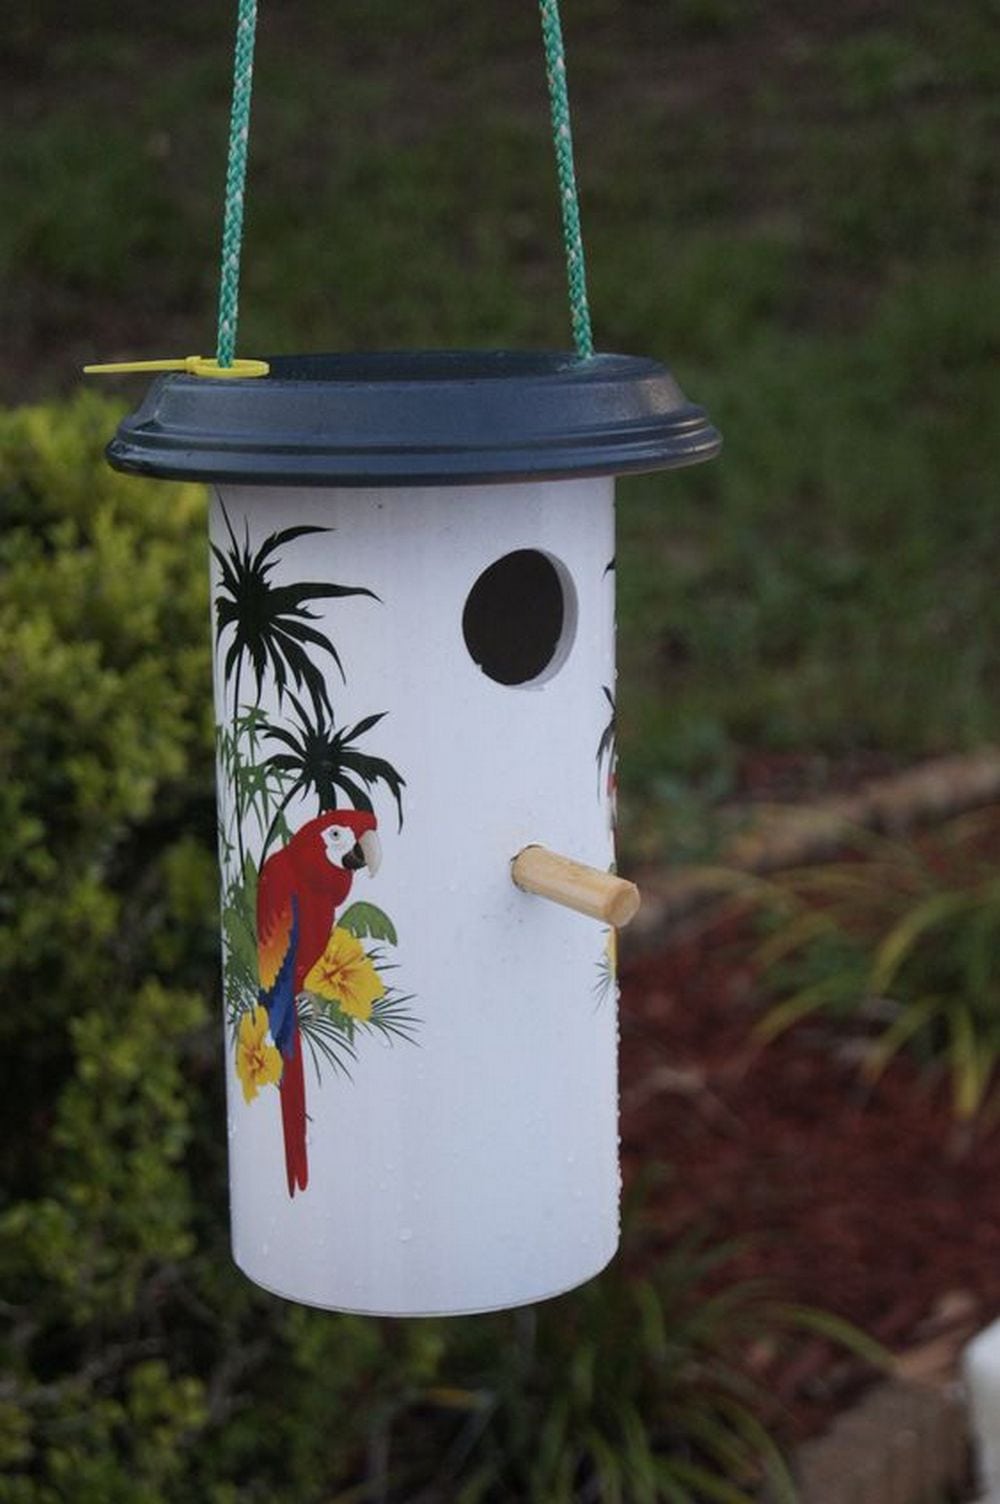
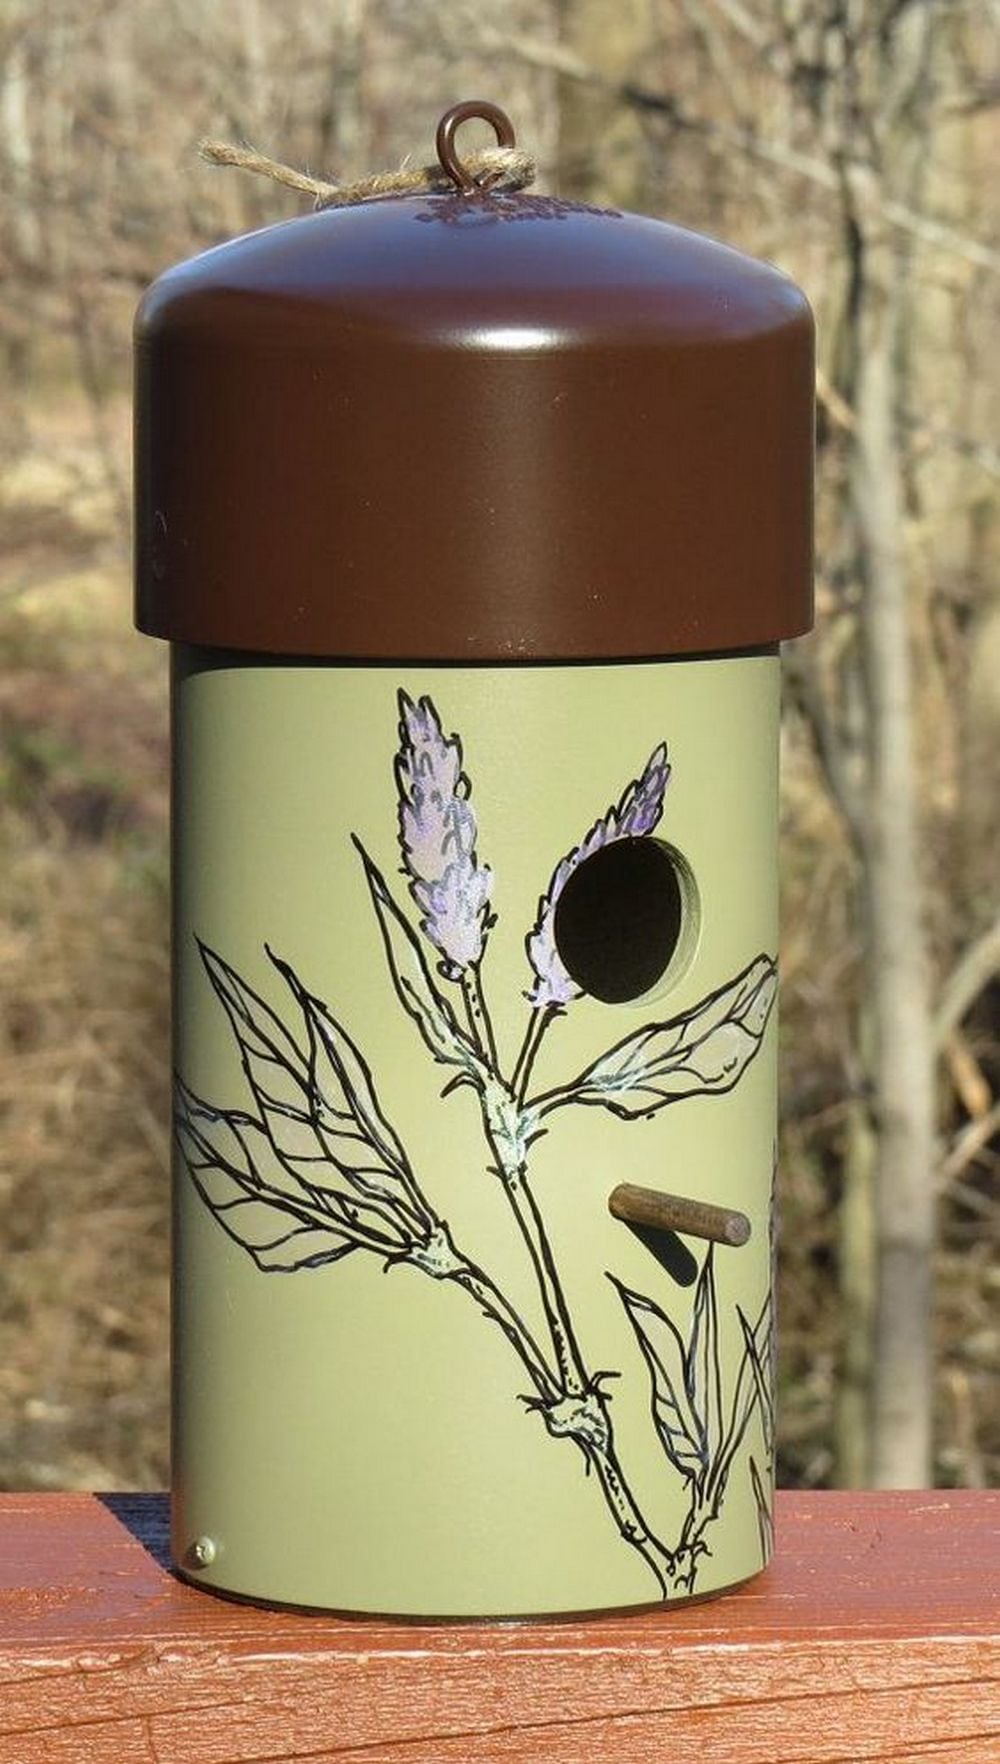
Thank you for DIYeasycrafts for the inspiration for this wonderful project.
Conclusion
Building a PVC birdhouse offers a rewarding DIY project that combines creativity with nature conservation. It allows for customization to attract specific bird species, enhancing the biodiversity of your backyard. Moreover, this project presents an opportunity to engage with the environment in a meaningful way, fostering a connection with local wildlife.


