Do you have older appliances you need to upcycle or at least re-face? If the appliances still work, you may be able to save money with some creative revamping. You could update the item without spending a fortune.
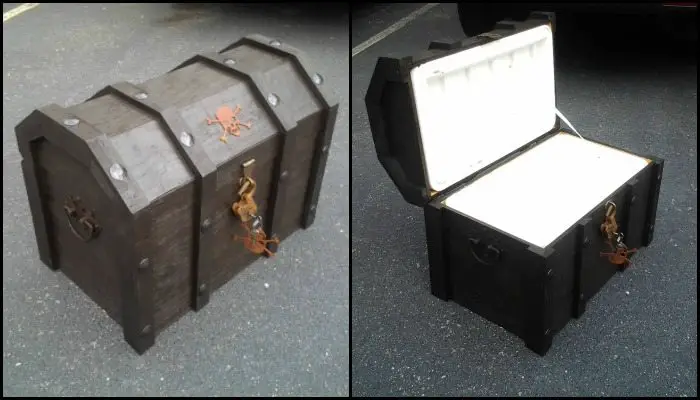
This treasure chest cooler project is an excellent example. You can bring a little more fun in providing drinks at gatherings by turning your chest cooler into a pirate treasure chest!
It’s great for kids’ parties, Halloween and Christmas parties, and all other sorts of fun gatherings! A pirate’s treasure chest will surely be a hit among kids – and adults too.
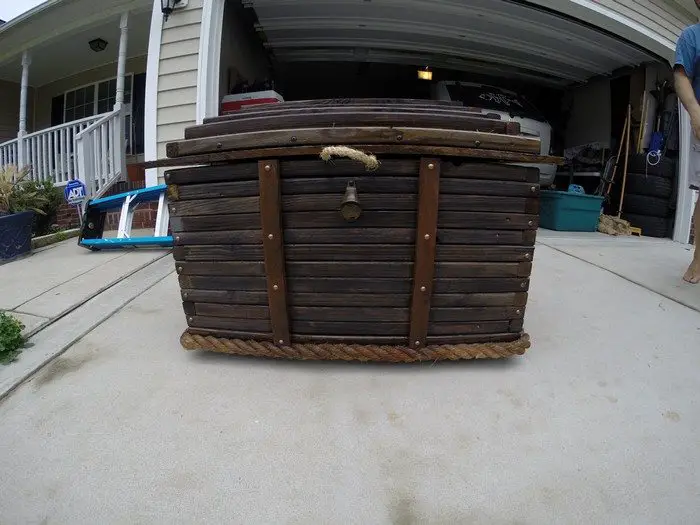
It’s very easy to build, and a great way to make use of some scrap timber you may have in your workshop. You can stain and give it a rich or dark but aged wood finish to achieve that look of authenticity.
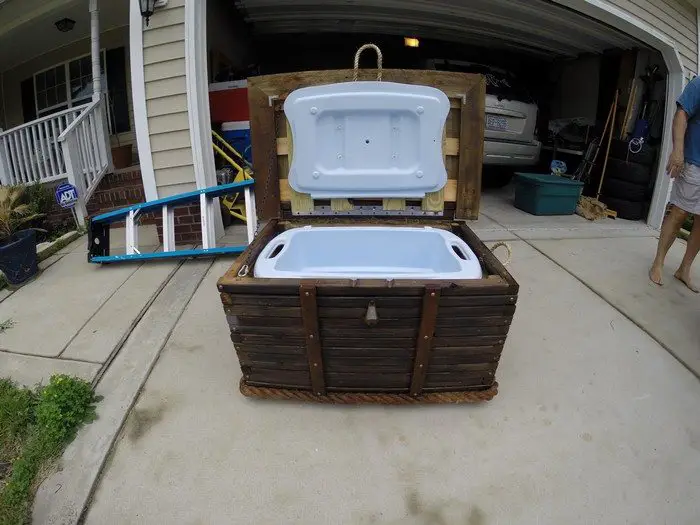
Since it is made mostly out of plywood, this treasure chest cooler is not as heavy as it looks. It can be carried by one person when empty. When full of ice and drinks, it might take two people to carry the unit. Just make sure to use good quality hardware, and your treasure chest cooler will surely have no problem holding all the weight!
Is this going to be your next project?
Contents
Building a Treasure Chest Cooler
Materials
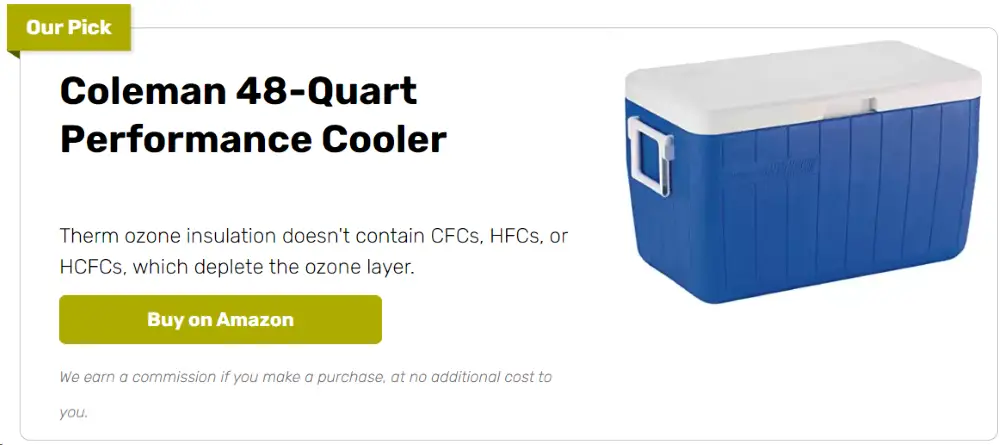
- Cooler
- 5/8″ Plywood
- 1/2″ Threaded PVC Fitting
- Reclaimed Timber Slats
- Wood Glue
- Nails and Screws
- Rustic Hardware (hinges, handles, lock, nail covers)
- Dark Wood Stain
- Wood Sealant
- Hose Bibb
- Escutcheon Plate
- 1/2″ Flange
Tools
- Circular Saw
- Measuring Tape
- Finish Nailer
- Drill
- Sander
Instructions
Step 1: Prepare the Plywood
- Measure and cut the 5/8″ plywood using the circular saw to create the sides, bottom, and lid of the cooler. You’ll need two large pieces for the front and back, two smaller pieces for the ends, a bottom piece, and a lid piece.
Step 2: Assemble the Base Structure
- Apply wood glue to the edges of the plywood pieces that will form the bottom and sides of the cooler.
- Use the drill and screws to securely join these pieces, forming a rectangular box. Ensure all edges are aligned properly for a clean finish.
Step 3: Attach the Reclaimed Timber Slats
- Cut the reclaimed timber slats to fit the exterior dimensions of the assembled plywood box.
- Attach the slats to the outside of the plywood using wood glue and the finish nailer, giving the cooler a rustic, treasure chest appearance.
Step 4: Install the Rustic Hardware
- Attach rustic hinges to the back edge of the lid and the top edge of the cooler’s back panel.
- Install handles on the sides for easy carrying.
- Add a lock to the front for a functional and aesthetic touch.
Step 5: Apply Wood Stain and Sealant
- Sand the entire cooler with the sander to smooth out rough edges and surfaces.
- Apply a coat of dark wood stain to all wooden parts. Let it dry according to the stain’s instructions.
- Once dry, apply a coat of wood sealant to protect the wood from moisture and wear. Allow it to dry completely.
Step 6: Set Up the Drainage System
- Drill a hole near the bottom of one side of the cooler to fit the 1/2″ threaded PVC fitting.
- Install the PVC fitting into the hole, securing it with the flange inside the cooler.
- Attach the hose bibb to the exterior part of the PVC fitting and secure it with the escutcheon plate for a clean finish.
Step 7: Insert the Cooler
- Place your pre-existing cooler inside the wooden chest. If necessary, secure it with a few screws or brackets to prevent it from moving around inside the wooden enclosure.
Click on any image to start the lightbox display. Use your Esc key to close the lightbox ![]()
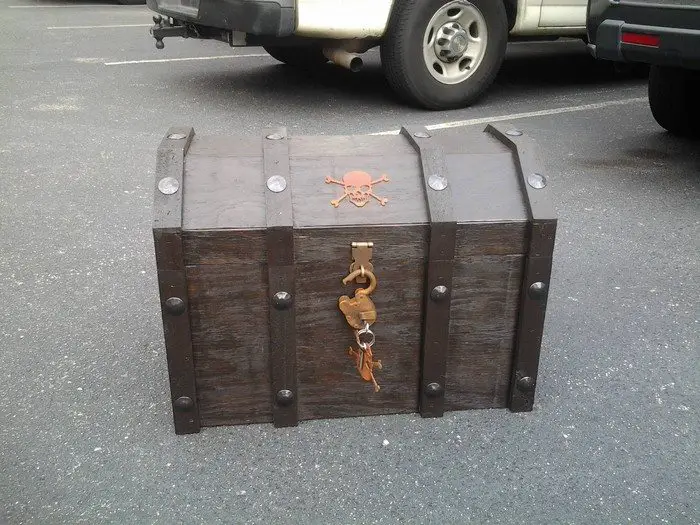
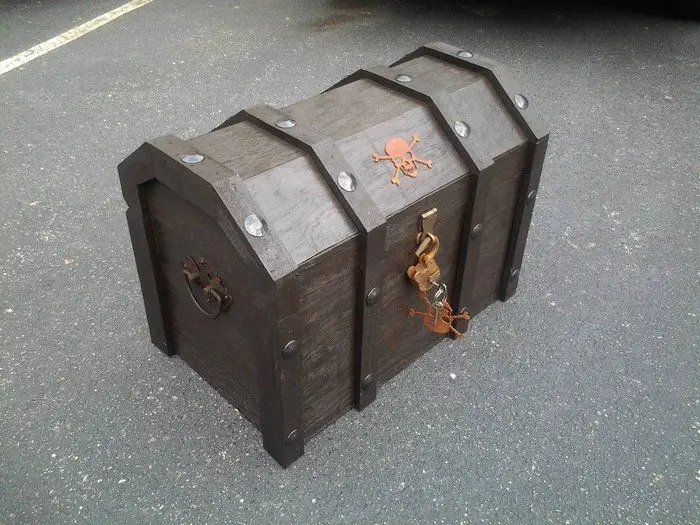
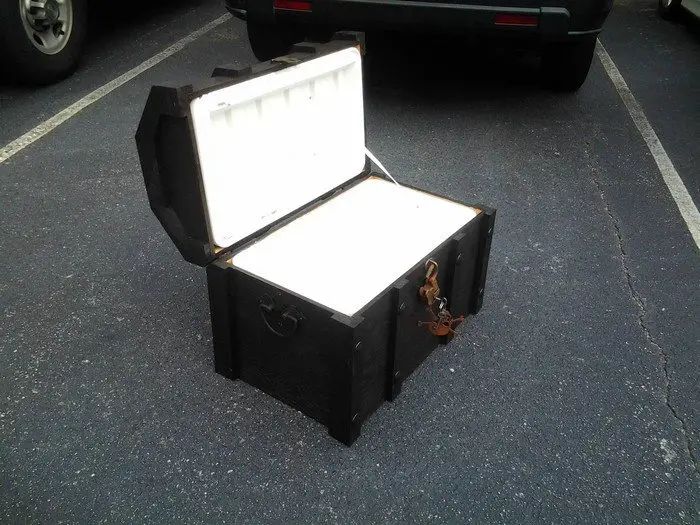
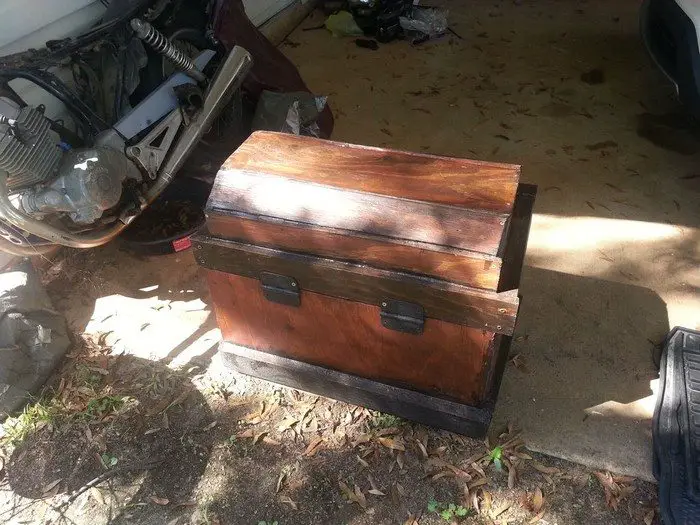
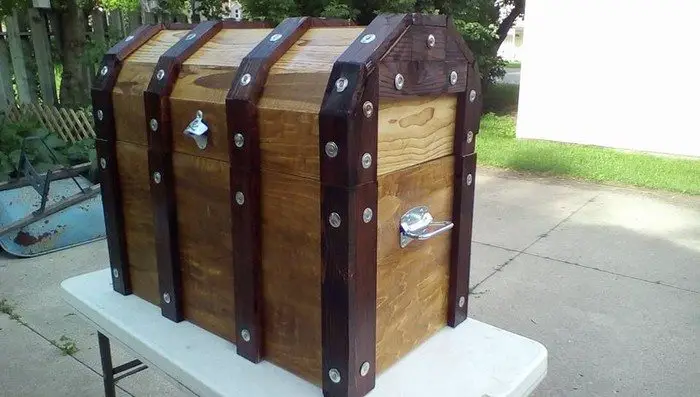
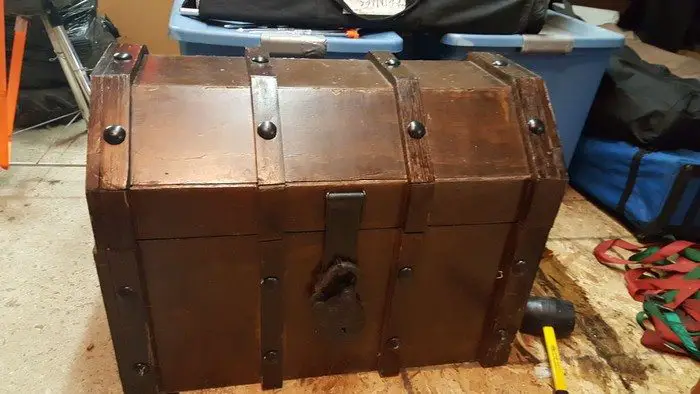
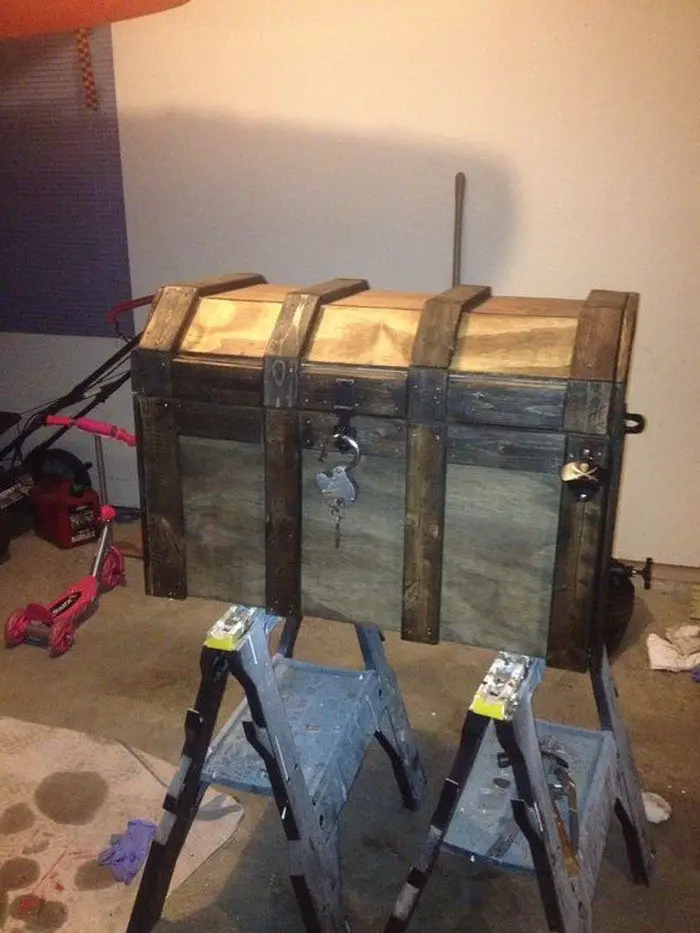


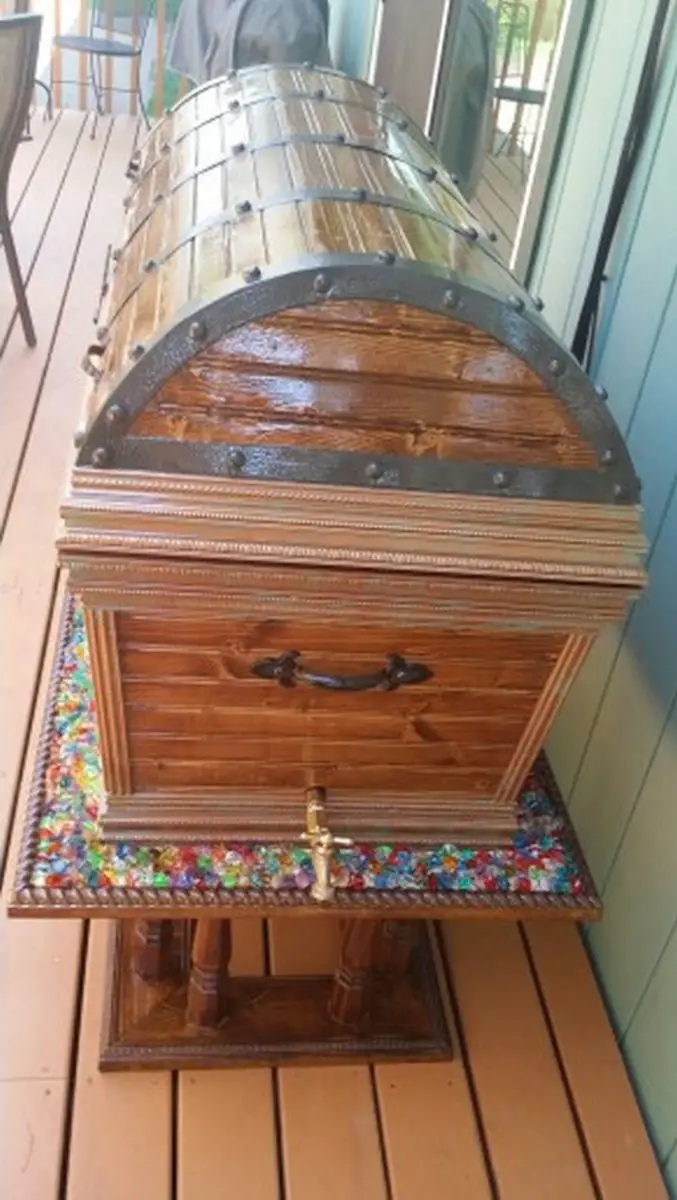
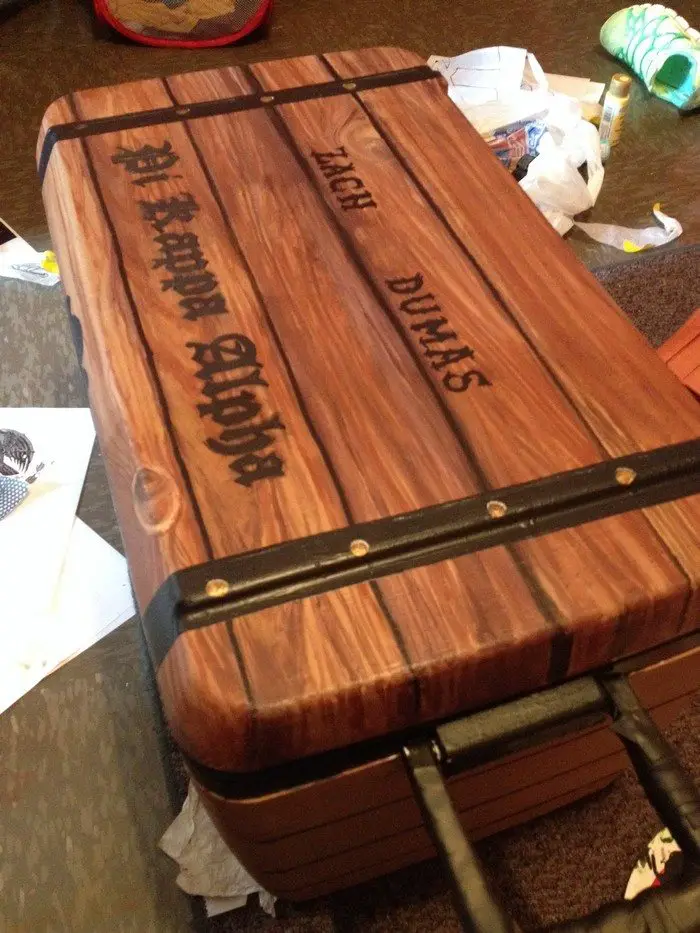
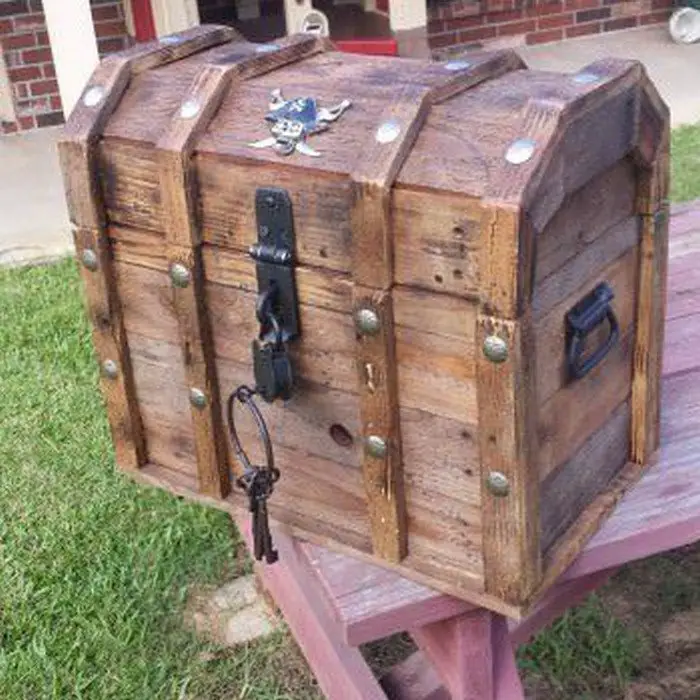
Thanks to ShutupLori for this great project. You can get more step-by-step instructions here…
Customization Ideas for Your Treasure Chest Cooler
Transform your standard cooler into a centerpiece that not only serves cold beverages but also sparks conversation at your gatherings. A treasure chest cooler is not only a practical project but also a canvas for creativity.
Below, explore various customization ideas to personalize your treasure chest cooler to fit different themes and functionalities.
Choose a Theme
- Pirate Treasure Chest Cooler: This is a classic choice. Enhance it with antique-looking maps pasted inside the lid and use rustic, weathered wood. Add faux gold trim or decorative coins around the edges for that treasure-laden feel.
- Viking Treasure Trove: For a Norse touch, adorn your cooler with carved runes, faux fur around the base, and handles made from antlers or rough-hewn wood. The Viking theme is perfect for meat-heavy BBQ parties or any gathering with a rustic, old-world feel.
- Royal Dowry Box: Opt for a regal look with plush velvet lining, ornate metalwork, and rich colors like deep reds and gold. This style could be a hit at sophisticated adult parties, especially those with a historical or fantasy theme.
- Beachcomber’s Delight: Ideal for pool parties or beach outings, decorate with light-stained wood, seashells, and a finish that mimics driftwood. Adding a net on the side or incorporating a nautical map can complete the seaside look.
Functional Customizations
- Built-in Bottle Opener: Attach one or more bottle openers to the sides for convenience. This small addition ensures no one has to pause the fun to look for a way to open their drinks.
- Integrated Sound System: For those who love to pair their cold beverages with some tunes, install waterproof speakers within the cooler’s structure. Ensure all electronic components are safely enclosed to prevent moisture damage.
- LED Lighting: Install waterproof LED strips inside the lid or around the base of the cooler. This not only makes it easier to find beverages in low-light conditions but also adds a fun element to evening events.
- Adjustable Interior Compartments: Create partitions inside the cooler for better organization. This can be particularly useful for separating different types of drinks or for keeping food items cool but not soaked in ice.
Aesthetic Enhancements
- Stain and Paint: Don’t limit yourself to dark wood stains. Experiment with colors to match your theme or event—bright blues for a beach party, sleek black for a modern look, or even multicolored patterns for something fun and youthful.
- Decorative Accents: Depending on your chosen theme, consider adding embellishments such as brass corners, decorative straps, or themed decals. These small touches can significantly elevate the overall appearance of your cooler.
- Texture Play: Mix materials and textures for a dynamic look. Combine smooth metal with rough wood, or incorporate glass elements for a touch of elegance. Textures not only enhance the visual appeal but can also influence the tactile experience of using the cooler.
Sustainability Angle
- Recycled Materials: Whenever possible, use recycled or reclaimed materials for your project. This not only reduces the environmental impact but also adds a story to your cooler—imagine a cooler paneled with wood from old ships or barns!
- Eco-friendly Finishes: Opt for natural or low-VOC stains and sealants to minimize the environmental footprint of your customization. This is particularly important for those who use their coolers frequently and are conscious of their health and environmental impact.
By considering these customization options, you can transform a simple cooler into a treasure chest cooler that stands out at any event, provides functional benefits, and reflects your style or the theme of your gathering.
Maintenance and Care Tips
Maintaining your treasure chest cooler is crucial for ensuring it continues to function as a stylish and practical feature at your events. Proper care not only extends the life of your cooler but also keeps it looking great.
Here are some essential maintenance and care tips to help you get the most out of your treasure chest cooler.
Regular Cleaning
Regularly clean both the inside and outside of your treasure chest cooler. For the interior, use a mild soap and water solution to wipe down surfaces. This is especially important after storing food and beverages to prevent odors and mold. For the exterior, depending on the finish and materials used, a gentle wiping with a damp cloth can keep the surface looking new.
Wood Treatment
The wood components of your treasure chest cooler, particularly if it’s used outdoors, should be treated with a wood sealant at least once a year. This prevents water damage and wear from exposure to the elements. If your cooler has a painted or stained finish, check for chips or cracks and touch them up as needed to maintain a moisture barrier.
Hardware Checks
The hardware on your treasure chest cooler, such as hinges, handles, and locks, should be inspected regularly. Tighten any loose screws and replace any rusted or worn parts. Proper hardware maintenance ensures the structural integrity of the cooler and prevents accidental damage during transport or use.
Moisture Management
While your treasure chest cooler is designed to handle moisture from ice and drinks, it’s important to prevent standing water and prolonged exposure to wet conditions. After each use, thoroughly drain the cooler and dry it out to prevent water damage and mold growth. Ensuring it’s dry before storage is also crucial.
Storage Solutions
When not in use, store your treasure chest cooler in a cool, dry place to avoid exposure to harsh weather conditions. If storing it outside, consider a waterproof cover to protect it from rain, snow, and excessive sunlight, which can fade and damage the wood and hardware over time.
Following these maintenance and care guidelines will help your treasure chest cooler stay a consistent and appealing addition to your social events, therefore keeping drinks chilled and guests delighted at every party.
Conclusion
Building a treasure chest cooler is a rewarding DIY project that combines functionality with aesthetic appeal. With the right materials and a bit of creativity, you can create a unique focal point for your gatherings that’s both practical and stylish. This custom cooler will not only keep your drinks cold but also add a touch of adventure to any event.

