![Tree Limb Branches Coaster](https://diyprojects.ideas2live4.com/wp-content/uploads/sites/5/2016/05/Tree-Limb-Branches-Coaster-Main-Image.jpg)
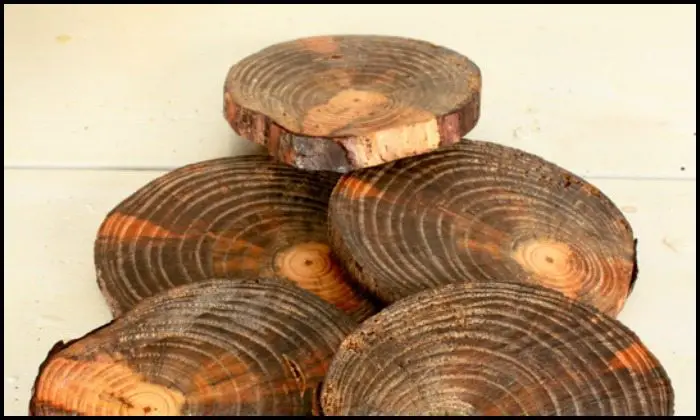
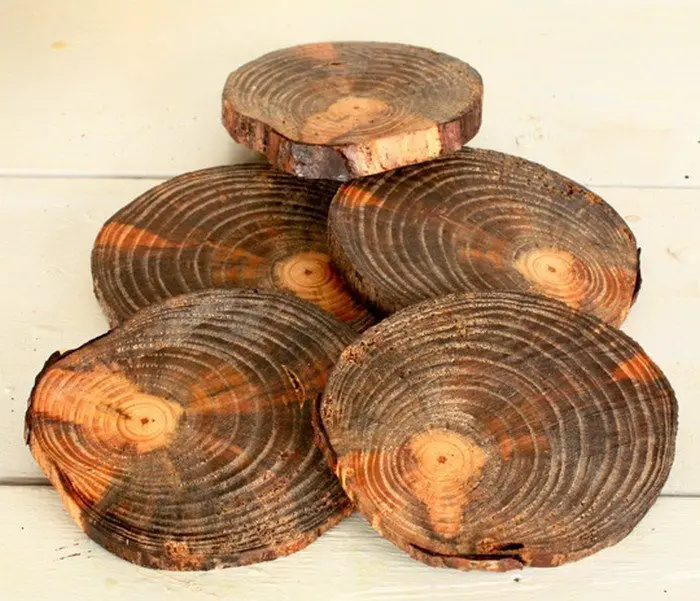
Several materials are available and free for us to turn into something useful. A dead tree limb is one and we have just the right DIY project for it!
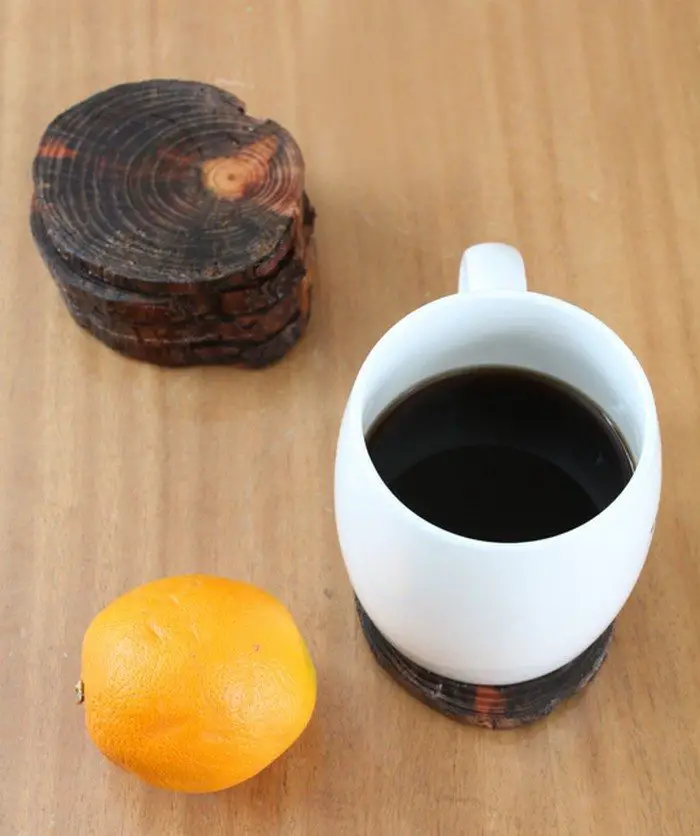
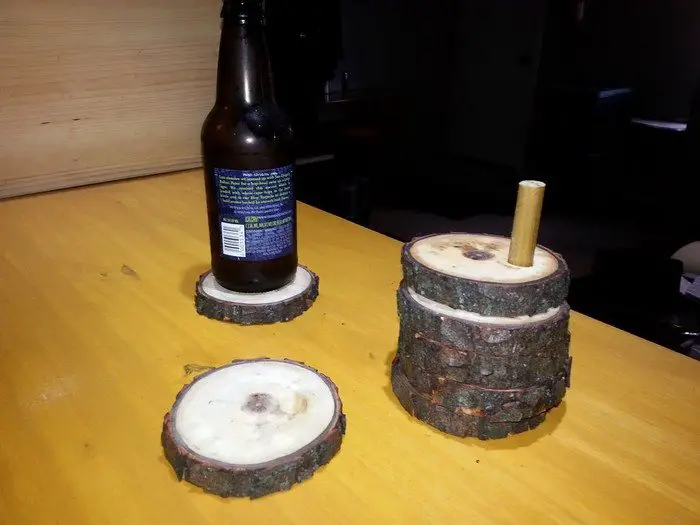
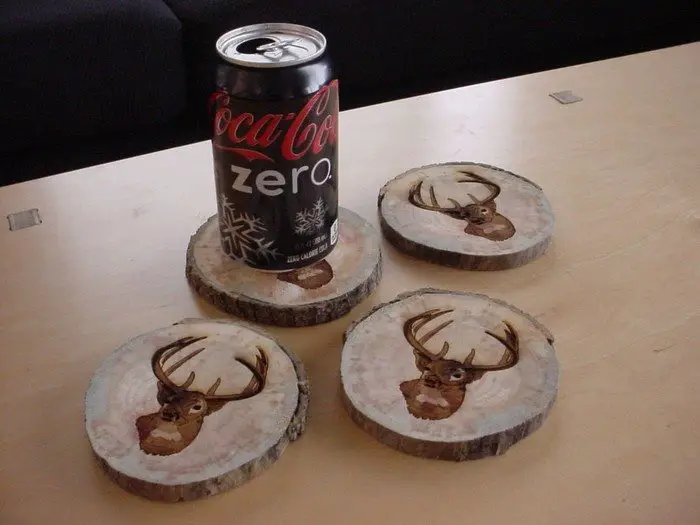
Make beautiful drink coasters by simply slicing them into the desired thickness.
But before cutting them, it’s important to make sure that the wood is dry. Ideally, it should contain only around 8% of moisture to avoid splitting. So put it out in the sun for days before working with it. You can also use a moisture meter if you want to make sure it’s dry enough. (This tool comes in handy for several woodworking projects, too.)
![](https://diyprojects.ideas2live4.com/wp-content/uploads/sites/5/2016/05/Unfinished-Natural-Wood-Slices-12-Pcs.png)
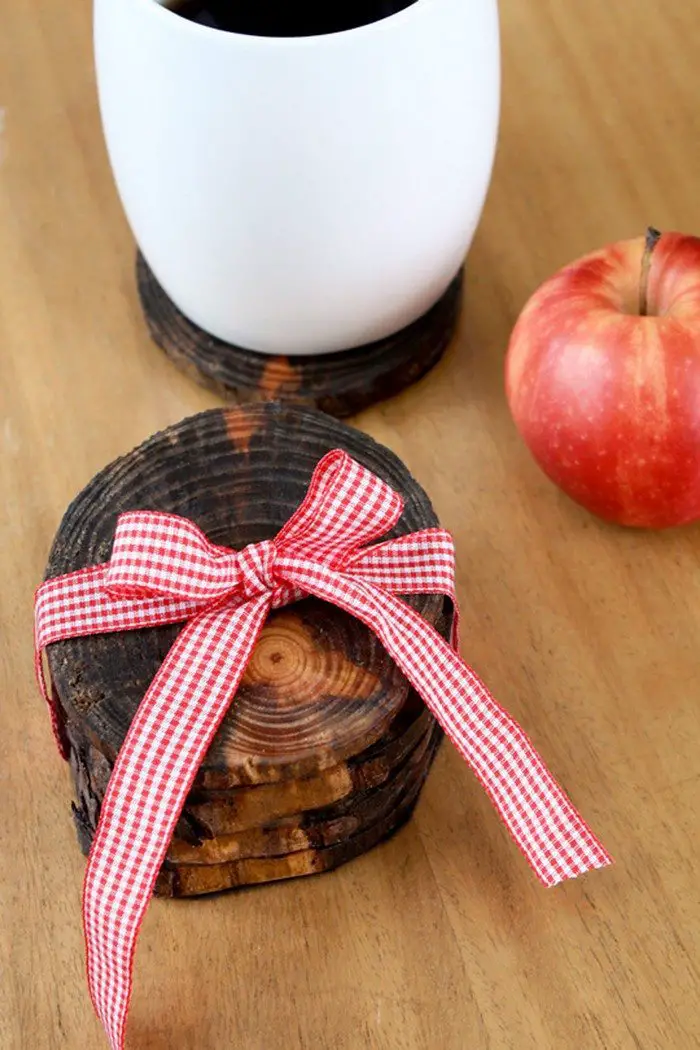
Now you’ll see in the step-by-step tutorial below that polyurethane sealer was used for this DIY project. You can use also epoxy as an alternative and this would give a glossy look. If you want a matte finish, you can wet sand the epoxy surface with very fine grit.
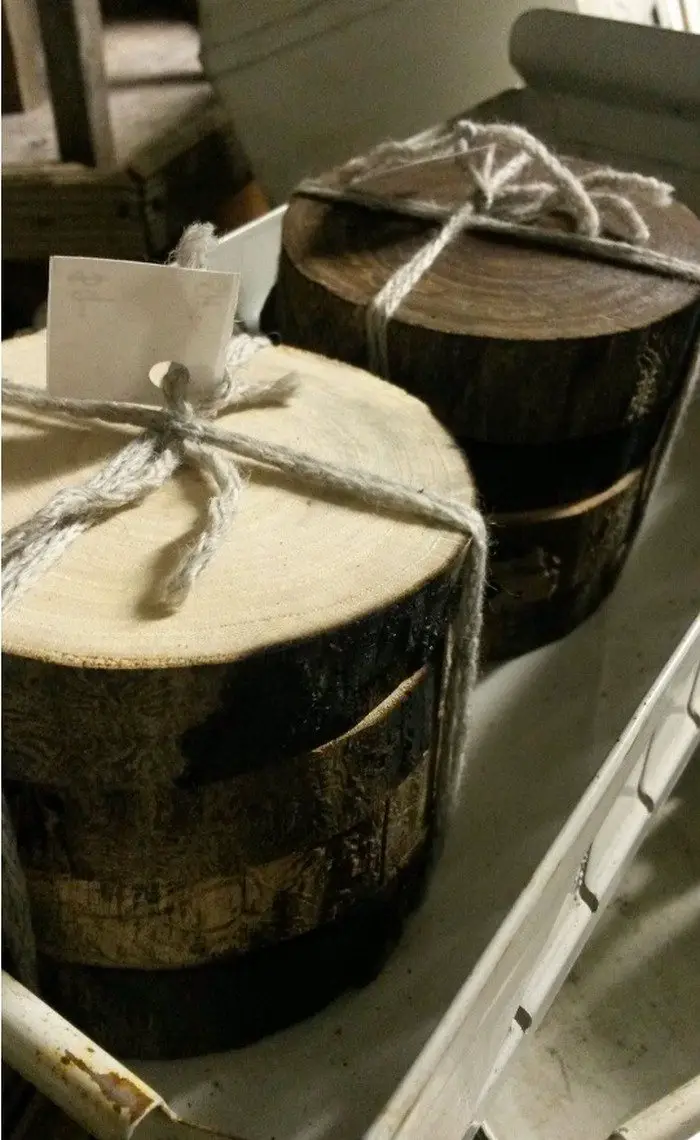
Do you need a new set of drink coasters at home? Or perhaps you’re thinking of a nice gift for a friend or loved ones? This DIY tree limb coaster would make the perfect gift!
![Tree Limb Branches Coaster](https://diyprojects.ideas2live4.com/wp-content/uploads/sites/5/2016/05/Tree-Limb-Branches-Coaster-04.jpg)
Click on any image to start the lightbox display. Use your Esc key to close the lightbox. 8-)
![Tree Limb Branches Coaster](https://diyprojects.ideas2live4.com/wp-content/uploads/sites/5/2016/05/Tree-Limb-Branches-Coaster-01.jpg)
![Tree Limb Branches Coaster](https://diyprojects.ideas2live4.com/wp-content/uploads/sites/5/2016/05/Tree-Limb-Branches-Coaster-1.jpg)
![Tree Limb Branches Coaster](https://diyprojects.ideas2live4.com/wp-content/uploads/sites/5/2016/05/Tree-Limb-Branches-Coaster-02.jpg)
![Tree Limb Branches Coaster](https://diyprojects.ideas2live4.com/wp-content/uploads/sites/5/2016/05/Tree-Limb-Branches-Coaster-03.jpg)
![Tree Limb Branches Coaster](https://diyprojects.ideas2live4.com/wp-content/uploads/sites/5/2016/05/Tree-Limb-Branches-Coaster-04.jpg)
![Tree Limb Branches Coaster](https://diyprojects.ideas2live4.com/wp-content/uploads/sites/5/2016/05/Tree-Limb-Branches-Coaster-05.jpg)
Materials:
- Fallen Tree Limb
- Wood Stain
- Polyurethane Sealer
- Felt Pads
- Glue
Tools:
- Miter Saw
- Sander
- Foam Brush
Steps:
![Tree Limb Branches Coaster](https://diyprojects.ideas2live4.com/wp-content/uploads/sites/5/2016/05/Tree-Limb-Branches-Coaster-Step-01.jpg)
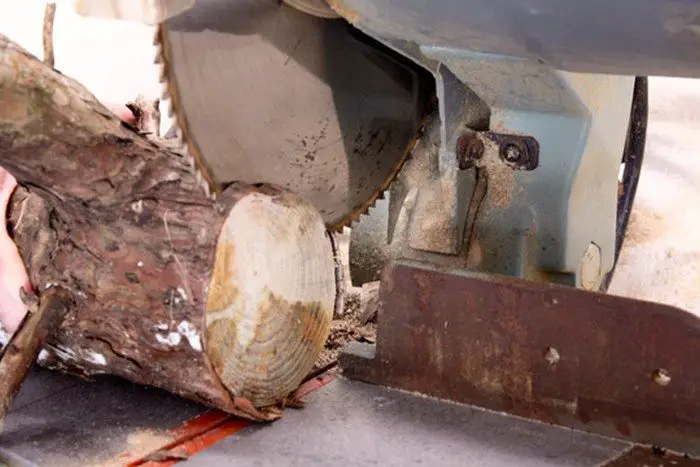
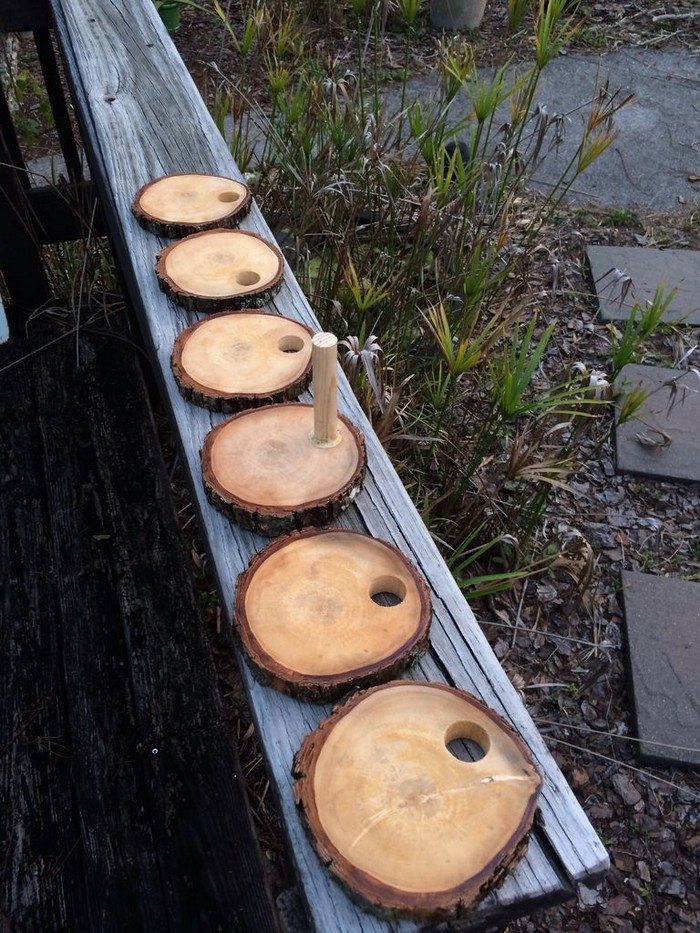
Chop chop: Carefully, and I repeat, CAREFULLY hold the limb under the saw blade and cut slices approximately 1/2 inch thick. Five or six coasters make a nice set.
![Tree Limb Branches Coaster](https://diyprojects.ideas2live4.com/wp-content/uploads/sites/5/2016/05/Tree-Limb-Branches-Coaster-Step-02.jpg)
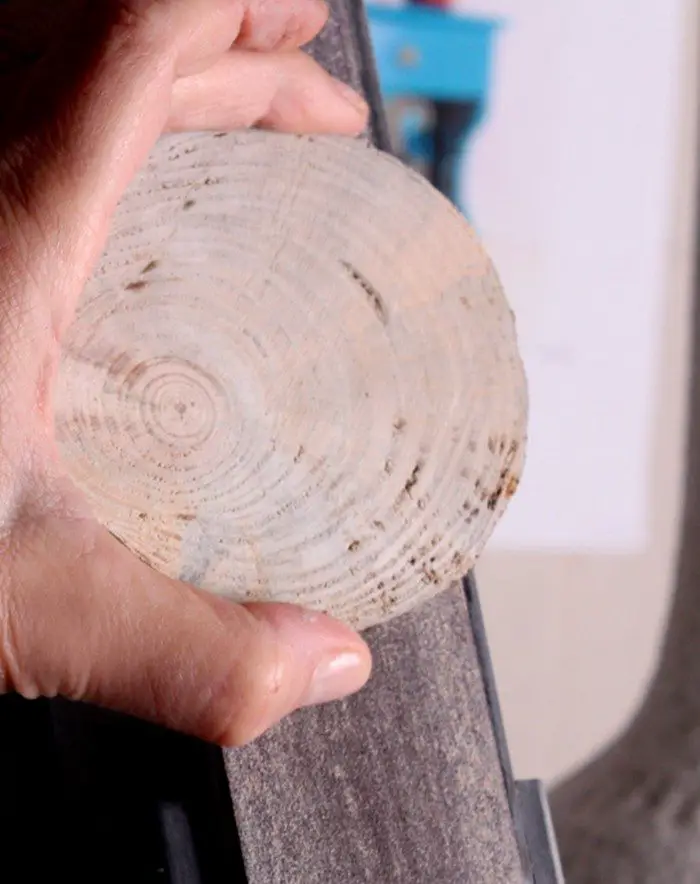
Sand until smooth: Using an electric sander, or by hand, sand one side of each wood slice until they are nice and smooth.
![Tree Limb Branches Coaster](https://diyprojects.ideas2live4.com/wp-content/uploads/sites/5/2016/05/Tree-Limb-Branches-Coaster-Step-03.jpg)
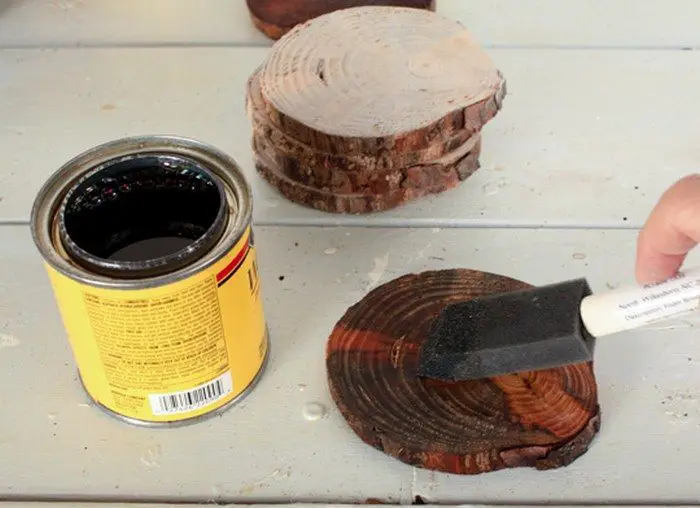
Stain: Using a foam brush, add a wood stain to the sanded surface and around all the edges of the slices.
![Tree Limb Branches Coaster](https://diyprojects.ideas2live4.com/wp-content/uploads/sites/5/2016/05/Tree-Limb-Branches-Coaster-Step-04.jpg)
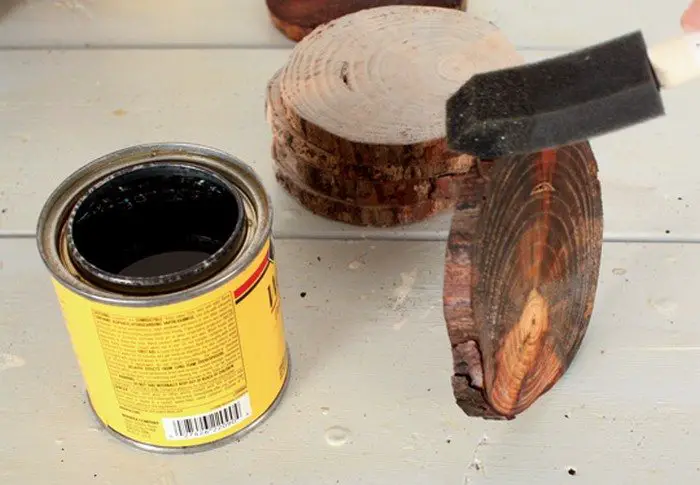
Seal: After you have the depth of stain you like, let the coasters dry and then seal one side and all edges with polyurethane or craft sealer.
![Tree Limb Branches Coaster](https://diyprojects.ideas2live4.com/wp-content/uploads/sites/5/2016/05/Tree-Limb-Branches-Coaster-Step-05.jpg)
Dry completely: Layout the coasters on a flat surface to let them dry.
![Tree Limb Branches Coaster](https://diyprojects.ideas2live4.com/wp-content/uploads/sites/5/2016/05/Tree-Limb-Branches-Coaster-Step-06.jpg)
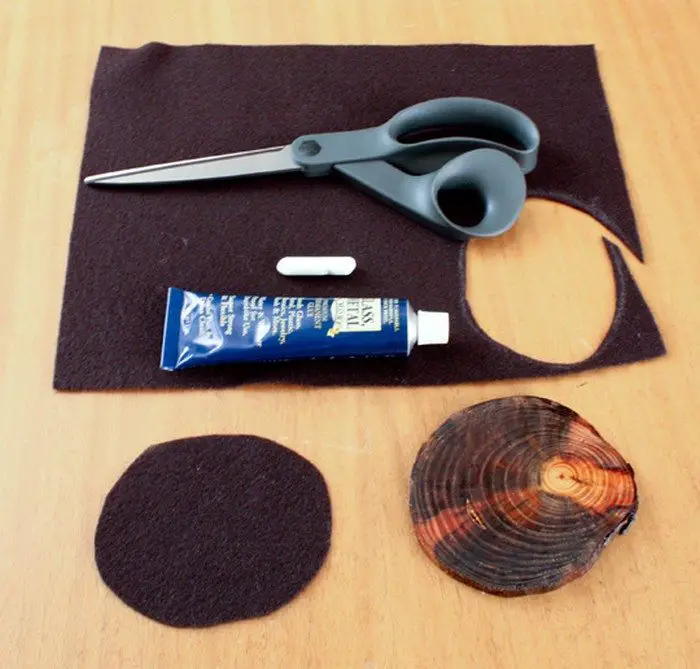
Non-scratch bottom: Cut out felt circles to fit the bottom of each coaster and glue the felt on securely.
Thanks to modhomeecteacher for this great project!