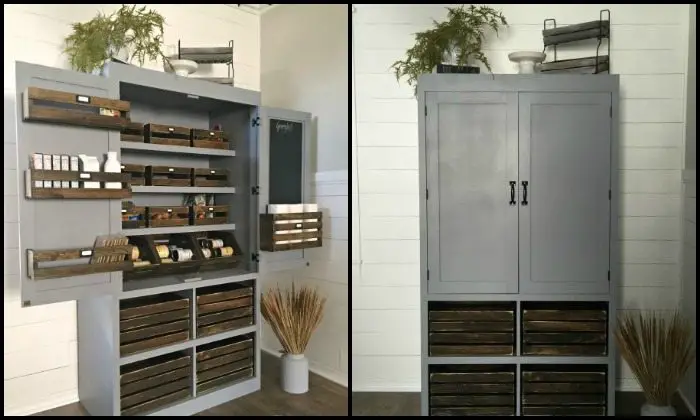
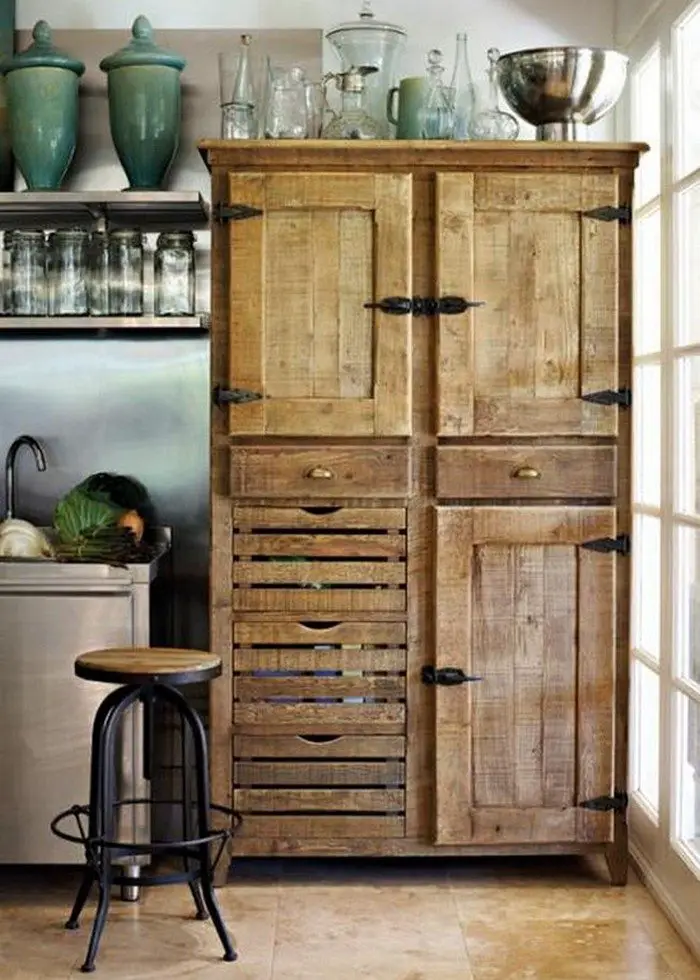
Who says you need a big space to have a pantry? If you have a tiny room, check out this DIY project that’s perfect for your space.
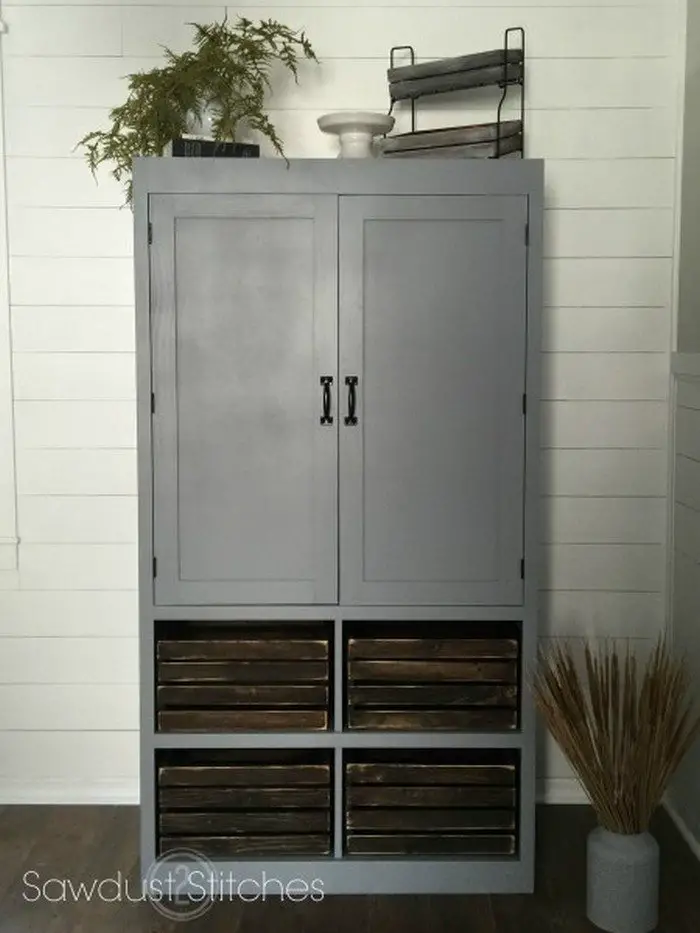
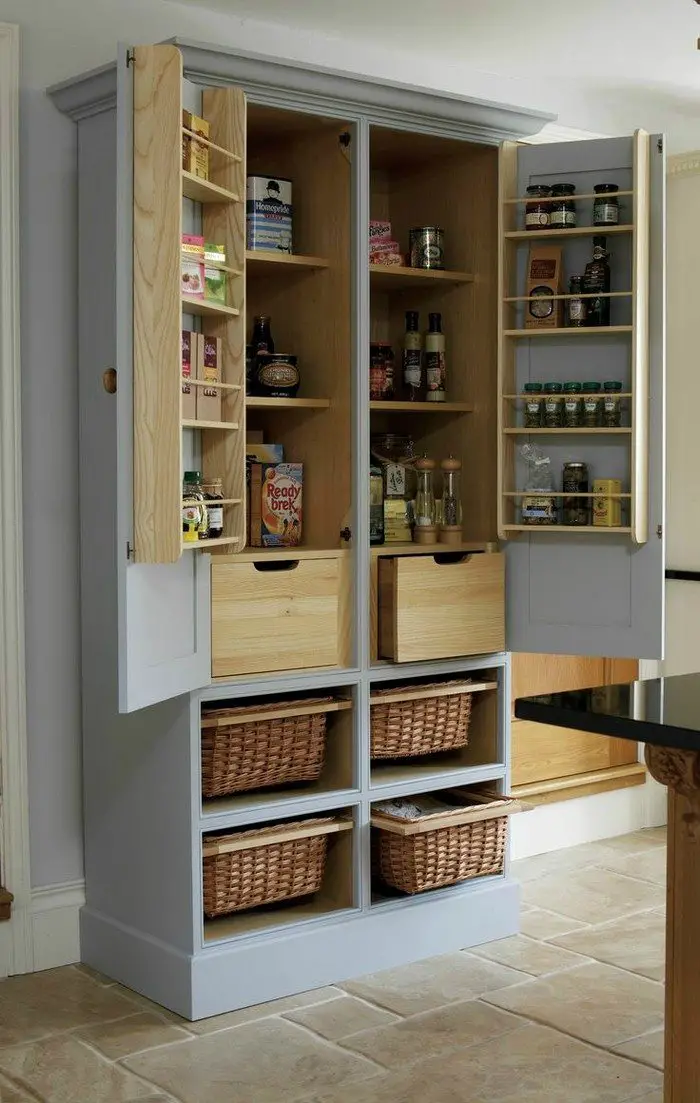
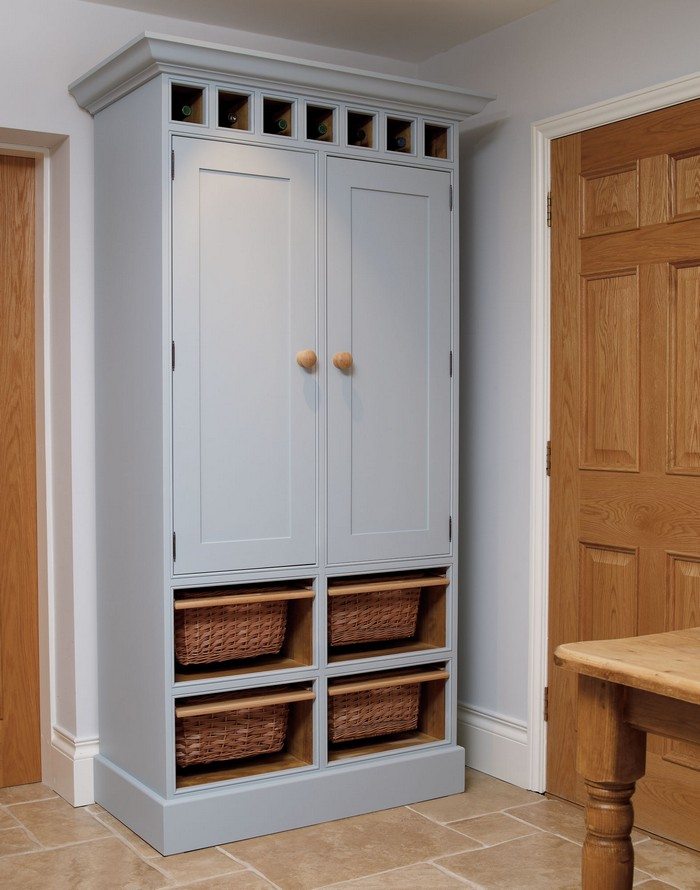
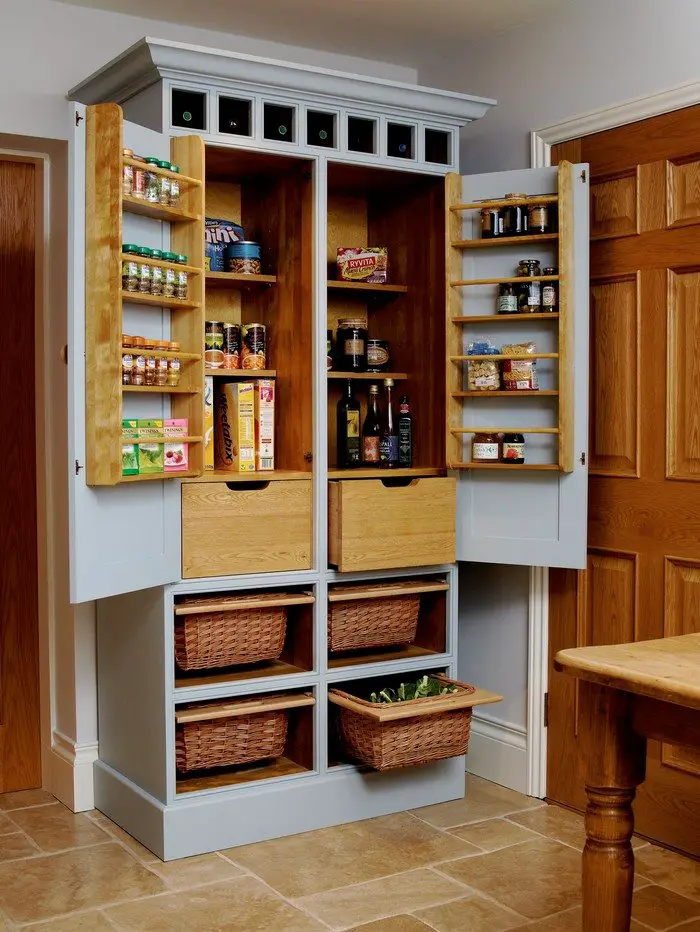
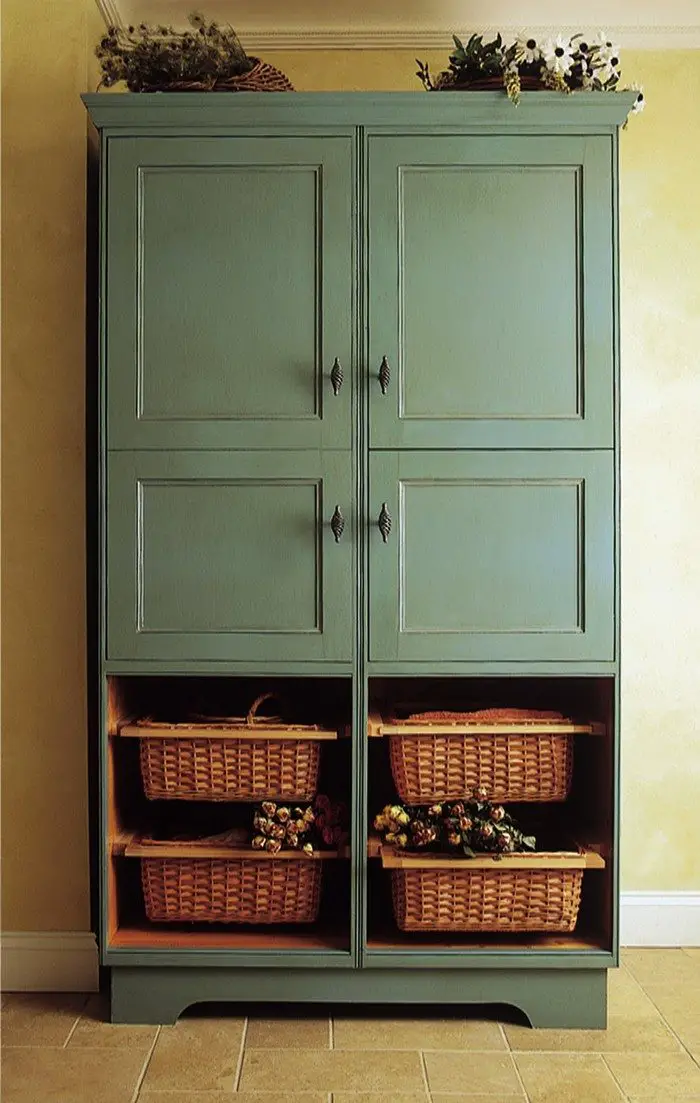
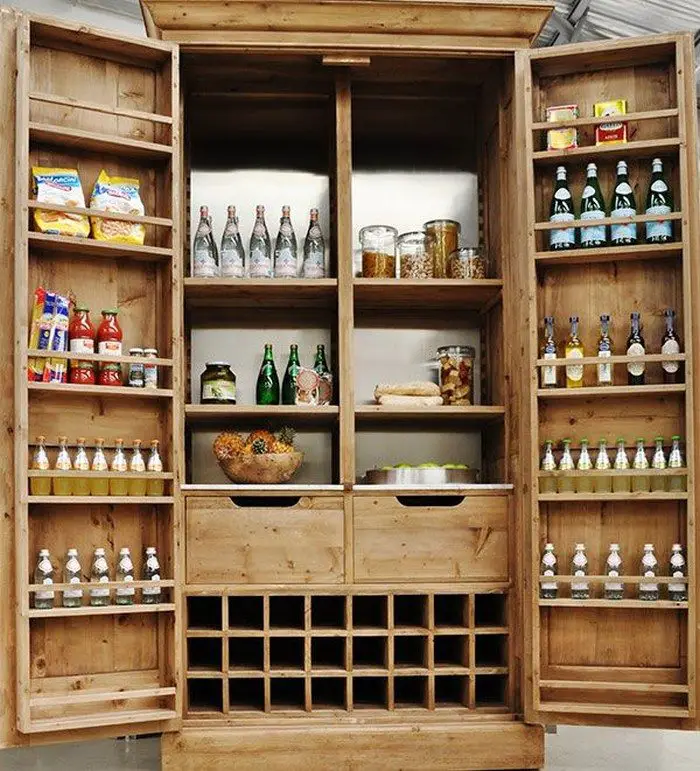
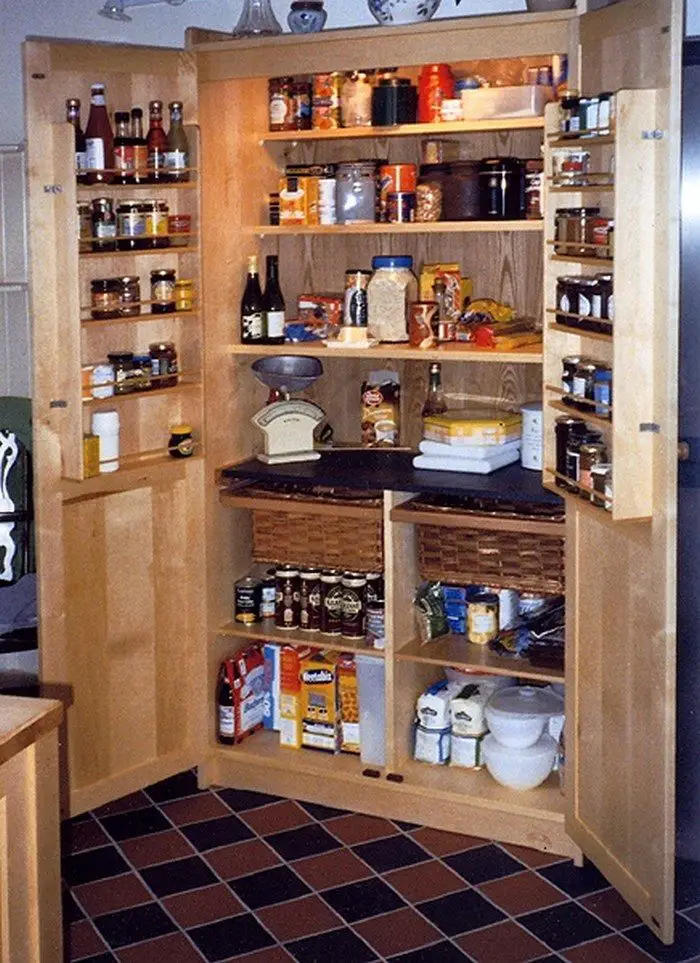
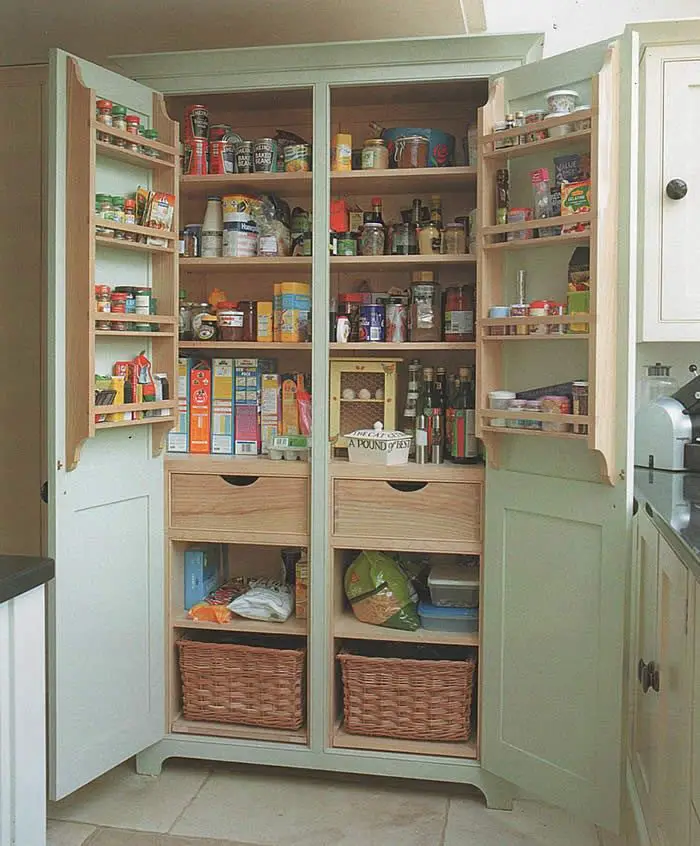
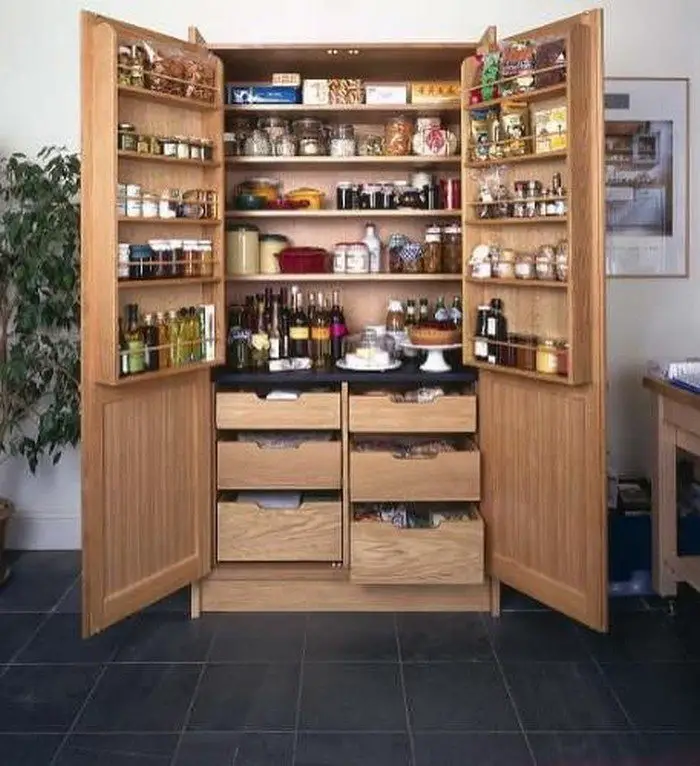
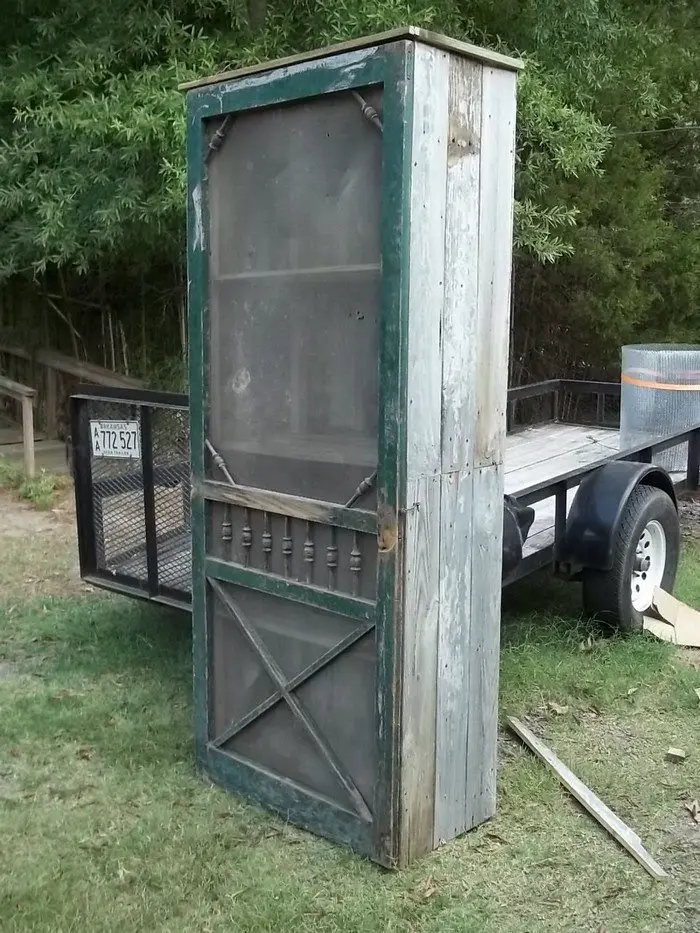
As long as you have enough space for a cabinet, you can build yourself this rustic freestanding pantry. It’s perfect for those living in tiny homes or even apartments who need ‘temporary’ storage for food.
With a touch of creativity and some basic woodworking skills, you can transform your cabinet space into a functional and visually appealing storage area that suits your unique needs.
Say goodbye to cluttered countertops and embrace the convenience and charm of a rustic freestanding pantry in your kitchen.
You can also do this project if you’re looking for storage for your arts and crafts materials or other items.
Contents
How to Make a DIY Freestanding Pantry
Are you tired of cluttered kitchen countertops and disorganized cabinets? It’s time to channel your inner designer and develop a storage solution that is both functional and fashionable.
Building a standalone pantry is the ideal project to tackle whether you have a small kitchen or just want to maximize your space. You can regain control of your kitchen organization with this DIY freestanding pantry.
This guide will follow you through the step-by-step process of making your DIY freestanding pantry, giving you the equipment, tips, and inspiration you need to transform your kitchen into a well-organized and efficient space.
Materials
- 2 pcs – 4×8′ 3/4″ Plywood
- 1 pc – 1×4 Wood Board
- 5 pcs – 1×2 Wood Board
- 3 pcs – 1×3 Wood Board
- 1 pc – 4×8′ 1/4″ Paneling
- 1/4″ MDF Paneling
- 6 pcs – Non-Mortise Butt Hinges for 3/4″ Door
- 2 Door Handles
- Double Magnetic Catch
- 2″ 16 gauge Finish Nails
- 1 1/2″ Pocket Hole Screws
- Wood Glue
- Wood Filler
- Crates
- Wood Stain
- Paint
Tools
- Measuring Tape
- Pencil
- Kreg Jig
- Cordless Drill
- Table Saw
- Miter Saw
- Finish Nailer
- Sander
- Safety Glasses and Ear Protection
Click on any image to start the lightbox display. Use your Esc key to close the lightbox.![]()
Steps
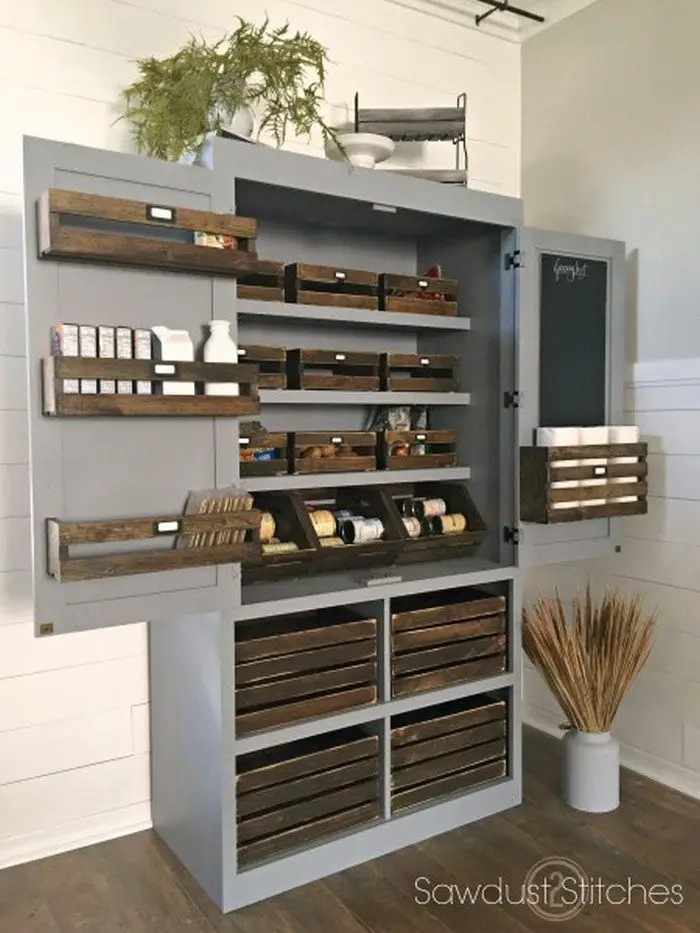
A big thank you to Sawdust 2 Stitches for sharing this fantastic DIY project. If you’re ready to get started, you can find detailed step-by-step instructions for building your freestanding pantry right here…

Extra Help
Building a DIY freestanding pantry requires careful planning and execution. To ensure success, here are some additional tips and tricks to consider:
1. Optimize storage space
Transform your pantry into a powerhouse of organization with a few simple tweaks! Ditch the clutter and embrace the adjustable shelves, silverware organizers, pull-out drawers, and door-mounted organizers that will revolutionize the way you store your goods.
Build a bespoke storage solution that caters to your unique needs and watch the chaos disappear.
2. Consider lighting
Install proper lighting in your pantry to ensure visibility and enhance the overall aesthetic. LED lights are energy-efficient and provide bright, focused illumination. LED lights consume less energy compared to traditional lighting options, saving you money on your energy bills. Their long lifespan also means you won’t have to worry about frequent bulb replacements.
With their crisp and clear light output, LED lights will illuminate every corner of your pantry, making it easier to find what you need, even in dimly lit areas.
3. Use durable materials
Be sure to select high-quality materials that are durable and can withstand the weight of pantry items. Sturdy plywood or solid wood is recommended for the construction of shelves and cabinet doors.
Solid wood, such as oak, maple, or pine, is another excellent option for creating durable pantry shelves and cabinet doors. Solid wood is known for its strength and longevity, providing a solid foundation for your pantry storage. It also offers a natural and timeless aesthetic that can enhance the overall look of your kitchen.
4. Add a chalkboard or whiteboard
Incorporate a chalkboard or whiteboard surface on the inside of your pantry door. This provides a convenient space for jotting down grocery lists, meal plans, or reminders.
It adds a touch of practicality and creativity to your pantry while serving as a helpful tool in your kitchen organization efforts.
5. Utilize vertical space
Use the vertical space in your pantry by installing hooks, hanging baskets, or a pegboard. These additions can hold smaller items, kitchen utensils, or spices, optimizing storage capacity. They are versatile solutions to creating designated spots for frequently used items and freeing up valuable shelf space.
6. Consider ventilation
To prevent moisture buildup and keep your pantry fresh, ensure proper ventilation. Install a vent or leave a small gap between the pantry and the wall to promote airflow.
Create a well-ventilated environment and reduce the risk of moisture-related issues such as mould, mildew, or food spoilage. Proper ventilation in your DIY freestanding pantry ensures that your pantry items remain fresh and extend their shelf life, allowing you to enjoy a well-organized and hygienic kitchen space.
7. Customize to your needs
Tailor your freestanding pantry to fit your specific requirements. Consider the types and sizes of items you frequently store and design the shelves and compartments accordingly.
This will ensure that your pantry can accommodate items of various sizes without wasted space.
8. Maintain organization
Establish an organizational system within your pantry to keep everything tidy and easily accessible. Group similar items together and label containers or shelves for quick identification.
For example, keep baking supplies together, group canned goods in one area, and arrange spices in a designated section. By grouping similar items, you can easily locate what you need and prevent clutter.
Advantages of Kitchen Organization 101: DIY Freestanding Pantry
1. Increased Storage Space: A DIY freestanding pantry adds valuable storage space to your kitchen, allowing you to store pantry items, cookware, and small appliances in an organized manner. By utilizing vertical space effectively, you can maximize storage capacity and keep your kitchen clutter-free.
2. Customization Options: Building a DIY freestanding pantry offers endless customization options to suit your kitchen layout and storage needs. You can tailor the size, shelving configuration, and design elements to accommodate specific items and fit seamlessly into your kitchen’s aesthetic.
3. Cost-Effective Solution: Compared to purchasing pre-built pantry units or hiring professional contractors, DIY freestanding pantries are a cost-effective solution for kitchen organizations. By using affordable materials and repurposing existing furniture or shelving units, you can create a functional pantry on a budget.
4. Flexibility and Portability: Unlike built-in pantry cabinets, freestanding pantries offer flexibility and portability. You can easily move or reposition the pantry to different locations within the kitchen or even to another room if needed. This versatility allows for convenient rearrangement or renovation without the need for extensive remodelling.
5. Ease of Construction: DIY freestanding pantries are relatively easy to construct, even for novice DIY enthusiasts. With basic carpentry skills and tools, you can assemble the pantry using readily available materials such as plywood, lumber, and screws. Many DIY tutorials and plans are available online to guide you through the construction process step by step.
6. Improved Organization and Accessibility: A well-organized pantry enhances kitchen efficiency by providing easy access to ingredients and utensils when cooking or meal prepping. By categorizing and arranging items on adjustable shelves or in designated storage bins, you can streamline meal preparation and minimize food waste.
7. Enhanced Visual Appeal: In addition to its practical benefits, a DIY freestanding pantry can enhance the visual appeal of your kitchen. By incorporating design elements such as decorative moulding, glass doors, or painted finishes, you can create a stylish and cohesive look that complements your kitchen decor.
Overall, a DIY freestanding pantry offers numerous advantages, including increased storage space, customization options, cost-effectiveness, flexibility, ease of construction, improved organization, and enhanced visual appeal.
By investing time and effort into building a DIY pantry, you can transform your kitchen into a well-organized and efficient space that meets your storage needs and enhances your culinary experience.
Safety Precautions for DIY Freestanding Pantry
1. Wear Protective Gear: When working on your DIY freestanding pantry, always wear appropriate protective gear such as safety goggles, gloves, and closed-toe shoes to prevent injuries from sharp objects, splinters, or flying debris.
2. Use Proper Tools: Ensure that you use the correct tools for the job and that they are in good working condition. Follow manufacturer instructions and safety guidelines when operating power tools such as saws, drills, and sanders to avoid accidents.
3. Work in a Well-Ventilated Area: When cutting, sanding, or painting materials for your pantry, work in a well-ventilated area to prevent inhalation of dust, fumes, or toxic chemicals. Consider using a dust mask or respirator if working with materials that produce airborne particles.
4. Secure Heavy Items: If your DIY pantry will contain heavy items like canned goods or small appliances, it’s crucial to prioritize stability and security. Here’s how:
Sturdy Shelves and Supports: Ensure that the shelves and supports of your pantry are robust enough to bear the weight of heavy items without bending or sagging. Opt for high-quality materials such as thick plywood or solid wood for the shelves, and sturdy metal brackets or supports.
Proper Anchoring: To prevent tipping or collapse, it’s essential to securely anchor your pantry to the wall or floor. Use appropriate hardware such as wall anchors, screws, or brackets to attach the pantry to a stable surface. Make sure the fasteners are suitable for the type of wall material (e.g., drywall, studs, concrete) and are installed according to manufacturer guidelines.
Secure Fastening: Use strong and reliable fasteners to secure shelves and components in place. Choose heavy-duty screws or bolts that are designed for the weight load and material of your pantry. Make sure to tighten the fasteners properly to ensure a secure fit.
5. Structural Stability Inspection: Before loading your freestanding pantry with items, conduct a thorough inspection to check for structural stability:
- Examine the shelves, joints, and supports for any signs of weakness, warping, or damage. Look for cracks, splits, or loose connections that may compromise the integrity of the structure.
- Test the stability of the pantry by gently pushing or shaking it to see if it wobbles or feels unstable. If there’s any noticeable movement, reinforce the structure by adding additional supports or braces.
- Use a level to ensure that the pantry is properly aligned and balanced. Adjust the levelling feet or shims as needed to ensure that the pantry sits evenly on the floor.
If your DIY pantry will contain heavy items such as canned goods or small appliances, ensure that the shelves and supports are sturdy and properly anchored to prevent tipping or collapse. Use appropriate hardware and fasteners to secure shelves and components securely.
6. Avoid Overloading Shelves: Do not overload shelves with excessive weight beyond their capacity. Distribute weight evenly and avoid placing heavy items on upper shelves to prevent toppling. Follow weight limits and guidelines provided by the manufacturer or DIY plans.
7. Keep Children and Pets Away: While working on your DIY freestanding pantry, keep children and pets away from the construction area to prevent accidents or injuries. Store tools, materials, and hazardous substances out of reach and secure the work area when not in use.
8. Follow Electrical Safety Practices: If your DIY project involves electrical work, such as installing lighting or power outlets in the pantry, follow electrical safety practices and consult a qualified electrician if necessary. Turn off power sources and use insulated tools to avoid electrical hazards.
9. Clean Up Spills Promptly: Spills or leaks from paints, stains, or cleaning chemicals can create slip hazards in your workspace. Clean up spills promptly and use non-slip mats or rugs to prevent slips and falls.
10. Seek Assistance if Needed: If you encounter challenges or feel unsure about a particular aspect of your DIY project, seek assistance from knowledgeable sources such as DIY guides, tutorials, or experienced individuals. Do not hesitate to ask for help to ensure the safety and success of your project.
By following these safety precautions, you can minimize the risk of accidents and injuries while working on your DIY freestanding pantry project and enjoy the satisfaction of creating a functional and safe storage solution for your kitchen.
Unlocking Kitchen Organization!
Transform your kitchen into an organized and efficient space by following this comprehensive guide to building a DIY freestanding pantry. With detailed step-by-step instructions and additional tips and tricks, you’ll be able to create a pantry that is not only functional but also stylish and tailored to your specific needs.
Consider incorporating features such as a chalkboard or whiteboard, optimizing vertical storage, ensuring proper ventilation, personalizing the pantry to suit your preferences, and prioritizing organization to keep everything in its place.
By following the provided instructions and incorporating extra tips and tricks, you will be able to create a well-organized kitchen and experience the convenience and fulfillment of having your DIY freestanding pantry.
Frequently Asked Questions
1. What is a DIY freestanding pantry, and why should you consider building one?
A DIY freestanding pantry is a standalone storage unit designed to organize pantry items, cookware, and small appliances in the kitchen. Building one offers several benefits, including increased storage space, customization options, and cost-effectiveness compared to pre-built options.
2. How difficult is it to build a DIY freestanding pantry?
Building a DIY freestanding pantry can vary in difficulty depending on your woodworking skills, the complexity of the design, and the tools available. However, many simple designs can be constructed with basic carpentry skills and commonly available tools, making them accessible to DIY enthusiasts of all levels.
3. What materials and tools do you need to build a DIY freestanding pantry?
The materials and tools needed to build a DIY freestanding pantry can vary depending on the design and size of the project. Common materials include plywood, lumber, screws, and finishing materials such as paint or stain. Basic tools such as a saw, drill, hammer, and measuring tape are typically required.
4. Can you customize the design of my DIY freestanding pantry to fit your kitchen space and storage needs?
Yes, one of the advantages of building a DIY freestanding pantry is the ability to customize the design to suit your specific requirements. You can adjust the size, shelving configuration, and features of the pantry to optimize storage space and functionality for your kitchen.
5. Are there any safety considerations to keep in mind when building a DIY freestanding pantry?
Yes, safety is important when undertaking any DIY project. Be sure to wear appropriate protective gear, use proper tools and techniques, and follow safety guidelines throughout the construction process. Additionally, ensure that the pantry is securely anchored and stable to prevent accidents.
6. How can you maximize organization and efficiency in your DIY freestanding pantry?
There are several tips and tricks you can use to maximize organization and efficiency in your DIY freestanding pantry, such as categorizing items, using storage containers or bins, labelling shelves, and regularly decluttering and organizing the space.
7. Where can you find inspiration and guidance for building a DIY freestanding pantry?
You can find inspiration and guidance for building a DIY freestanding pantry from a variety of sources, including online DIY tutorials, woodworking websites, home improvement blogs, and social media platforms such as Pinterest. Additionally, consider consulting with experienced DIYers or seeking advice from local hardware stores.

