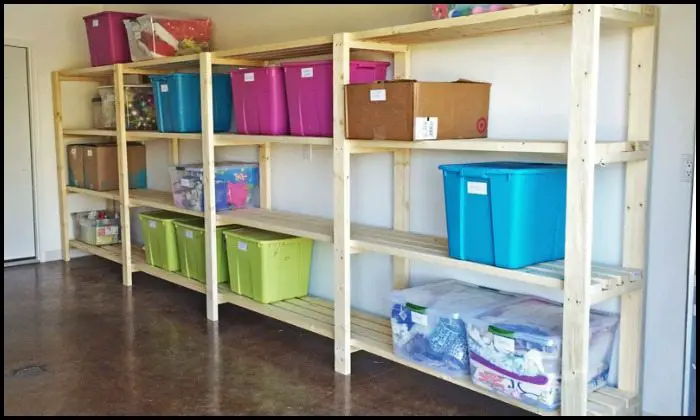
We all have little messy areas around our homes – in the garage and basement, most especially! Some of us may have more than a little.
Clutter can be an energy zapper. Just looking at it can be stressful. And we often waste so much time looking for things we can’t find!
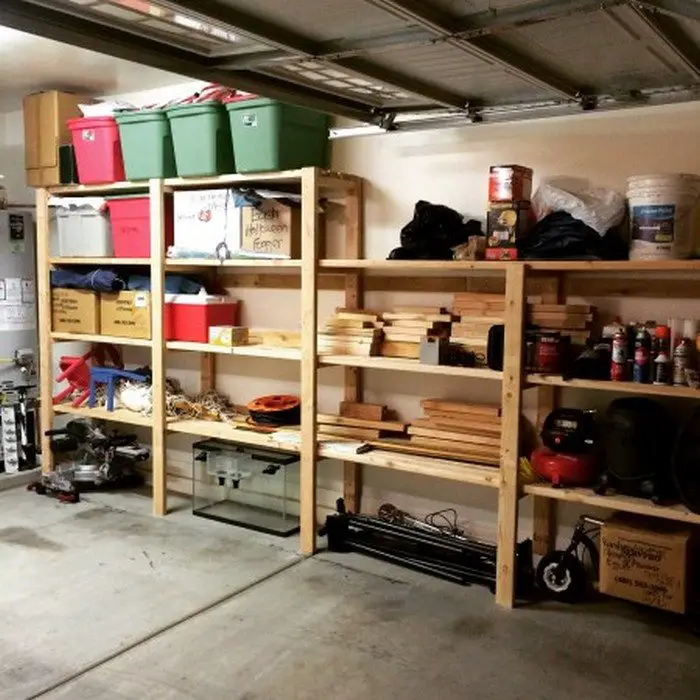
Been planning organizing your garage or basement? It’s probably going to be a lengthy task, but you can get the ball rolling now with this easy DIY garage shelving project!
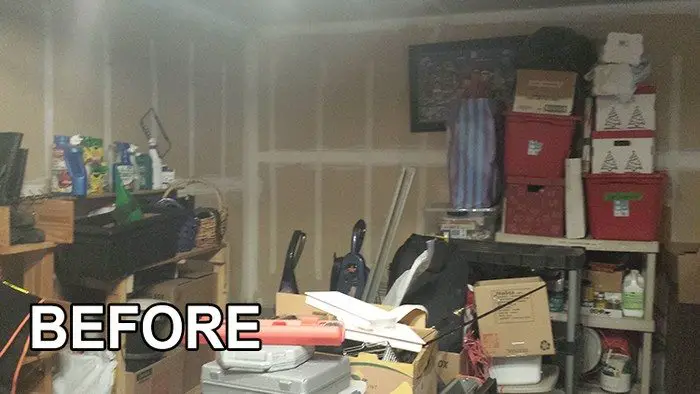
Organizing a garage or basement can be overwhelming even just thinking about it. If you’ve been wanting to clean up and organize your garage, this holiday is a good time to finally begin the task. :)
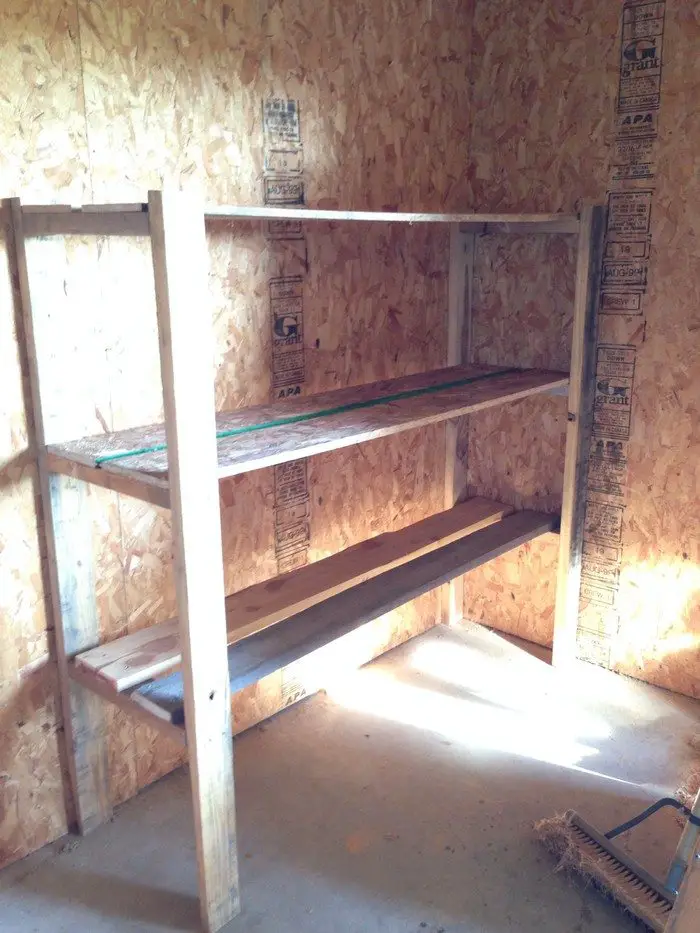
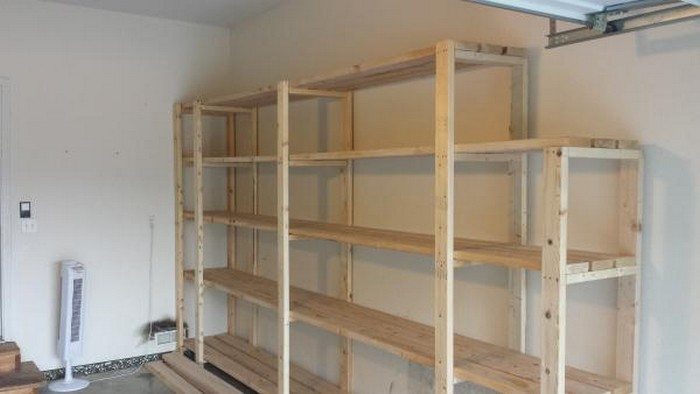
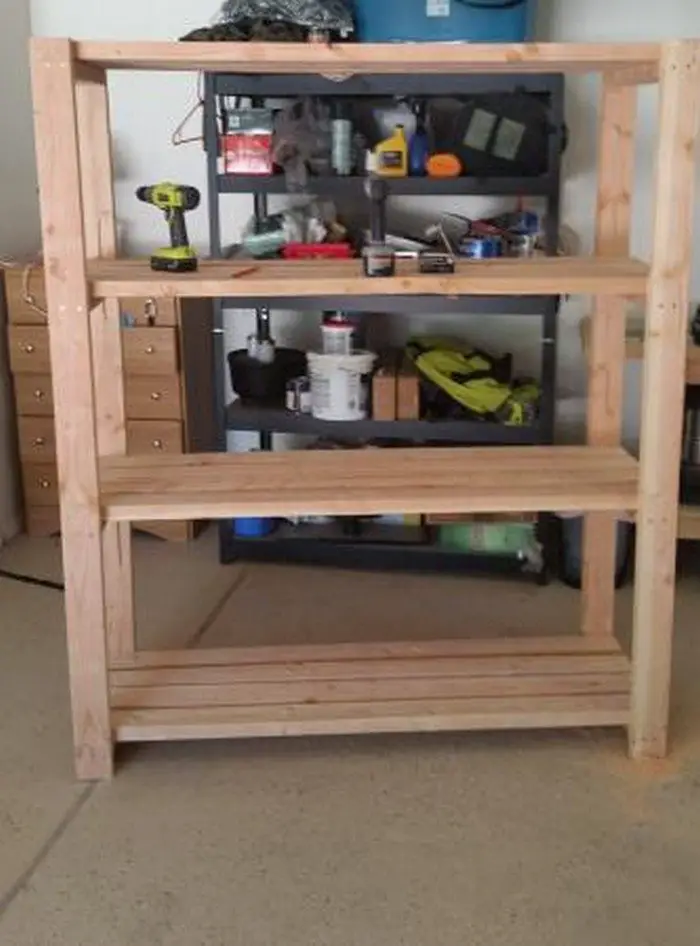
Start off with this DIY shelf that is very easy to do with its basic design! This project will only take you a few hours to finish. You can definitely add this to your holiday activities, even with your slightly busy schedule!
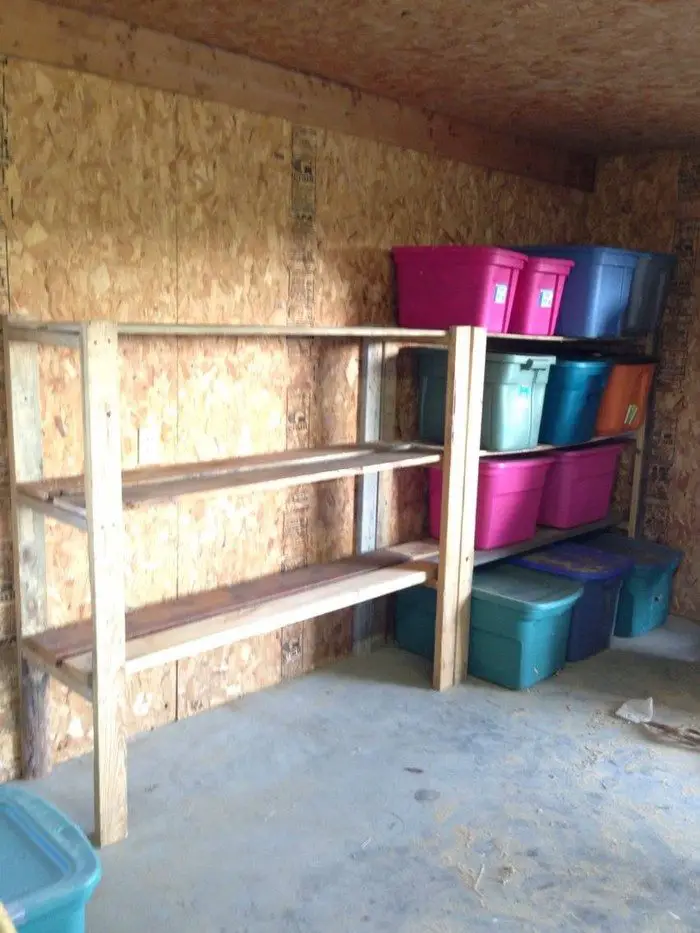
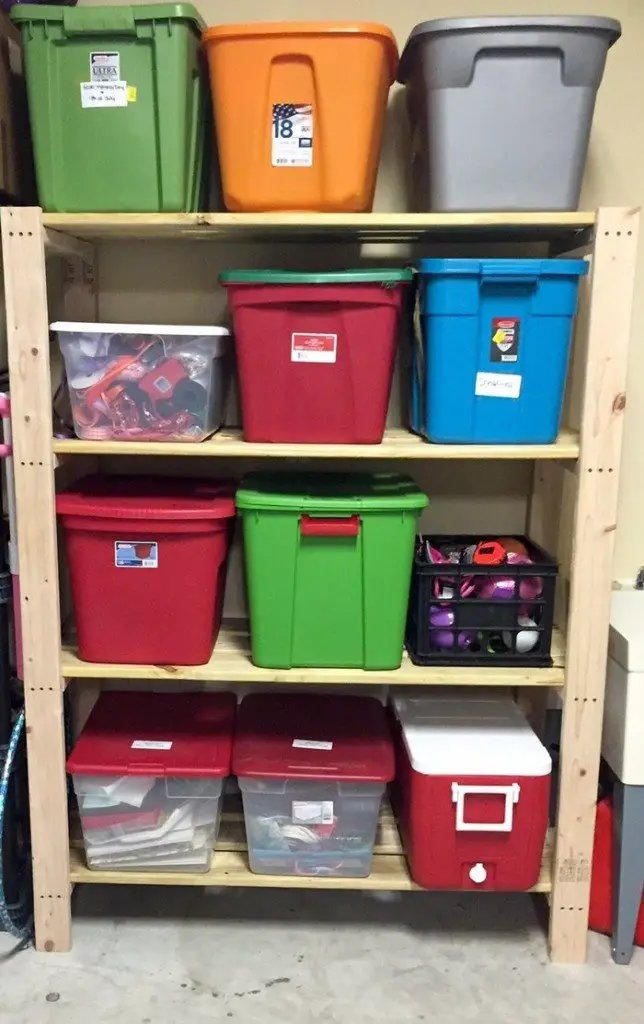
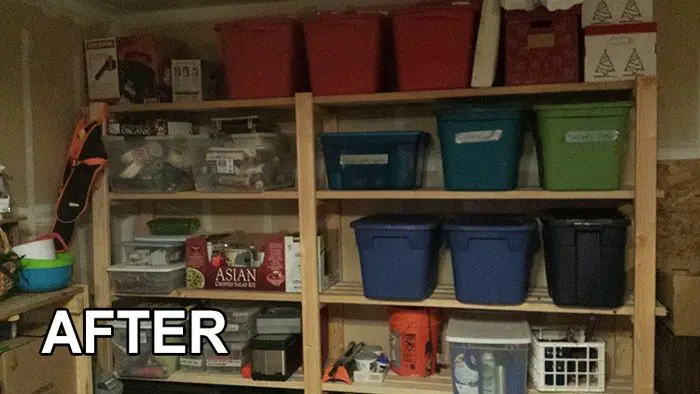 Since many of your storage containers are probably out for the Christmas decorating, building this DIY shelf is timely. When the holidays are over you can put all your decorations back in your improved garage or basement storage system.
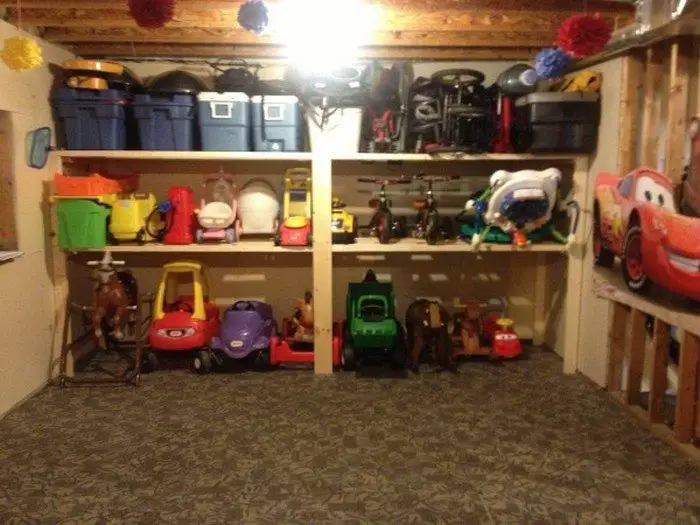
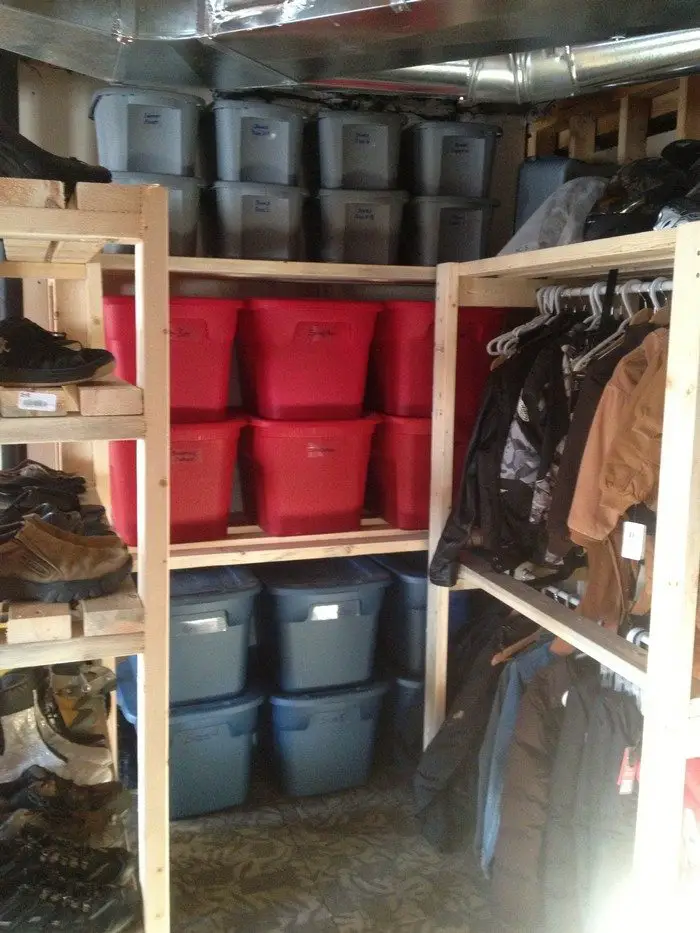
You can easily modify the size, height and length of your shelf so that it fits perfectly in your space. It’s really simple, but sturdy and functional. Just don’t forget to secure it to your wall to avoid tipping.
With this DIY shelf in your garage or basement, you never have to unstack or move heavy container boxes just to get what you need. :)
Do you know anyone who needs to have this DIY garage shelf?
Materials:
- 2 pcs of 10′ long 2×4 Timber PER Leg Support (ex. 10 pieces for 5 Leg Supports)
- 4 pcs of 2×4 Timber PER Shelf (length depending on how long you want your shelf to be)
- 2-1/2″ Self-Tapping Wood Screws
- 2 1/2″ Screws
- Elmer’s Wood Glue
Tools:
- Measuring Tape
- Square
- Pencil
- Safety Glasses
- Hearing Protection
- Drill
- Sircular Saw
- Random Orbital Sander
Click on any image to start lightbox display. Use your Esc key to close the lightbox. ![]()
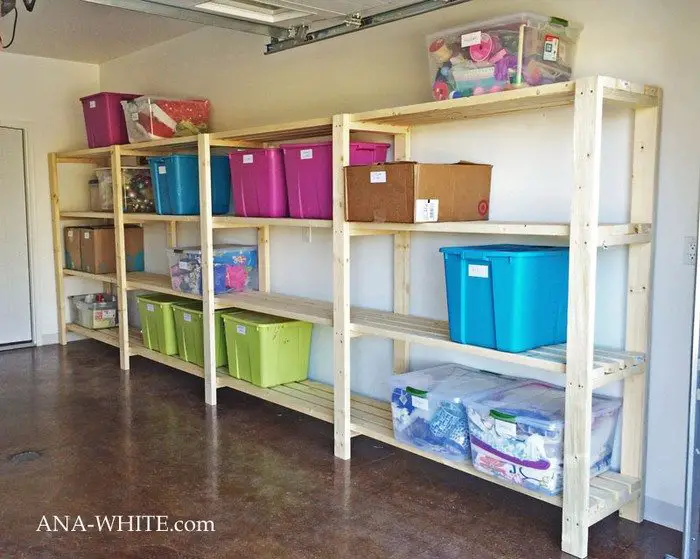


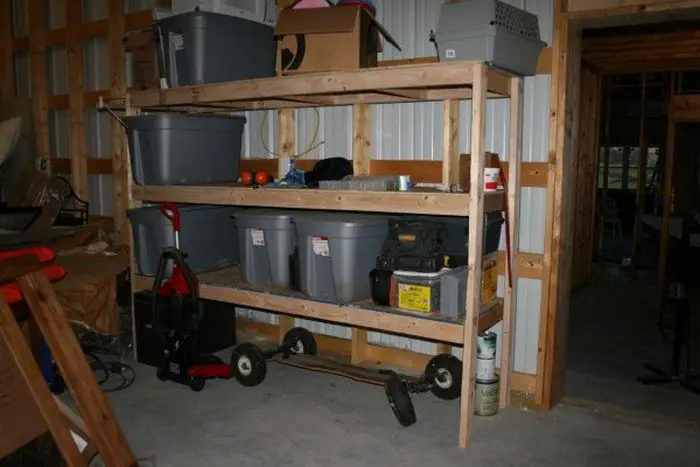
Thanks to Ana White for this great project. You can get step-by-step instructions here…


