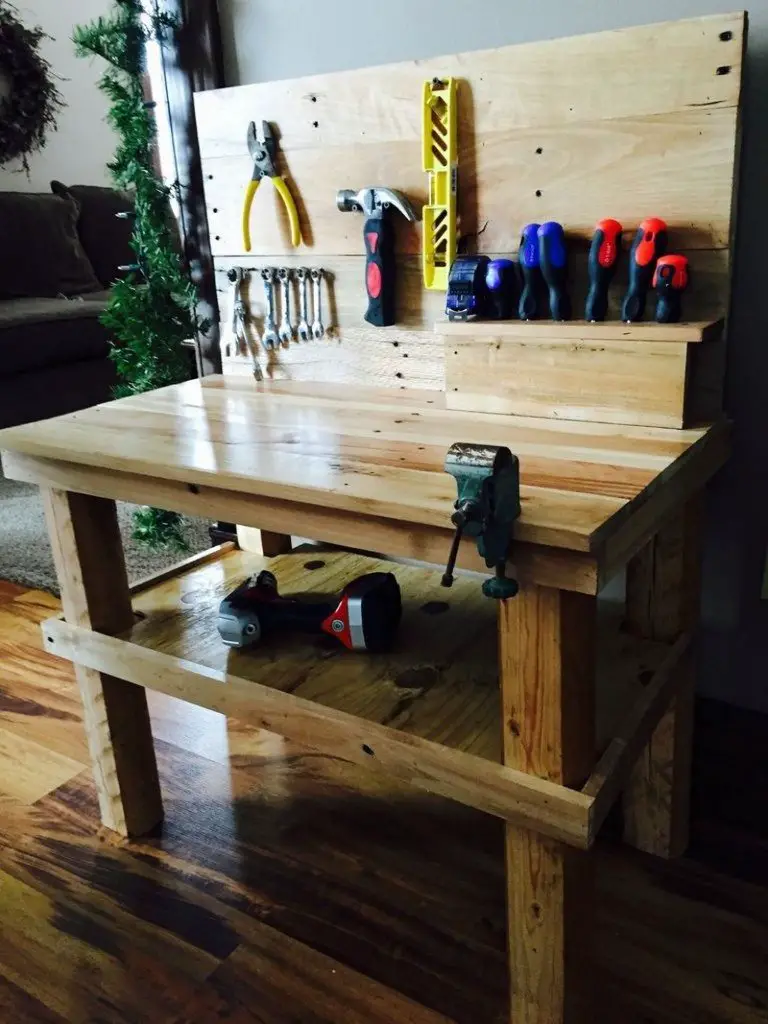
Now, this is definitely one of the best kid’s workbench/play tables we’ve ever seen!
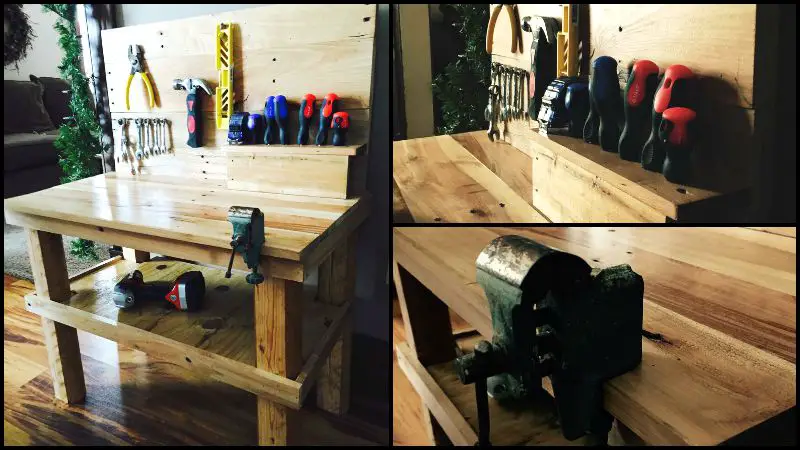
We think most children, with their curious minds, love to tinker with just about anything they get their hands to. So if you have kids (or know someone), then you can build this workbench as a gift for them! They’ll surely love you even more. :)
There are many benefits to fostering your child’s creativity through DIY projects. Showing kids that you can build what you need helps them develop good imagination even as it encourages self-expression.
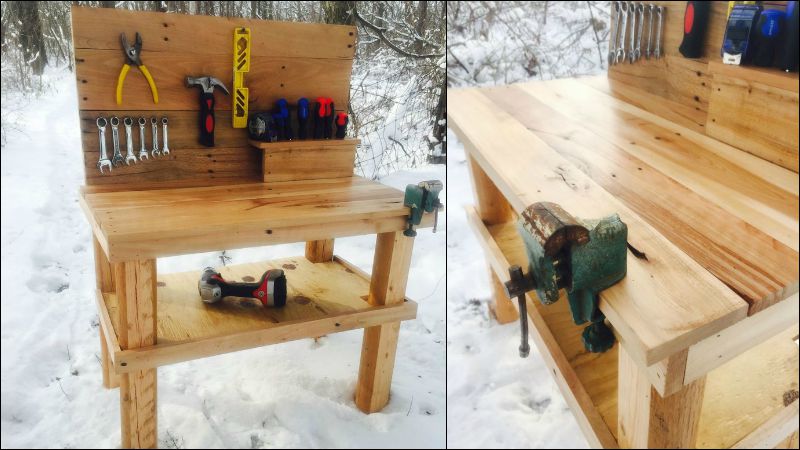
Can you believe that this pallet workbench is owned by a two-year-old?? Yes, it is!
This boy who loves to work with his dad in their shop quickly outgrew his plastic toy. Dad thought it was time to give him a new table, and so this project!
Why not? If your kids are showing signs of becoming future DIYers or builders, then this is the perfect workstation for them. Is your child more into the arts and crafts? This is still the perfect gift! ;)
Isn’t this idea just in time for Christmas??
Materials:
- 9 Pallet Boards
- Small Post for Legs
- Plywood Scraps
Tools:
- Miter Saw
- Drill
- Planer
- Jointer
- Brad Nailer
- Table Saw
- Screws
- Polyurethane
Steps:
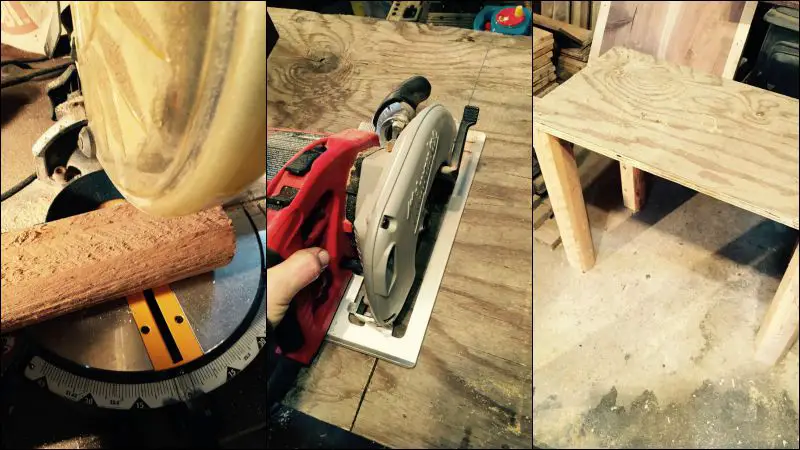
To start you just need to make a small plywood base. I had some leftover scraps of landscape timber from a sandbox I made that made perfect legs. They were flat on one side so I ran them through the planer so it would be sliver free.
I cut the legs at 19in and then put a 15 by 29 piece of plywood on top of the legs. The 19 in makes it a good height for my son but yours may have to be taller or shorter. The 15 by 29 was the size of scrap plywood that I had. It is a very good size and looks proportional. Once the base is done, it’s on to the back.
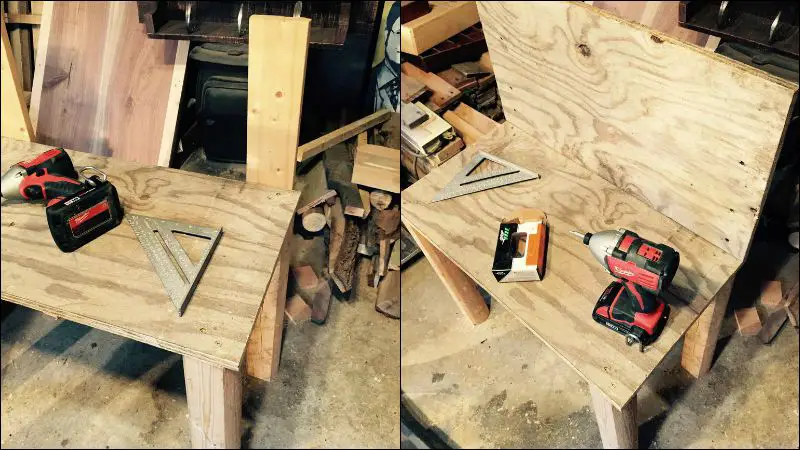
The back is the same size as the base. I cut two pieces one by four for the back support. I cut them at 21 in and screwed them on the back of the legs. Then screw the back on the supports and you’re ready for the pallet boards.

When I want a pallet project to look really nice I run them through the planer. You have to take all of the nails out so you don’t ruin your blades. Make sure that you run all of the boards through the planer the same amount so they are the same thickness.
Continued Page 2…


