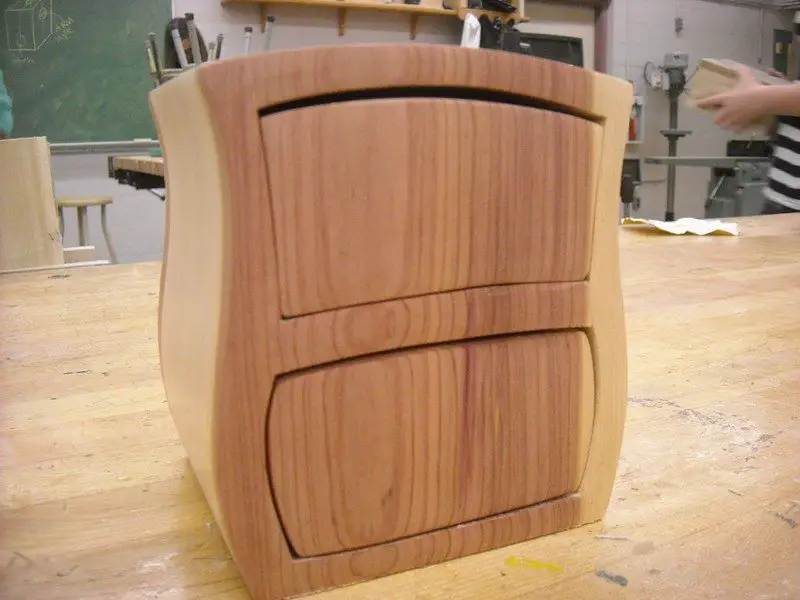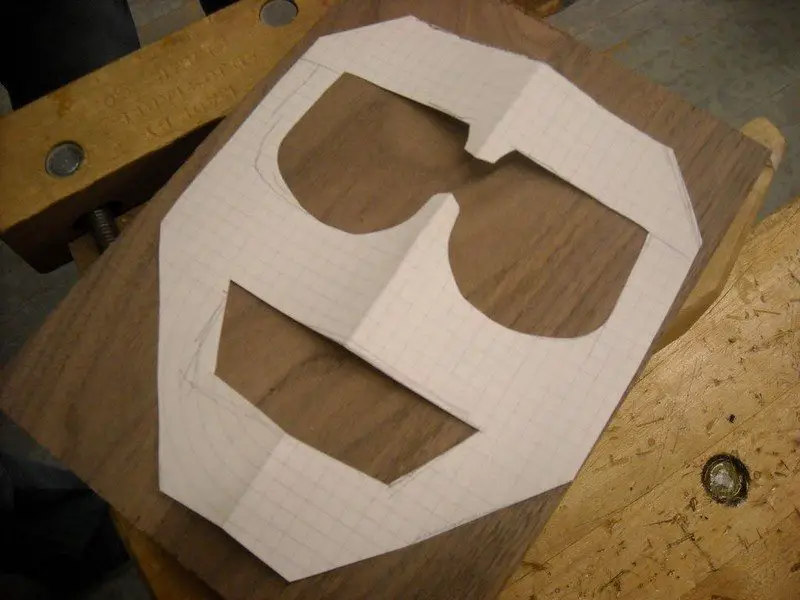
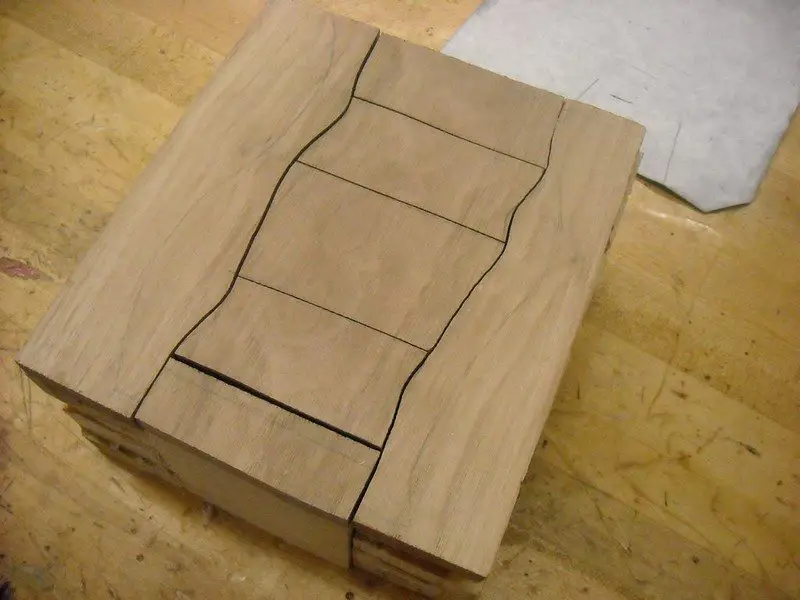
Here’s a bandsaw box few examples of what 13-year olds can come up with!
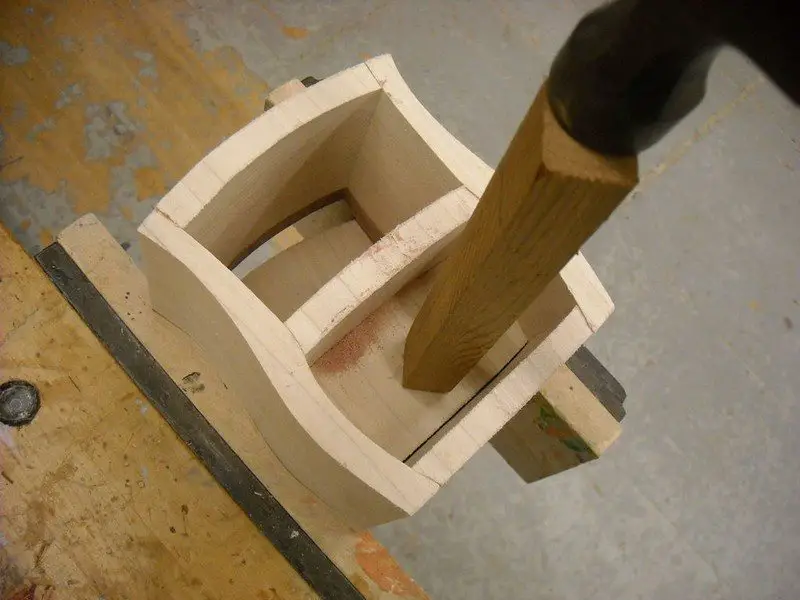
I thought it would be good to throw in my method for removing drawers that get stuck…
Support the box face down on a vice. Open it enough that the jaws don’t touch the drawers.
Gently tap the drawers out with some soft wood and a hammer.
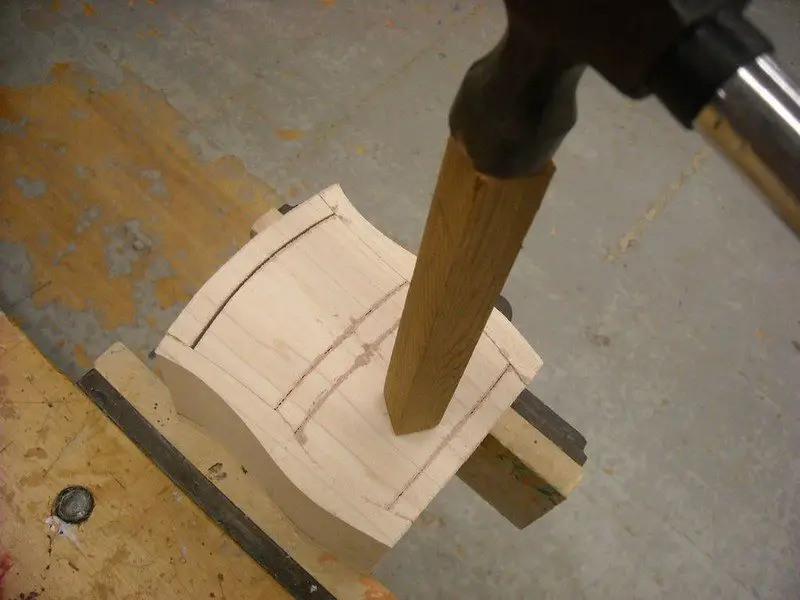
Worst case scenario is that you’ll have to go back with the kid and use the bandsaw to re-cut the lines.
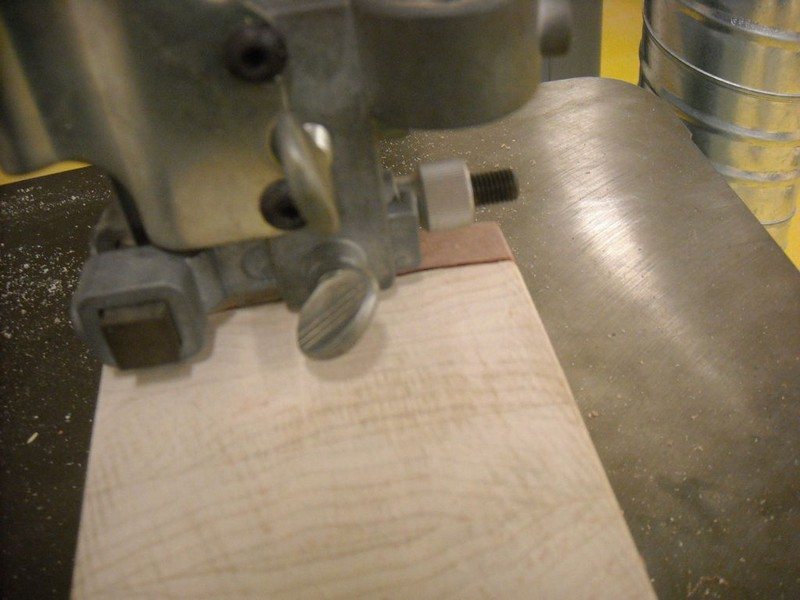
Make sure the bandsaw box drawers move in and out smoothly. If they don’t you can get the kids to wrap a piece of 120 Grit sandpaper around a ruler to smooth out the inside a bit. You could also sand the drawers but I don’t let the kids use machines at this point because they ALWAYS sand off too much. The sanding board works best.
Now do another demo on the bandsaw. I get the kids to hold the drawers with a jorgensen clamp while they are cutting out the drawers but make sure they don’t pinch the wood at the cut… it will bind and create problems.
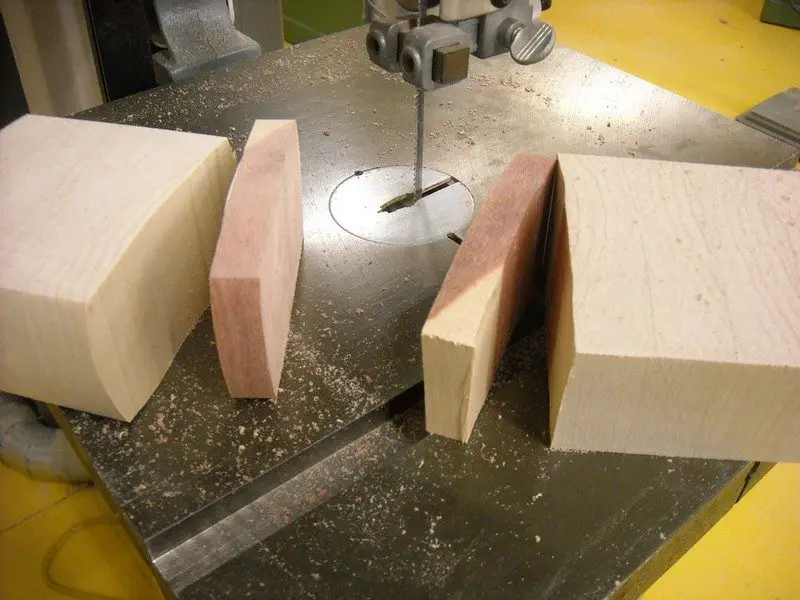
The first thing to do is to cut the front off of your bandsaw box. You want the kids to just slice off the thin contrasting piece along the glue line. Now cut off a thin slice from the BACK of the drawer. About 1/4″ is good. SAVE these pieces and label them.
Now draw the bandsaw box drawer spaces. Some kids can cut a thin walled drawer but usually things are safer if the kids leave at least a 3/8″ to 1/2″ wall thickness.
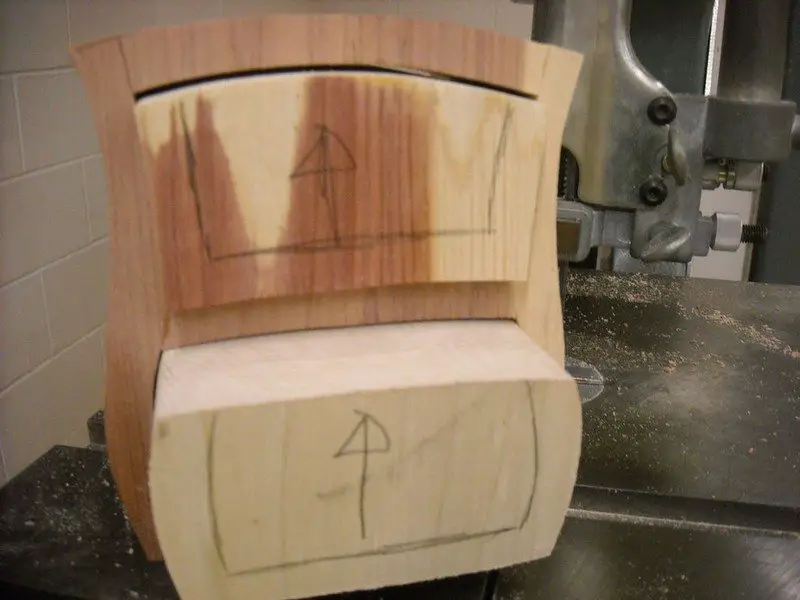
Make sure they actually label “up” with an arrow while the drawer is in place.
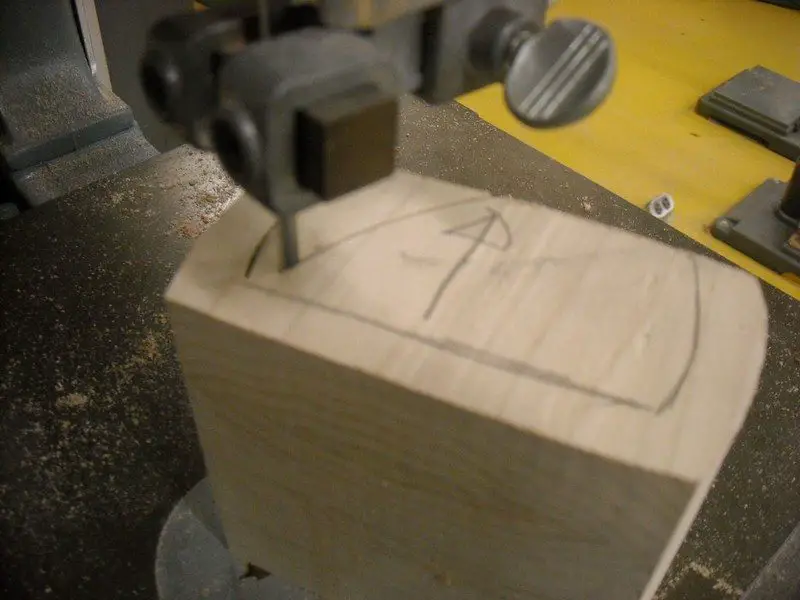
I’ve included a sequence I use for cutting. Kids tend to try and do sharp corners of the bandsaw box with the saw and a visual really helps.
First cut a short line in on one side. Don’t go to far because backing out with a bandsaw is not wise. Now cut in on an angle ending at the end of the last cut you made. Remove the piece.
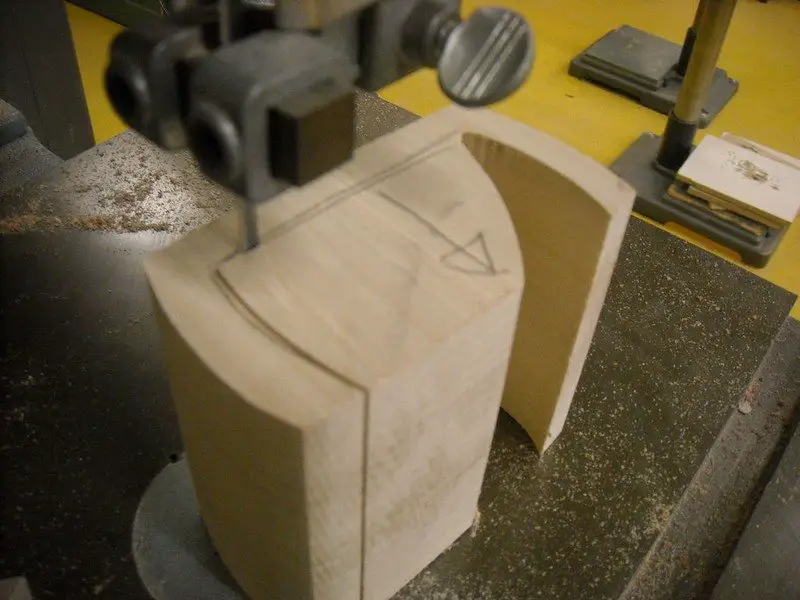
Step 3: Cut another short line on the opposite side of your bandsaw box.
Lastly, cut from the first piece you removed to the end of the cut you just made.
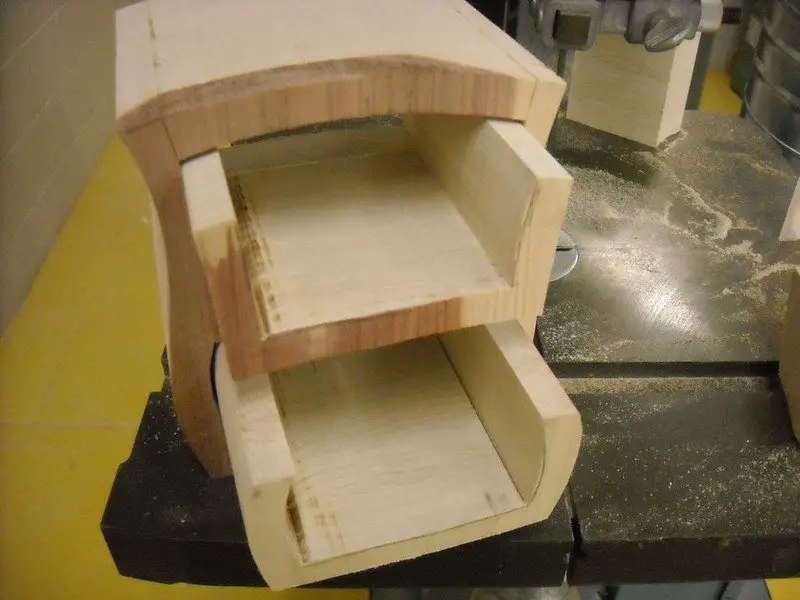
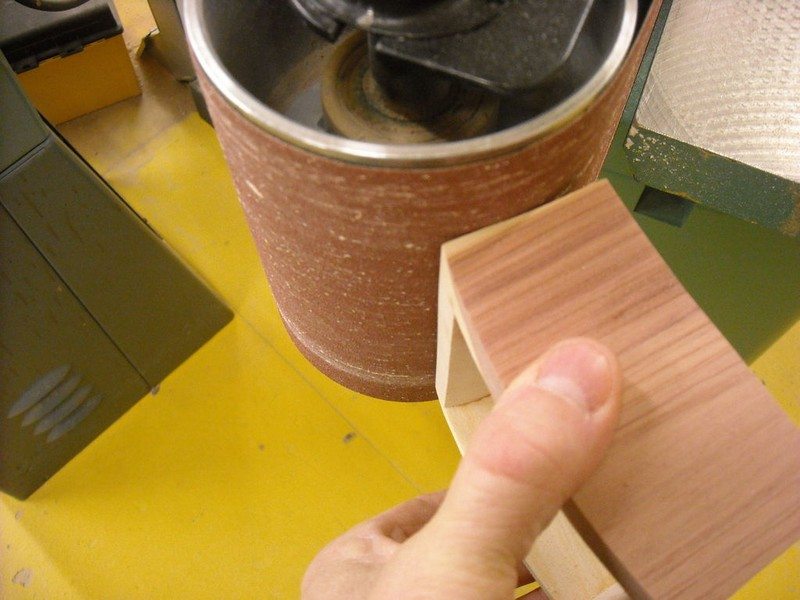
Use a sander to clean it all up inside and out!
Continued Page 4…

