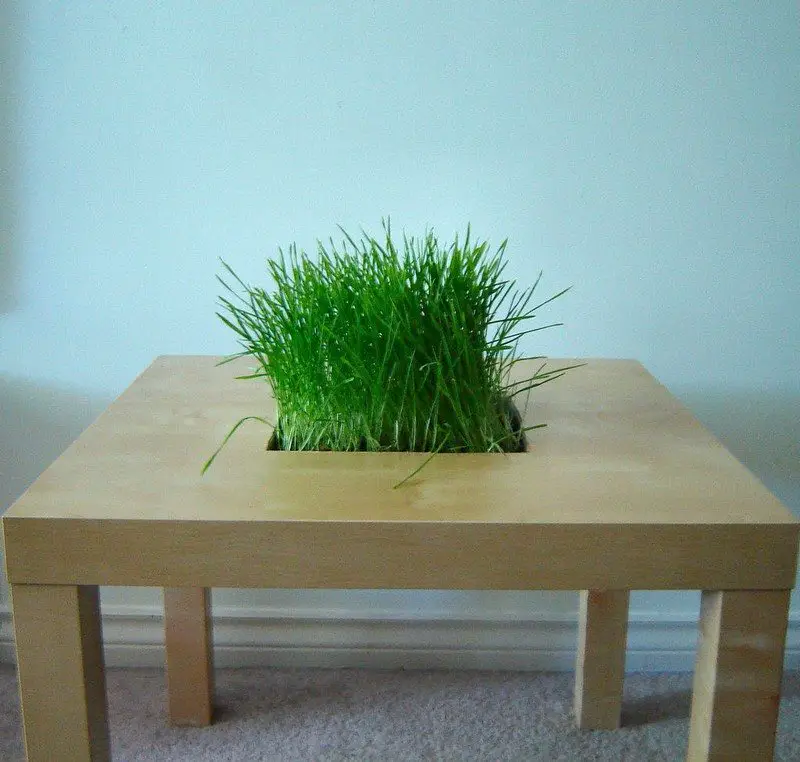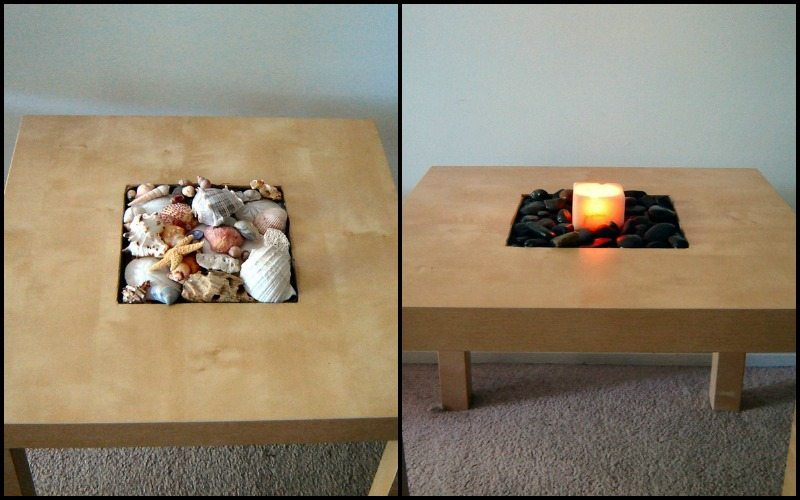
Take a $9.99 table, a craft knife, and a little imagination and you can have a different coffee or side table – or both – every day of the year! The ever-present Ikea brand Lack side table costs little more than a takeaway pizza, yet it’s surprisingly sturdy and long-lasting. The only thing wrong with it is that it looks the same day in, month out, year after year! Here’s a great way to personalize it and you can change the look along with your mood or the occasion!
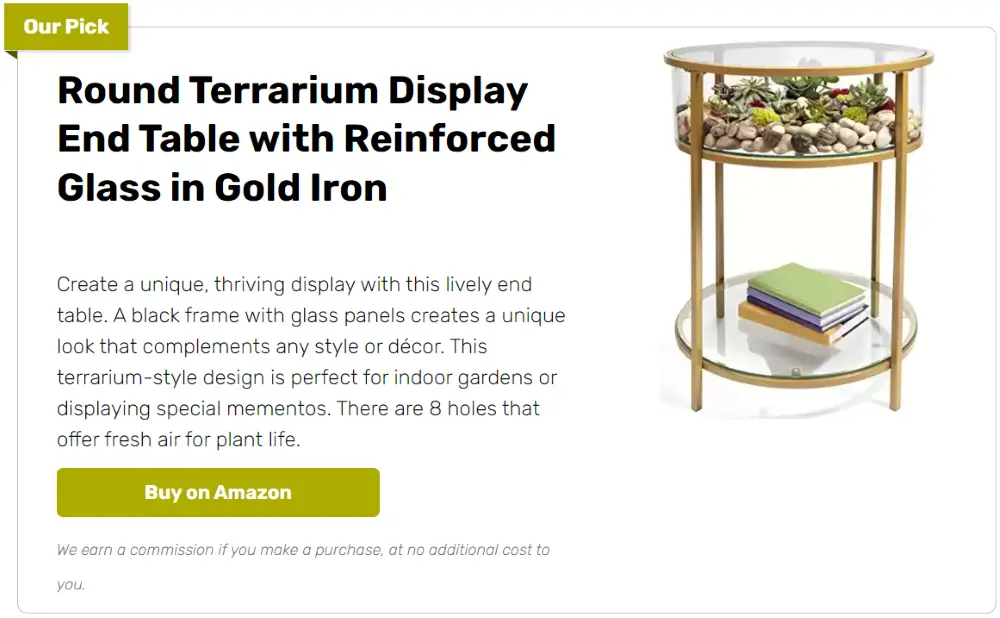
Don’t have an Ikea store nearby? Not a problem – since this manufacturing technique is very common you shouldn’t have to look too far for something comparable. Better still, with new delivery options like MeeMeep, you can get the original home delivered!
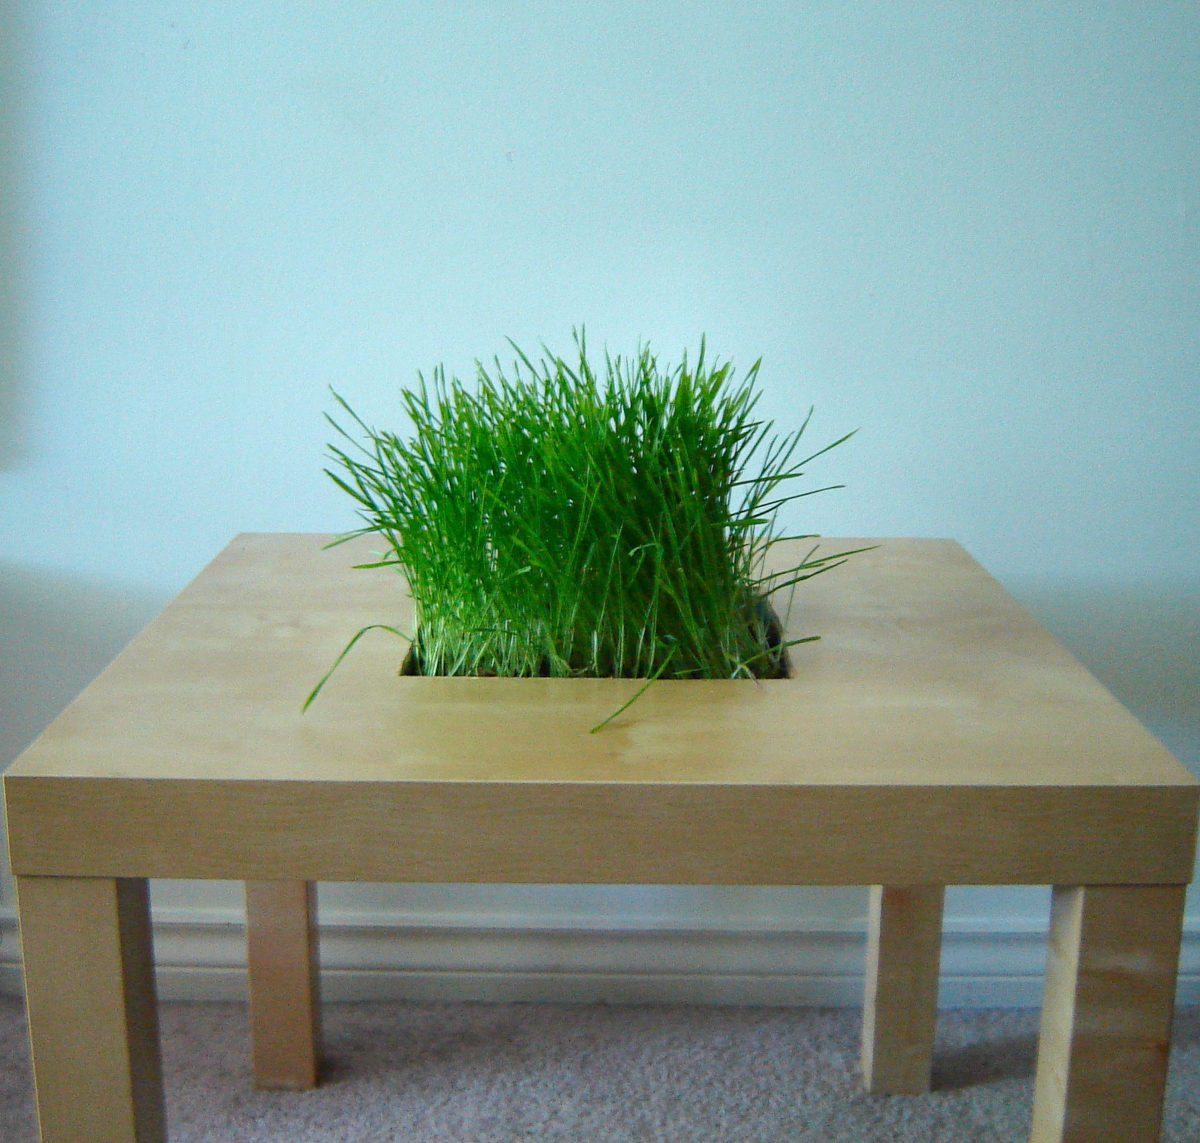
These tables are just a thin veneer over strong and durable honeycomb cardboard. They’re light, very robust yet easy to modify with the most basic of tools.
The key to great design is imagination and we’re sure you’ve got heaps of that! Read on for
Materials:
- LACK Side Table from Ikea
- Square Plastic Containers
Tools:
- Measuring Tape
- Pencil
- Drill
- Saw
- Ruler
Click on any image to start the lightbox display. Use your Esc key to close the lightbox. 8-)
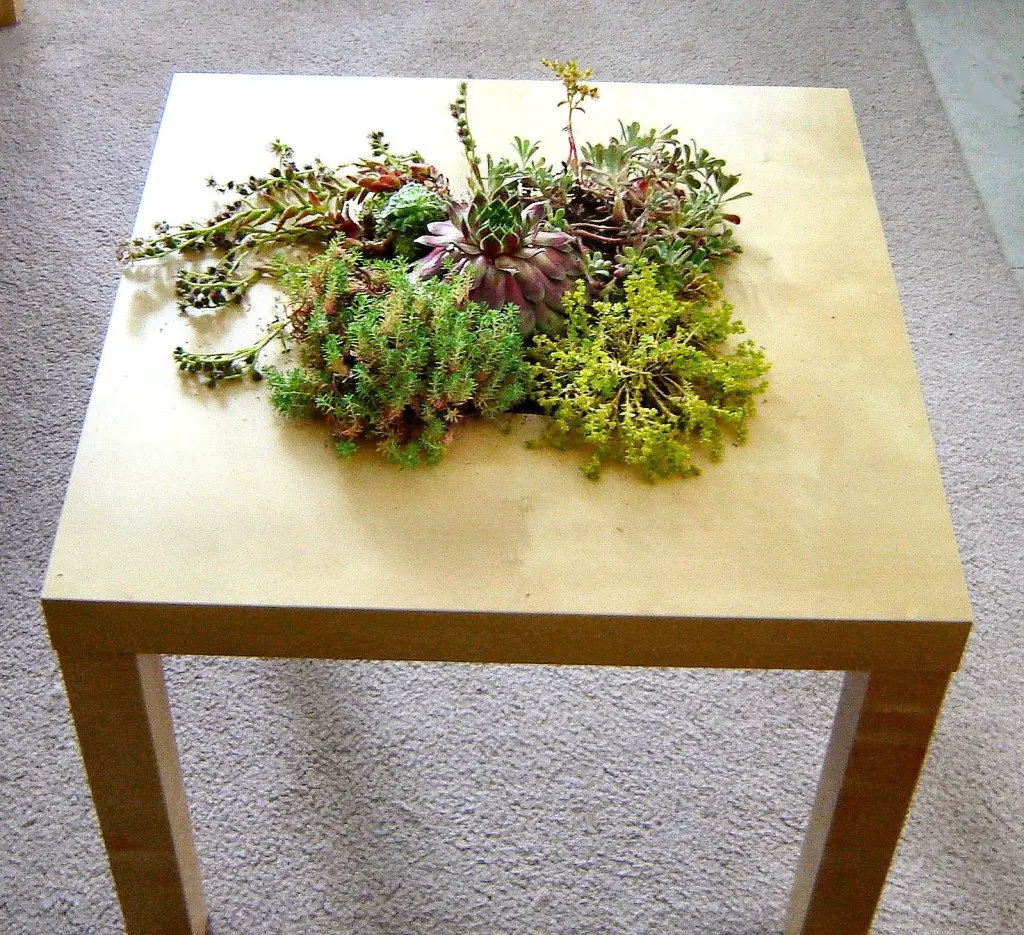
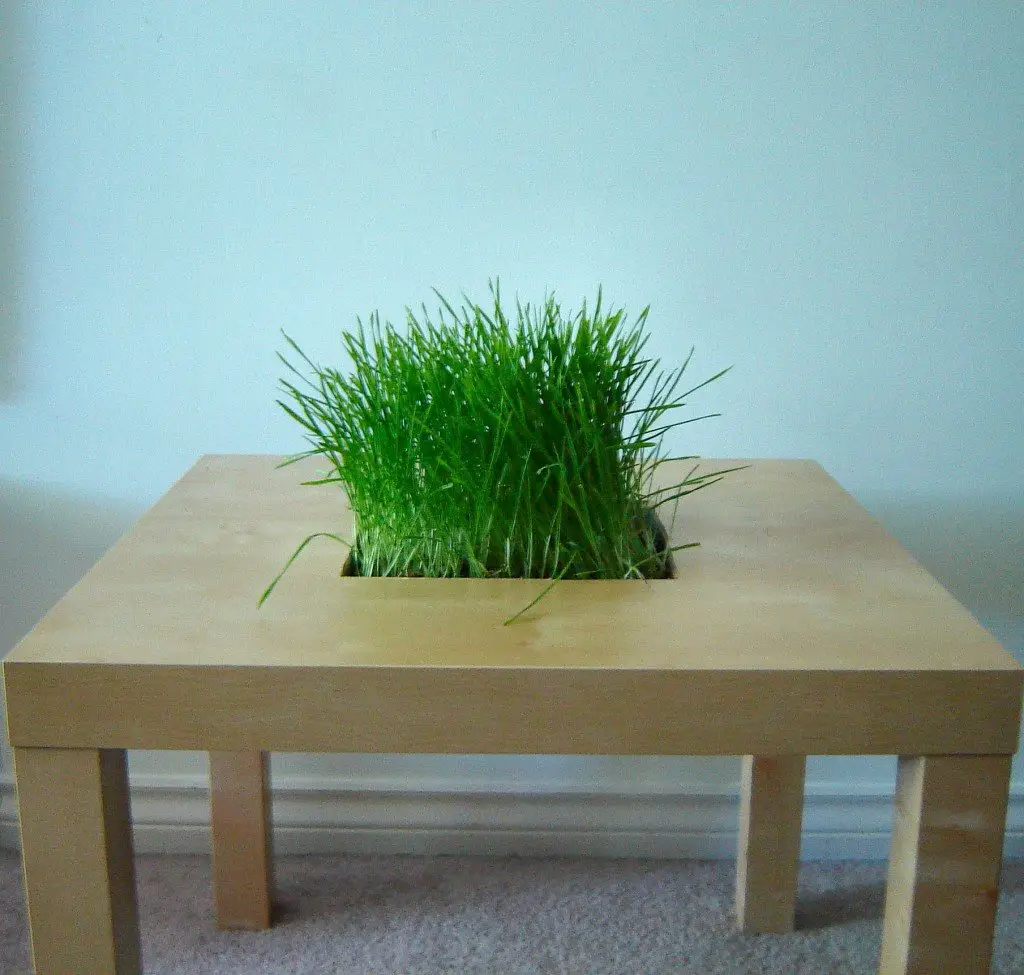

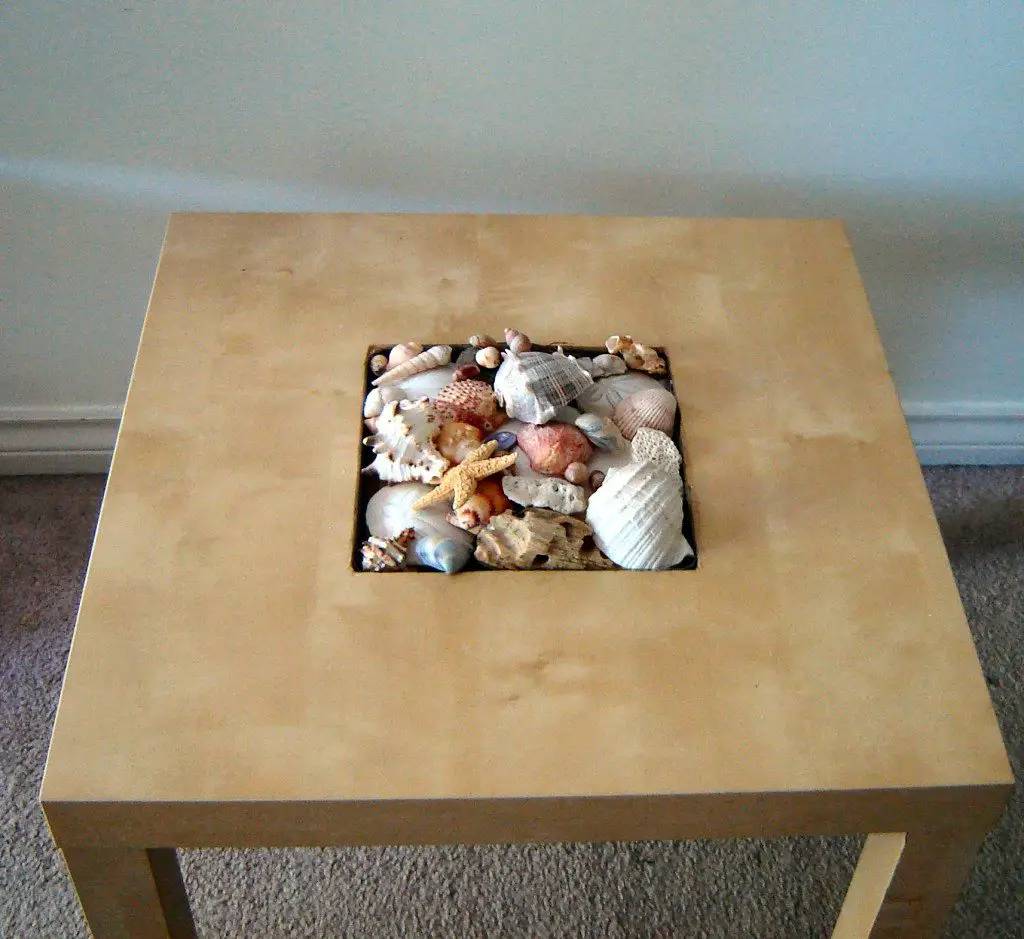
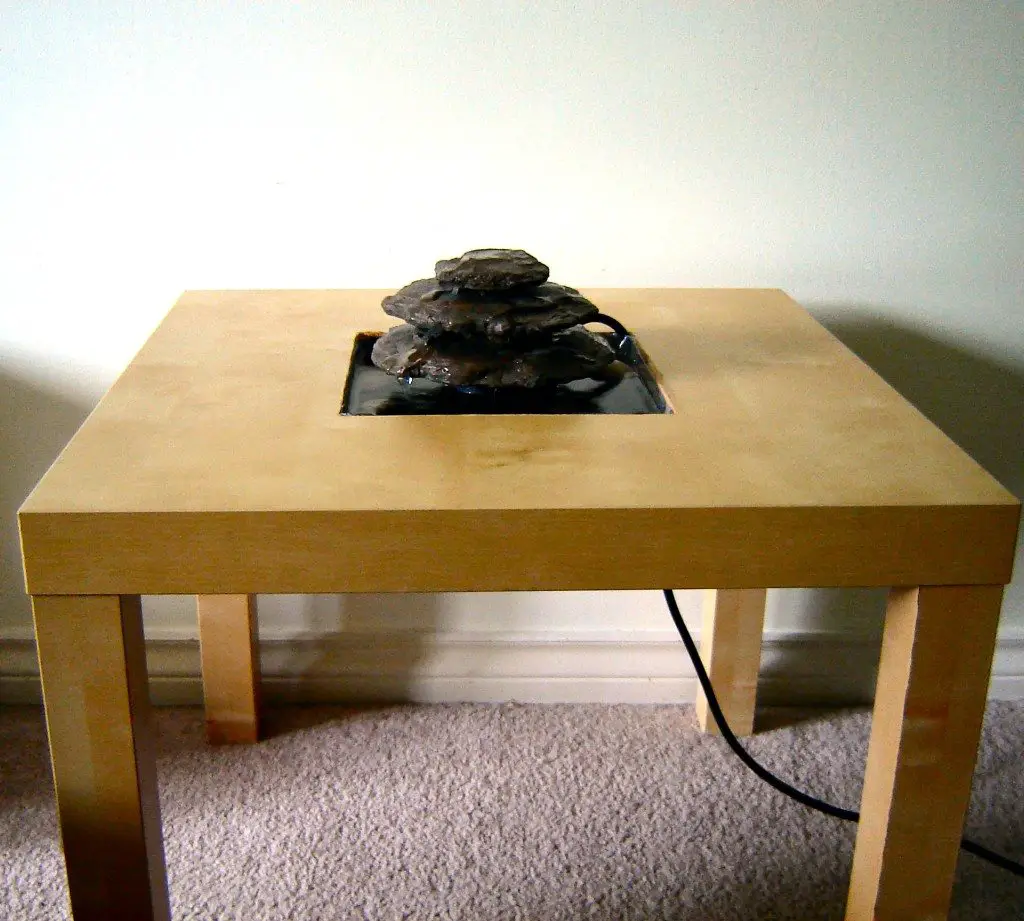
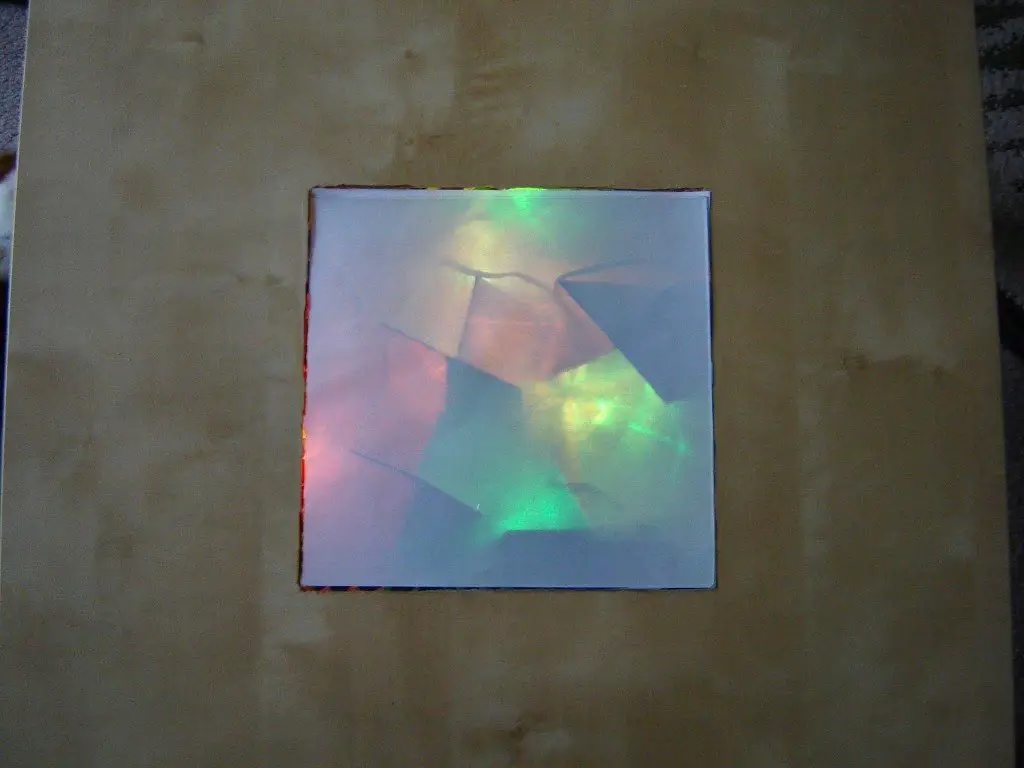
Steps:
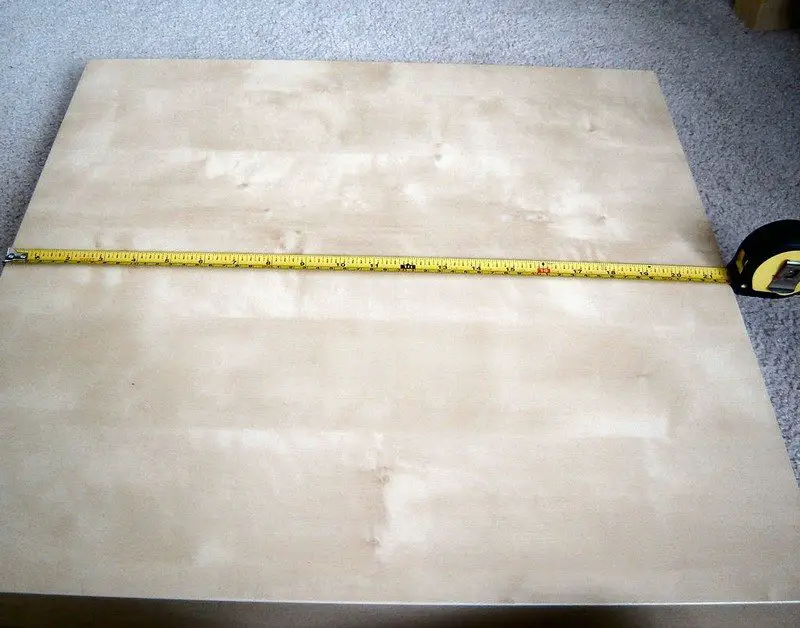
The size of the opening on the tabletop was determined by the size of the plastic container I was planning to use as an insert.
With a measuring tape mark the center point on the table.
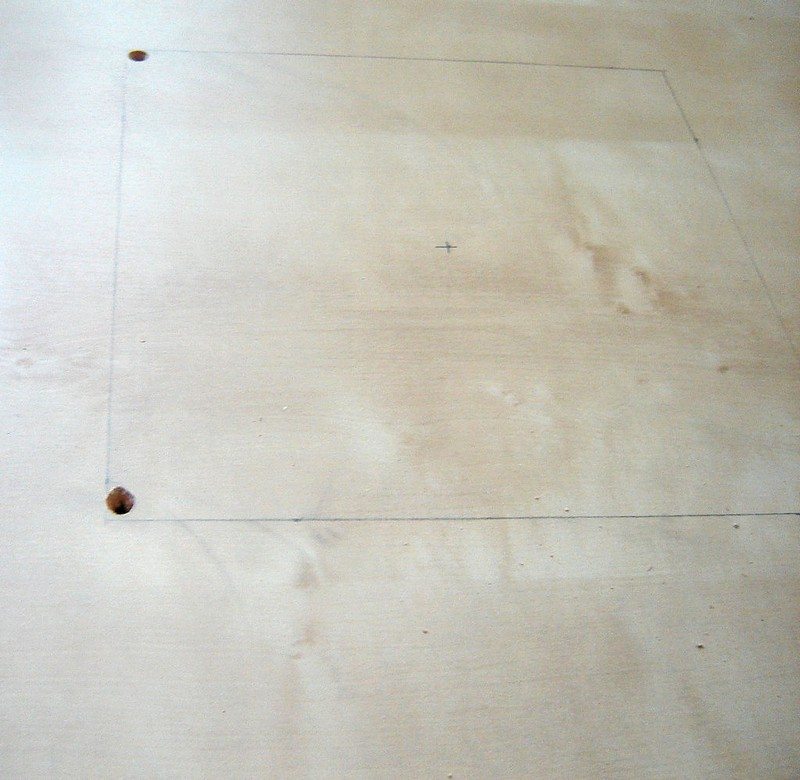
Place the plastic container in the center and mark around it where to cut.
I have a shortage of decent power tools at home so to cut out the part of the tabletop I had to drill holes at the corners and used a hand saw to cut the rest (unfortunately leaving some rough and uneven edges).
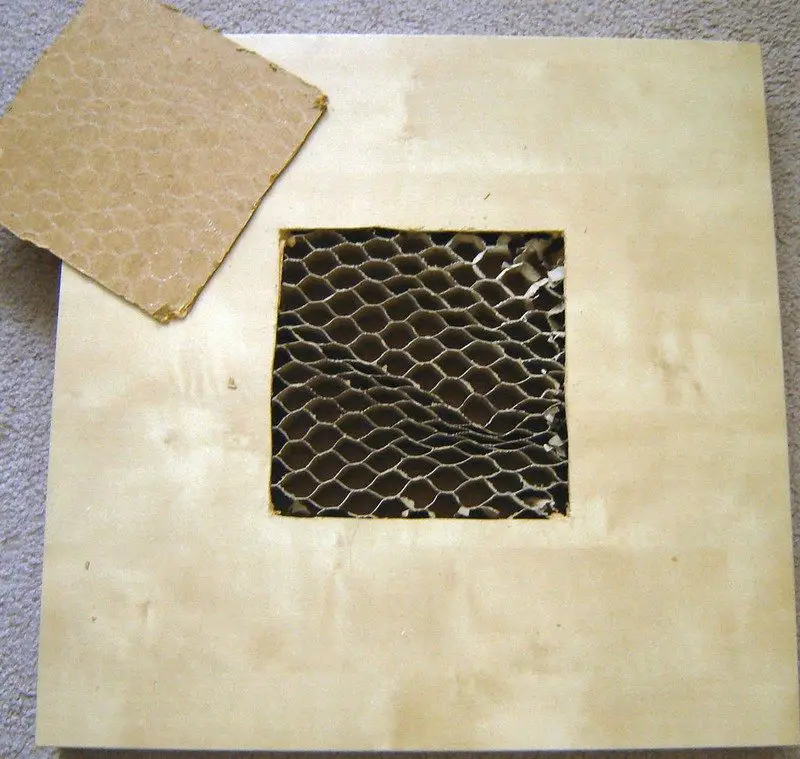
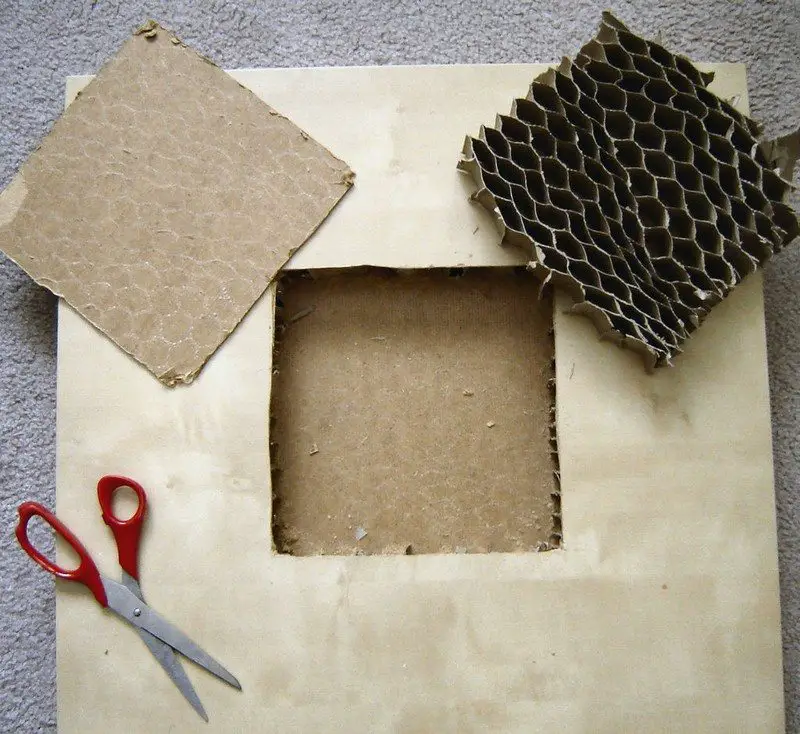
Once you remove the part of the tabletop, there is a cardboard honeycomb that needs to be cut out as well. Keep the top piece that you cut out, it can be used.
Sand the edges smooth and check that the plastic container fits.
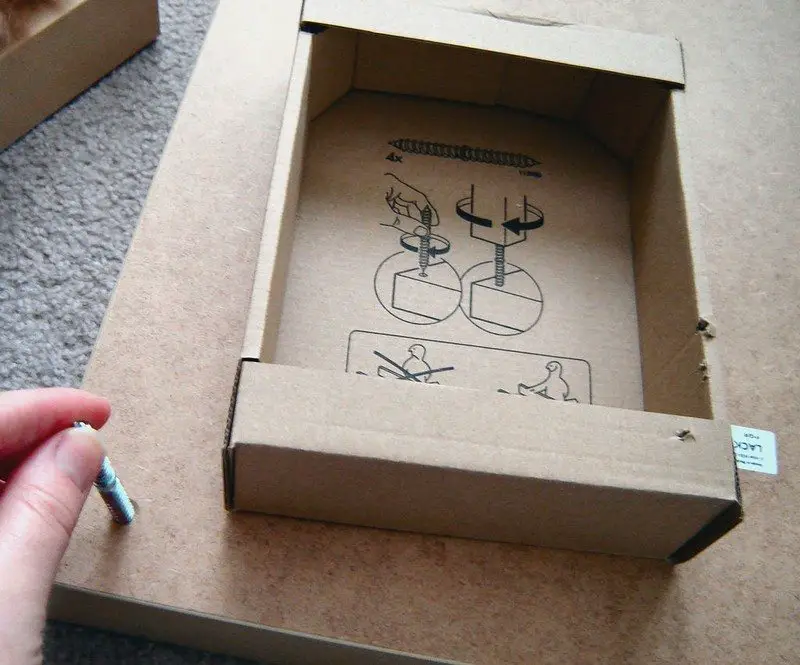
Assemble the legs of the table if you haven’t done so already.
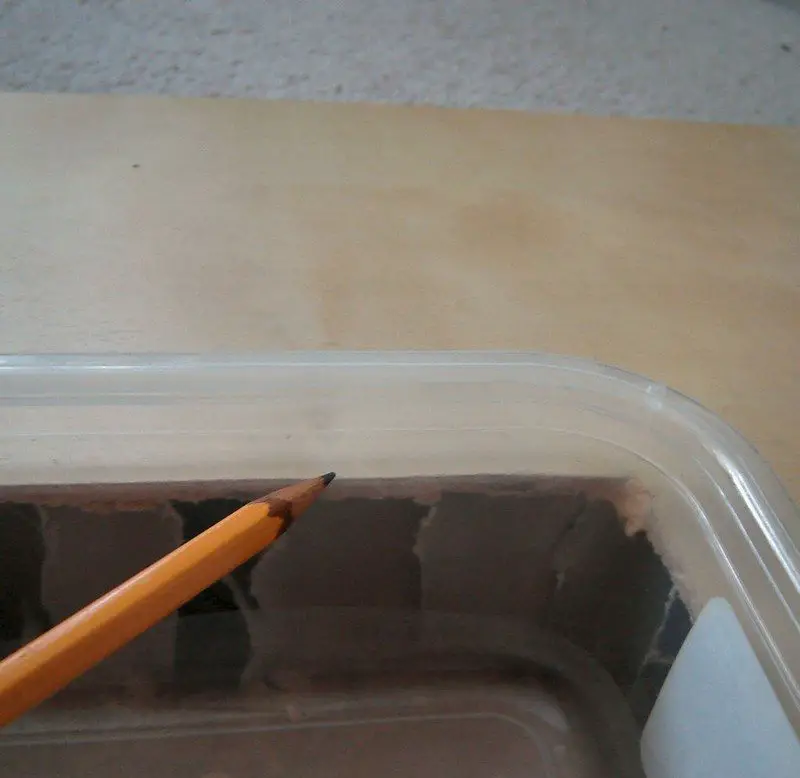
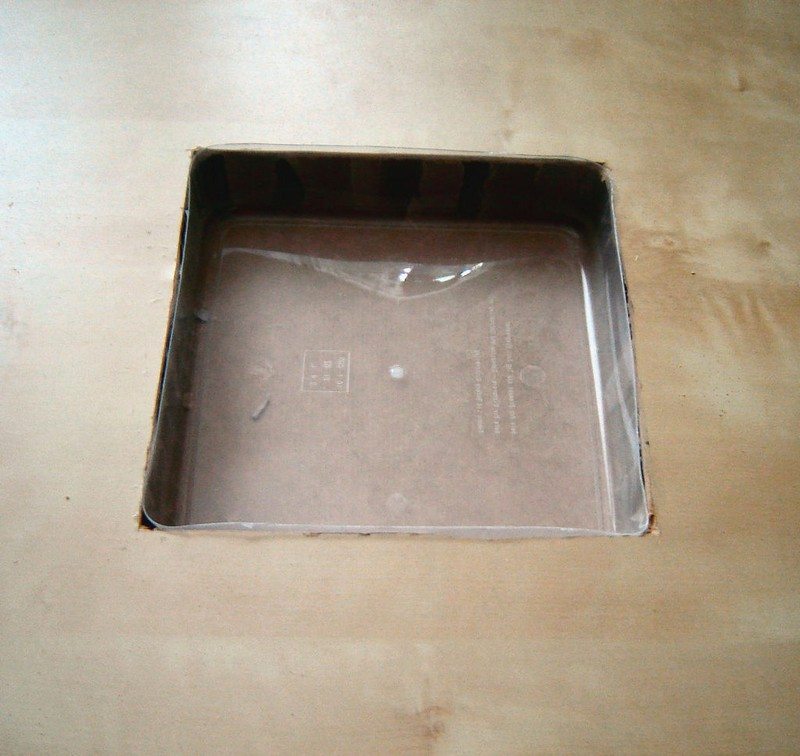
My plastic container was deeper than the hole I made so I had to trim off the top part so that it was flush with the top of the table. I bought several of these and cut them to size so that it was easier to change up.
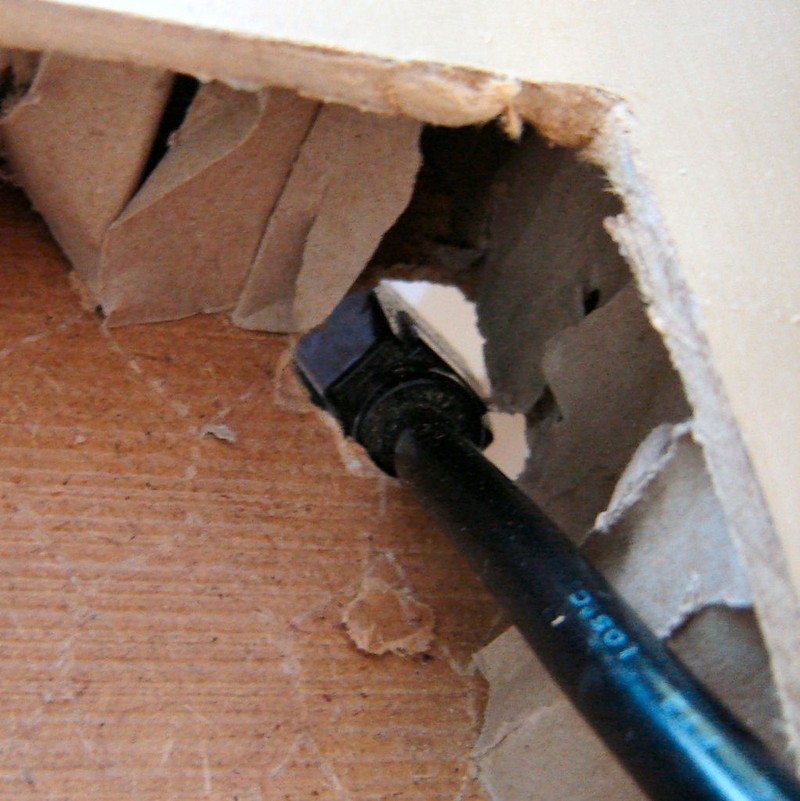
Since I planned to add a fountain and lights I needed to cut a hole through the bottom of the table to put the electrical plug through.
Continued Page 2…

