Hey look! We’ve got green roofs too! Even the kennels are going green! Giving a green/living roof to a kennel provides the same benefits for your ‘best friend’ as it does for human homes. It keeps it cool in summer and much warmer in winter. In fact, a green roof offers exceptional insulation properties.
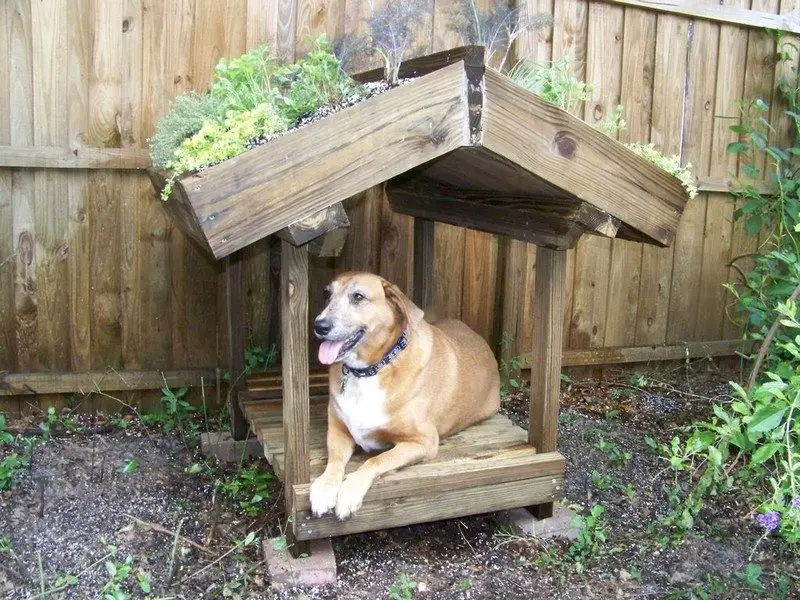
As a side benefit, it also deadens the sound of rain, hail and even storms. That will help to calm your pet when the weather turns bad and will also help you sleep since a frightened animal is likely to wake you AND your neighbours.
Materials:
- 2×6 inch ACQ Pressure Treated Lumber
- 1/2 sheet of 1″ PT CDX Plywood
- 2 lbs of 3″ deck screws
- 2 lbs of 2″ Deck Screws
- Construction Adhesive
- Caulk
- Plants
- Soil
- Perlite
- Fertilizer
- Pavers
[adinserter block=”11″]
Tools:
- Pocket hole jig (optional)
- Framing square
- Drill & bits
- Table saw
- Hole saw
- Screening
- Staple gun
- Assorted Woodworking Paraphernalia (clamps, cords, etc)
[embedit snippet=”adsense-728×15-inline-text-only-ad”]
Steps:
We start by ripping some of the 2x6s down to 2x3s
From these 2x3s we cut;
2 24 inch pieces
2 32 inch pieces
4 30 inch pieces with one end of each beveled at 22.5 degrees. (uprights)
2 44 inch pieces with one long edge of each cut at a 22.5 degree angle and the ends snipped at 45 degrees. (stringers)
2 44 inch pieces
I want to add that proper precautions should be taken when working with PT lumber, use a dust mask when sawing, and wash your hands before eating and drinking.
First note that all joints are secured with fasteners and adhesive unless otherwise noted, Also all holes are predrilled.
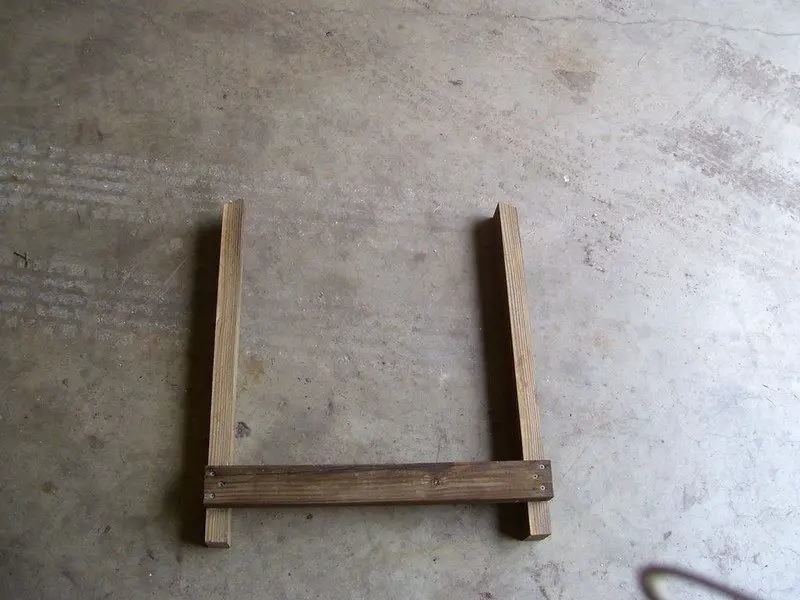
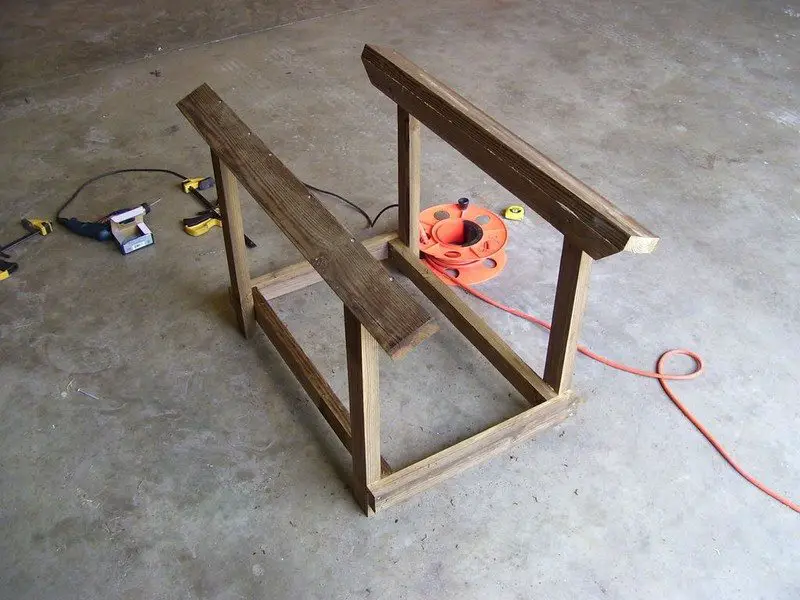
Build the frame by laying out the four 30 inch uprights in pairs, on edge, and securing the pairs together with the 24 inch pieces placed 4 inches up from the bottom (square end), the bevels on the uprights should appear as in the picture. Be sure to check for squareness.
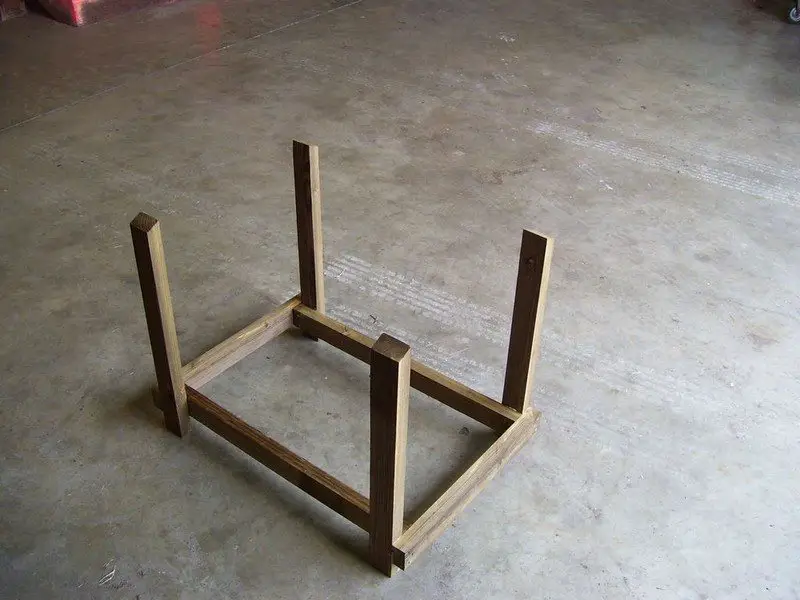
Now join these two end pieces together with the 32 inch pieces placed on the inside of the frame. That is our basic structure.
The roof support needs to be very strong, the roof could weigh up to 300 lbs following a rain storm.
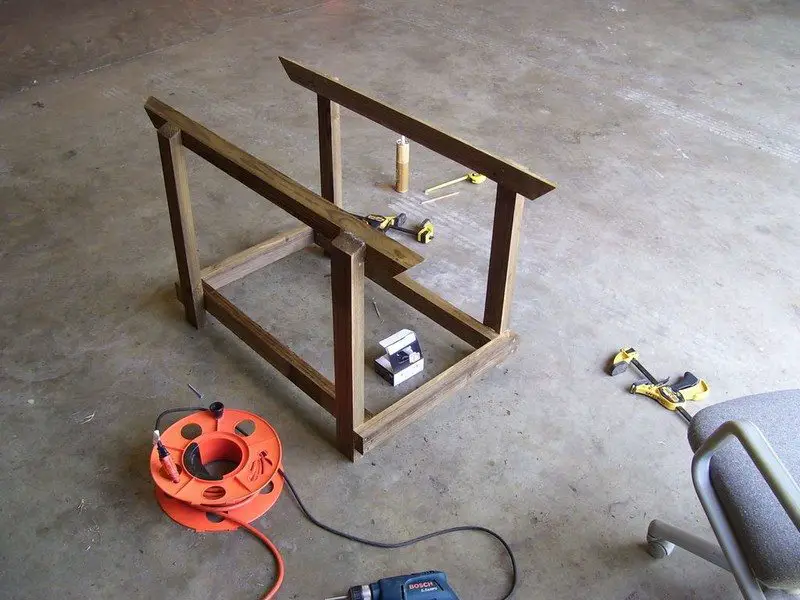
To build the roof support, the 44 inch long beveled stringers are attached on center with the bevels of the uprights on the outside. If we stopped here all the weight would be supported by 12 screws, bad idea. The two additional 44 inch long pieces we cut are attached on top of the stringers and uprights, creating an L beam that transfers the load to the uprights. At this point I placed a scrap of wood across and sat on it to test the strength, everything was okey dokey.
The roof is built from 2x6s to give depth to the garden bed
Start by cutting four rafter pieces 21 inches long with a 22.5 degree cross cut at one end of each.
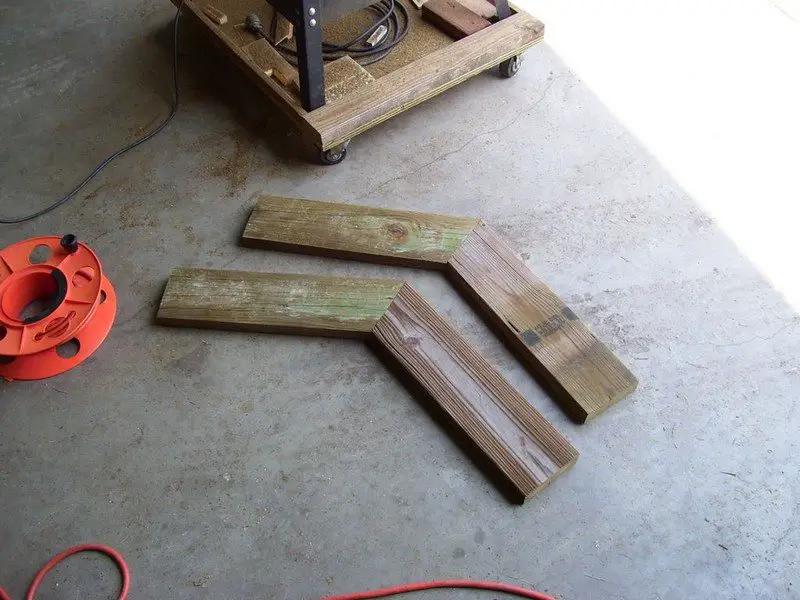
Also cut a ridge piece 44 inches long from a 2×6
Attach the rafters to either end of the ridge piece with pocket screws, alternately toe nailing is an option.
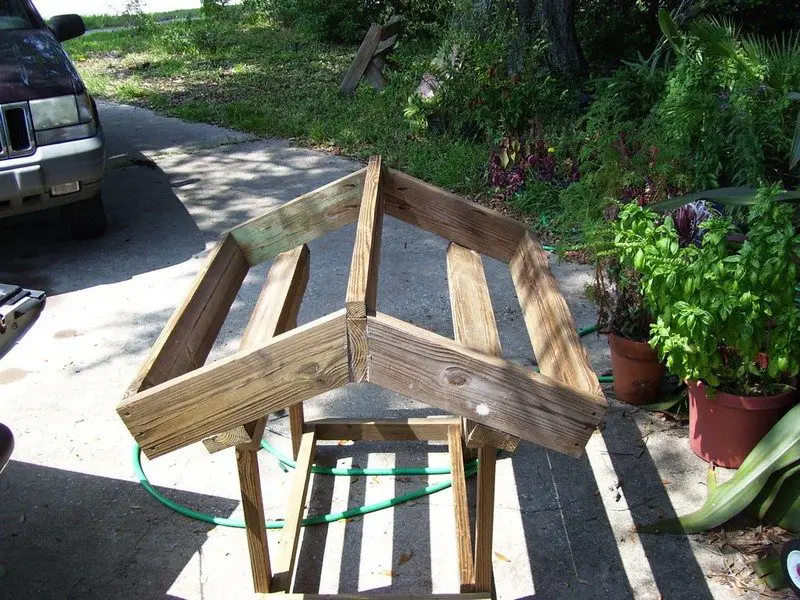
Place the roof on top of the house frame and square everything up and screw through the L beams into the rafters to attach the roof. The edges of the roof are cut from 2x6s to fit (approx 41 inches long.)
We will come back to the roof in a bit.
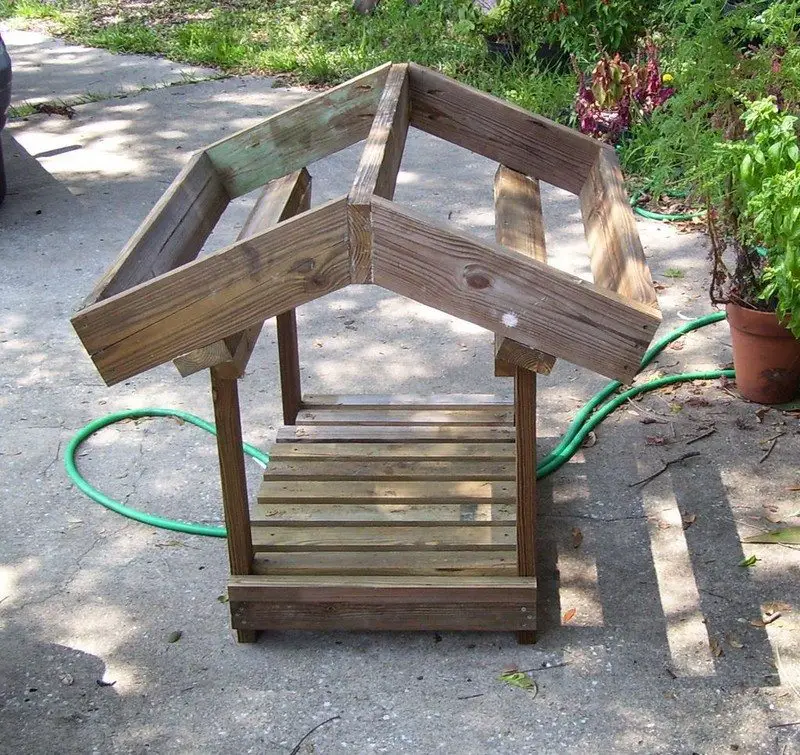
The decking is cut from 2x3s 24 inches long, they’re spaced 1 inch apart, I used aluminum square stock to keep everything aligned (scrap lumber would work as well) and fastened with a single screw and no adhesive at each end. Some custom cuts are needed around the uprights.
Back to the roof. Take the inside bottom dimensions of each side of the roof box, subtract half an inch and cut panels to fit from the sheet of CDX plywood. Fit the panels into the box and secure them to the L beams with a couple of screws.
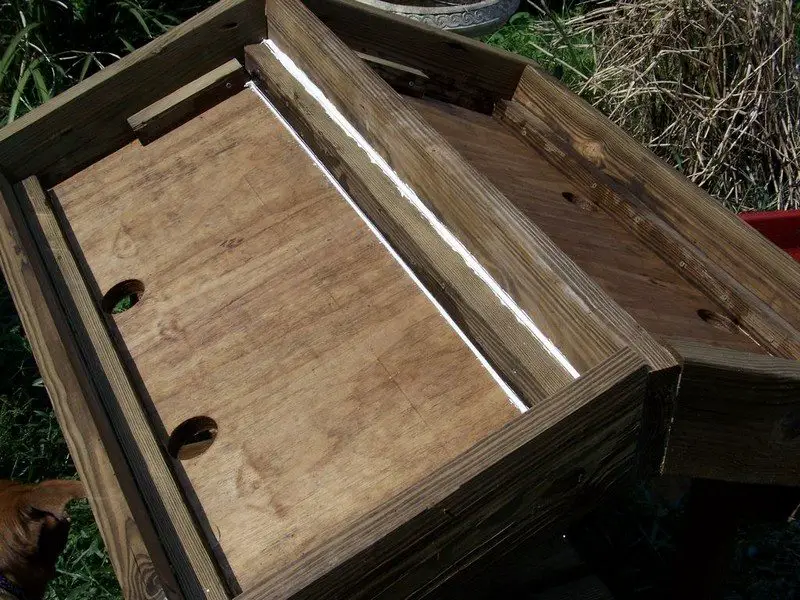
Back to the saw; using the panel measurements, cut some 2×2 inch battens to hold the panel in place, the batten for the top must be beveled to match the roof pitch.
Using these battens fix the panel to the roof frame, I attached the battens to the plywood with screws and construction adhesive, but used only screws to attach it to the roof structure to allow eventual replacement if needed. If you wish additional waterproofing of the plywood can be done now, I brushed on a coat of water seal because this plywood had already spent the three years since the hurricanes sitting behind my shed.
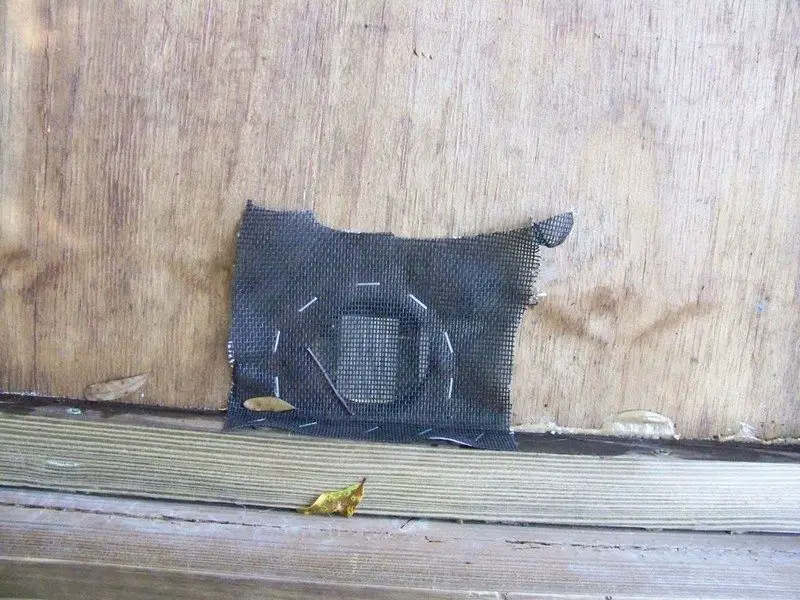
For drainage we’ll drill a couple of 2 inch holes along the bottom edge of the panel and fix nylon screening over. Along the top ridge, for the comfort of the dogs, caulk was used to seal the cracks to prevent dripping.
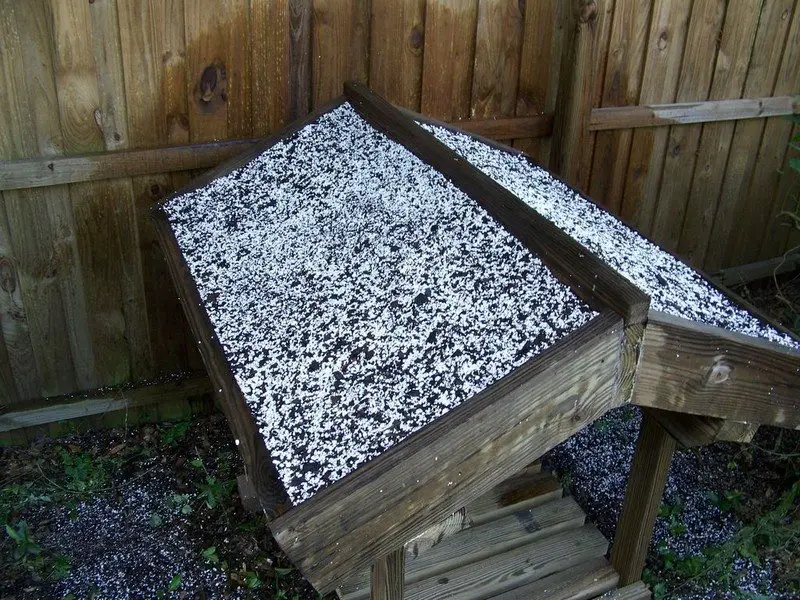
It’s important to have a light weight, well draining potting media, I’ve hopefully accomplished this by combining equal parts commercial potting soil with perlite, with the addition of a slow release fertilizer, following label directions. The soil is spread into the box using care not to compress the media, moistening it to keep it in place. I used 6 cubic feet total planting media.
The choice of plants will vary with geography, universally the choice will need to be small, drought tolerant plants.
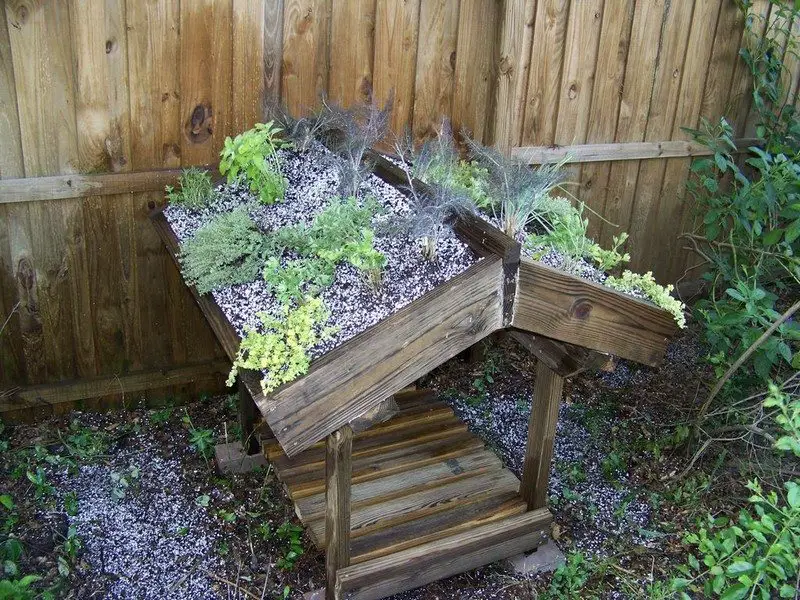
Watering . Because of the pitch of the roof watering must be done with care until the roots tie the soil together, use a fine rose watering can or, if using irrigation, micro sprays, and water the plants until established, 1-2 months.
What plants would you grow in your green roof dog veranda? If you want, here’s a list of plants that could attract butterflies and bees for bringing life to your outdoor area:
- Bronze fennel
- Parsley
- Tarragon
- Cilantro
- Marjoram
- Savory
- Lemon Balm
- Thyme
- Chives
Thanks to
[embedit snippet=”media-net-inline-ad-728×90″]


