Whether your home is bigger or smaller, there are various ways to create space and organize whatever size you occupy. Clutter can make any home seem disorganized and smaller. Stacks of papers, bags, and clothing needlessly shrink your living space, making it difficult to move around and find things.
There aren’t many homes that can’t use some additional storage space. If you have a large family and a small home, you’ll know just how hard it is to find that extra storage space.

You might find what you’re looking for underneath the stairs in your home. There lies a void which you can turn into a clever storage system.
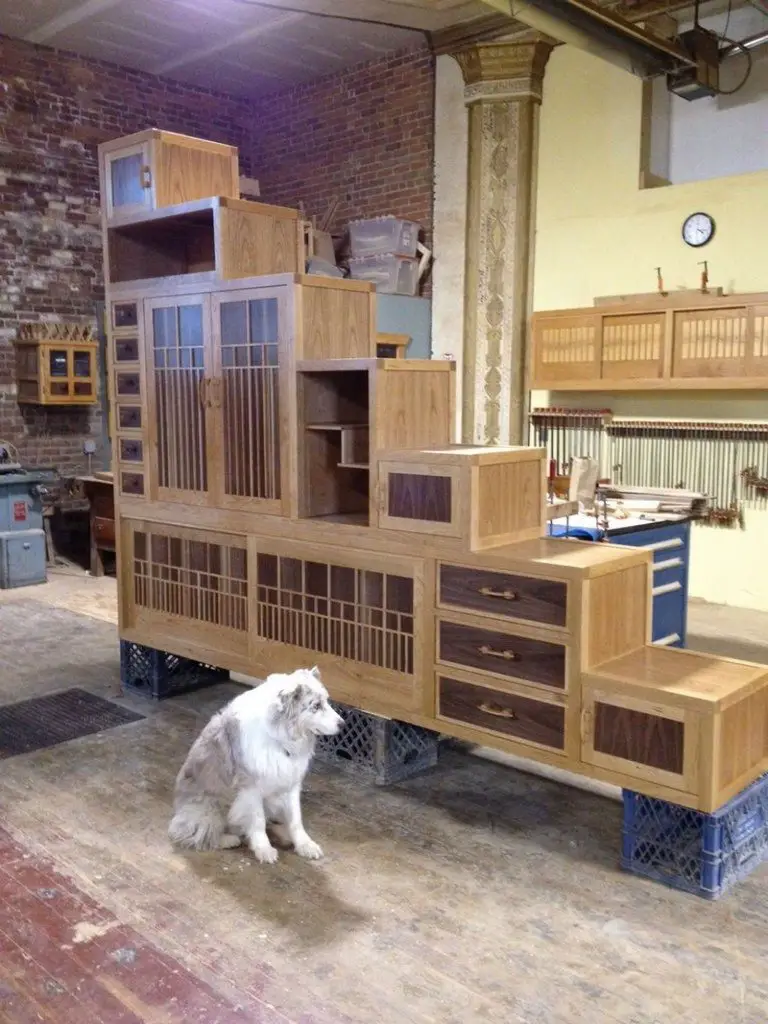
This under the staircase cabinet combines beauty and functionality for that under-used space under the stairway. Although the one featured here is definitely the work of a skilled craftsman, you can still get the same result if you build it yourself by extracting ideas from his work. After all, you’ll need to customize the staircase cabinet to fit your space. And even if you’re living in a one storey home you can still use this as a fabulous wall unit.
Materials:
- 5 pieces of 12′, 2″ thick Black Cherry boards
- 1/16″ Veneer Panels
- 1/2″ ultra light MDF
- Pencil
- Masking Tape
- Yellow Glue
- Foam Roller
- Vacuum Bag
- Rags
- 32mm Cup Hinges
- Oil or Spray Finish
Tools:
- Table Saw
- Belt Sander
- Orbit Sander
- Horizontal Mortiser
- Jointer Set
- Cabinet Scraper
- Miter Gauge
- Clamps
- Chisel
- Milling Machine
Steps:
Once the design was finalized, I did some calculations and headed to the lumberyard and bought 5 12’ 8/4 boards of black cherry to build the frame of the piece.
Back in the shop, I cut down all the rough boards except for one, which I made the longest members with. Then I straightened one face and one edge of each board on the jointer and then sent them all through the planer to get even and consistent thickness of 1 13/16”.
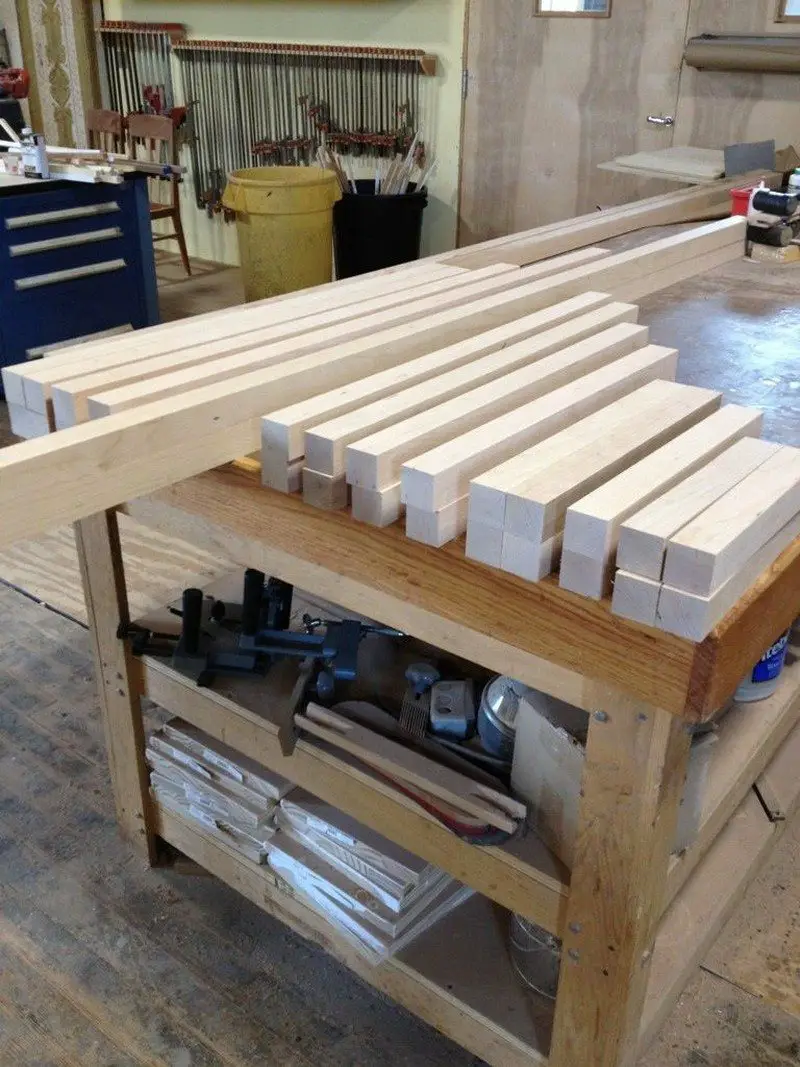
After that, I ripped all the boards on the table saw down to 1 13/16” squares and sent them all through the wide belt sander to achieve even 1 3/4” square stock.
Then I carefully calculated a cut list for the stock and cut all parts to length on the table saw.
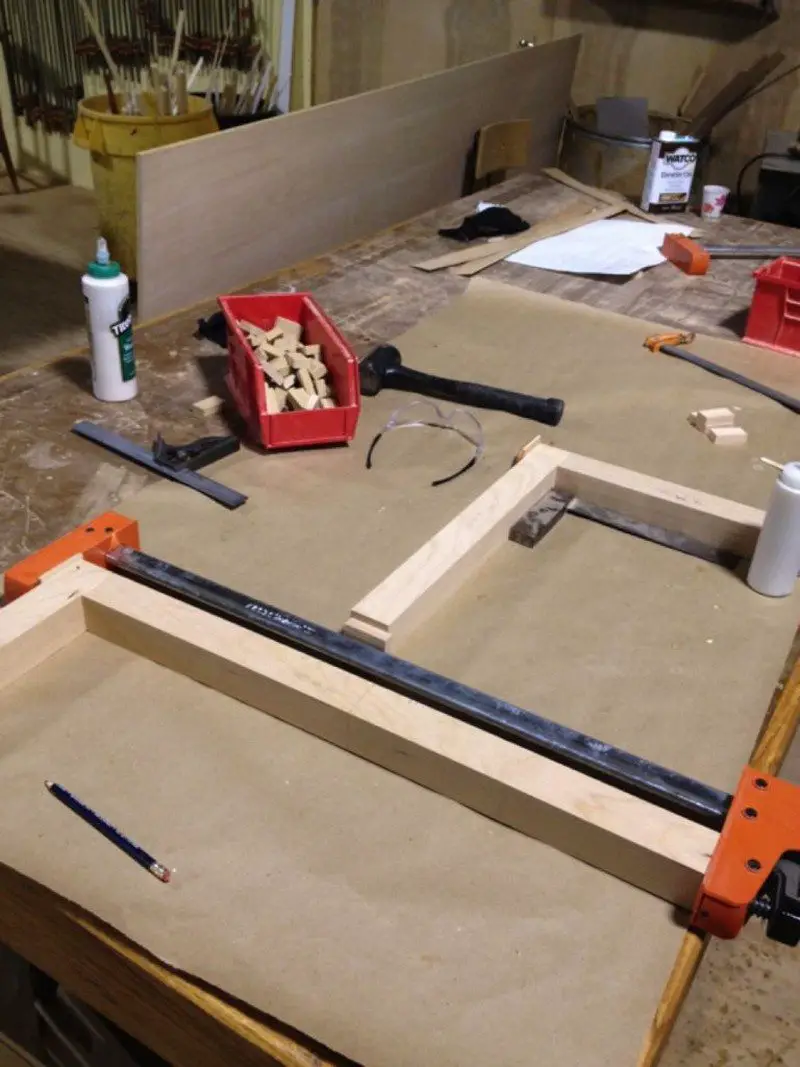
Moving to the horizontal mortiser, I carefully set up an exactly centered mortis in the stock and begin cutting mortises in the ends of all the short pieces and then on the longer pieces, I took time to lay out the mortise location.

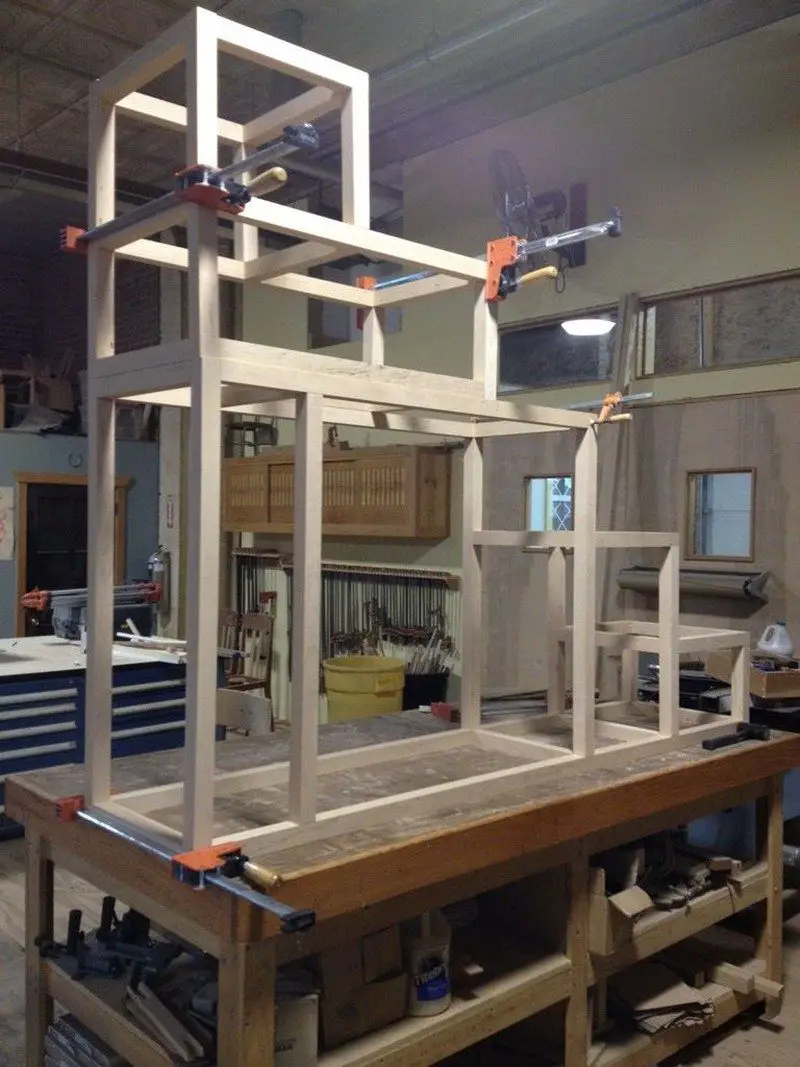
Once all mortises were cut, I dry fit the carcass to see the shape of things to come.
Then, I measured for all the panels to fill in the backs, dividers, and sides.
Using 1/16” thick veneer I cut panels for all the back panels and interior dividers. For the outer walls, I carefully book matched some of the same material into 9’ x 22” panels so the grain followed up the ‘treads’ and also the ‘risers’ as you look at the unit from the side or top. This effect is subtle but was worth doing. This detail only takes some careful planning and labeling as you go. To make a tight/straight joint on the veneer, run it across the jointer set very low. This trick will only work with the extra thick veneer. I then secure the joint with regular masking tape.
For the substrate, I used ½” ultra light MDF. Since the panels aren’t structural, the less weight will be appreciated later. I cut pieces to match the laid up panels on the table saw. Using a foam roller I applied an even coat of yellow glue to the veneer and one side of the substrate and slid it into my vacuum bag face down. Some prefer to glue both sides at once; I’ve never had any problem doing one side at a time. I leave each side to dry a minimum of 4 hours. There are a lot panels – this takes a few days.
When the panels were all done, I scraped the tape with a cabinet scraper. If you don’t have a widebelt sander I strongly recommend looking into renting an hour on one at a local cabinet shop. This will give you consistent thickness and uniform sanding pattern. You’ll still need to finish sand prior to assembly, but this is unavoidable.