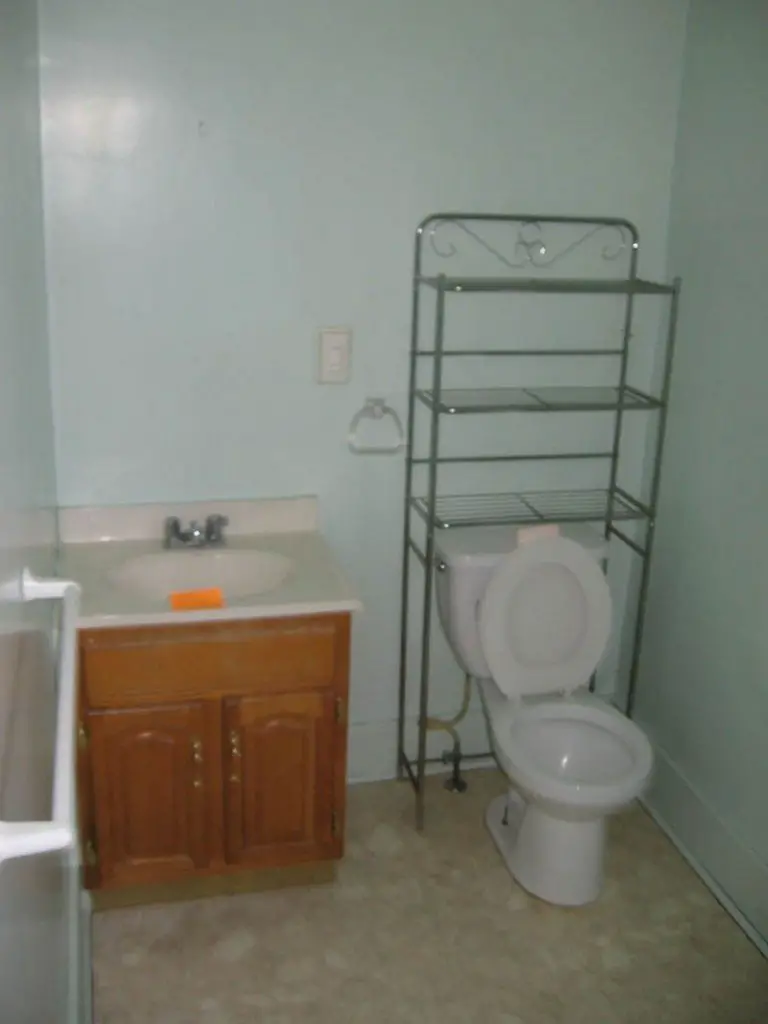
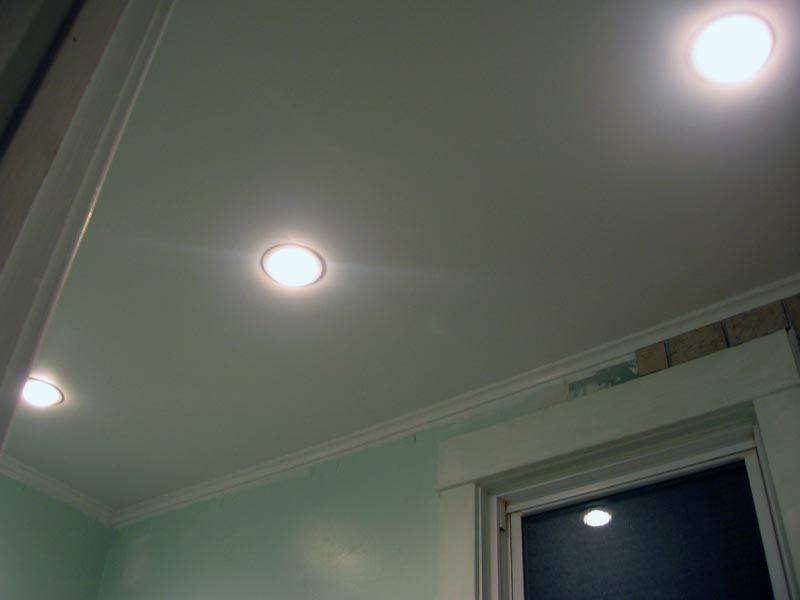
Recessed lighting seems to be all the rage now and is an attractive option that is pretty reasonably priced (basic lights run about $10-15 each).
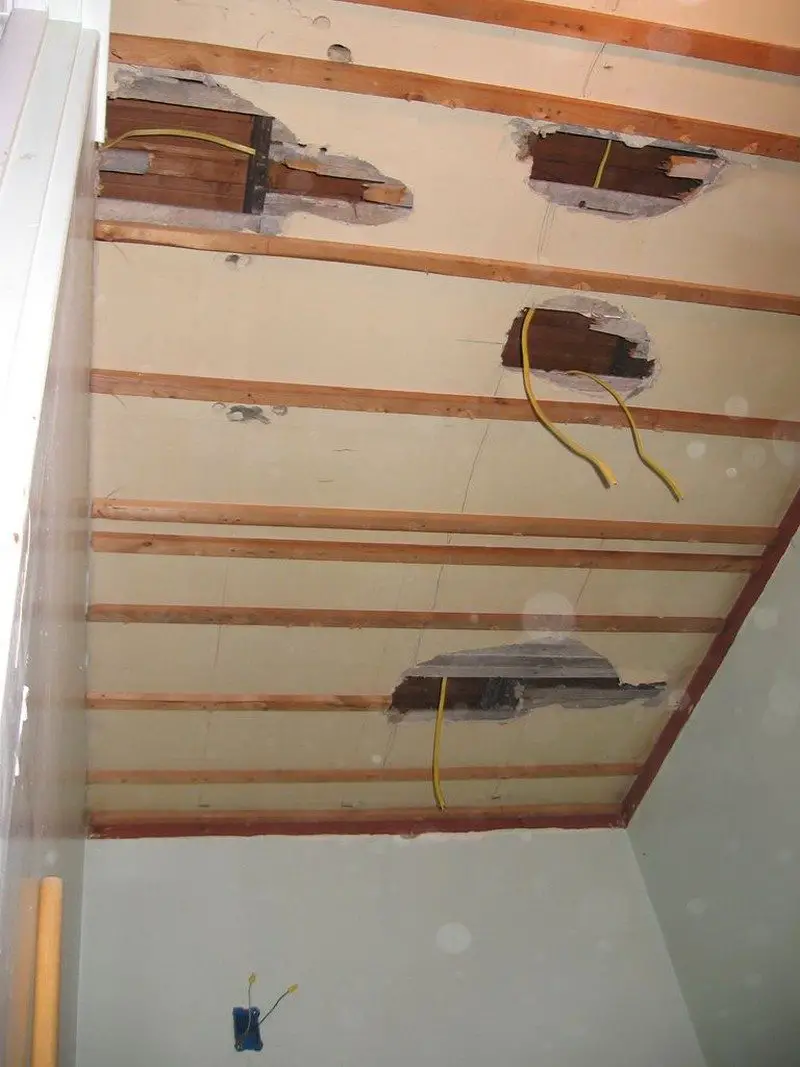
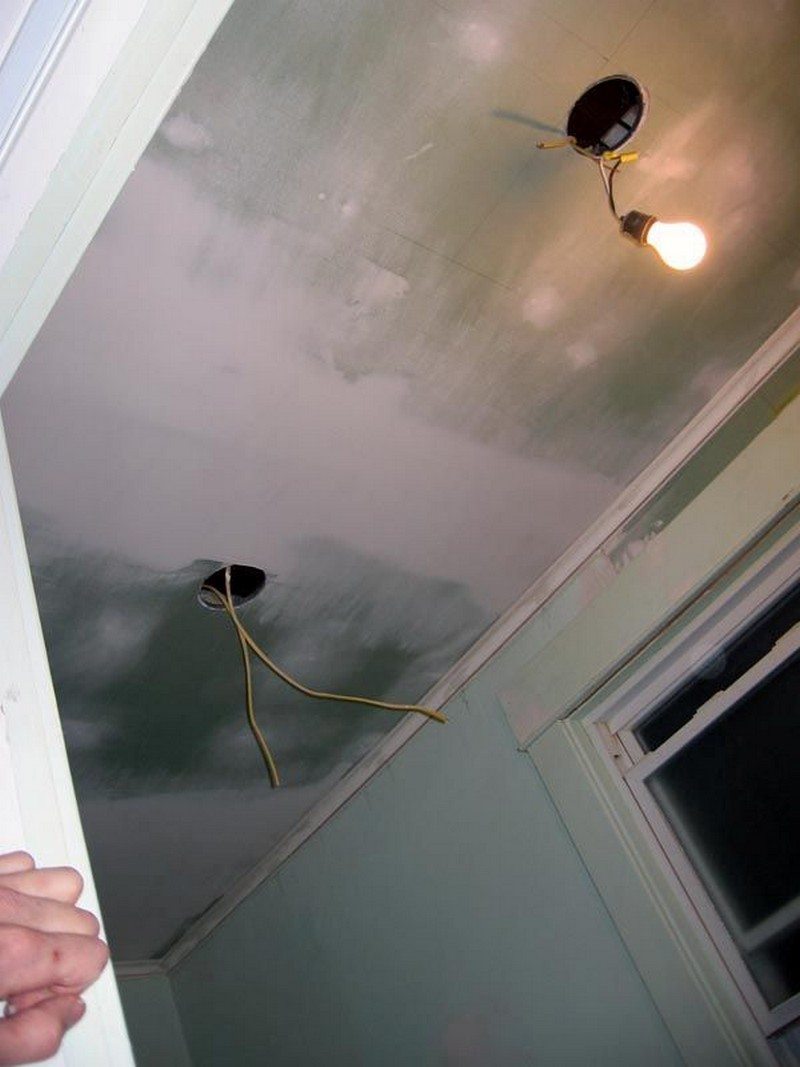
Since my upstairs bathroom is on a different circuit, I was free to tie in the exhaust fan, recessed lighting, and vanity light into the same circuit that served the outlet next to the sink. As long as everything else is connected downstream from the GFCI outlet, they are all protected.
Pigtail lights give you a temporary source of light during the construction process.
I had a licensed plumber help me with the installation of the shower plumber. The last thing I need is a slow leak hidden inside the wall to rot my house from the inside out.
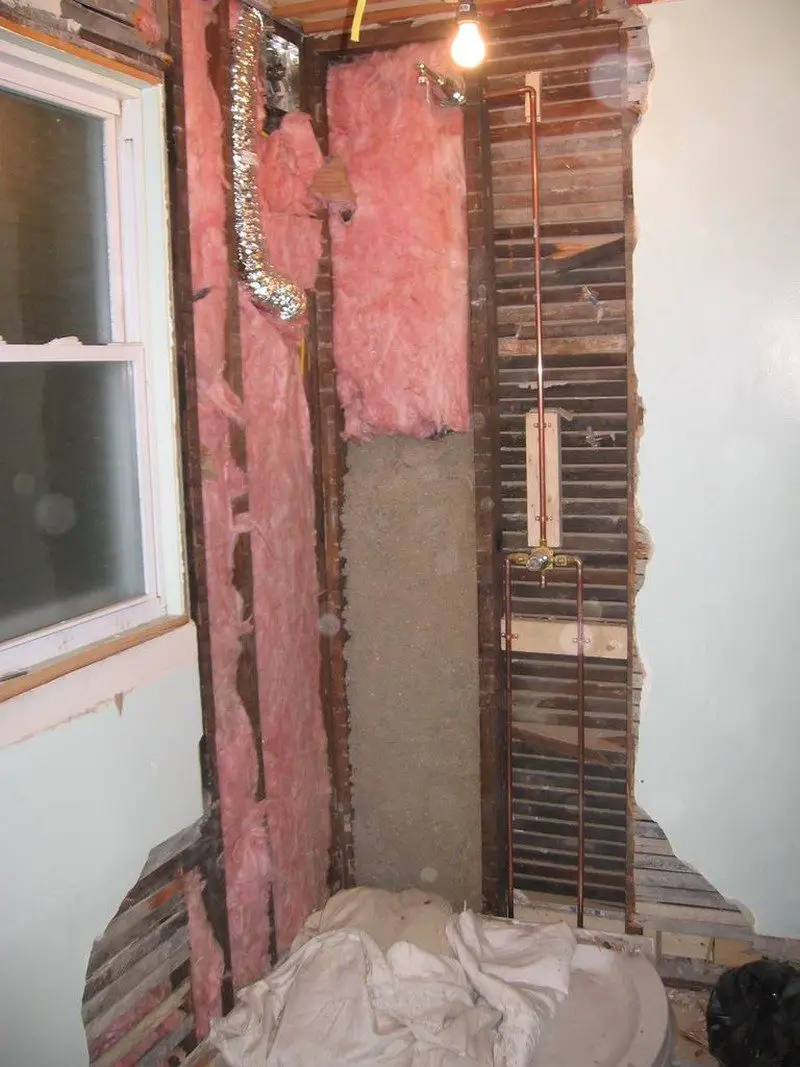
Greenboard is a type of gypsum free drywall suitable for use in moist places such as bathrooms and that’s what I’ve used here.
You might as well go ahead and completely finish the ceiling including paint before proceeding to the rest of the project, as mess only falls down.
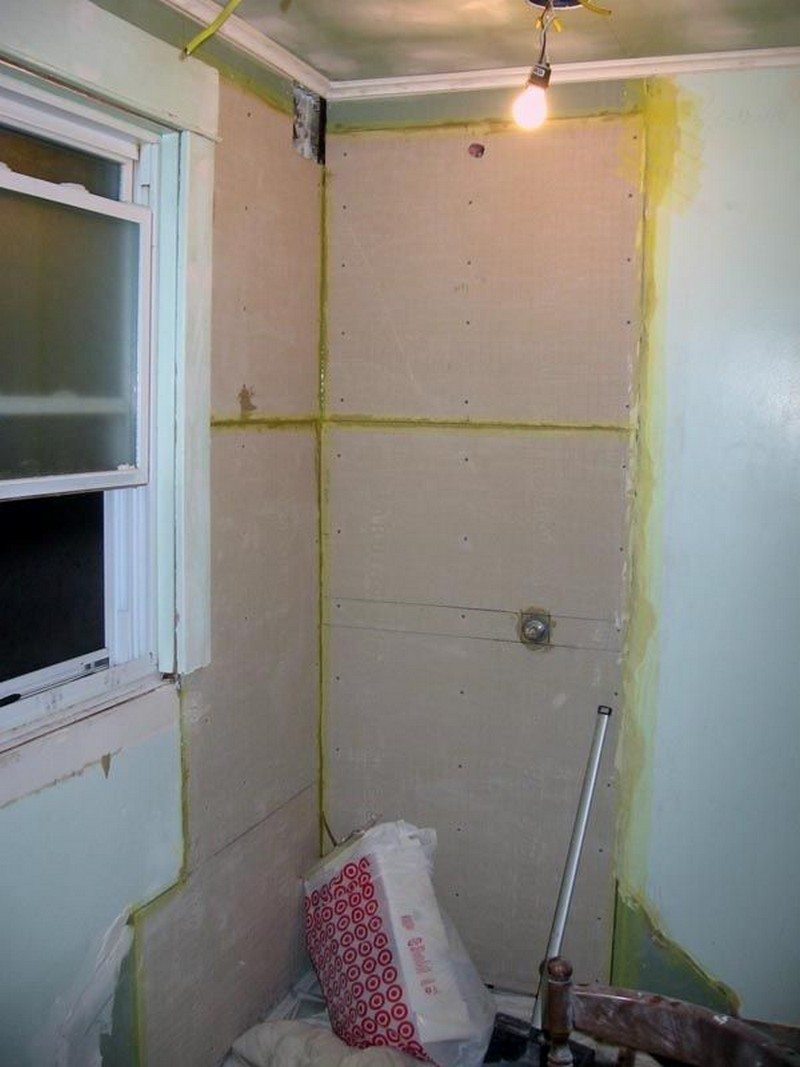
The particular shower base I used did not require setting in a mortar bed, others might. You should consult the instructions or dealer for your specific shower base. I kept pillows and a sheet over the base during the construction process to prevent damage from accidentally dropped tools. Insulation was added where needed because you can never have too much. I also wired an exhaust fan directly above the shower to help keep moister generated under control.
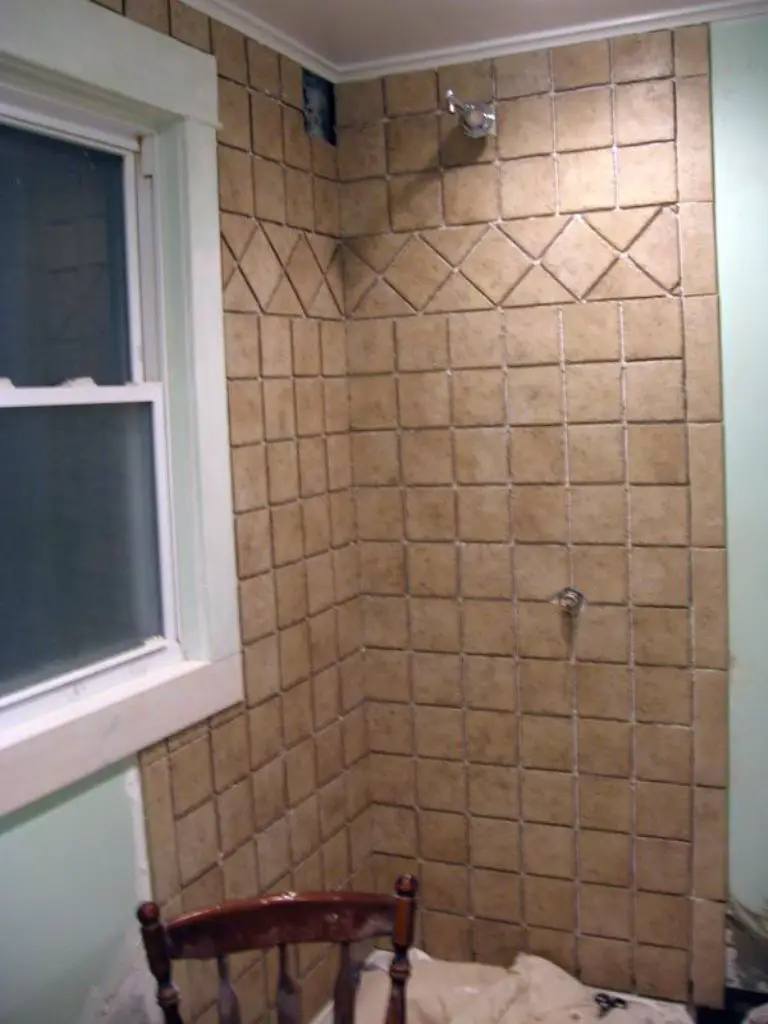
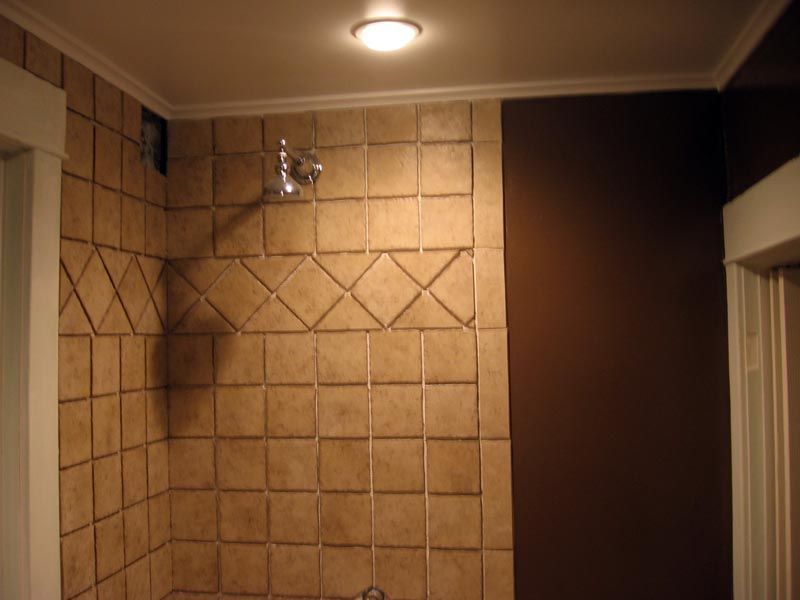
The nice thing about building your own shower is you have the freedom to customize as needed. I’m 6’8″ and I mounted this high enough I can stand comfortably underneath, something I’ve never done before. To prepare for tiling I mounted Hardibacker to the studs. The Hardiback can be cut using a diamond-tipped score tool and joints between sheets should be sealed with silicone then spanned with fiber tape. Leave a small gap of maybe 1/4-1/2″ between the tile board and the base of the shower. With that set, it’s time to tile.
Continued Page 3…

