Thinking of selling your home? It’s best that you invest your time and a little money in improving your kitchen and bathroom. They are the big sellers that can increase the value of your home. The bathroom in particular is where you get the most return for your investment.
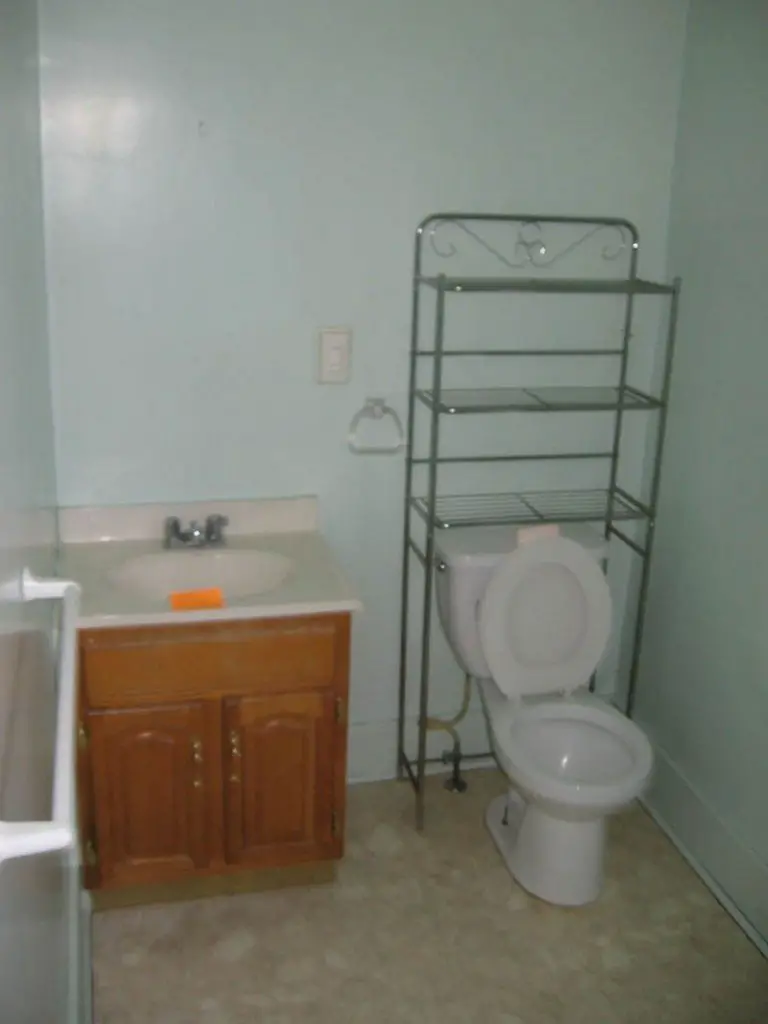
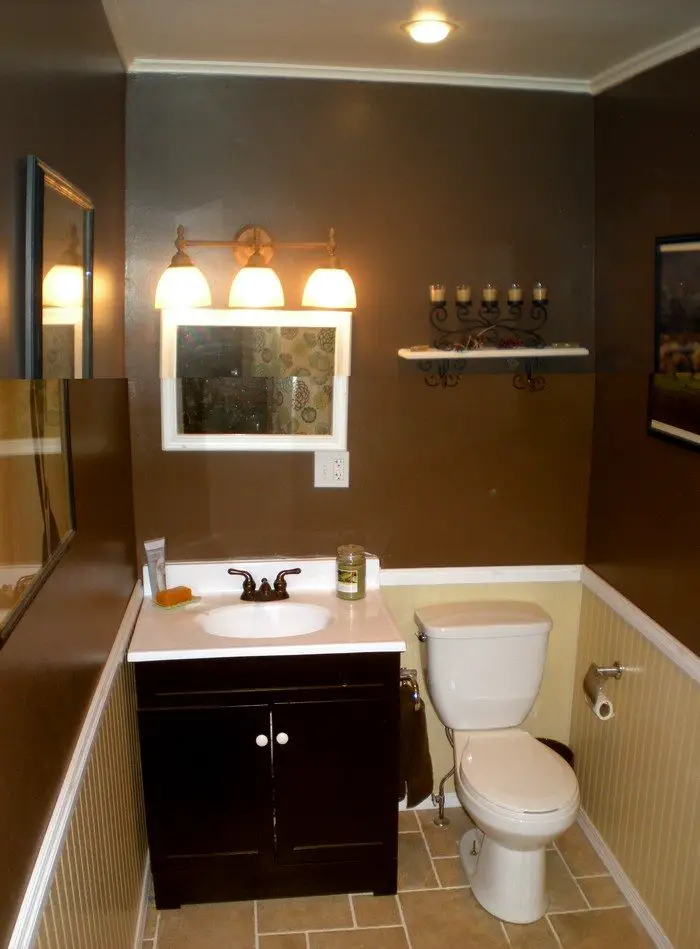
This DIYer bought a home that had a rather large but very bland half bathroom. The bathroom was poorly designed and a lot of space was wasted. So the DIYer decided to give it a complete makeover.
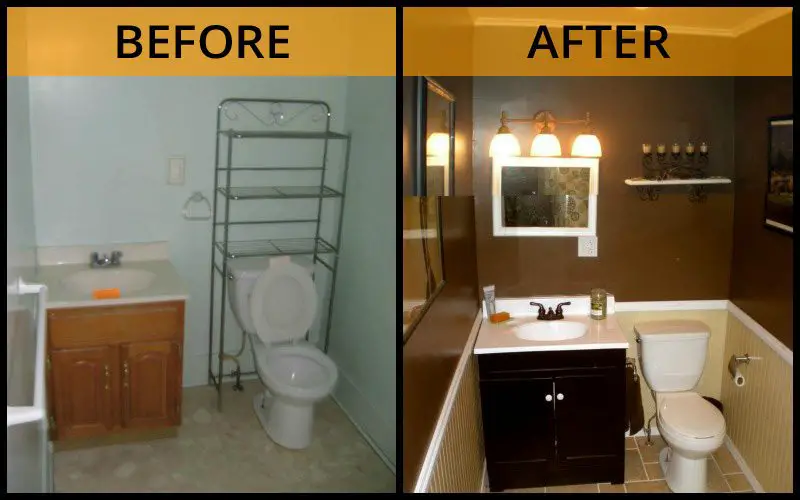
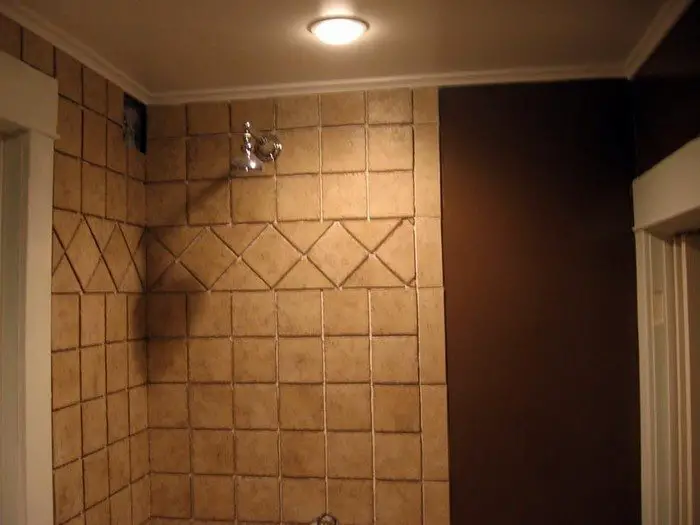
The bathroom renovation included recessed lighting, vanity lighting, exhaust vent, shower plumbing, tiled shower walls, tiled floors, wainscoting, bi-fold door, and painting. All of these were done by the owner himself, except for the plumbing. But he was lucky to find a plumber who was willing to explain how everything was done.
This successful project proves that a DIY renovation is always possible for a minimum cost!
Click on any image to start the lightbox display. Use your Esc key to close the lightbox. ?


Materials:
- Long Hex Bolt
- Door Knobs
- Bifold Door
- Basic Slider Lock
- Tiles
- Paint
- 2 Buckets
- Rags
- Decorative Rail
- Liquid Nails
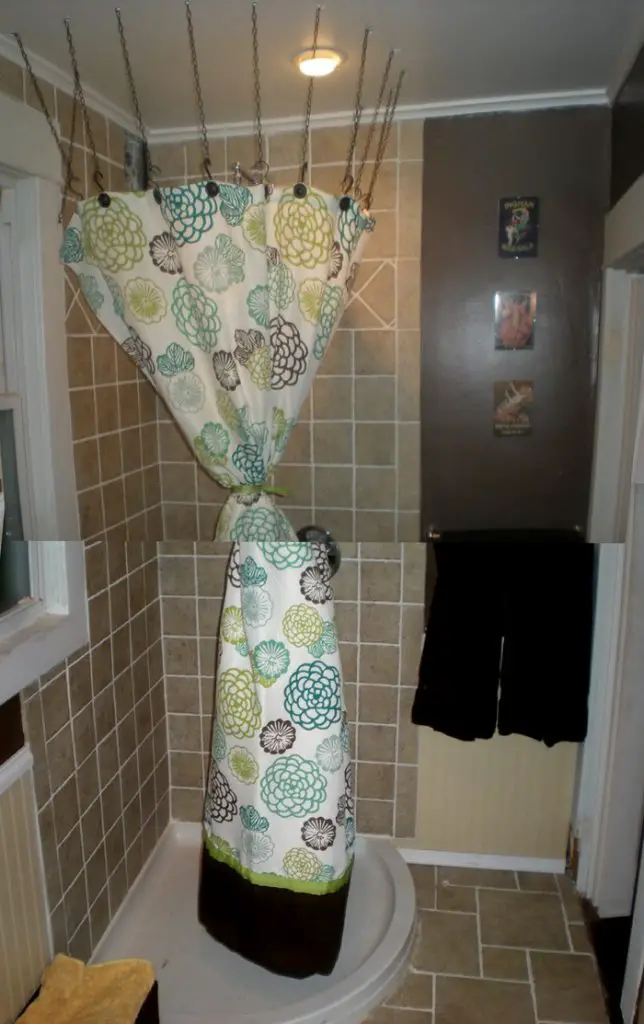
- Shower Curtain
- Chains
- Powder Coated Hooks
- Cardboard
- Hardibacker Cement Board
- Fiber Tape
Tools:
- Drill
- Dremel Tool
- Diamond Tipped Score Tool
- Tile Nipper/Tile Saw
- Sealer
- Caulking Gun
Steps:
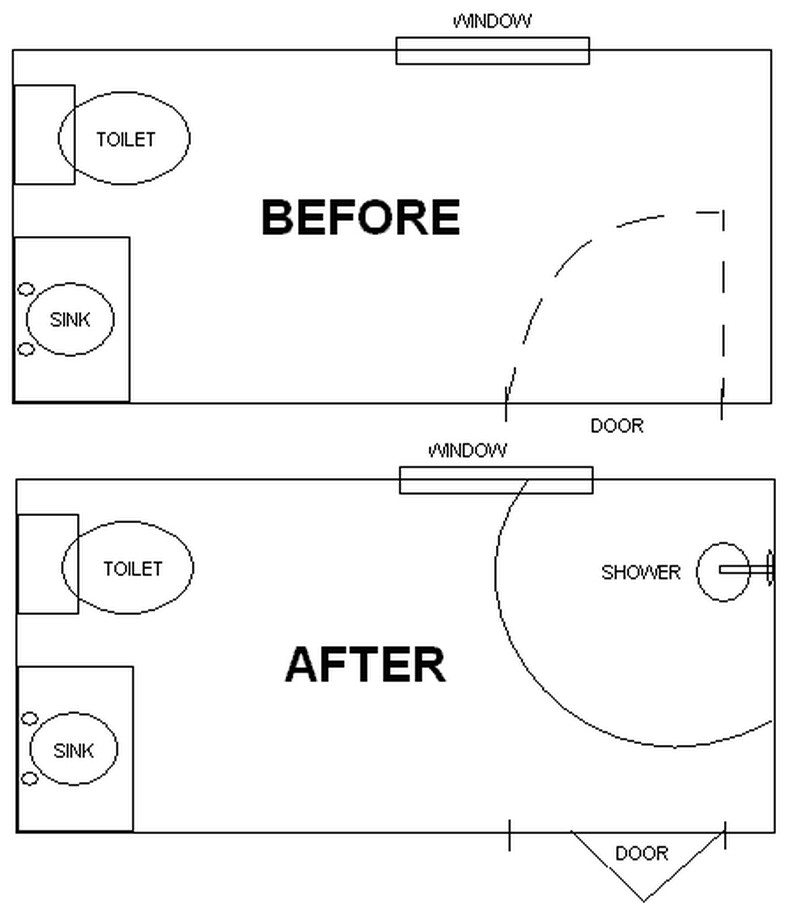
I was originally unsure about how I wanted to set up the bathroom. I knew I wanted to add a shower and that a corner shower was probably the best route to go. I originally considered moving the sink near the door and putting the shower in its place.
The problem was that (a) the shower drain would involving cutting through a supporting joist (doable but more complex) and the quote for the plumbing was about $800 since it involved moving two fixtures.
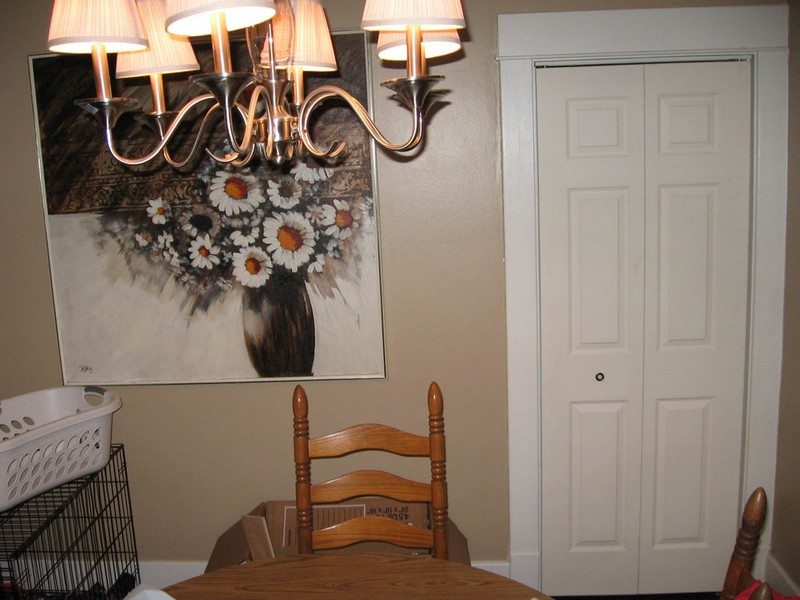
A few months later I had the revelation that if I changed the style of the door to either a bifold or pocket door, I would have enough room in the adjacent corner. Although the wall wasn’t a load-bearing wall, I was not super excited to tear it open enough to install a pocket door. I settled on a bifold door as a reasonable compromise.
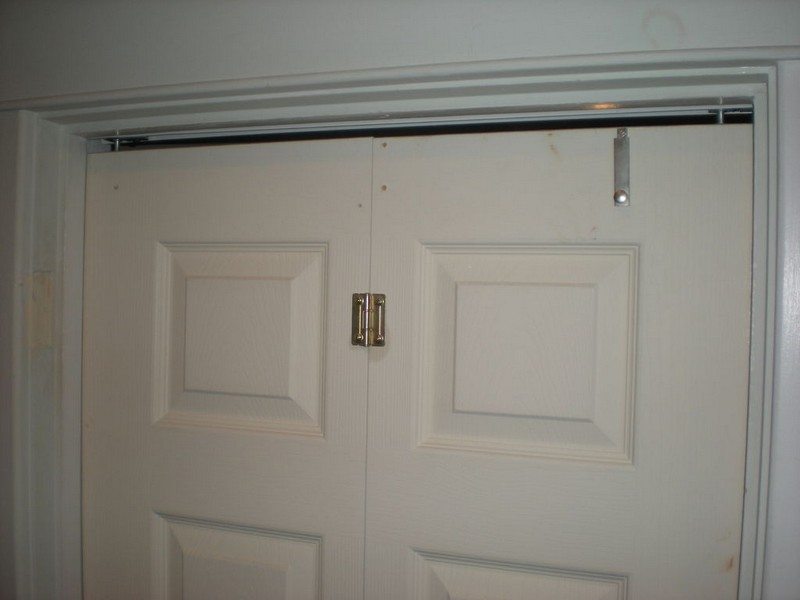
By purchasing a bifold door the same size as my current door, installation required only screwing on a bracket in the lower left and a sliding track along the top of the frame–literally a 15-minute job.
I wanted to have a small doorknob on both sides of the door, but the only knobs I could find attached to the end of machined screws, and thus the head of a screw would be visible on both sides. My solution was to take a hex bolt long enough to stick out both sides of the door and use a Dremel tool to cut off the bolt head. This left me with threading to which I could attach a knob on each side with no extra holes.
Bifold doors also don’t traditionally have lock mechanisms, something pretty much required for a bathroom. For this, I got a basic slider lock and attached it to the top of the door near the outside of the door.
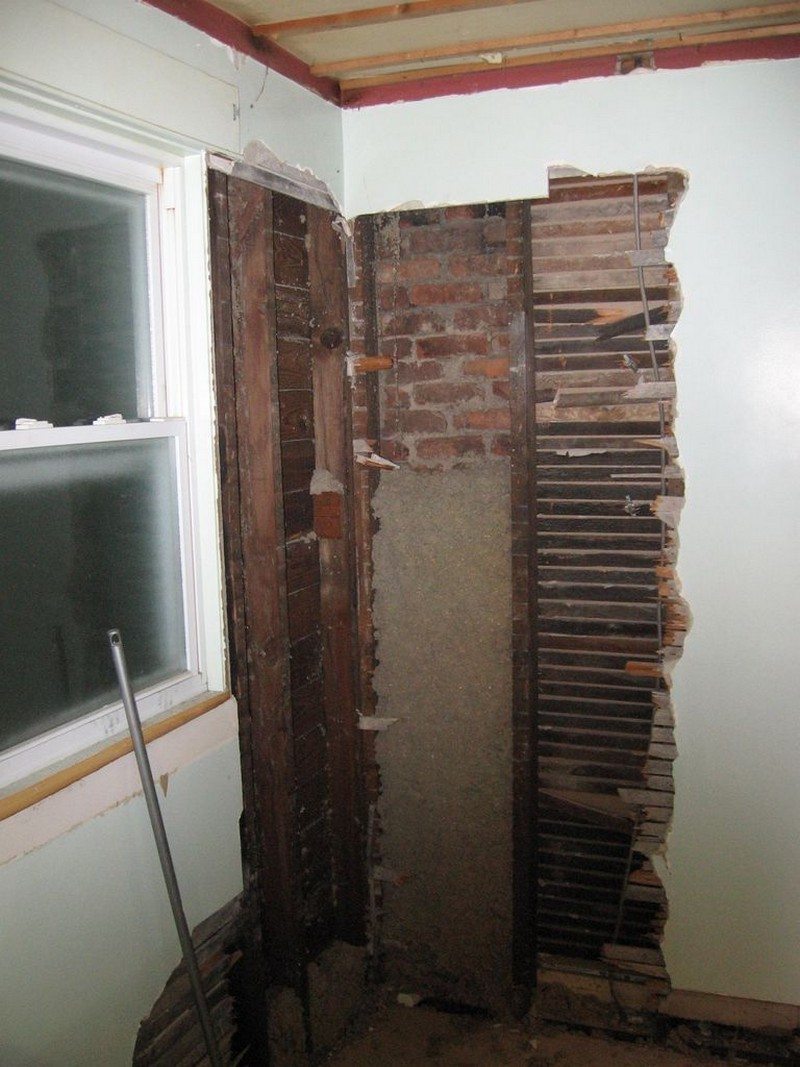
The biggest pain was breaking out the plaster where the shower would go.
Continued Page 2…


