Contents
Step 4: Place your bottles and second board
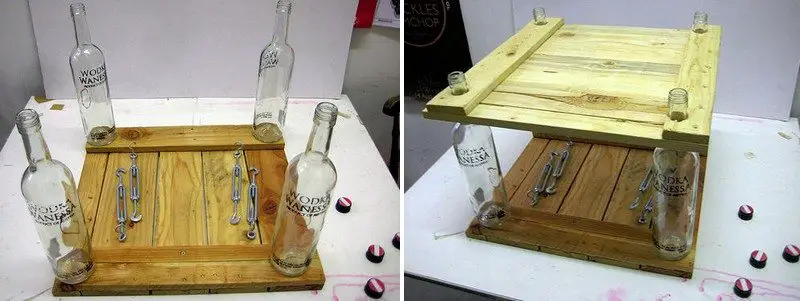
Place the bottles in each corner of the board. Then carefully lower the upper shelf, so that the necks of the bottles pass through the 30mm holes in the upper board. Allow the board to rest on the necks of the bottles. Then by hand adjust the bottoms of the bottles so that they sit flush with the lower shelf.
Step 5: Fit the turn-buckles and tighten
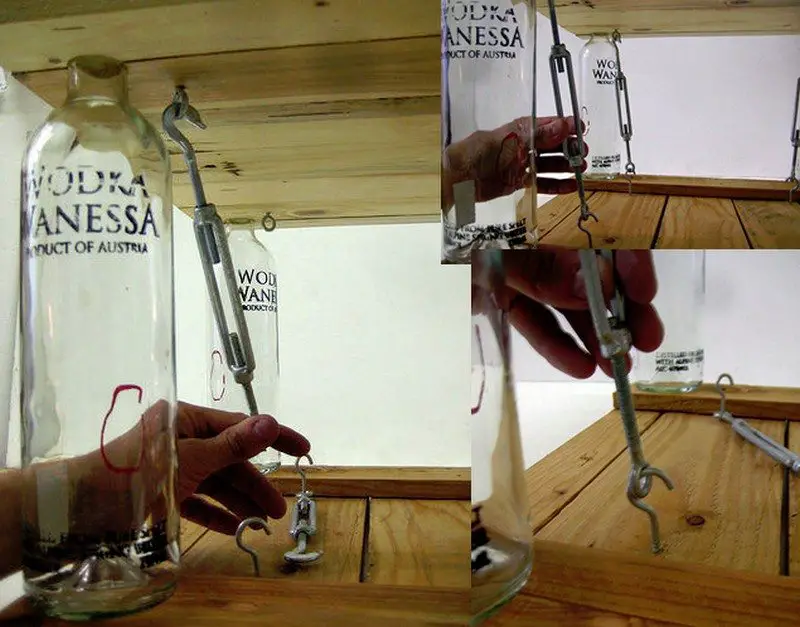
Adjust the bases of the bottles to ensure that they are flush with the first board. Attach a turnbuckle (and “S” hook on the turn-buckle eye end if necessary), between the screw eye and screw hook. The design of these turnbuckles can vary, so you will have to experiment to see which way to fit the buckle. As you turn the center of the turn-buckle, the ends should pull together, compressing the bottles.
Repeat for each of the four bottles. Tighten the turnbuckles as much as you can by hand. This should easily be sufficient for rigidity and tools should not be required.
The turn-buckles are designed to sit at an incline to increase the torsional strength of the table. This resulted from testing an initial prototype where the turn-buckles gradually loosened over time. The table was being used as a footrest or otherwise pushed around from the side. Hopefully, that should be fixed here. Check the turn-buckles occasionally for tightness anyway.
Step 6: Use :)
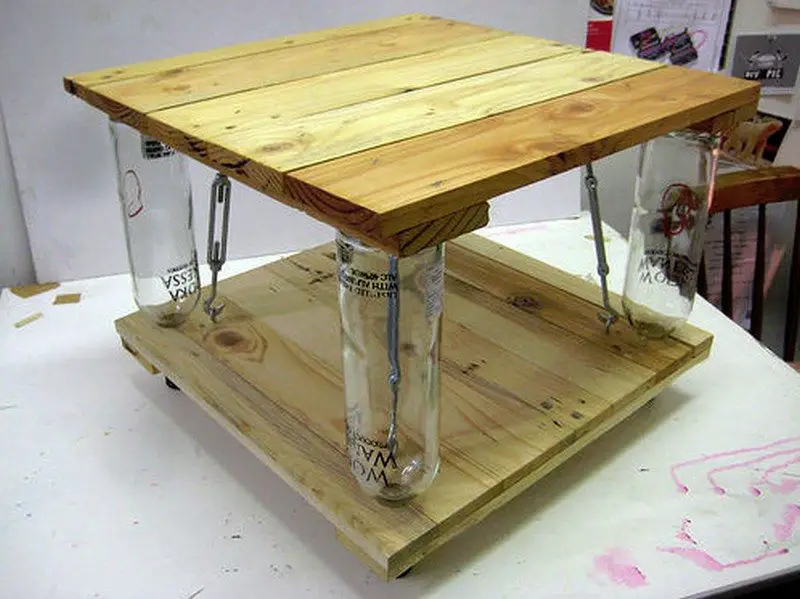
Your table is now assembled. If your bottles have screwtops, you may want to replace the lids for use as the feet. Turn the whole assembly over so that the tops of the bottles are resting on the floor.
Step 7: Collaborate!
I am always up for collaborative work, hence my devotion to open-sourcing in design. Here are some pictures of other tables I have made so far using this method.
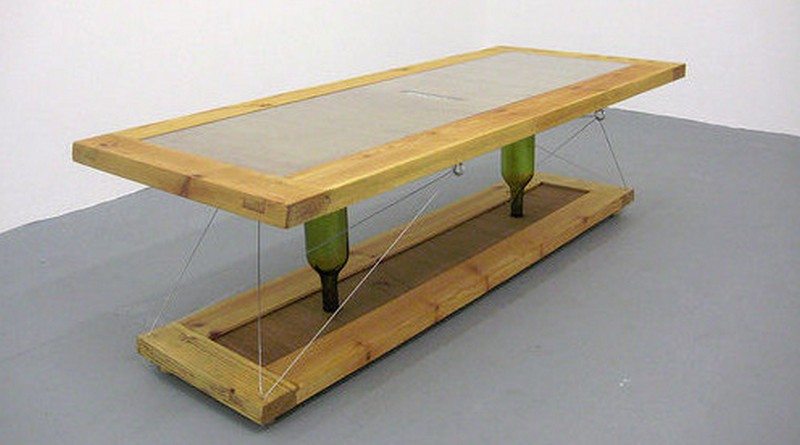
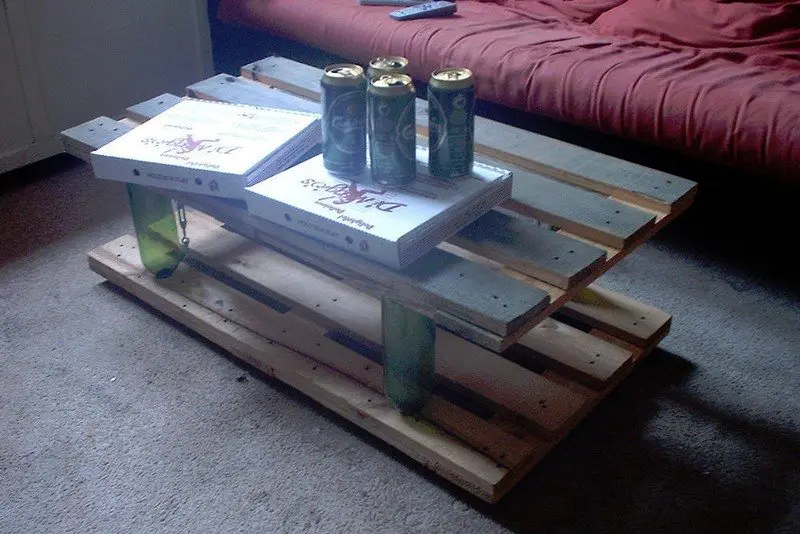
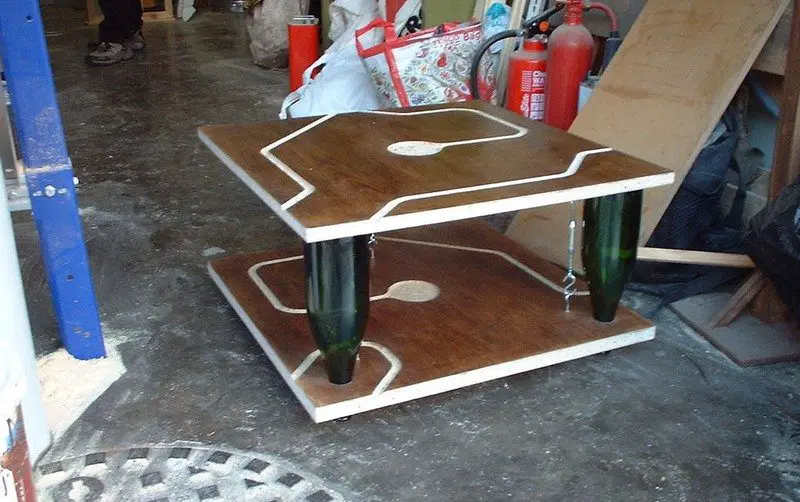
And a real variation on the theme :)
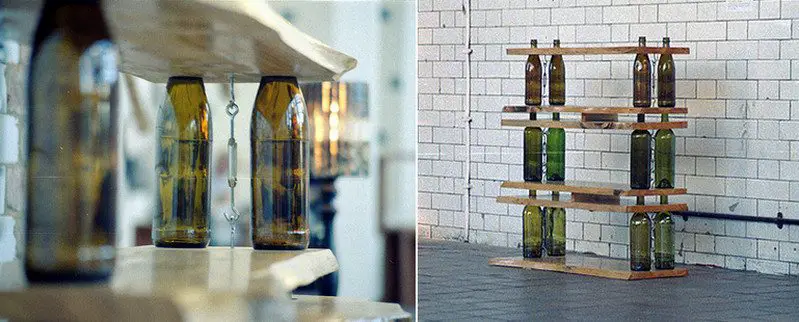
Enjoy, and comment or email me with some photos of your version! You can find the original material for this post here…

