Your children’s bedrooms should be a haven for imaginative pretend play, bedtime stories, and joyful giggling. Many kids spend a lot of time in their room day dreaming and playing, after all.
Wouldn’t it be amazing to have a bed that reflects their games and dreams?
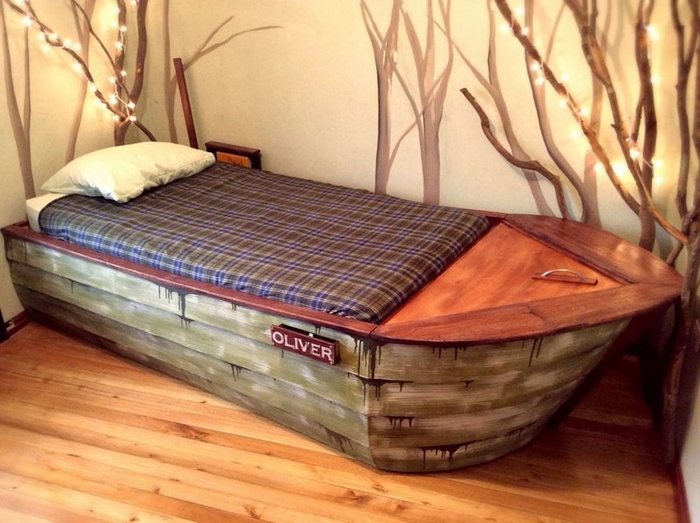
Now here’s a bed that combines both creativity and function. And it’s guaranteed to be a hit with the young pirates in your family ![]()
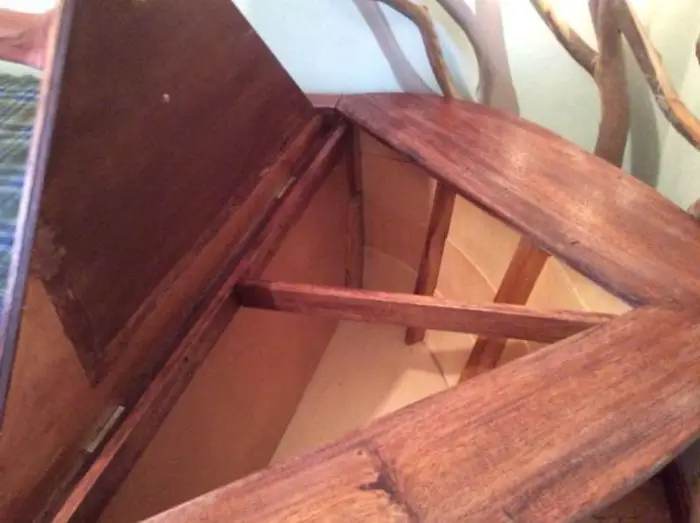
If you want a special kind of bed for your kids, you’ll know that buying one is an expensive exercise. Novelty kids’ bed cost a small fortune – and you can’t always be assured of the quality.
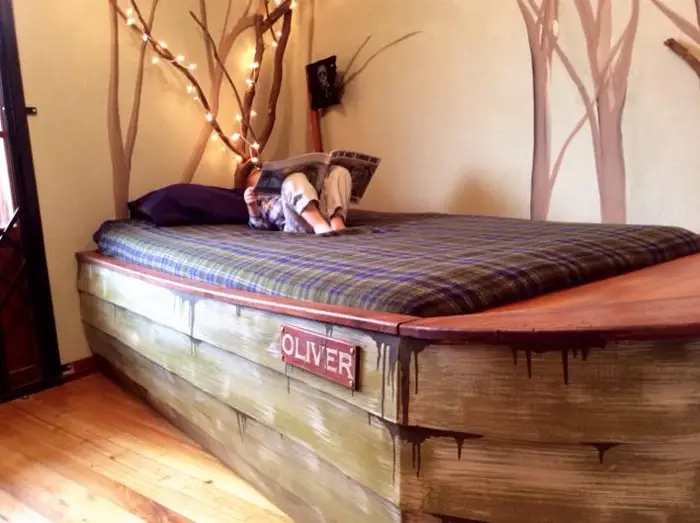
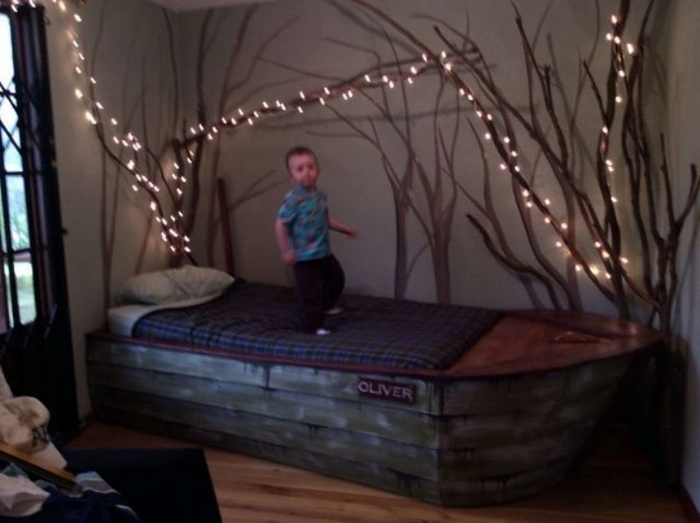
Your best option is to build your own. This DIY boat bed is the perfect example of what can be done. Use it for inspiration or you can follow the instructions to make one the same. Much love and creativity went into this build. It looks so awesome that your kids will have a great time playing pirates in it.
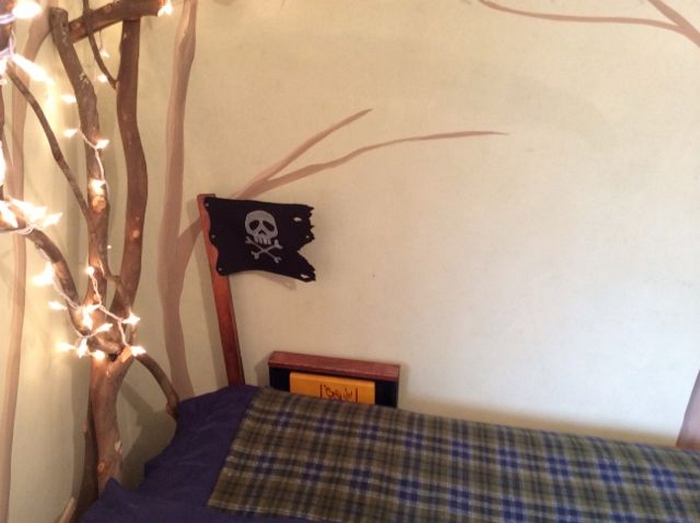
But aside from the great aesthetics, this bed is also functional. It may not be obvious, but it has a lot of secret storage that can be used to store kids toys and clothes… not to mention cutlasses and eye patches :D.
Would your kids love this DIY boat bed?
Click on any image to start lightbox display. Use your Esc key to close the lightbox. ![]()

You’ll need these materials:
- 5/8″ Plywood
- 2 sheets 1/8″ Plywood
- 3/4″ Board
- Paint
- Polyurethane
- Nails
- Screws
- Wood Glue
- Brass Rivets
- Wood Stain
- Damp Rag
And these tools:
- Paint Brush
- Circular Saw
- Jig Saw
- Router
- Cordless Drill
- Hammer
- Rasp
- Palm Sander (random orbit)
- Japanese Style Pull Saw
- Various Drill Bits
- Tape Measure
- Quick Clamps
Steps:
I drew the profile of the side of the “boat” full size on some poster board material and used it as my pattern(pic 1). This is the exact profile on the rear of the boat. I then cut out four of those, two for each side. These are the rear most uprights. As they get closer to the front they needed to be taller for the gentle curve from aft to prow. So I moved my pattern up 3/4″ for two more and then an inch more for the final two. I glued and screwed them to a 1×4 that is 2 inches longer that the mattress.
Then I drew the pattern on to some 1/2 inch ply I had (crib) and figured the width of the bed/boat based on the mattress width. I temporarily screwed that to the back to Hold the sides up(pic 3). I cut one for the front also but based on the uprights on the front.
I then put a 1×2 on top of the notch I had planned out on my pattern. Glue and screw everything.
You can kind of see in the pics how I progressively figured out the shape of the boat.

Rip your top rail to overlap the 1/8″ plywood sheeting. Then I used a 5/16″ drill bit to counter sink where I would screw straight down into the uprights. Pre drill everything so you don’t split anything. Glue and screw.
Nice curve. right?

This was a bit tricky. I had to kind of just eye-ball where I wanted the prow to end up without making the boat too long in overall length for my sons room. I also wanted it to be big enough for storing a comforter. First I laid a piece of 1/2″ ply on the ground.
Then I held the 2×4 up at an angle to see where it should go and then marked and cut it. Then I got a better idea of where it would end up. I then sketched the curve on to the ply that is sitting on the ground for the bottom of the prow and cut it out with a jigsaw.
After I made sure the curve was nice I screwed the 2/4 in through the bottom.

I had to then figure out where the top of the prow should be so I bent a board from front to back with an approximation of the curve of the rails. Then I cut it on that mark.
I then used two 1×8’s from the front of the rails to the prow. I clamped them in place and then freehand drew the curve on to the top side. Then I cut out one with the jigsaw and tested it on both sides. Once it fit well I flipped it over and traced out onto the other board, cut it out, and then fit them into place.
I flipped the prow over on to a work bench and fit the 2×2 uprights into place. Once it all lined up good I used a quarter round bit and routed all the edges.

I used 1/8″ plywood to cover the boat. My dad built a kayak out of 1/4″ ply so I figured this would be plenty strong for a fake boat. Once it was all glued up and dry it was surprisingly strong and light.
For the side panels I wanted 4 “boards” to run up the length of the boat. I divided the front and back uprights into four equal parts which would be the bottom of each board. Then I ripped the ply with the jigsaw because I wanted kind of a rough old boat look.
Starting at the bottom I glued and nailed the ply onto the frame, gluing along the entire length of the overlap also. The overlap didn’t want to stay tight together so I used a couple of 1″ screws to hold it together until the glue dried. Later I removed them and filled the holes.
The top “board” of ply has that slight curve in it that runs along the top rail of the entire boat. I clamped that piece of ply where the bottom should go and scribed the back side with the curve. Then I cut it out carefully with the jigsaw.

This was probably the most difficult part of the whole project. Kind of hard to describe how I did it and I was in a rush to finish before it rained so there is only one pic.
Because of the more aggressive curve around the prow I ran the ply across the grain because it bends more readily that way. They also make “bendy ply” that would have been great for this but I couldn’t get ahold of any.

Continued Page 2…


