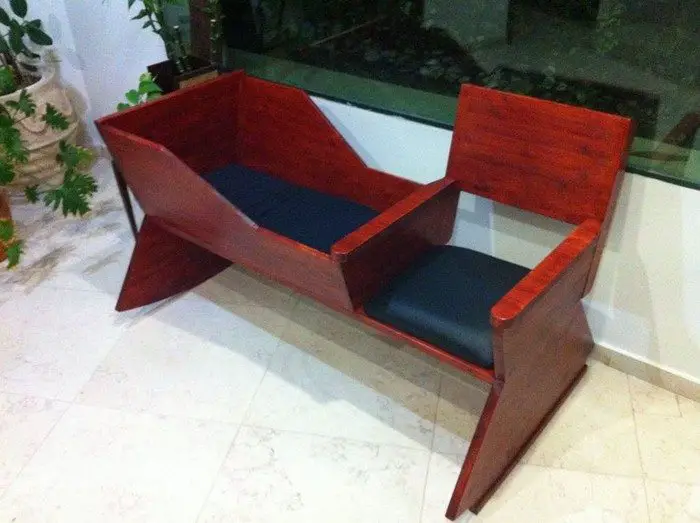
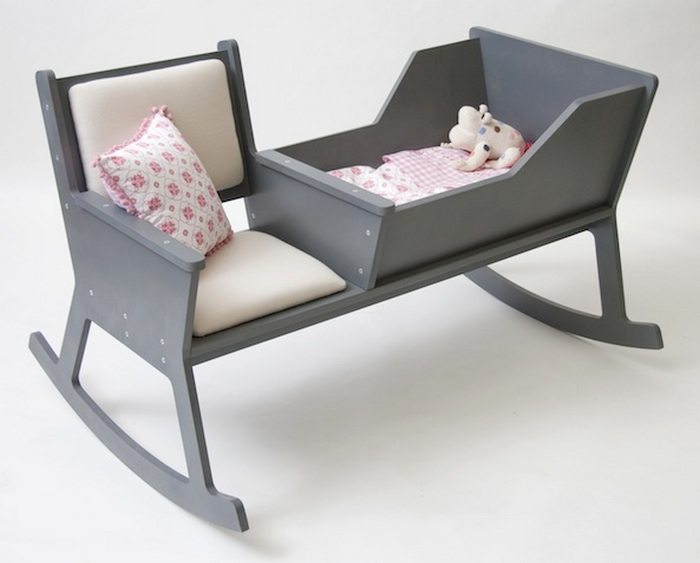
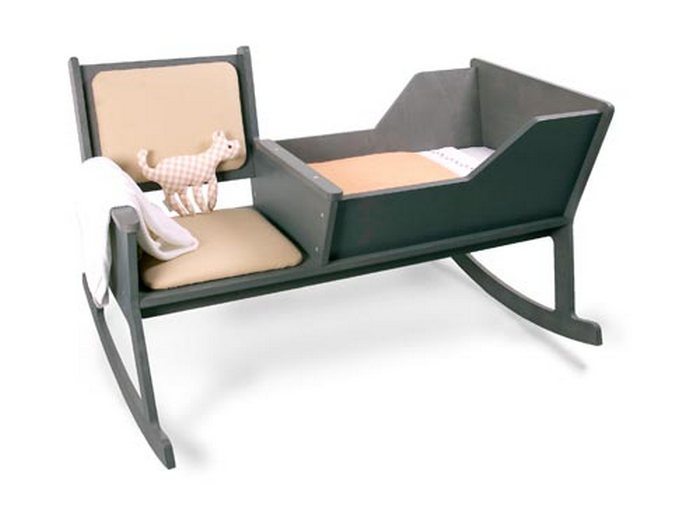
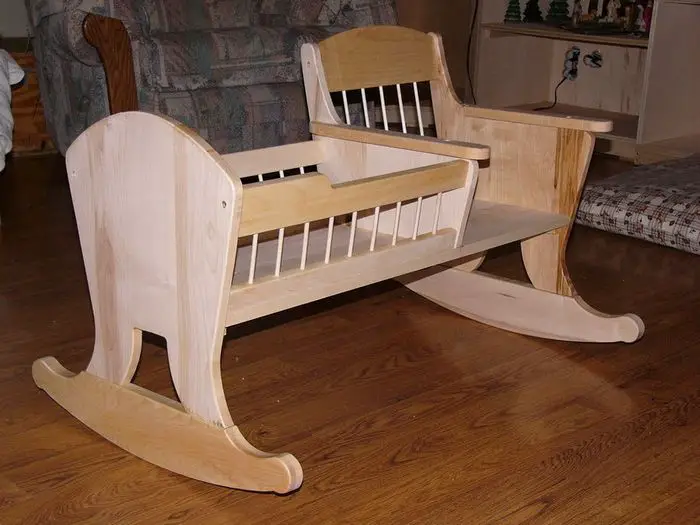
It’s around 3 or 4 a.m. and you’ve finally gotten the baby back to sleep. Gently, ever so gently, you place him back in the crib but his eyes are open before you’ve even had a chance to head back to bed! This is an episode every parent knows all too well. This rocking chair with crib is the perfect solution!

This project shows you the steps on how to build a rocking chair with a crib attached to it. It’s very easy to build if you have basic carpentry skills and the required materials, hardware, and tools.
This will make life easier for all the bleary-eyed parents. And when the kids outgrow the crib it makes a great yarn storage and knitting chair. Before starting the project find a mattress and cushion of your choice and adjust the plans dimension accordingly.
Click on any image to start lightbox display. Use your Esc key to close the lightbox. 8-)


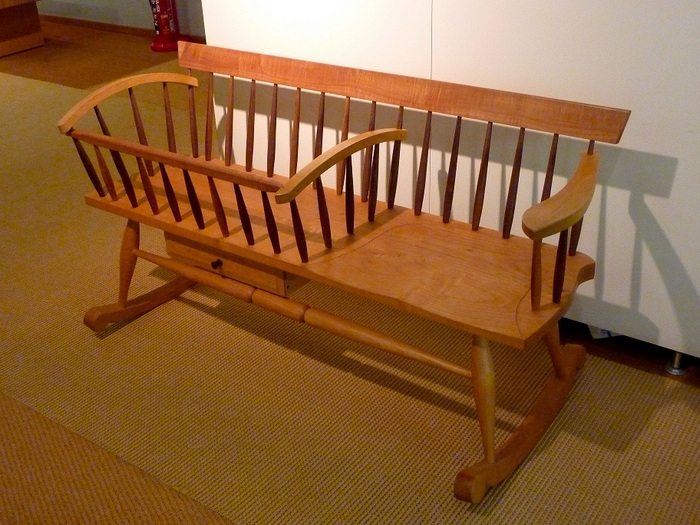
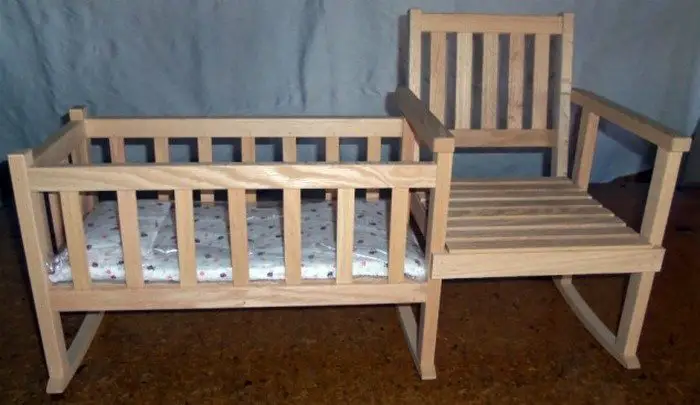
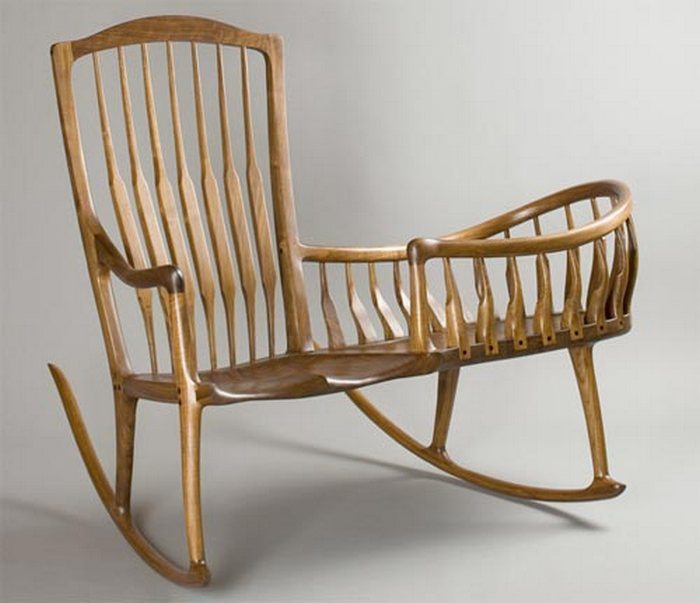
You’ll need these materials:
- Pine Board Sheets
- Thin Plywood – for seating and crib mattress
- Wood Glue
- Super Glue
- Screws (not longer than the thickness of the wood and 4 pieces slightly longer)
- 4 pieces Metal Corner Brackets
- Varnish (or Paint)
- Fabric (50×50 cm)
- Foam Mattress (42×44 cm)
- Weights (or any heavy material for gluing wood pieces together)
And these tools:
- Table Saw
- Jigsaw
- Drill
- Sander (with soft and rough sanding paper)
- Brush
- Staple Gun
Steps:
Before starting the project, check out the crib mattress that you will be using first for accurate measurements. The dimensions in this photo makes a bigger than usual crib. So basing on the mattress that you find, just adjust the measurements accordingly. :)
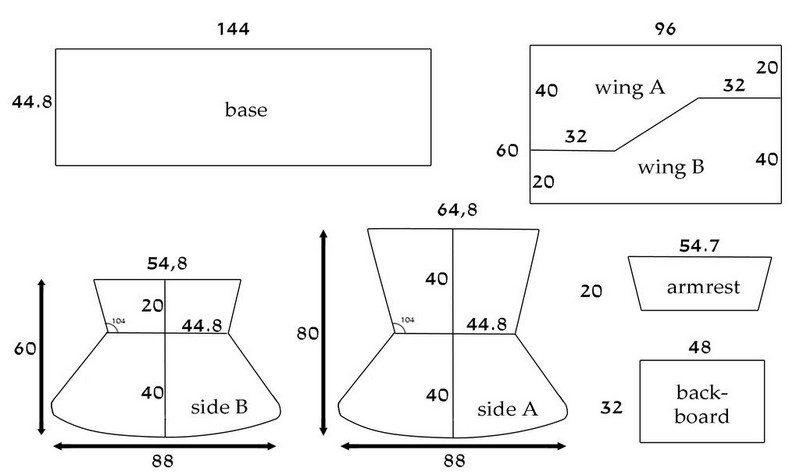
What’s nice about this project is that the cutting list is pretty easy to follow. The only detail we think we have to discuss in particular are the one for the sides. To create the curve at the bottom, use a long strip of scrap wood or string (around 125cm), and anchor it temporarily to the center of the top edge of your board. Attach a pencil on the other end of your string, and trace a curve on your board as the pencil pivots around the anchor point.
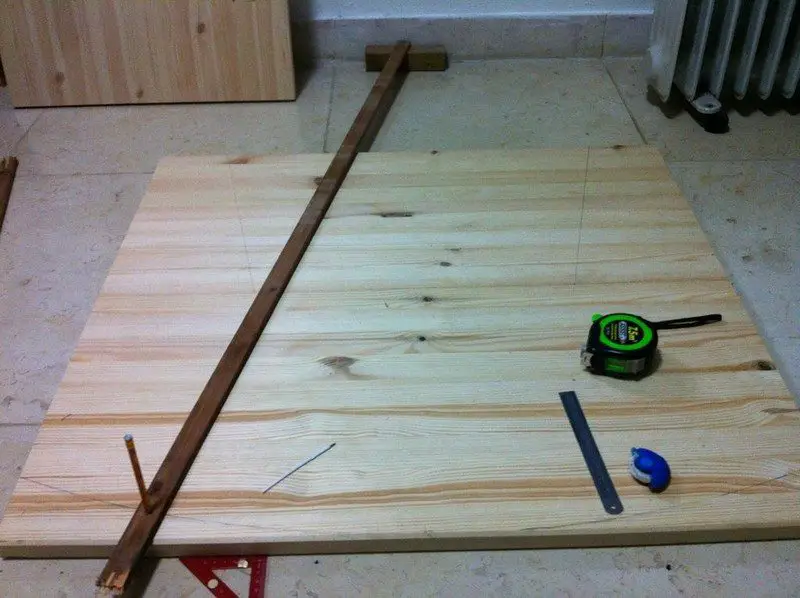
Then simply follow the other measurements indicated in the sketch above to create the shape of the sides. Once everything is cut, sand all pieces, especially the edges.
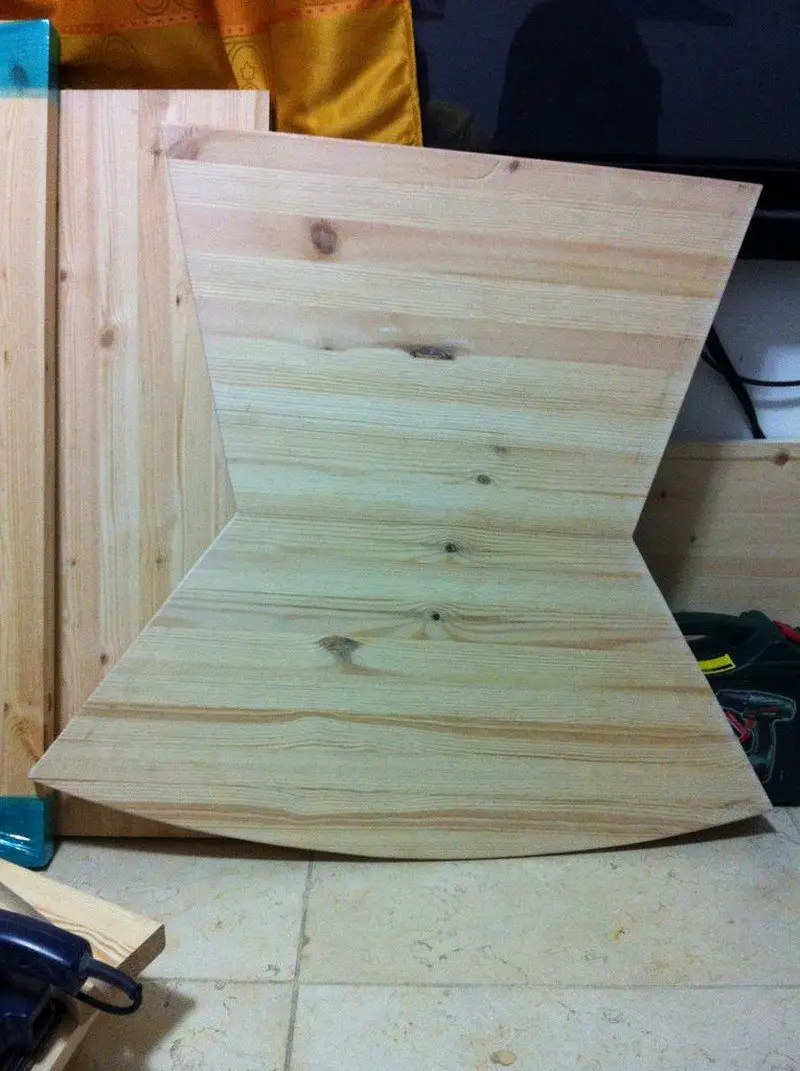
Next, make a line under the center line of the side boards, with a distance as that of the thickness of your base board. This is where you will install the corner braces, as shown in the picture below.
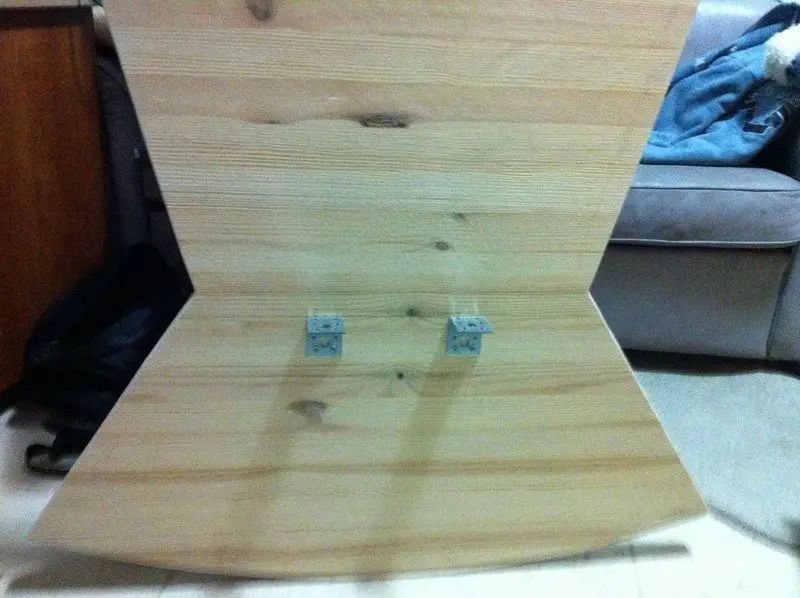
Flip the side boards over so that the curved edge is on top. Find any object that can hold your base board flat at 20 cm height. Apply wood glue to the shorter edge of the base board and attach it to the side board like in the picture. Once it has dried, drill screws through the bracket and base.
Continued Page 2…


