
Do the same for the other side. Once the wood glue is dry, ensure the stability of these three pieces by flipping it over to its right position and sitting on it.
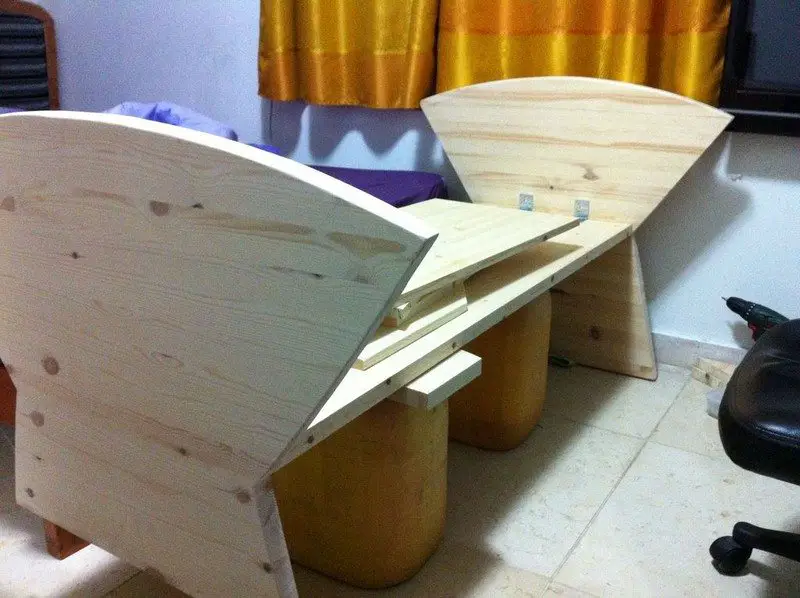
If your three main pieces are secured, you can then proceed to attaching the wings. In this example, tapes were used to hold the wings in place for 24 hours while waiting for the wood glue to dry. You can use clamps if you have some.
Then glue the shorter sides of the crib. You can use weights or books to press the pieces together as the glue dries.

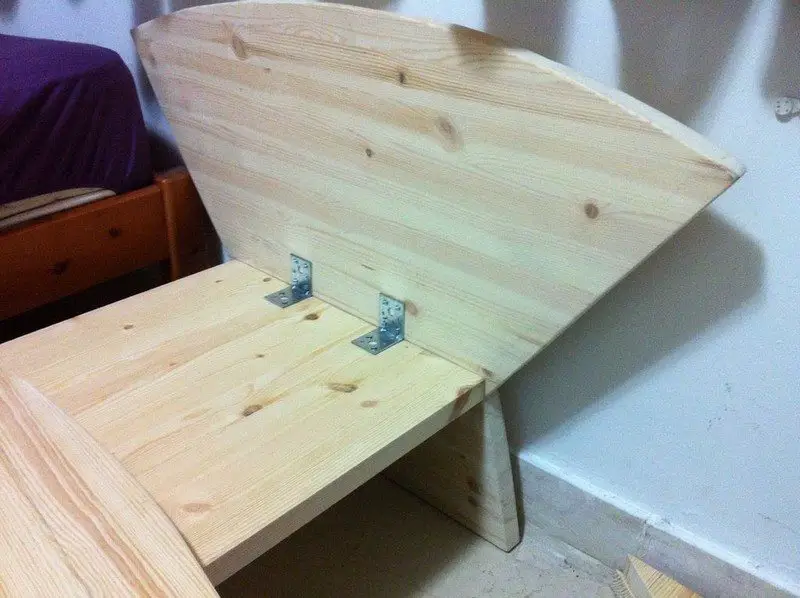
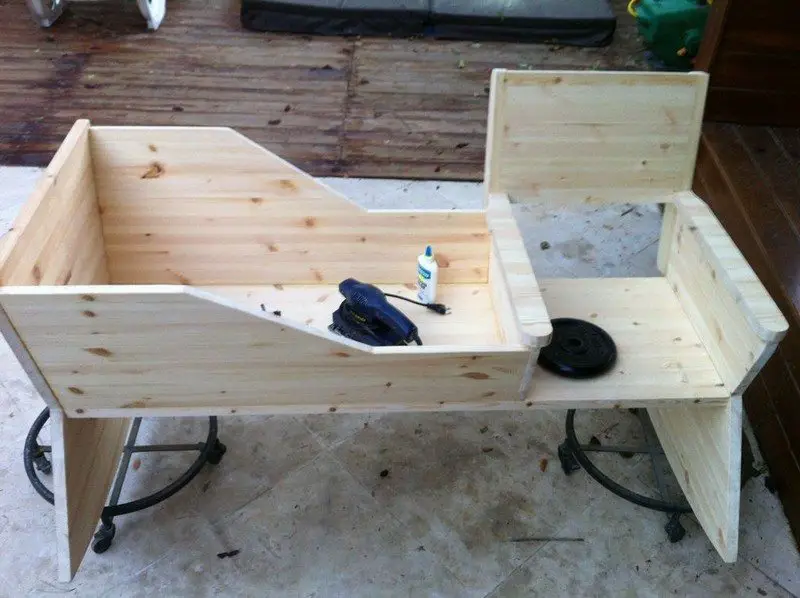
After that cut the backboard piece so that it fits perfectly between your armrests. Using leftover wood, cut 7×52.5 cm pieces and round off the outer corners. See picture below. Glue the backboard to these two pieces and leave to dry. Once it’s dry, flip the entire crib sideways and attach the backboard.

Make sure your pieces are strongly glued to each other by sitting and leaning on the chair. Then cut 5×55.5 cm armrest pieces, with round corners, from your leftovers.
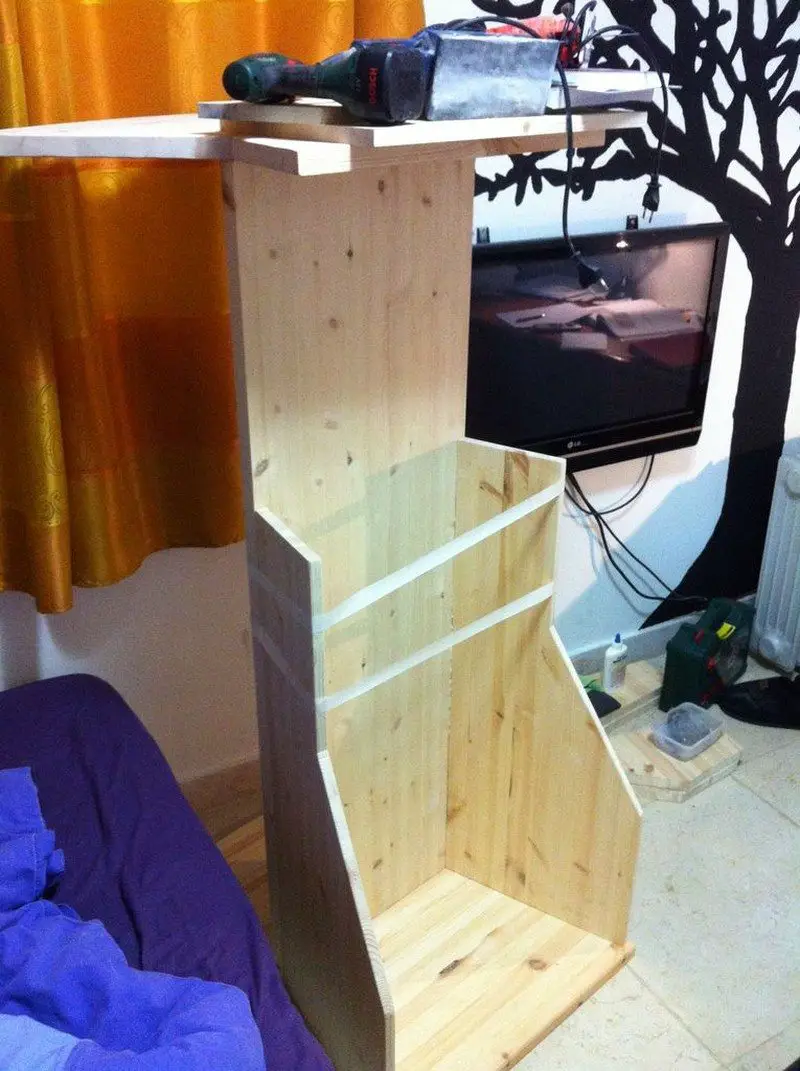
This next couple of pieces are optional – if you want to be able to use the furniture without rocking. Simple cut two pieces of triangle and attach it to a strip of wood, as seen in the picture. Determine the distance by measuring them with the bottom of your rocking crib.
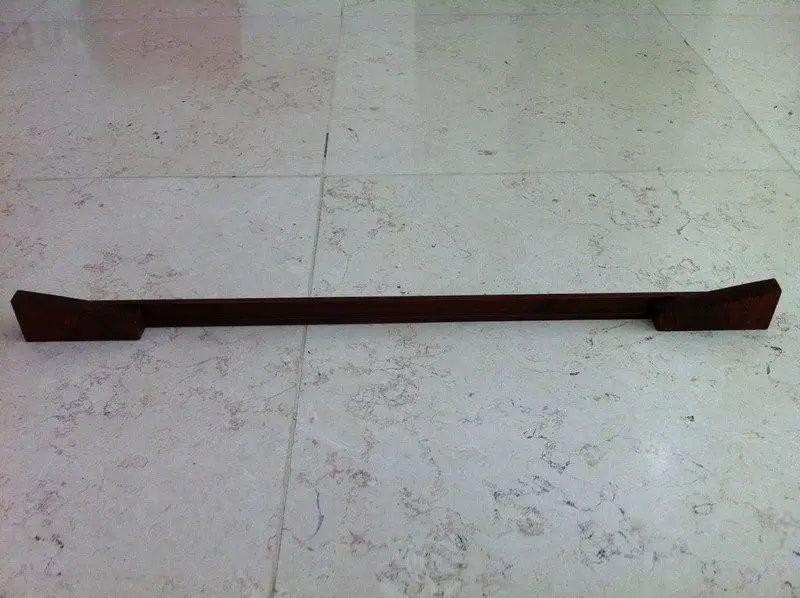
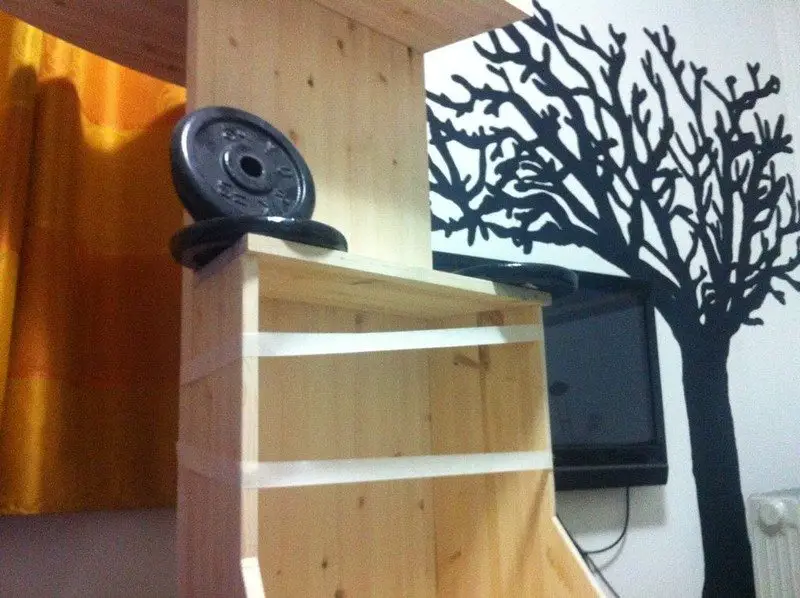
It should fit perfectly that you can simply slide this stopper from the side with the triangles underneath the curve.
Continued Page 3…


