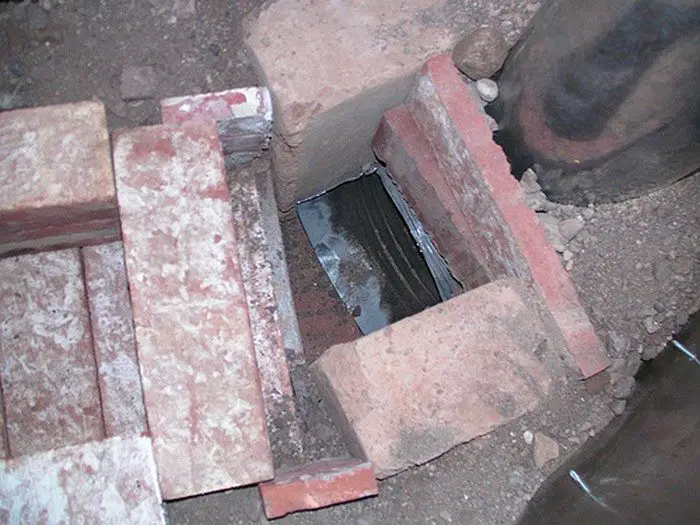
Leave a 6” gap in between the end of the stovepipe elbow, then start stacking bricks, 8” tall. These bricks should form a solid shelf all the way to the right-hand side of the ash box. Leave about ¼” between the bricks and the ashtray, so that it can slide in and out easily.
Stack bricks around the ashtray, leaving ¼” on all sides. Fill in behind these bricks and the brick shelf with sand.
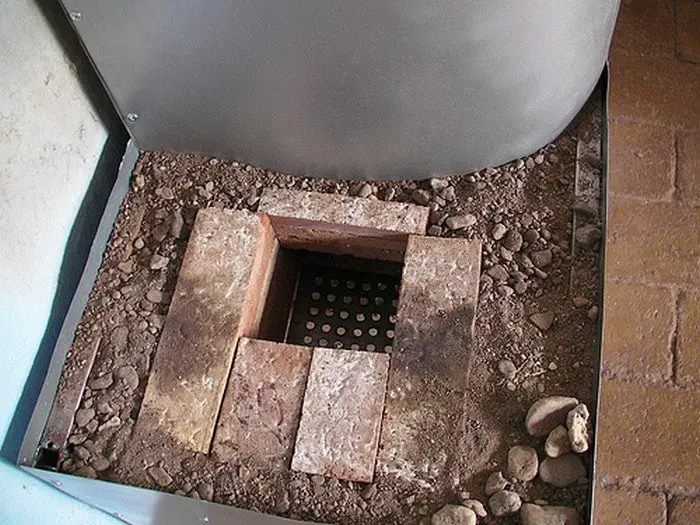
Place the grill on top of the 8” tall brick level, roughly in the center of the firebox area (on the left of the unit, over the ashtray).
You now want to make a box on top of this level, from the right of the grill to the bricks that are 6” from the stovepipe. It should have a roof (with bricks bridging the front and back walls), and be 7” tall (including the roof). Do not go all the way to the top of the first level of sheet metal, as you’ll want to leave space to do a finish layer of bricks once the rest is finished.
Fill in behind all the bricks with sand.
Heat riser: This is one of the most crucial parts of the whole RMH. It is this length of pipe, well insulated, that increases the speed at which the heat rises, thus creating a powerful draft and making the sound that gives a rocket stove its name. This increased draft ensures complete combustion.
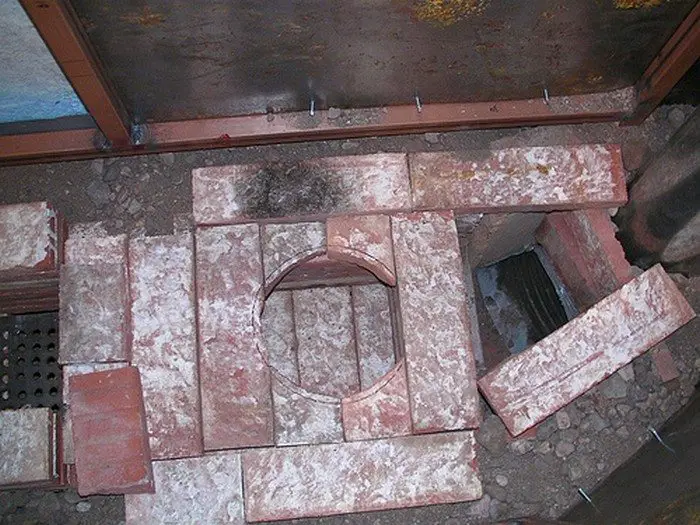
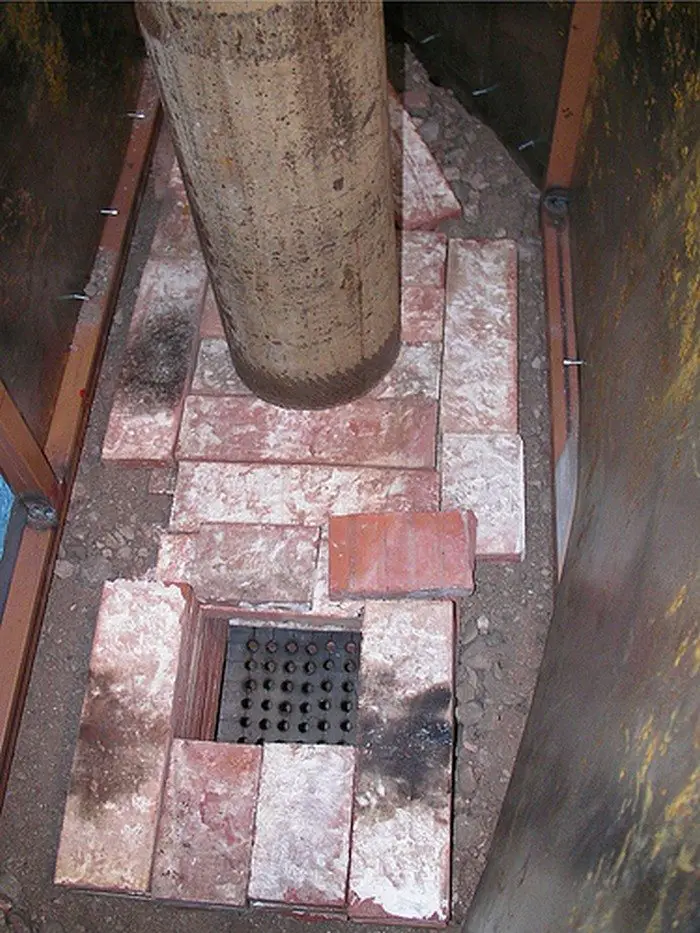
We used 6” well casing pipe for the interior pipe. It’s about ¼” thick and 32” long. Place this pipe on top of the brick roof you just made, at the stovepipe end. Mark the bricks where you want the pipe to go and then cut out the inside of the circle, using a saw with a masonry blade. Make sure you cut on the inside of your mark, leaving enough room for the pipe to sit on the bricks over the hole.
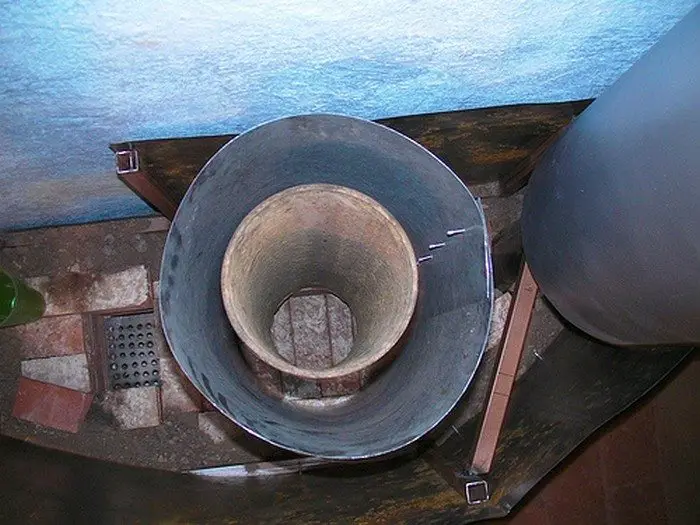
Cut a piece of 16 gauge metal, 32” tall and 40” wide. Bend the metal evenly so that it makes a 32” tall tube. Screw the metal to itself and put the tube over and around the 6” pipe.

Fill the space in between the two pipes with perlite, packing it down carefully as you go.
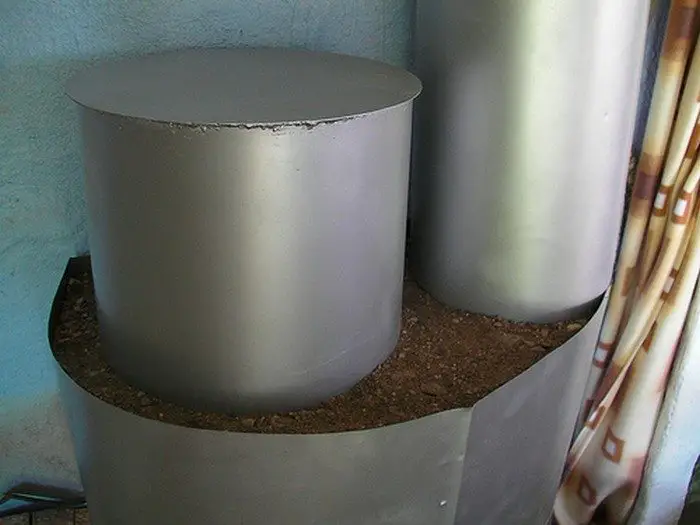
Now you need another barrel, a little wider and taller than the perlite one, so that the smoke can go up the riser and then down to the stovepipe. Cut another piece of 16 gauge metal that is 33 ½” x 42”. Bend it around until it overlaps 1” and screw it to itself.
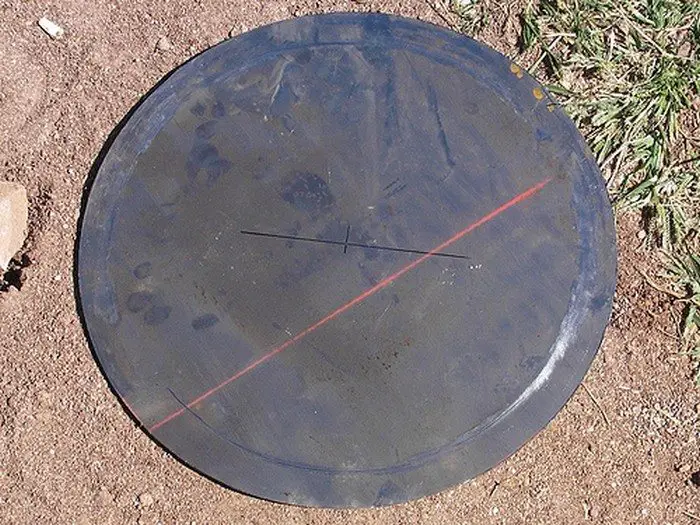
Cut a lid for this barrel. We made ours circular, but you can do whatever shape you want.
Weld the lid to the barrel. Once it has cooled, paint it with a high temp paint. Please note that this part will be exposed, with no sand around it. It gets extremely hot, so be sure to use thick metal. You can use this lid to heat up pans of food or drink.
Place this barrel over the perlite one. Make sure the right edge hangs over the bricks and allows passage down to the stovepipe.
Stack bricks to protect the passage between this barrel and the stovepipe, and then fill in with sand.
Do you remember that we left a loose flap of sheet metal on the second layer? Well, now it’s time to bend it round to the back and screw it into the upright.
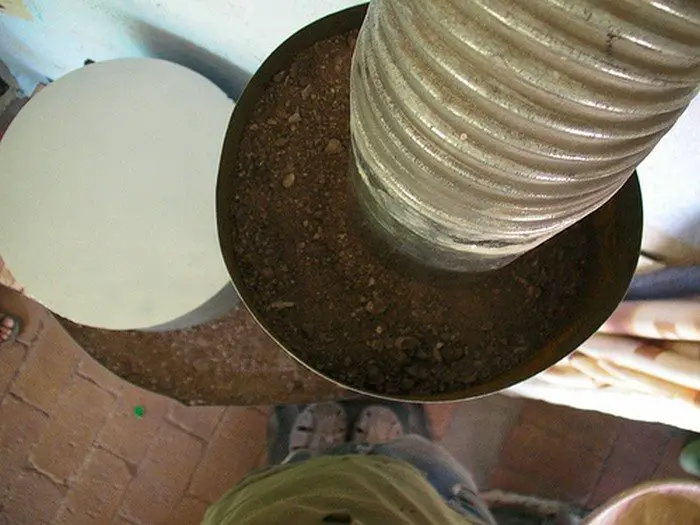
You now need to fill up this level and the stovepipe’s barrel with sand. Fill it to the top of both. After a week or so it will have sunk down about an inch as it settles. Fill this remaining inch with washed pebbles or something similar. These will look nice and also keep down the dust potential of just sand.
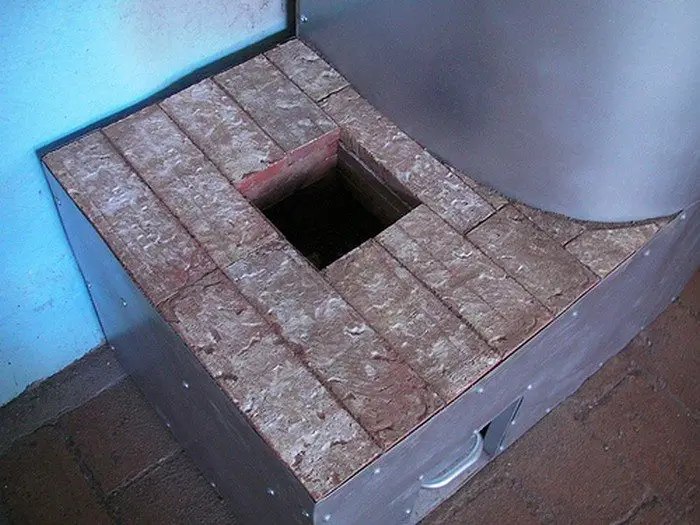
Finishing: The final step is to do the last layer of bricks around the top of the firebox. You’ll want to fit and cut bricks, so that it leaves a finished look.
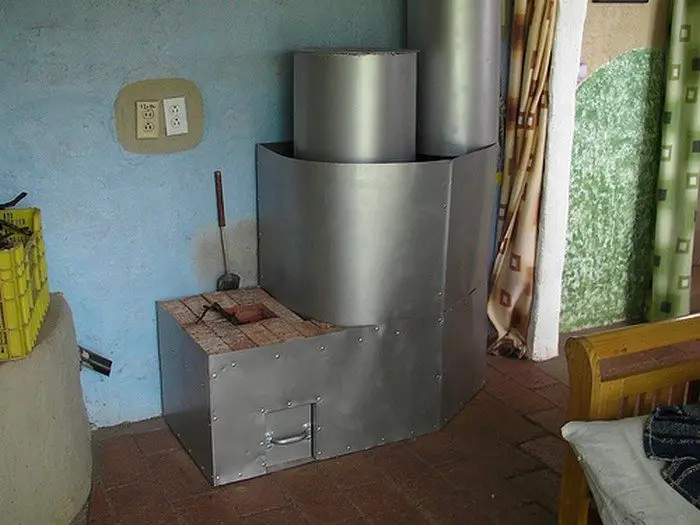
 Now it’s time to use this strange looking contraption, but that’s the easy part. Stuff a little paper and some twigs into the box, so they’re standing on the grill. Light it up and once it’s burning, you can add more. Use twigs or split wood, anything that will fit.
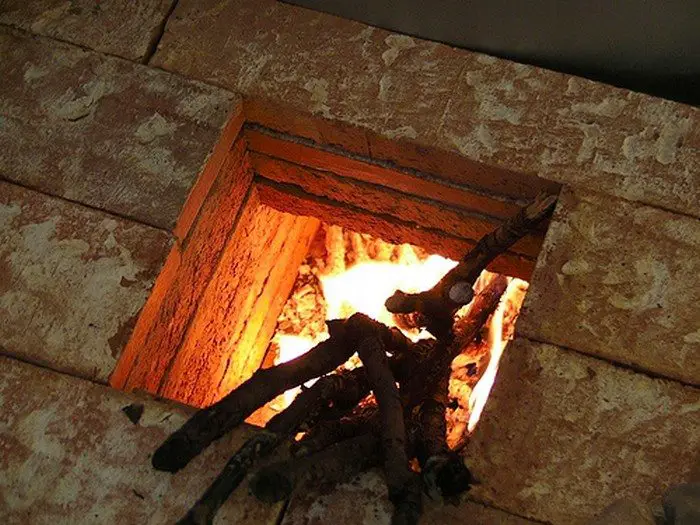 No smoke or flames come out the top of this box, because the draft from the heat riser pulls the fire horizontally. If smoke does come out, push the burning material into the stove a bit to heat up the riser and start the draft.
Thanks to velacreations for this great project!


