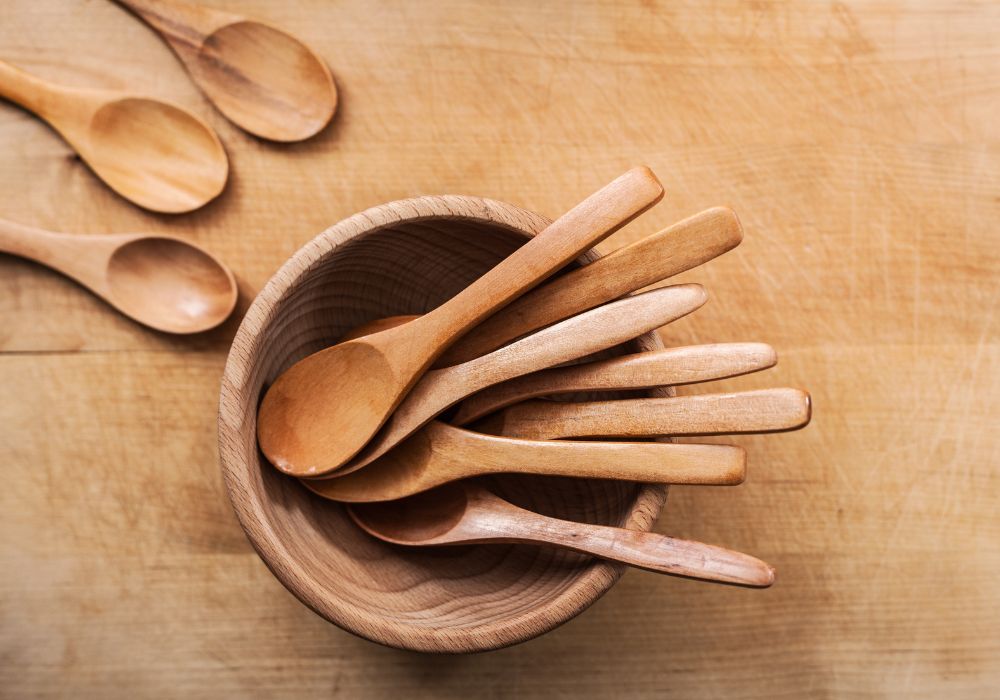
Making a wooden spoon is a fulfilling project that combines use with artistic ability. It lets you interact with classic methods and create a customized kitchen tool regardless of your level of experience as a carpenter or newbie wishing to pursue a new pastime. From choosing the right wood to applying the last finish, this tutorial on how to make a wooden spoon will lead you through the process so that you fully understand every stage involved.
Contents
How to Make a Wooden Spoon
Crafting a wooden spoon is a timeless woodworking project that combines practicality and creativity. It’s a great project for beginners and seasoned woodworkers alike. Follow this guide to learn how to make a wooden spoon that will serve as a beautiful and functional addition to your kitchen.
Materials and Tools Needed:
- A piece of hardwood (cherry, walnut, birch, or maple are excellent choices)
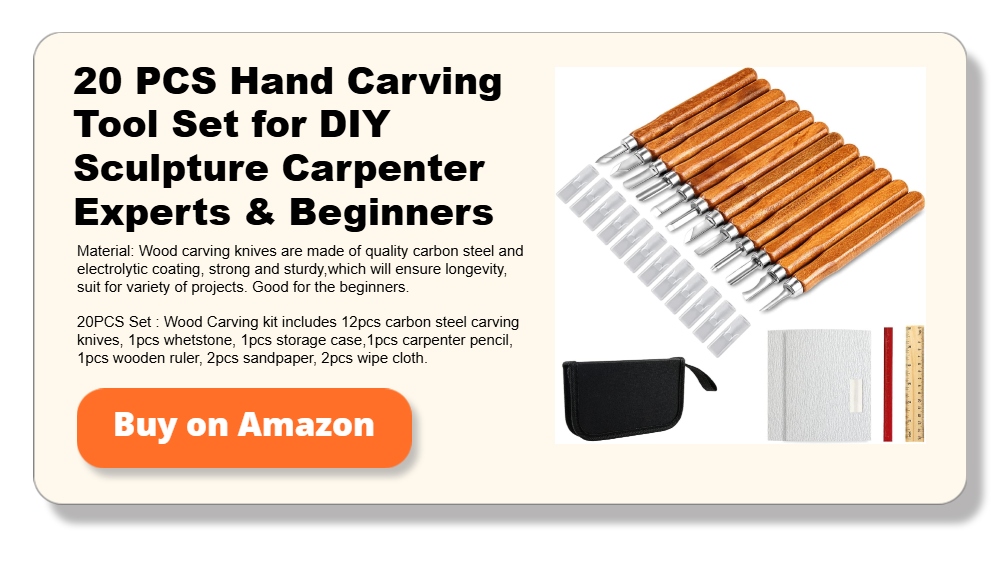
- Carving knife
- Hook knife (for hollowing the spoon bowl)
- Coping saw or bandsaw
- Sandpaper (80, 120, 220 grits)
- Pencil
- Food-safe wood finish (e.g., mineral oil or beeswax)
- Clamp or vice
- Safety gear (gloves, safety goggles)
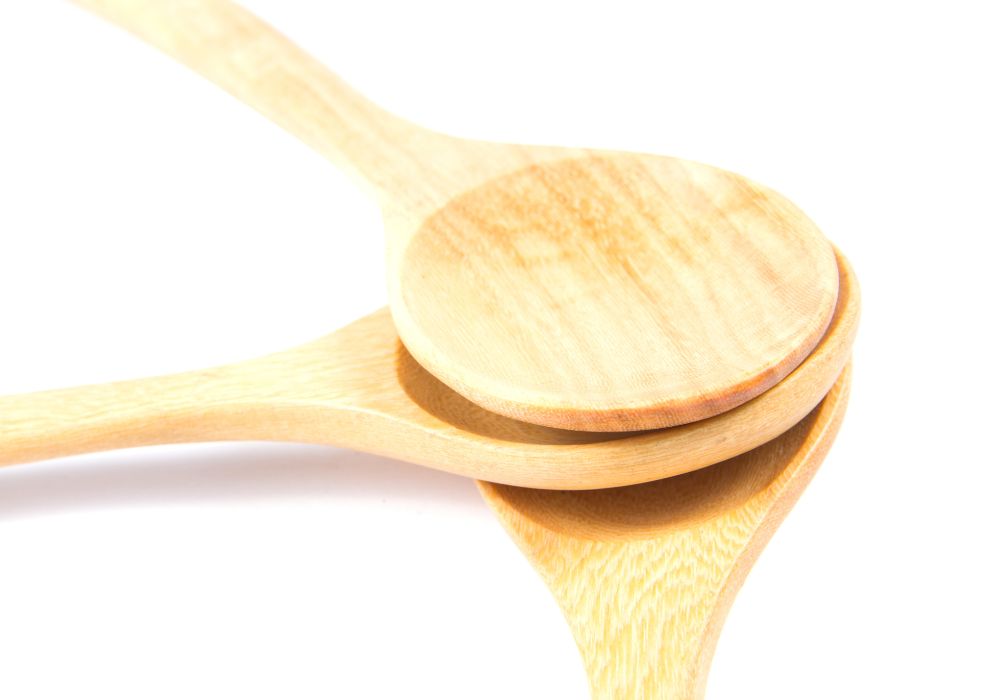
Steps
Step 1: Choose and Prepare Your Wood
Select a hardwood with a straight grain and minimal knots. These qualities make the wood easier to carve and ensure durability. Cut your wood into a block that is slightly larger than your intended spoon size, typically about 12 inches long and 3 inches wide.
Step 2: Sketch Your Design
Use a pencil to draw the outline of your wooden spoon onto the block. Include the shape of the handle and the bowl. Keep the design simple if you’re a beginner. Ensure the proportions are comfortable for holding and using the spoon.
Step 3: Rough Cut the Shape
Using a coping saw or bandsaw, cut along the outer edges of your sketched design. This step removes excess wood and gives you the rough shape of the spoon. Be cautious and leave a small margin outside the lines to refine the shape later.
Step 4: Carve the Spoon Bowl
Secure the wood block in a clamp or vice. Use a hook knife to carefully carve out the bowl of the spoon. Start by making shallow cuts and gradually deepen them to create a smooth, even surface. Take your time to avoid splitting the wood. Rotate the piece as needed to maintain control and accuracy.
Step 5: Shape the Handle
Once the bowl is carved, focus on the handle. Use a carving knife to refine its shape, working from the base of the bowl to the end of the handle. Make long, smooth strokes to achieve a comfortable and ergonomic design. Ensure the handle tapers smoothly and feels balanced in your hand.
Step 6: Smooth the Surface
Begin sanding the spoon with coarse sandpaper (80 grit) to remove tool marks and rough edges. Progress to finer grits (120, then 220) to achieve a smooth finish. Pay extra attention to the bowl’s interior and the edges of the handle. A well-sanded spoon will not only look better but also feel more pleasant to use.
Step 7: Apply a Food-Safe Finish
To protect the wood and enhance its natural beauty, apply a food-safe finish. Mineral oil or a beeswax blend works well. Rub the finish onto the spoon using a clean cloth, ensuring it penetrates the surface evenly. Let it sit for a few hours or overnight, then buff the surface to a soft sheen.
Step 8: Inspect and Refine
Examine your spoon for any rough spots or imperfections. Sand and finish any areas that need additional attention. This step ensures your wooden spoon is both functional and aesthetically pleasing.
Step 9: Maintenance Tips
To keep your wooden spoon in excellent condition, avoid soaking it in water or placing it in a dishwasher. Handwash with mild soap and reapply the finish as needed to maintain its appearance and durability.
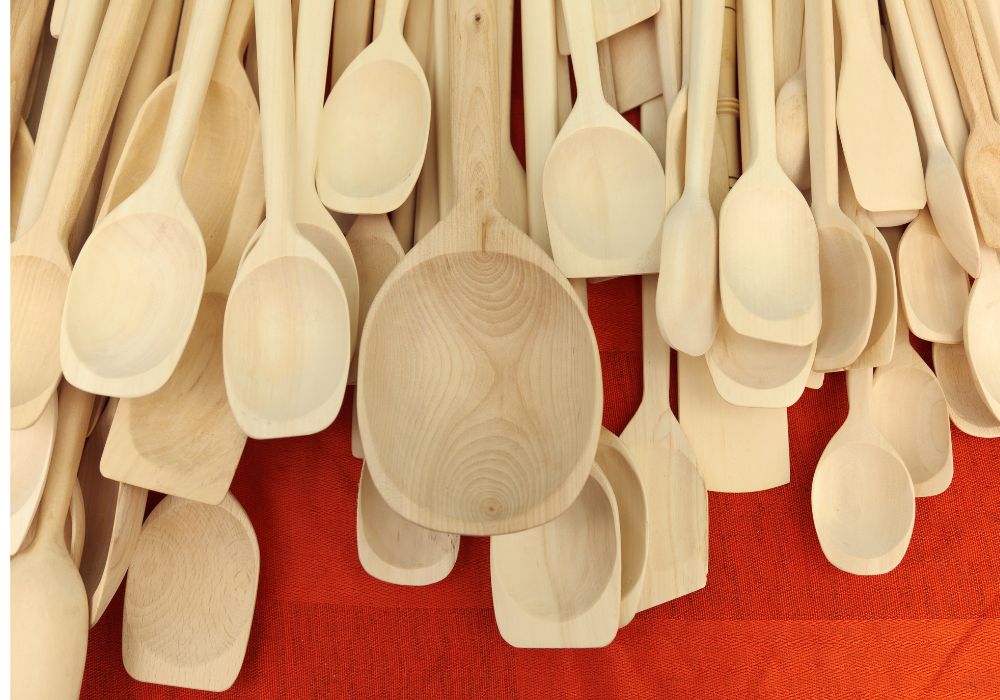
Learning how to make a wooden spoon is a fulfilling experience that allows you to create a unique, handmade kitchen tool. The process of carving, shaping, and finishing your spoon is both meditative and rewarding. Whether you’re using it for cooking or as a decorative piece, a handmade wooden spoon is a testament to your craftsmanship and creativity. Follow these steps to make a wooden spoon and enjoy the satisfaction of crafting something truly your own.
How to Make a Wooden Spoon: Best Wood Types and Finishing Tips
Crafting a wooden spoon is a rewarding woodworking project that combines practicality with creativity. The type of wood you choose and the finishing techniques you apply can make all the difference in the final product. Whether you’re learning how to make a wooden spoon for the first time or looking to refine your skills, understanding the best wood types and finishes will ensure a durable and beautiful result.
Choosing the Best Wood for Your Wooden Spoon
The choice of wood is crucial in determining the durability, functionality, and aesthetic appeal of your wooden spoon. Not all woods are created equal when it comes to spoon carving. Here are some of the best options to consider:
1. Hardwoods for Strength and Longevity
Hardwoods are the go-to choice for wooden spoons due to their strength and resistance to wear. Some popular hardwoods include:
- Cherry: Known for its smooth texture and rich reddish-brown color, cherry wood is a favorite among woodworkers. It’s easy to carve and develops a beautiful patina over time.
- Maple: This light-colored wood is durable and resistant to scratches, making it ideal for kitchen utensils.
- Walnut: Walnut’s dark, rich tones create a striking spoon, and its hardness ensures longevity.
- Birch: A softer hardwood, birch is easy to carve and has a light, uniform appearance.
2. Avoiding Softwoods
Softwoods like pine are not ideal for spoon carving. They are prone to splitting and do not hold up well under regular use. Additionally, their resinous nature can interfere with food preparation.
3. Sustainable Wood Choices
For an eco-friendly approach, consider using reclaimed wood or sustainably sourced timber. This not only reduces waste but also gives your spoon a unique story.
Preparing Your Wood
Once you’ve selected your wood, preparation is key. Start by cutting your wood into a block slightly larger than your intended spoon size. Ensure the grain runs lengthwise to enhance strength and prevent splitting. Use a pencil to sketch your spoon design, including the bowl and handle.
Carving the Spoon
Carving is where the magic happens. Mastering this step is essential to making a wooden spoon. Use a carving knife to shape the handle and a hook knife to hollow the bowl. Begin with slow, controlled cuts, removing small amounts of wood to refine the shape. Rotate the wood as needed to maintain precision and avoid mistakes.
Sanding for a Smooth Finish
Sanding transforms your rough carving into a polished piece. Start with coarse-grit sandpaper (80 grit) to remove tool marks and smooth out imperfections. Gradually progress to finer grits (120, 220, or even 400) for a silky finish. Pay extra attention to the bowl’s interior and edges to ensure a seamless surface that’s comfortable to use.
Applying the Perfect Finish
A well-chosen finish not only protects your spoon but also enhances its natural beauty. Here are some food-safe options to consider:
1. Mineral Oil
Mineral oil is a classic choice for wooden utensils. It’s easy to apply, non-toxic, and provides excellent moisture resistance. Simply rub a generous amount of oil onto the spoon, let it soak in, and wipe away any excess.
2. Beeswax
Beeswax creates a smooth, water-resistant surface and adds a subtle sheen. You can purchase a pre-mixed beeswax finish or make your own by melting beeswax and mixing it with mineral oil.
3. Walnut Oil or Tung Oil
These natural oils penetrate deeply into the wood, offering long-lasting protection. However, avoid these if anyone using the spoon has nut allergies.
4. Coconut Oil
Coconut oil is another excellent option. It’s food-safe, doesn’t go rancid easily, and adds a slight tropical scent to your utensil.
Tips for Long-Term Care
To keep your spoon looking and performing its best, follow these maintenance tips:
- Avoid soaking: Prolonged exposure to water can cause the wood to swell or crack. Handwash the spoon with mild soap and water, then dry it immediately.
- Reapply finish regularly: Over time, the protective finish may wear off. Reapply your chosen oil or wax every few months to maintain the spoon’s integrity and appearance.
- Store properly: Keep your wooden spoon in a dry place to prevent moisture damage.
Adding a Personal Touch
Once you’ve learned how to make a wooden spoon, consider adding decorative elements to make it unique. Use a woodburning tool to etch designs or initials onto the handle. Alternatively, experiment with natural stains like coffee or tea to enhance the wood’s color.
Creating a wooden spoon is more than just a woodworking project—it’s a blend of craftsmanship and practicality. By selecting the right wood, taking time with the carving process, and applying a protective finish, you can make a wooden spoon that’s both functional and beautiful. Whether for your own use or as a thoughtful handmade gift, a wooden spoon is a timeless addition to any kitchen.
How to Make a Wooden Spoon Safely and Effectively at Home
Crafting a wooden spoon is a rewarding project, but safety should always be a priority. From selecting materials to handling tools, following proper safety measures ensures a smooth and injury-free experience. This guide covers essential safety tips to help you create wooden spoons or wooden measuring spoons confidently and securely.
Choosing the Right Wood Safely
Opt for hardwoods like cherry, maple, walnut, or birch, as they are durable and less likely to splinter during carving. Avoid softwoods like pine, which can split easily and create dangerous fragments. Inspect the wood for knots or cracks that could cause issues while working.
Setting Up a Safe Workspace
A well-organized workspace is crucial for safety. Use a sturdy table or workbench and ensure your tools are within reach. Secure the wood with clamps or a vice to prevent movement while cutting or carving. Make sure the area is well-lit and free from clutter that could lead to accidents.
Using Tools Safely
Keep your tools sharp and in good condition. Dull tools require more force, increasing the risk of slips and injuries. Always carve away from your body and use controlled, steady movements. Wear safety gloves to protect your hands and goggles to shield your eyes from wood shavings.
Safe Cutting Practices
When rough-cutting the shape of your spoon, use a coping saw or bandsaw with care. Secure the wood firmly before cutting and follow your sketched design slowly to avoid mistakes or injuries. Ensure the saw blade is sharp and check for proper alignment before starting.
Carving with Precision and Control
During carving, use tools like a carving knife or hook knife with a firm grip. Work in small, deliberate strokes, and never rush the process. Keep your hands and fingers away from the cutting path. If you feel tired, take a break to maintain focus and control.
Sanding Without Risks
Sanding produces fine dust that can irritate your eyes and lungs. Wear a dust mask and goggles while sanding the spoon. Use gradual pressure with coarse to fine grits, ensuring smooth edges without compromising your safety.
Handling Finishing Materials
Choose food-safe finishes like mineral oil, beeswax, or coconut oil. Follow the manufacturer\u2019s instructions and work in a well-ventilated area to avoid inhaling fumes. Use gloves to protect your skin while applying the finish.
Keeping Your Workspace Safe
Maintain a clean and organized workspace throughout the process. Keep sharp tools in a safe place when not in use and dispose of wood shavings promptly. Ensure all electrical tools are turned off and unplugged when you finish using them.
Inspecting Your Spoon for Safety
Before declaring your project complete, inspect the spoon for any rough spots or sharp edges that could cause splinters or discomfort. Sand and smooth these areas thoroughly to create a safe, user-friendly utensil.
Safety is paramount when making a wooden spoon. By choosing the right materials, using tools correctly, and maintaining a clean workspace, you can reduce risks and focus on crafting a beautiful and functional piece. Always prioritize your well-being while enjoying the creative process.
Conclusion
Knowing how to make a wooden spoon is an enriching hobby that combines craftsmanship with functionality. With the right tools, materials, and techniques, you can craft a durable and beautiful utensil for your kitchen. Taking your time and focusing on the process ensures a successful and enjoyable experience.
We have more ideas for your kitchen. Check out our DIY kitchen drawer organizer project next!

