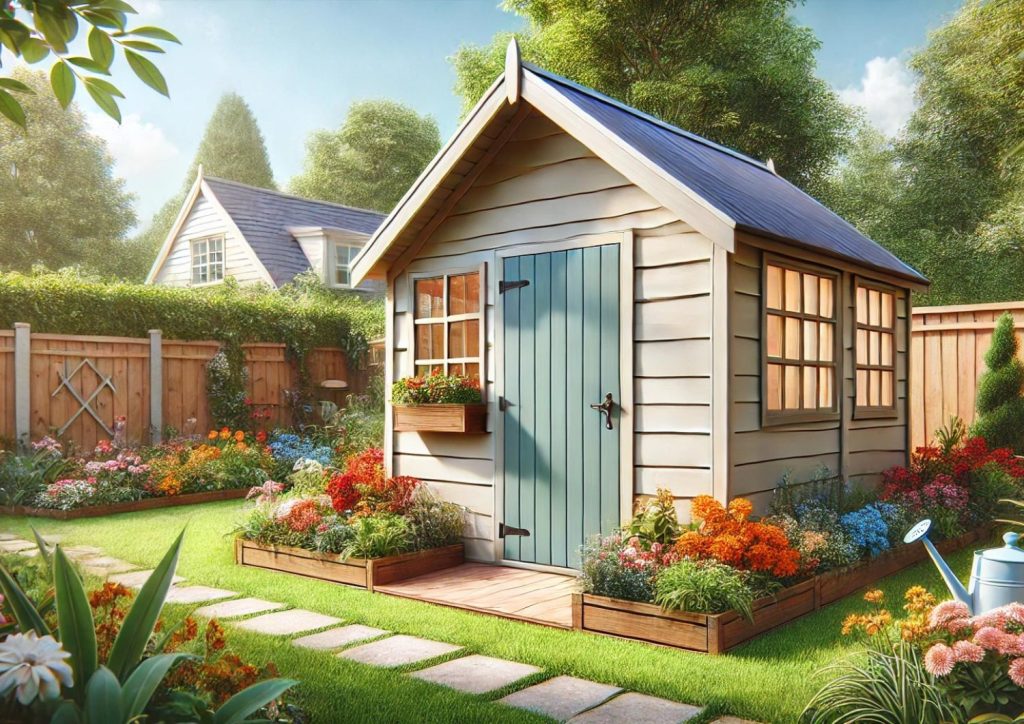
Building a DIY garden shed can seem like a big task, but with the right guidance, it can be a fun and fulfilling project. This shed will be your very own creation, perfect for storing tools, pots, and even serving as a cozy workspace.
A DIY garden shed is not just a storage space; it’s a place where you can organize your gardening tools, work on your DIY projects, or even create a small retreat for yourself. The process of building a DIY garden shed involves planning, preparation, and execution.
Each step requires careful consideration and a bit of elbow grease, but the end result is well worth it.
Contents
- 1 Constructing a DIY Garden Shed from Scratch
- 2 Conclusion
Constructing a DIY Garden Shed from Scratch
Imagine having a space that reflects your personal style and meets your specific needs. With a DIY garden shed, you can customize every aspect, from the size and design to the materials and finishes. Plus, building your own shed can save you money compared to purchasing a pre-made one, and it offers the satisfaction of completing a project with your own hands.
This guide will walk you through every step, from planning and gathering materials to constructing the shed and adding the final touches. Let’s get started on creating your perfect DIY garden shed!
Planning Your DIY Garden Shed
The first step in planning your DIY garden shed is to define its purpose. Ask yourself why you need a garden shed. Are you looking for extra storage space for your gardening tools and equipment? Do you need a place to work on your DIY projects?
Or perhaps you want a small greenhouse to grow plants? Knowing the purpose of your DIY garden shed will help you decide on the size, design, and features you need. For example, if you need a shed for storage, you might want to include shelves, hooks, and cabinets.
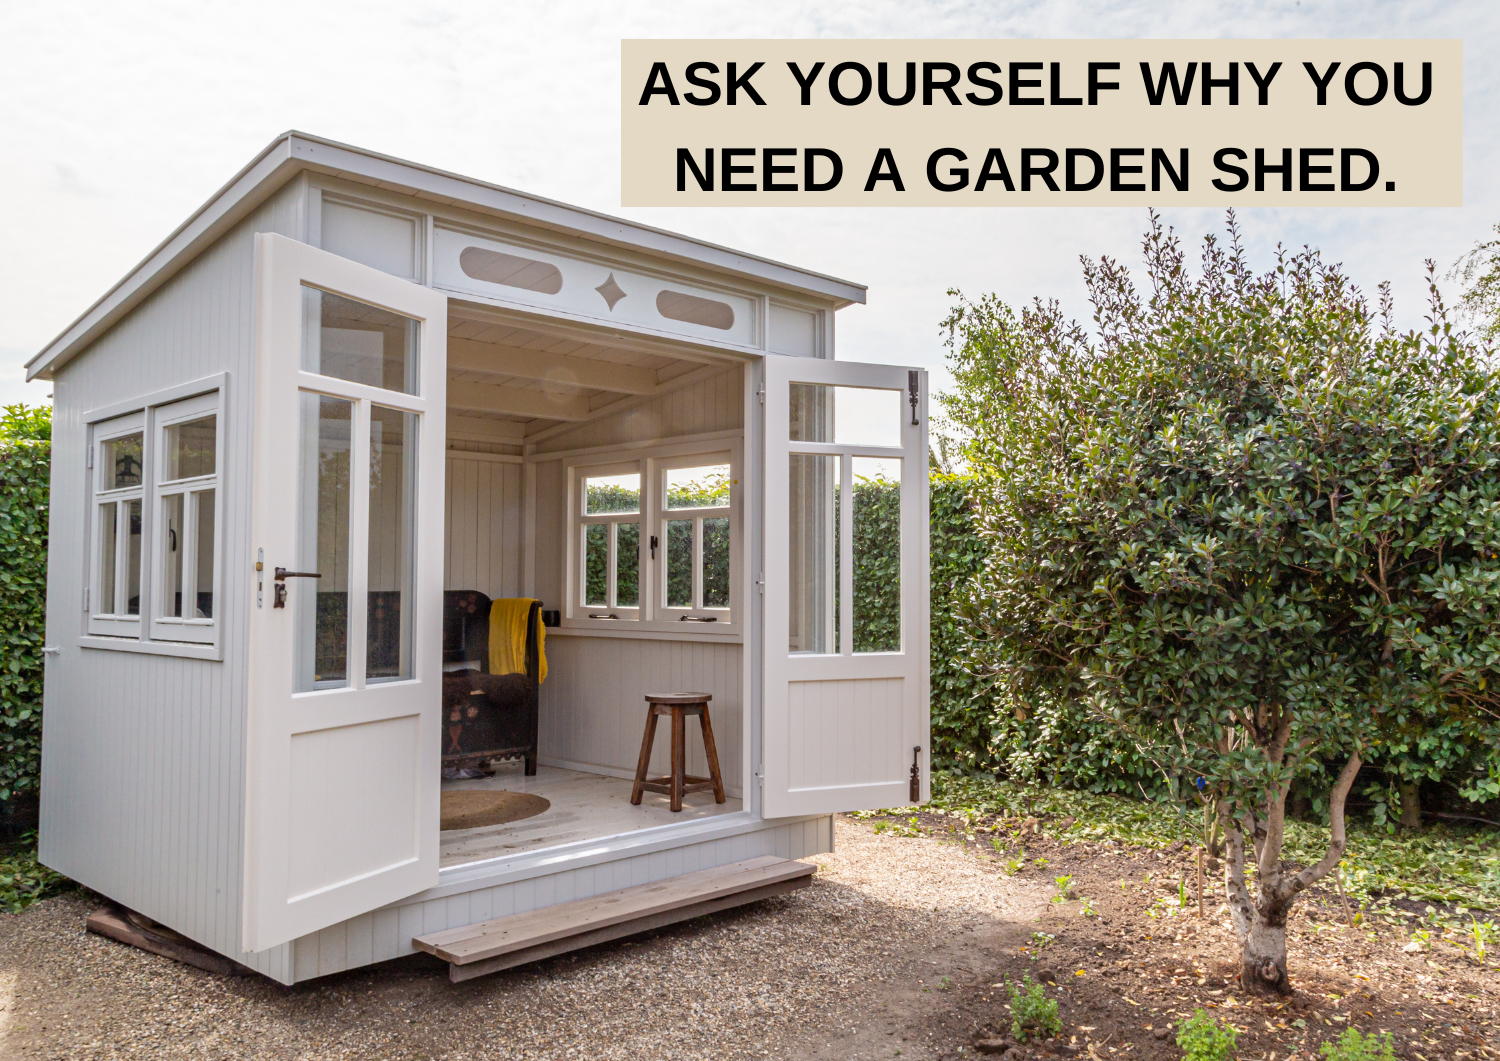
If you plan to use it as a workspace, you’ll need a sturdy workbench, good lighting, and electrical outlets. If you want a greenhouse, you’ll need to consider windows and ventilation.
Choose the Location
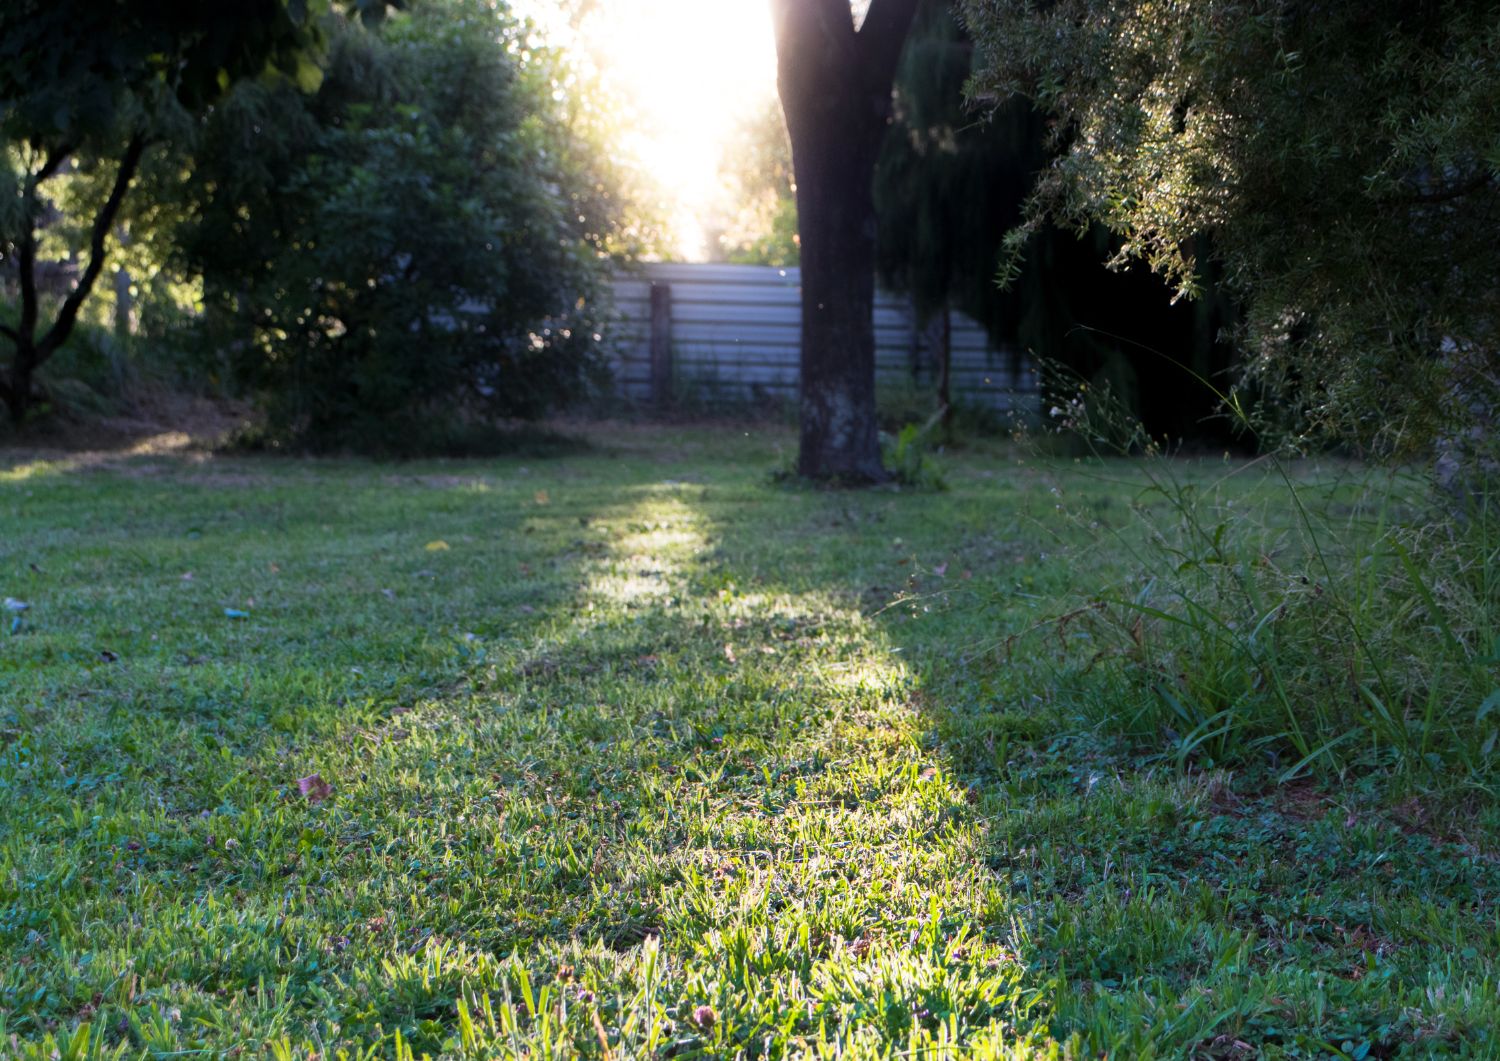
The location of your DIY garden shed is crucial. Choose a spot in your garden that is level and has good drainage to avoid water accumulation. Ensure the location gets enough sunlight, especially if you plan to use the shed as a greenhouse. Accessibility is also important; you don’t want to walk a long distance to reach your shed.
Consider the proximity to your house and garden. A shed that is close to your garden will make it easier to transport tools and plants. Make sure your DIY garden shed doesn’t block views or create awkward spaces in your yard. It’s also a good idea to check for any underground utilities before you start digging.
Design and Size
Once you’ve defined the purpose and chosen the location, it’s time to design your DIY garden shed. Sketch a simple design that includes the dimensions and layout. The most common size for a garden shed is 8×10 feet, but you can adjust this based on your needs and available space.
Think about the height of your DIY garden shed as well. A taller shed provides more storage space and headroom, making it more comfortable to work in. Consider adding windows for natural light and ventilation. If you plan to store large items, make sure the door is wide enough to accommodate them.
Get Permits
Before you start building, check with your local authorities to see if you need any permits to build a DIY garden shed in your garden. Building codes and regulations vary by location, and it’s important to comply with them to avoid fines or having to dismantle your shed. Permits ensure that your shed meets safety standards and is built to last.
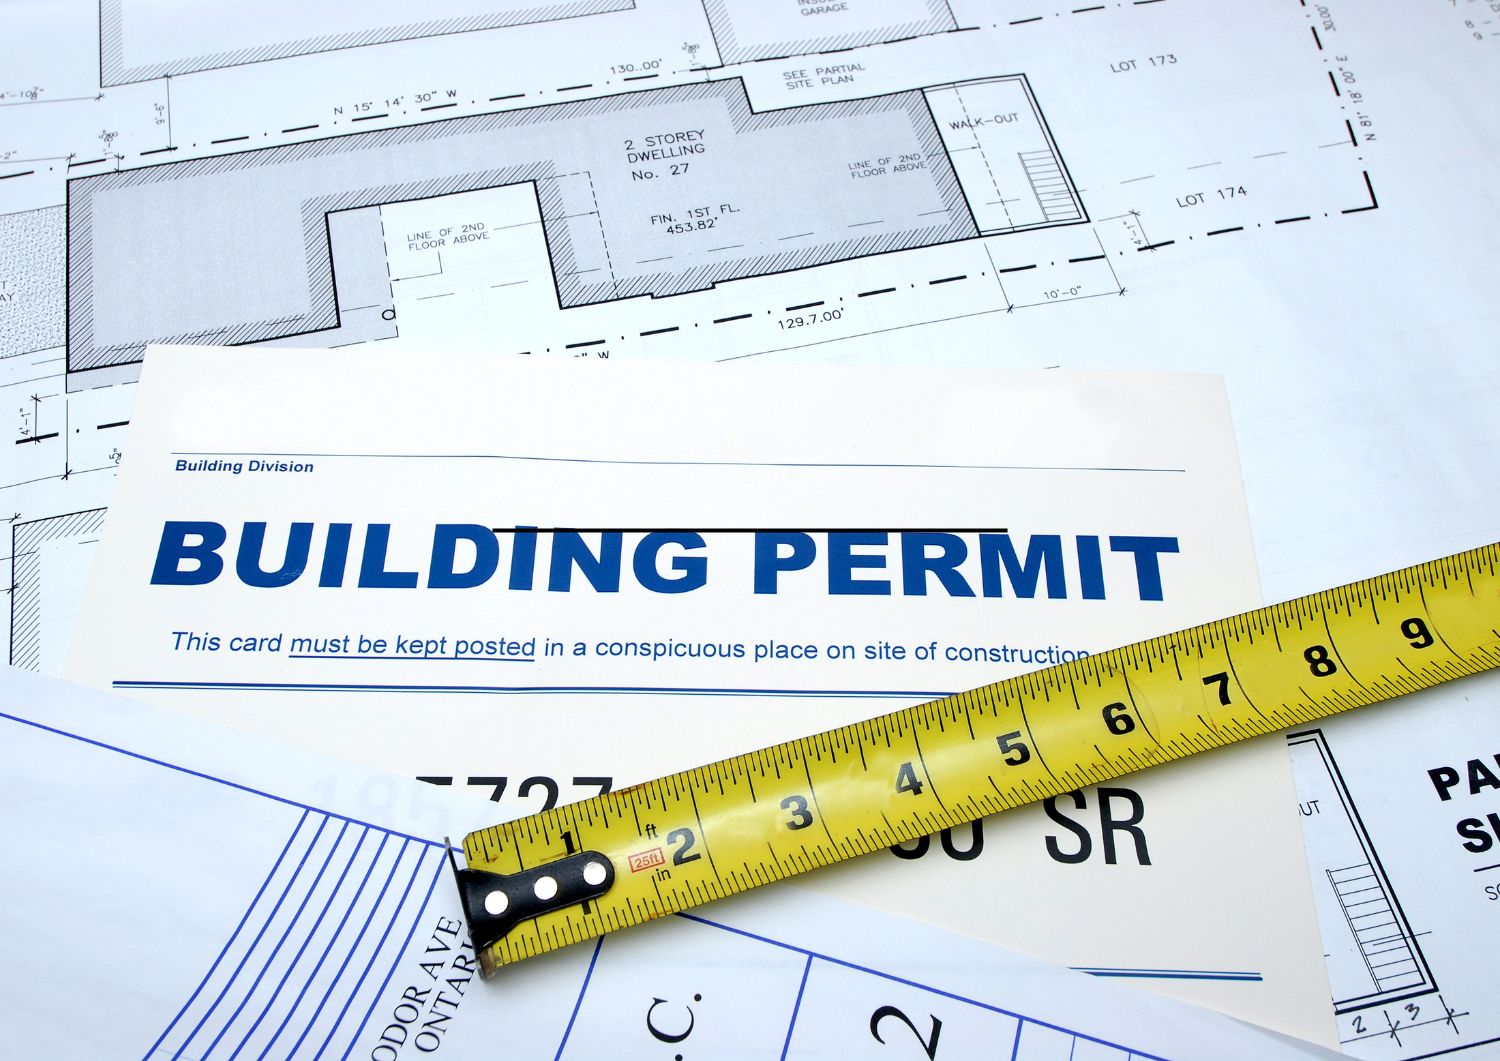
Gather all the necessary documents and submit your application early to avoid delays. Once you have your permits, you can proceed with confidence, knowing that your DIY garden shed project is legal and safe.
Materials and Tools
Gathering the right materials is essential for building a sturdy and durable DIY garden shed. Here’s a list of the basic materials you’ll need:
- Pressure-treated lumber: Use for the frame and floor as it resists rot and insect damage.
- Plywood sheets: These are used for the walls and roof. Choose exterior-grade plywood for better durability.
- Roofing materials: Shingles or metal sheets to protect your shed from the elements.
- Concrete blocks: These provide a stable foundation and keep the shed off the ground.
- Screws and nails: Various sizes for different parts of the construction.
- Door and windows: Pre-made or DIY, depending on your design.
- Paint or stain: To protect the wood from weather damage.
- Gravel: For the foundation base to ensure proper drainage.
Each material has its own specific use, and choosing high-quality materials will ensure the longevity of your shed.
Tools
Having the right tools makes the construction process much smoother. Here are the essential tools you’ll need:
- Tape measure: For accurate measurements.
- Hammer: For driving nails.
- Screwdriver or drill: For driving screws.
- Saw (hand saw or circular saw): For cutting lumber and plywood.
- Level: To ensure everything is straight and even.
- Shovel: For digging and leveling the site.
- Ladder: For reaching higher areas during construction.
- Paintbrush or roller: For applying paint or stain.
Before you start building, make sure all your tools are in good working condition. A well-maintained tool makes the job easier and safer.

Additional Items
Depending on your design, you might also need additional items like:
- Hinges and locks: For the door.
- Weather stripping: To seal windows and doors.
- Ventilation grilles: To allow air circulation.
- Gutters and downspouts: To manage rainwater.
By preparing all the materials and tools in advance, you can ensure a smooth construction process without unnecessary interruptions.
Preparing the Site
The first step in preparing the site for your DIY garden shed is to clear the area. Remove any plants, rocks, or debris from the site. This will provide a clean and level surface to work on. Use a shovel or hoe to remove grass and weeds. Clearing the area thoroughly ensures a solid foundation and helps prevent future problems with pests and moisture.
- Mark the Area
- Clear the area, mark out the shed’s perimeter with stakes and string for guidance. Measure accurately to ensure the dimensions are correct. Visualise the shed’s footprint and build within the designated space.
- Dig and Fill
- Remove topsoil, fill area with gravel for stable shed foundation. Prevents water accumulation, avoids rot or mold. Essential for supporting shed and maintaining level.
- Level the Ground
- After adding gravel, level the ground for shed stability. Adjust gravel for high or low spots to create a even base, preventing structural issues and simplifying construction.
- Consider the Surroundings
- When setting up your DIY garden shed, consider the surroundings. Leave space for access, avoid trees near the shed, and think about sunlight and wind direction to ensure it stays dry and well-lit.
Building the Foundation
The foundation is the most important part of your DIY garden shed, as it supports the entire structure.
- Place the Concrete Blocks
- Start by placing concrete blocks at the corners and edges of your shed area, evenly spaced for weight distribution. Add more blocks in the center for larger sheds. This stable base elevates the shed, preventing moisture damage, and is easy to adjust for a level foundation.
- Check for Level
- Use a level to ensure blocks are even for shed stability. Adjust height with gravel. A level foundation ensures structural soundness and proper wall and roof fit.
- Secure the Blocks
- After leveling the blocks, pack gravel or soil around them to secure in place and prevent shifting. Stability of each block is crucial for shed longevity.
- Additional Support
- For bigger sheds, add support beams made of pressure-treated lumber on top of concrete blocks for stability and even weight distribution.
- Moisture Barrier
- To protect your shed from moisture, add a barrier between concrete blocks and floor frame like heavy-duty plastic or roofing felt. This prevents dampness from reaching the wooden structure.
- Final Check
- Before constructing the frame, ensure that all components are level and secure. Check each block for stability and adjust as necessary to create a solid foundation for your shed.
A strong foundation is key for a successful construction project, ensuring durability and stability for your shed and DIY projects.
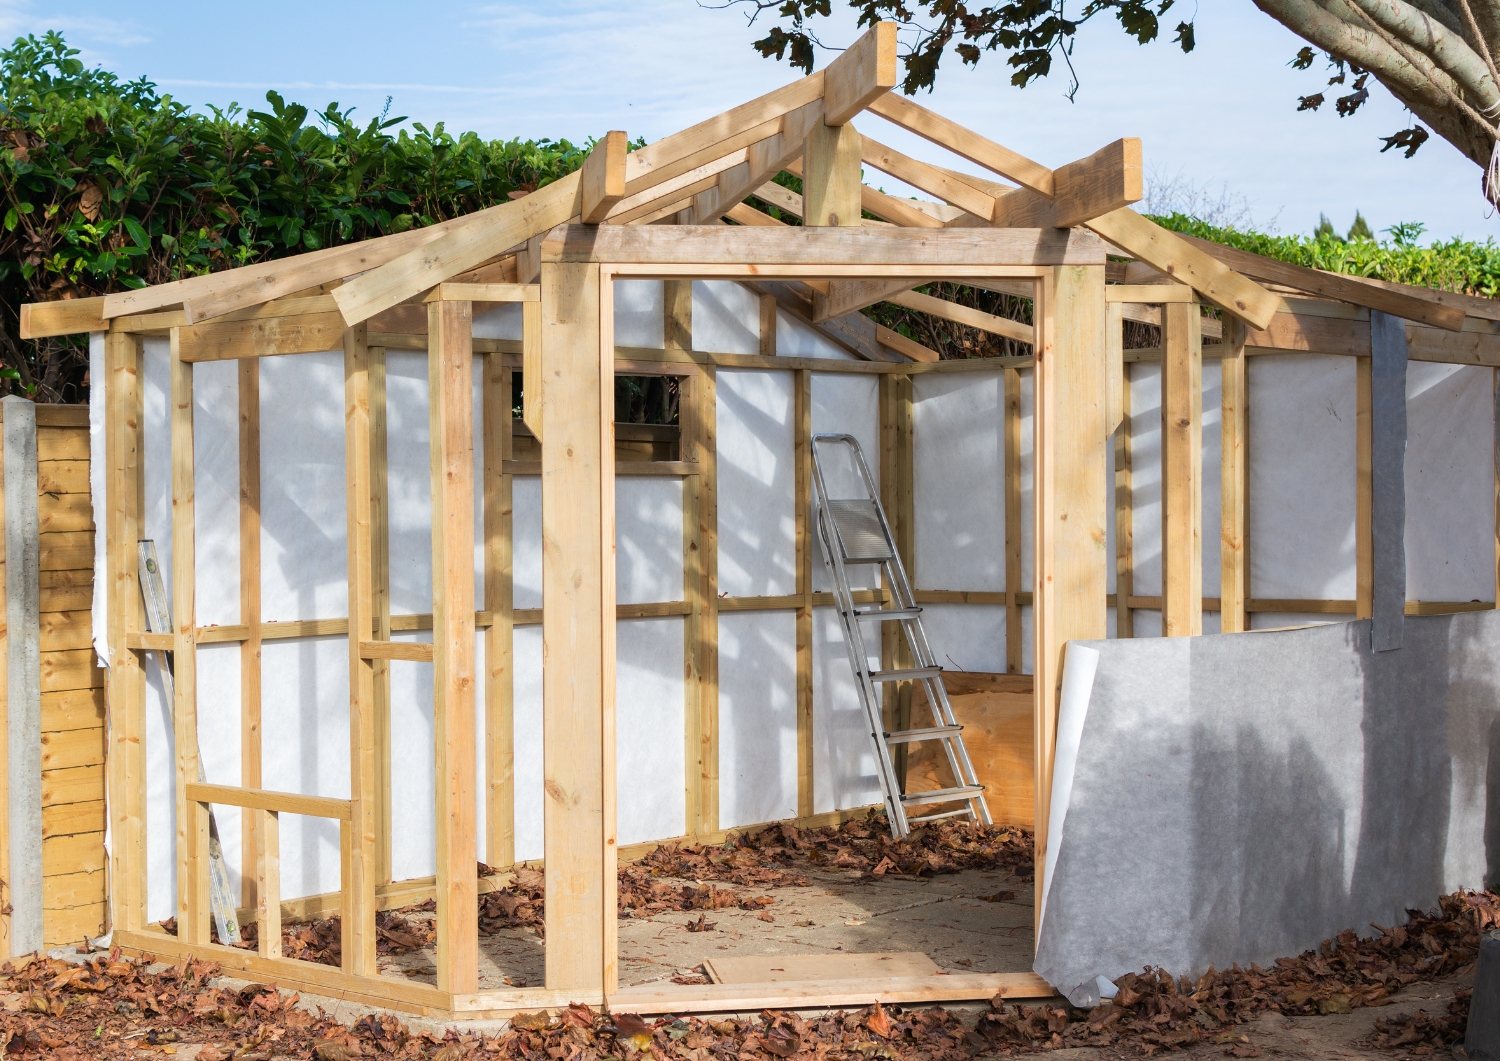
Constructing the Frame
Build a floor frame using pressure-treated lumber, forming a rectangle with 2×6 or 2×8 boards. Cut boards to size, lay on foundation, secure with screws/nails. Check diagonals for squareness. A strong frame is crucial for shed stability. Use treated lumber for durability.
- Attach the Floor Frame to the Blocks
- Place floor frame on concrete blocks, secure with brackets for stability. Anchor frame to foundation to prevent movement.
- Install the Floor
- Lay plywood sheets over the floor frame, secure with screws, and use exterior-grade plywood for durability.
- Space screws 8 inches apart along edges and 12 inches in the middle. A sturdy floor is essential for storage and work in the shed.
- Construct the Wall Frames
- Construct four wall frames using 2×4 lumber to match the floor frame dimensions. Cut studs to shed height, and attach to top and bottom plates. Include space for windows and a door.
- Raise the Walls
- With assistance, lift walls into place, secure corners and floor frame with screws, ensure walls are plumb and square using level and square tool.
- Bracing the Walls
- Temporarily brace walls with diagonal boards to keep them steady and prevent shifting or leaning during construction.
- Top Plates
- Attach top plates to wall frames for stability and roof support, using screws or nails for secure alignment.
- Final Check
- Before adding walls, double-check for levelness, squareness, and secure attachments. Make any necessary adjustments before proceeding.
Building a sturdy frame is essential for a solid DIY garden shed. Ensuring everything is level and square will simplify construction and result in a durable structure.
Adding the Walls
Attach exterior-grade plywood to wall frames with screws, starting at one corner and working around to build shed walls. Space screws 8 inches along edges and every 12 inches in the middle for strength.
- Cut Out Openings
- Cut openings for windows and door in plywood sheets using a saw. Measure carefully before cutting with jigsaw or circular saw. Wear goggles and follow safety precautions.
- Install Windows and Door
- Fit windows and doors into openings, secure with screws, and ensure proper function. Follow manufacturer’s instructions for pre-made items.
- DIY doors can be made with a 2×4 frame and plywood or planks. Use weather stripping for insulation.
- Weatherproofing
- Protect your shed with house wrap or building paper to prevent moisture and rot. Secure with staples or nails, overlapping seams by 6 inches. Important for longevity in humid or rainy areas.
- Siding
- Add siding to your shed for a polished finish. Choose wood, vinyl, or metal based on budget for protection from weather. Install securely as per guidelines.
- Insulation (Optional)
- To use shed year-round or as workspace, add insulation to walls with rigid foam boards or fiberglass batts between studs. This regulates temperature for comfort in all seasons.
- Interior Walls
- To improve the interior, cover wall frames with plywood or drywall for a smooth surface that can be painted. Secure with screws or nails flush with studs.
By adding weatherproof walls carefully, you create a durable shed for long-term storage and workspace.
Build the Roof Frame
Use 2×4 lumber for a roof frame with a sloped or gable design. Sloped roofs have better drainage, while gable roofs provide more space. Cut and attach rafters evenly for a sloped roof or build trusses on the ground for a gable roof.
Lift the roof frame onto the top of the wall frames and secure it with screws or nails. Make sure the frame is level and properly aligned. Use a level to check that the rafters or trusses are straight. This step is crucial for the stability of your roof and the overall structure of your DIY garden shed.
Cover roof frame with plywood sheets, using exterior-grade material and securing with screws/nails spaced 8 inches apart along edges and 12 inches in middle. Add roofing felt, overlapping each layer by 6 inches and securing with staples/nails to shield shed from rain/snow and prevent moisture damage.

Add Shingles or Metal Sheets
Choose between shingles or metal sheets for your roofing material. For shingles, start from the bottom edge and overlap rows as you work your way up, securing with nails. For metal sheets, start at one edge and secure with screws, overlapping edges for a watertight seal.
Install a ridge cap on the top edge of the roof for added protection. Secure it with screws or nails to cover the gap where the two sides meet.
Consider adding gutters and downspouts to manage rainwater runoff. Gutters help direct water away from the shed, preventing erosion and damage to the foundation. Secure the gutters along the edges of the roof and attach downspouts to direct the water away from the shed.
Once the roof is installed, do a final check to ensure everything is secure and properly aligned. Walk around the outside of the shed, checking for any gaps or loose fasteners. Make any necessary adjustments to ensure your DIY garden shed is weatherproof and sturdy.
Installing the Door and Windows
The door is crucial for your garden shed, providing access and security. Attach hinges to your door, following instructions for pre-made doors. For a DIY door, construct a frame from 2x4s and add plywood or planks. Position hinges evenly along one side.
Lift the door into place and secure it to the door frame with screws. Check that the door opens and closes smoothly. If necessary, adjust the hinges or sand down any uneven edges. Add a handle and lock for security. A sturdy lock helps protect your tools and equipment from theft.
Install Windows
Windows provide natural light and ventilation for your shed. Fit your windows into the pre-cut openings in the walls. Secure them in place with screws, following the manufacturer’s instructions if you are using pre-made windows.
To complete the look of your shed, you can add trim around the windows and door. Trim provides a finished appearance and helps seal any gaps. Choose trim that matches your siding and secure it with nails or screws. Paint or stain the trim to match the rest of your shed.
Once the door and windows are installed, do a final check to ensure everything is secure and properly aligned. Walk around the inside and outside of the shed, checking for any gaps or loose fasteners. Make any necessary adjustments to ensure your DIY garden shed is sturdy and weatherproof.
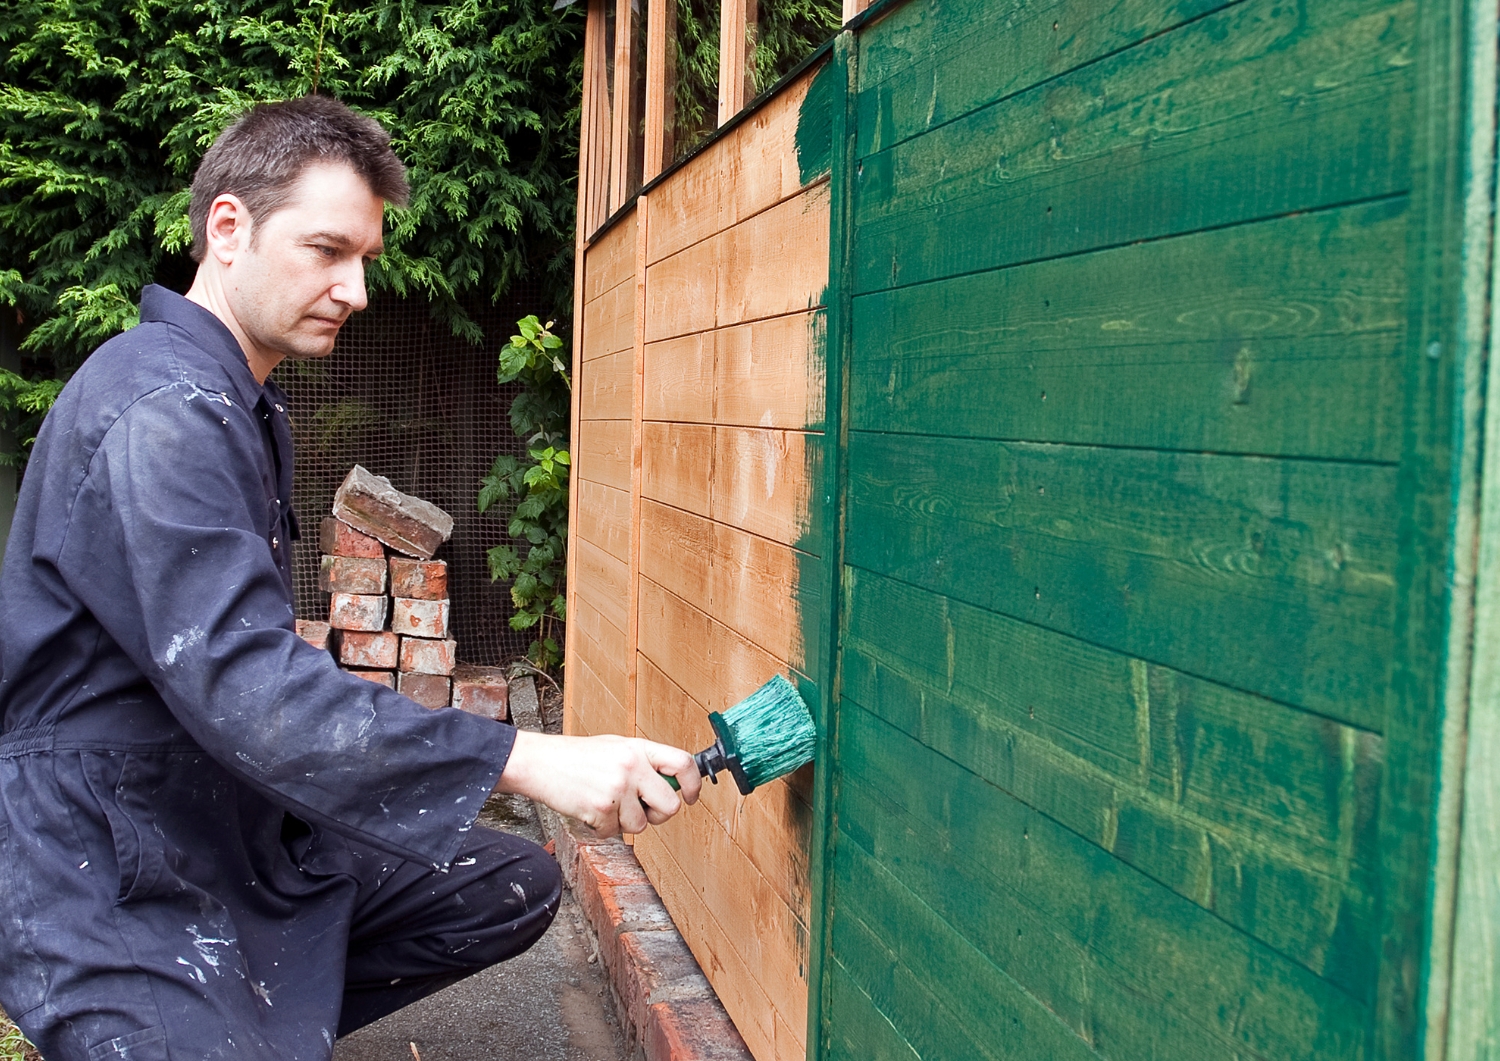
Finishing Touches
Protect your shed with weather-resistant paint or stain for a polished finish. Use a product designed for outdoor use to shield against UV rays, moisture, and mildew. Apply with a brush or roller, following instructions for coverage and drying time. Primer can enhance adhesion and longevity.
Painting or staining your shed not only enhances its appearance but also helps protect the wood from weather damage, extending the life of your DIY garden shed.
Additional Features to Condisder
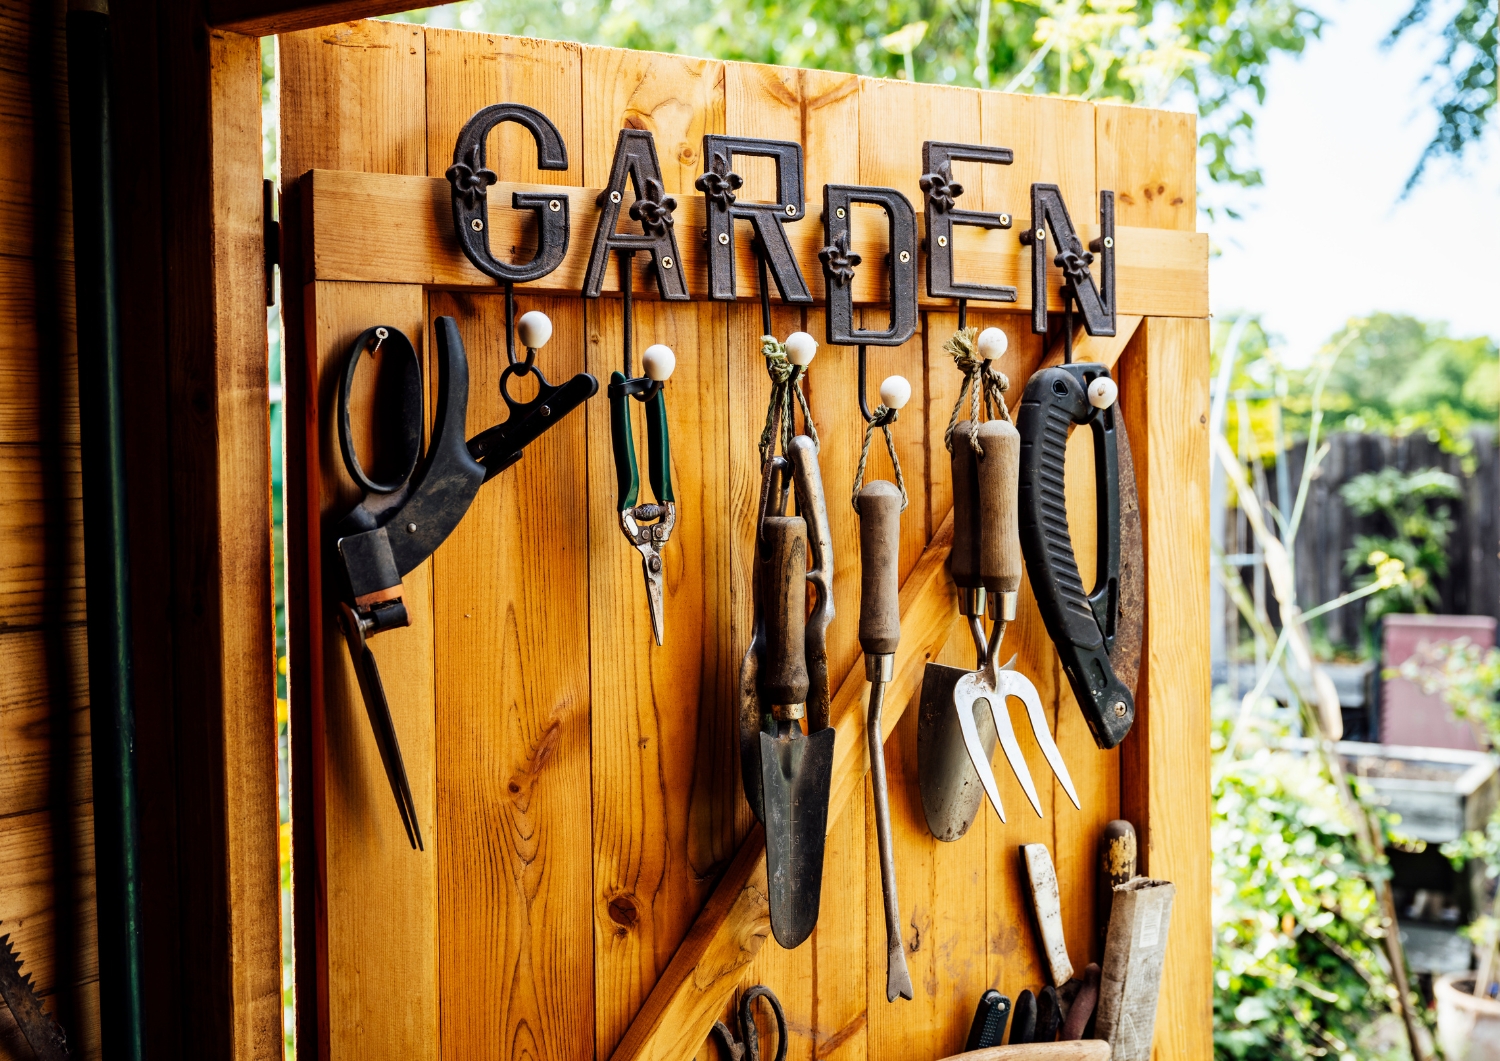
- Shelving and Storage
- Customize shed with shelves, hooks, and storage solutions for organization. Install sturdy shelves for tools and supplies, use hooks for smaller items.
- Consider a workbench for DIY projects, add drawers and cabinets for storage. Efficient organization maximizes space and tool accessibility.
- Lighting and Electrical
- Consider adding lighting and electrical outlets to your shed for evening use or as a workspace. Battery-operated or solar lights are convenient options if wiring is not possible. Consult a licensed electrician for a permanent solution.
- Good lighting makes your shed more functional and safer to use, allowing you to work comfortably at any time of day.
- Landscaping Around the Shed
- Improve shed appearance with flowers, shrubs, and a pathway. Select low-maintenance plants that match your garden. Use mulch or gravel border for drainage and weed prevention.
- Landscaping around your shed not only improves its appearance but also helps integrate it into your garden, making it a cohesive part of your outdoor space.
- Personal Touches
- Personalize your shed with decorative items like signs, planters, or wind chimes. Paint the door and trim in a contrasting color for added style and character in your garden.
By adding finishing touches, you can create a polished shed that enhances your garden as a valuable storage and DIY space. Taking the time to do this step correctly ensures a beautiful and practical addition to your outdoor area.
Conclusion
Building a DIY garden shed from scratch is a great way to add functional space to your garden. By following these steps, you can create a sturdy and attractive shed that meets your needs. Remember, the key to a successful DIY project is careful planning and taking your time to ensure each step is done correctly. Enjoy your new garden shed and the satisfaction of knowing you built it yourself!
Remember to maintain your DIY garden shed regularly to ensure it remains in good condition. Regular inspections, cleaning, and maintenance help protect your investment and extend the life of your shed. With proper care, your DIY garden shed will provide years of reliable service and enhance the beauty of your garden.
Thank you for following this guide, and congratulations on completing your DIY garden shed project!


