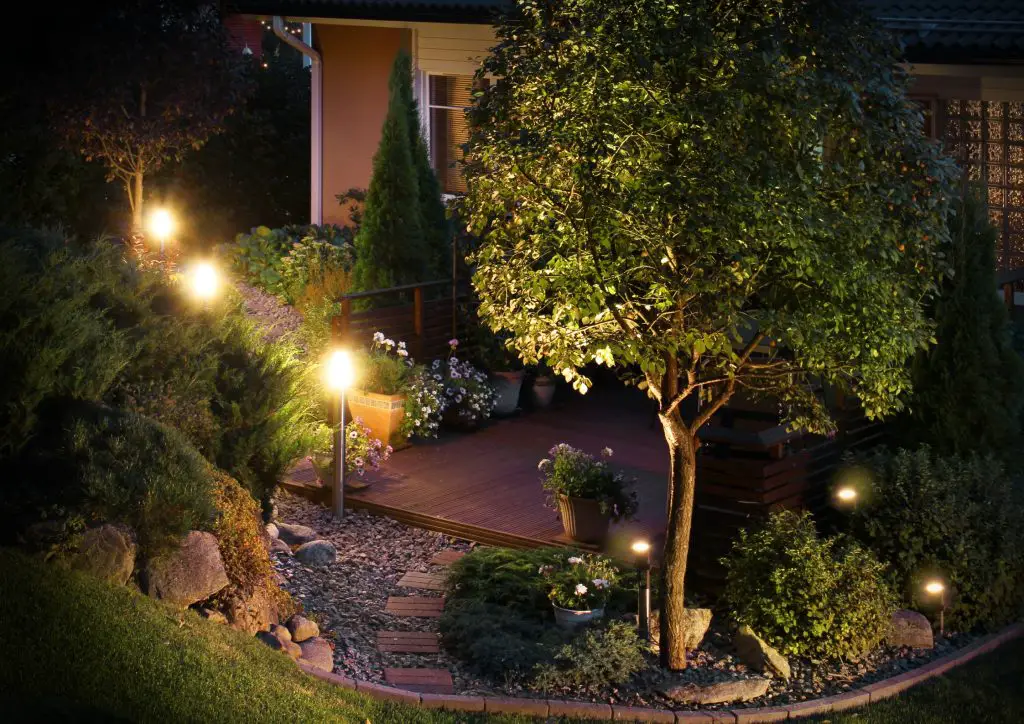
Adding lights to your garden not only enhances its beauty but also increases safety and usability after dark.
Properly positioned garden lights can truly elevate the ambiance, whether you’re hosting a charming garden party or simply unwinding in the tranquility of your outdoor space.
In this guide, we’ll walk you through the easy steps for garden light installation, helping you brighten your outdoors with confidence.
Contents
DIY Garden Light Installation: A Simple Guide
Garden light installation offers numerous benefits. They highlight your garden’s features, create ambiance, improve safety, and extend the usability of your outdoor space into the night.
A well-lit garden also serves as a strong deterrent to potential intruders, providing an additional level of security. By strategically positioning lights throughout your garden, you can enjoy a beautifully illuminated outdoor space throughout the year.
Planning Your Garden Light Layout
Before you start your garden light installation, it’s crucial to plan your layout carefully. This step sets the foundation for a successful garden light installation and ensures that your garden lighting achieves the desired effect.
Here’s a detailed guide to help you plan your garden light installation layout effectively.
Identify Key Areas to Highlight
Begin by walking through your garden and identifying the areas you want to highlight. These could include:
- Pathways: Lighting pathways enhances safety by preventing trips and falls, and it also creates a welcoming guide through your garden.
- Trees and Shrubs: Uplighting trees and larger shrubs can create dramatic shadows and highlight their natural beauty, adding depth and texture to your garden.
- Flower Beds: Adding lights to flower beds can showcase your favorite plants and flowers, allowing their colors and textures to be enjoyed even after dark.
- Water Features: Water features like ponds, fountains, or waterfalls look magical when illuminated, as the light reflects off the water’s surface and adds a serene ambiance.
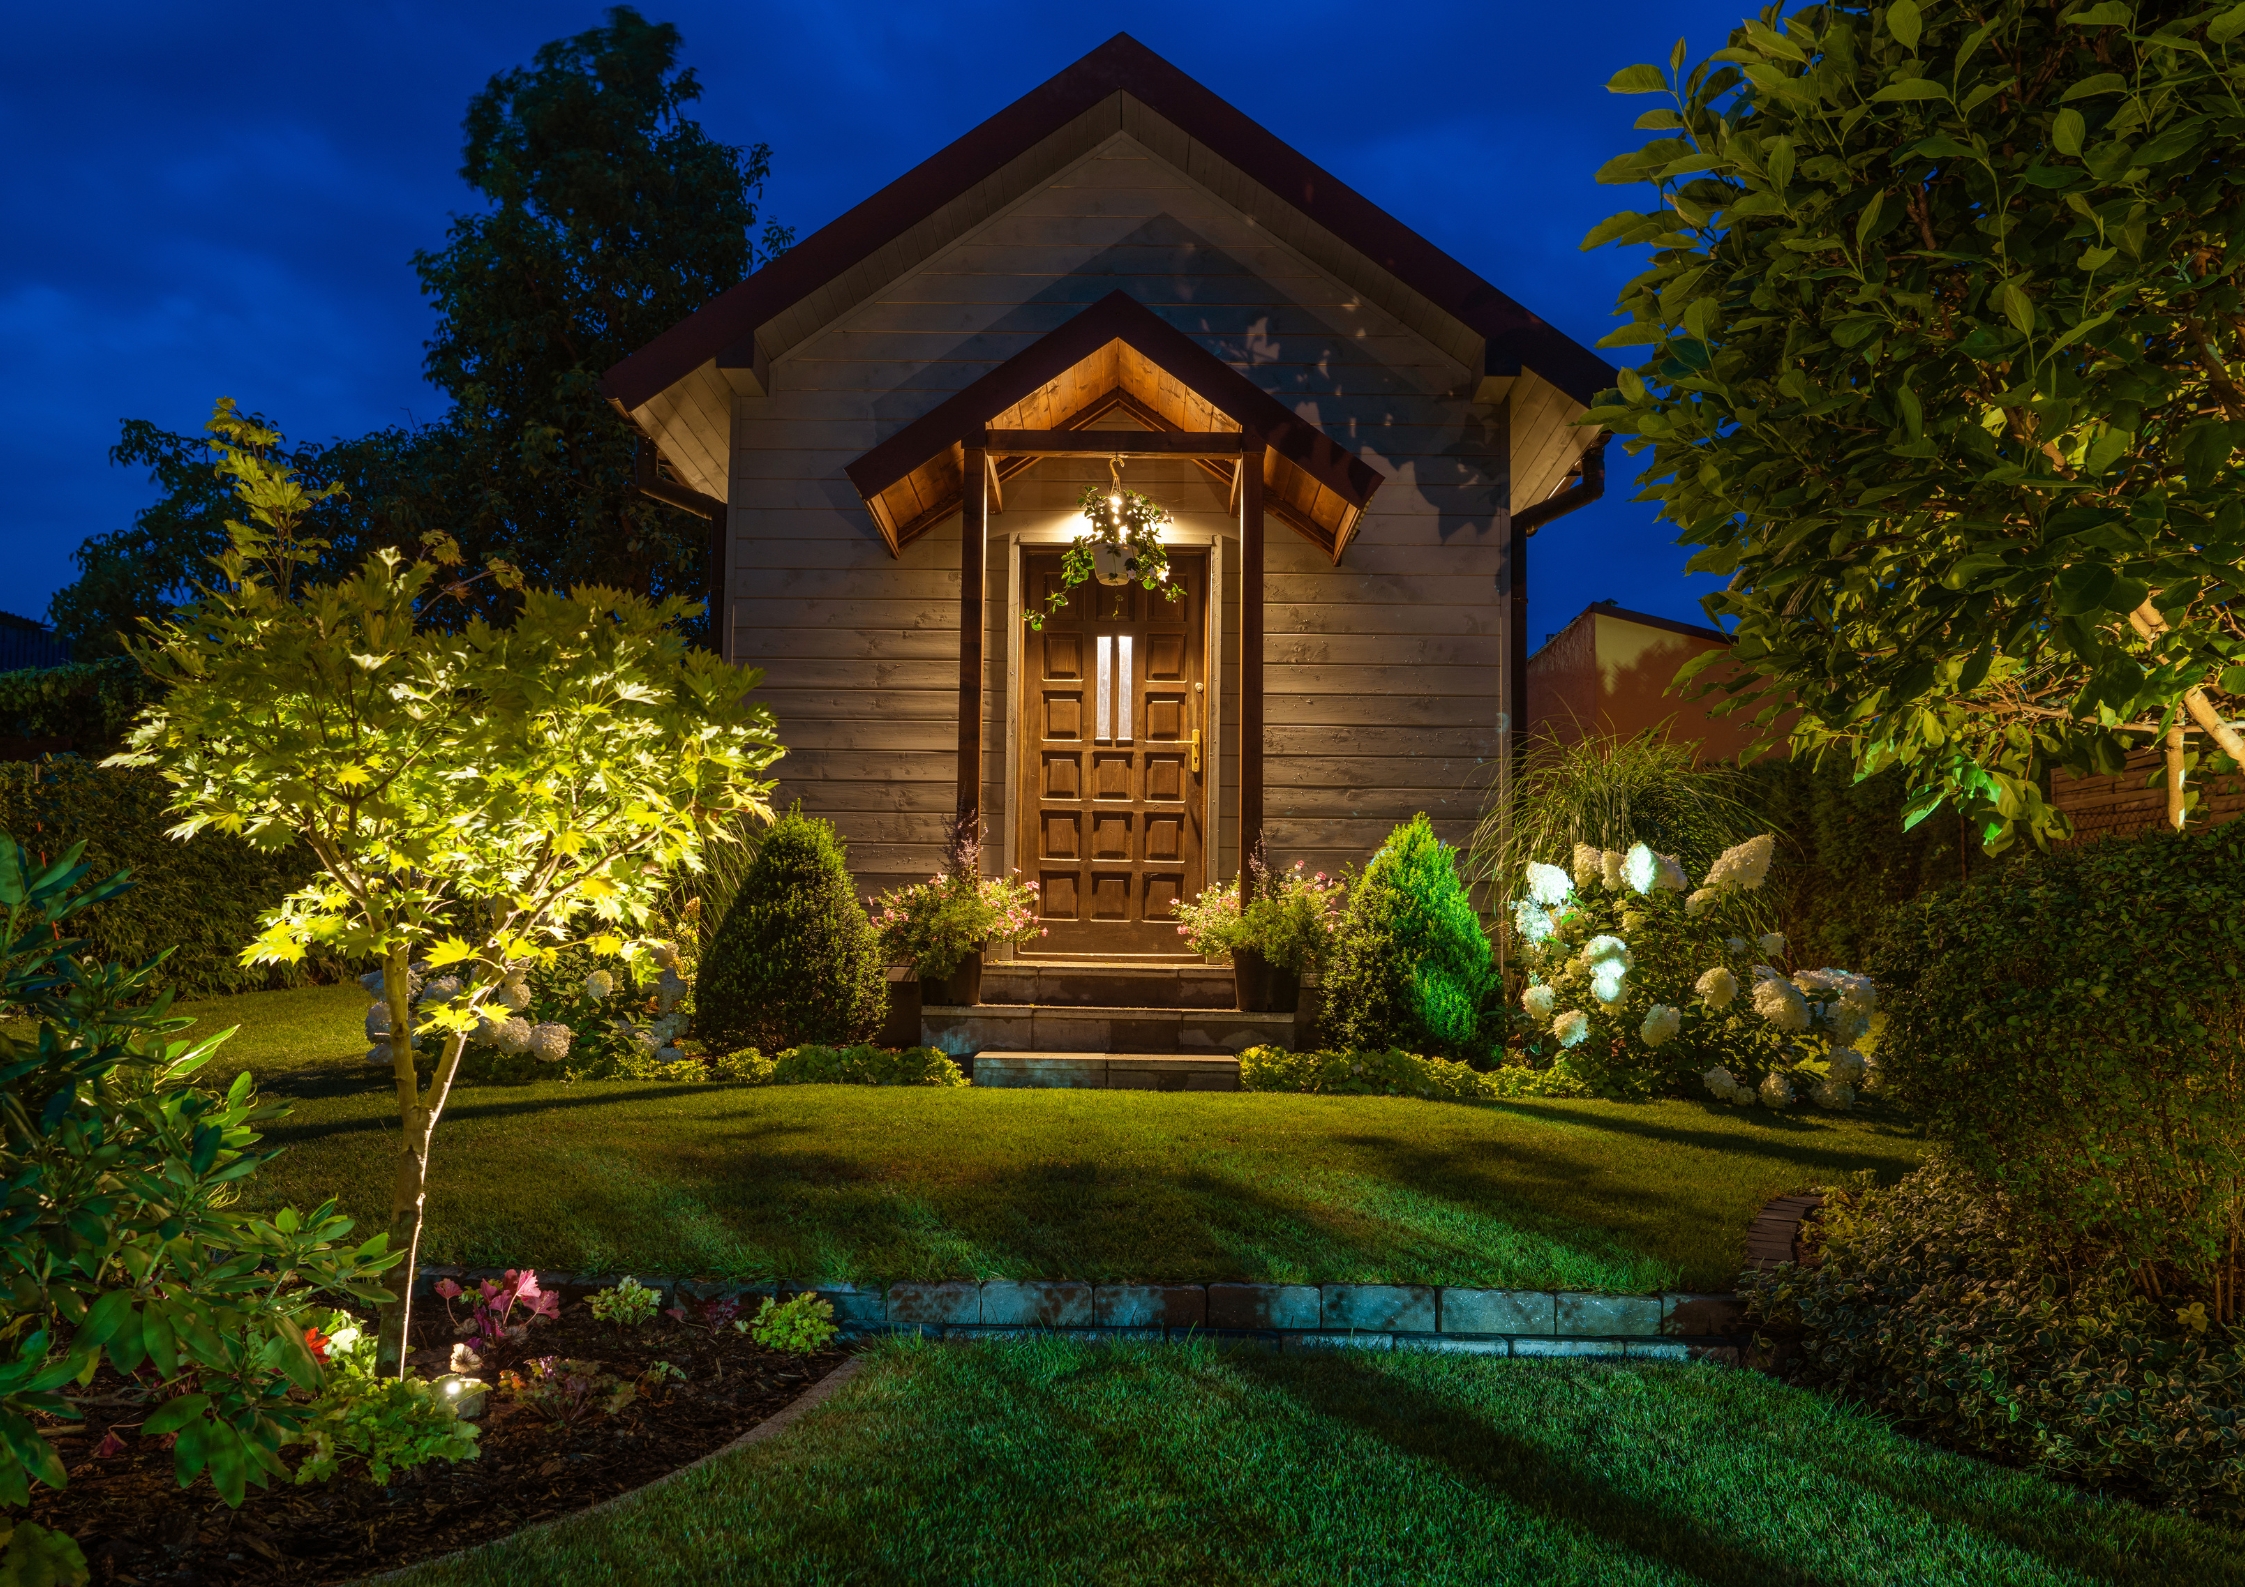
- Architectural Elements: Don’t forget about garden structures such as pergolas, arbors, and statues. Lighting these elements can add a focal point and enhance the overall design.
Determine the Lighting Effect You Want to Create
Next, think about the effect you want to achieve with your garden lights. Are you aiming for a subtle, ambient glow that creates a relaxing atmosphere, or do you prefer brighter, more functional lighting for activities and safety?
- Accent Lighting: For a subtle effect, use accent lights to highlight specific features without overpowering the garden. These lights are perfect for creating a serene, peaceful atmosphere.
- Task Lighting: If you need functional illumination for activities like gardening or outdoor dining, choose brighter lights that provide sufficient visibility.
- Ambient Lighting: Combine different types of lights to create a balanced ambient glow. This approach can make your garden feel more inviting and comfortable for evening gatherings.
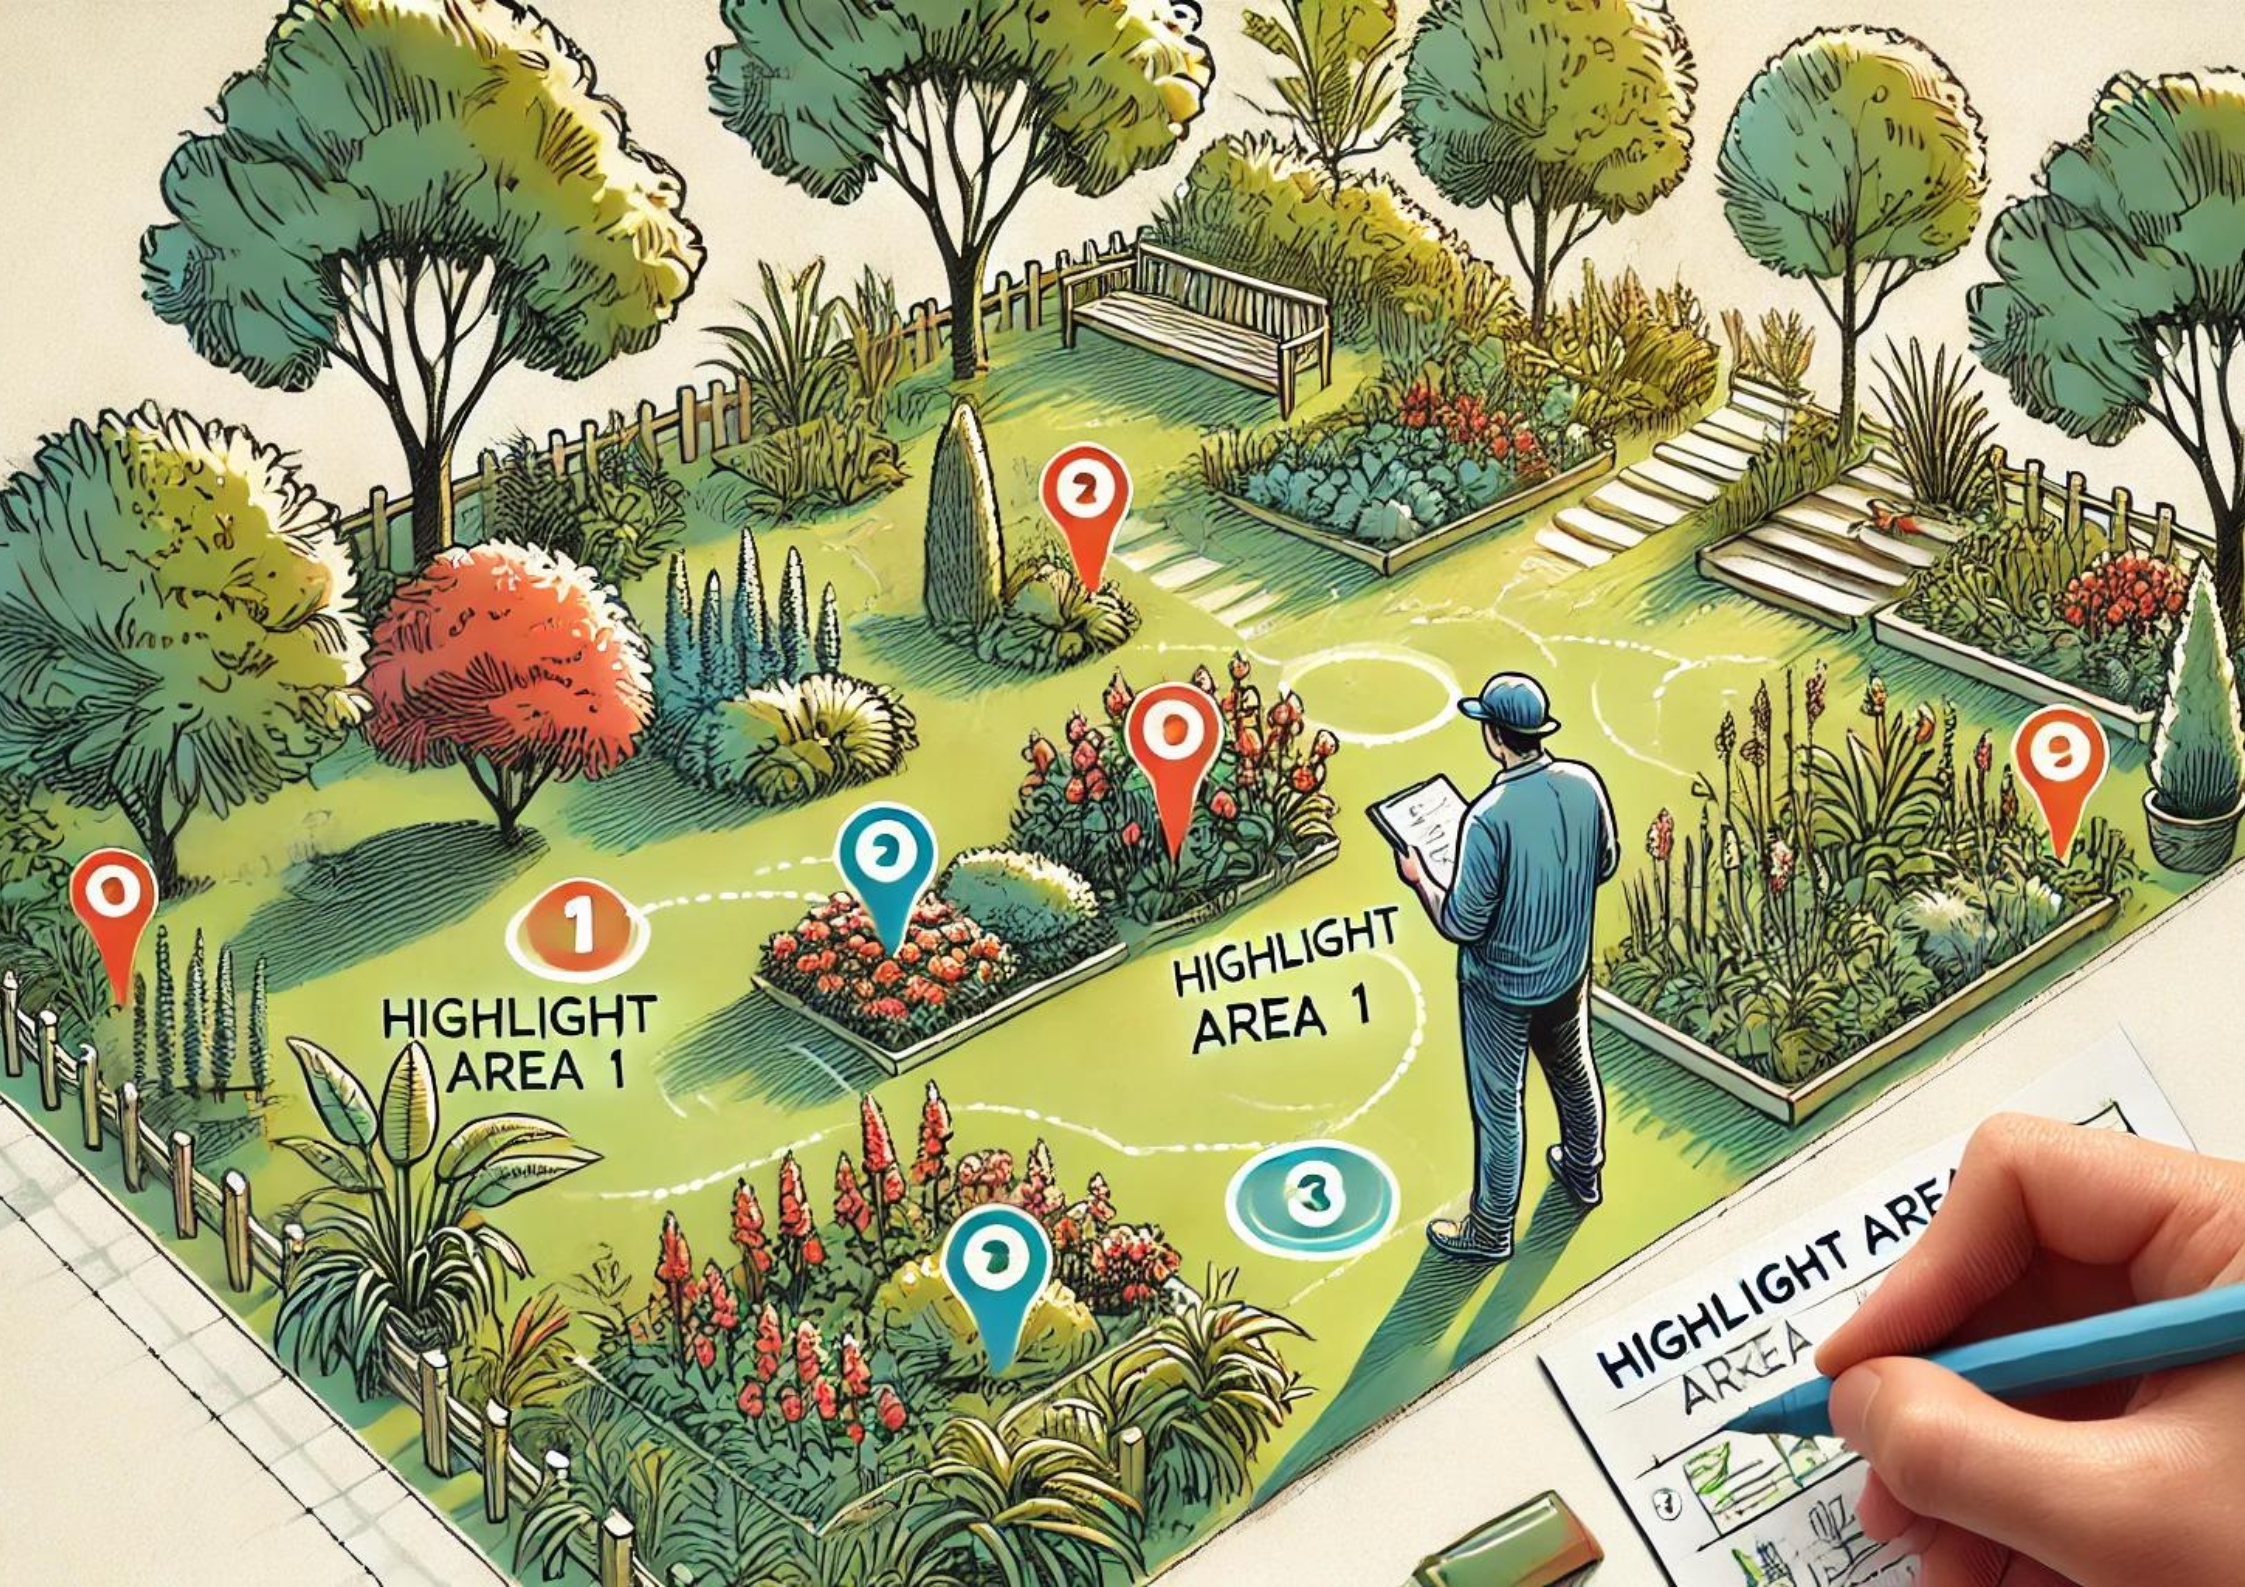
Sketch a Rough Plan
Once you’ve identified the key areas and determined the desired lighting effect, it’s time to sketch out a rough plan. This doesn’t have to be an elaborate drawing—a simple sketch on paper will do. Mark the locations where you intend to place each light. Here are some tips for your sketch:
- Spacing: Consider the spacing of your lights. For pathways, lights should generally be placed 6 to 8 feet apart. For accent lights, the distance will depend on the size of the feature you’re highlighting.
- Height: Think about the height at which the lights will be installed. Ground-level lights work well for pathways and flower beds, while uplights are better for trees and larger structures.
- Angles: Note the angles at which the lights will shine. Angling lights upward can create dramatic effects, while downward angles are better for task lighting and safety.
Consider Power Sources
When planning your garden light installation layout, consider the power sources for your lights – solar lights need adequate sunlight, while low-voltage lights require planning for cable routes and transformer location near a power outlet or with an electrician’s help.
Visualize the Final Result
Take a step back and visualize the final result. Imagine walking through your garden at night with the lights on. Does the layout enhance the beauty of your garden? Are there any dark spots or areas that seem over-lit? Adjust your garden light installation plan as needed to achieve a balanced, cohesive look.
Get Feedback
If possible, get feedback from family or friends who are familiar with your garden. They might offer valuable insights or suggestions that you hadn’t considered. A fresh perspective can help you refine your layout and ensure it meets your expectations.
By taking the time to plan your garden light installation layout, you’ll set yourself up for a successful installation that enhances the beauty and functionality of your outdoor space.
Choosing the Right Type of Garden Lights
When it comes to garden lighting, the options can be overwhelming. But don’t worry; finding the right type of garden lights can be fun and straightforward once you understand what each type offers. The key is to match your lighting choice to the style of your garden and your specific needs.
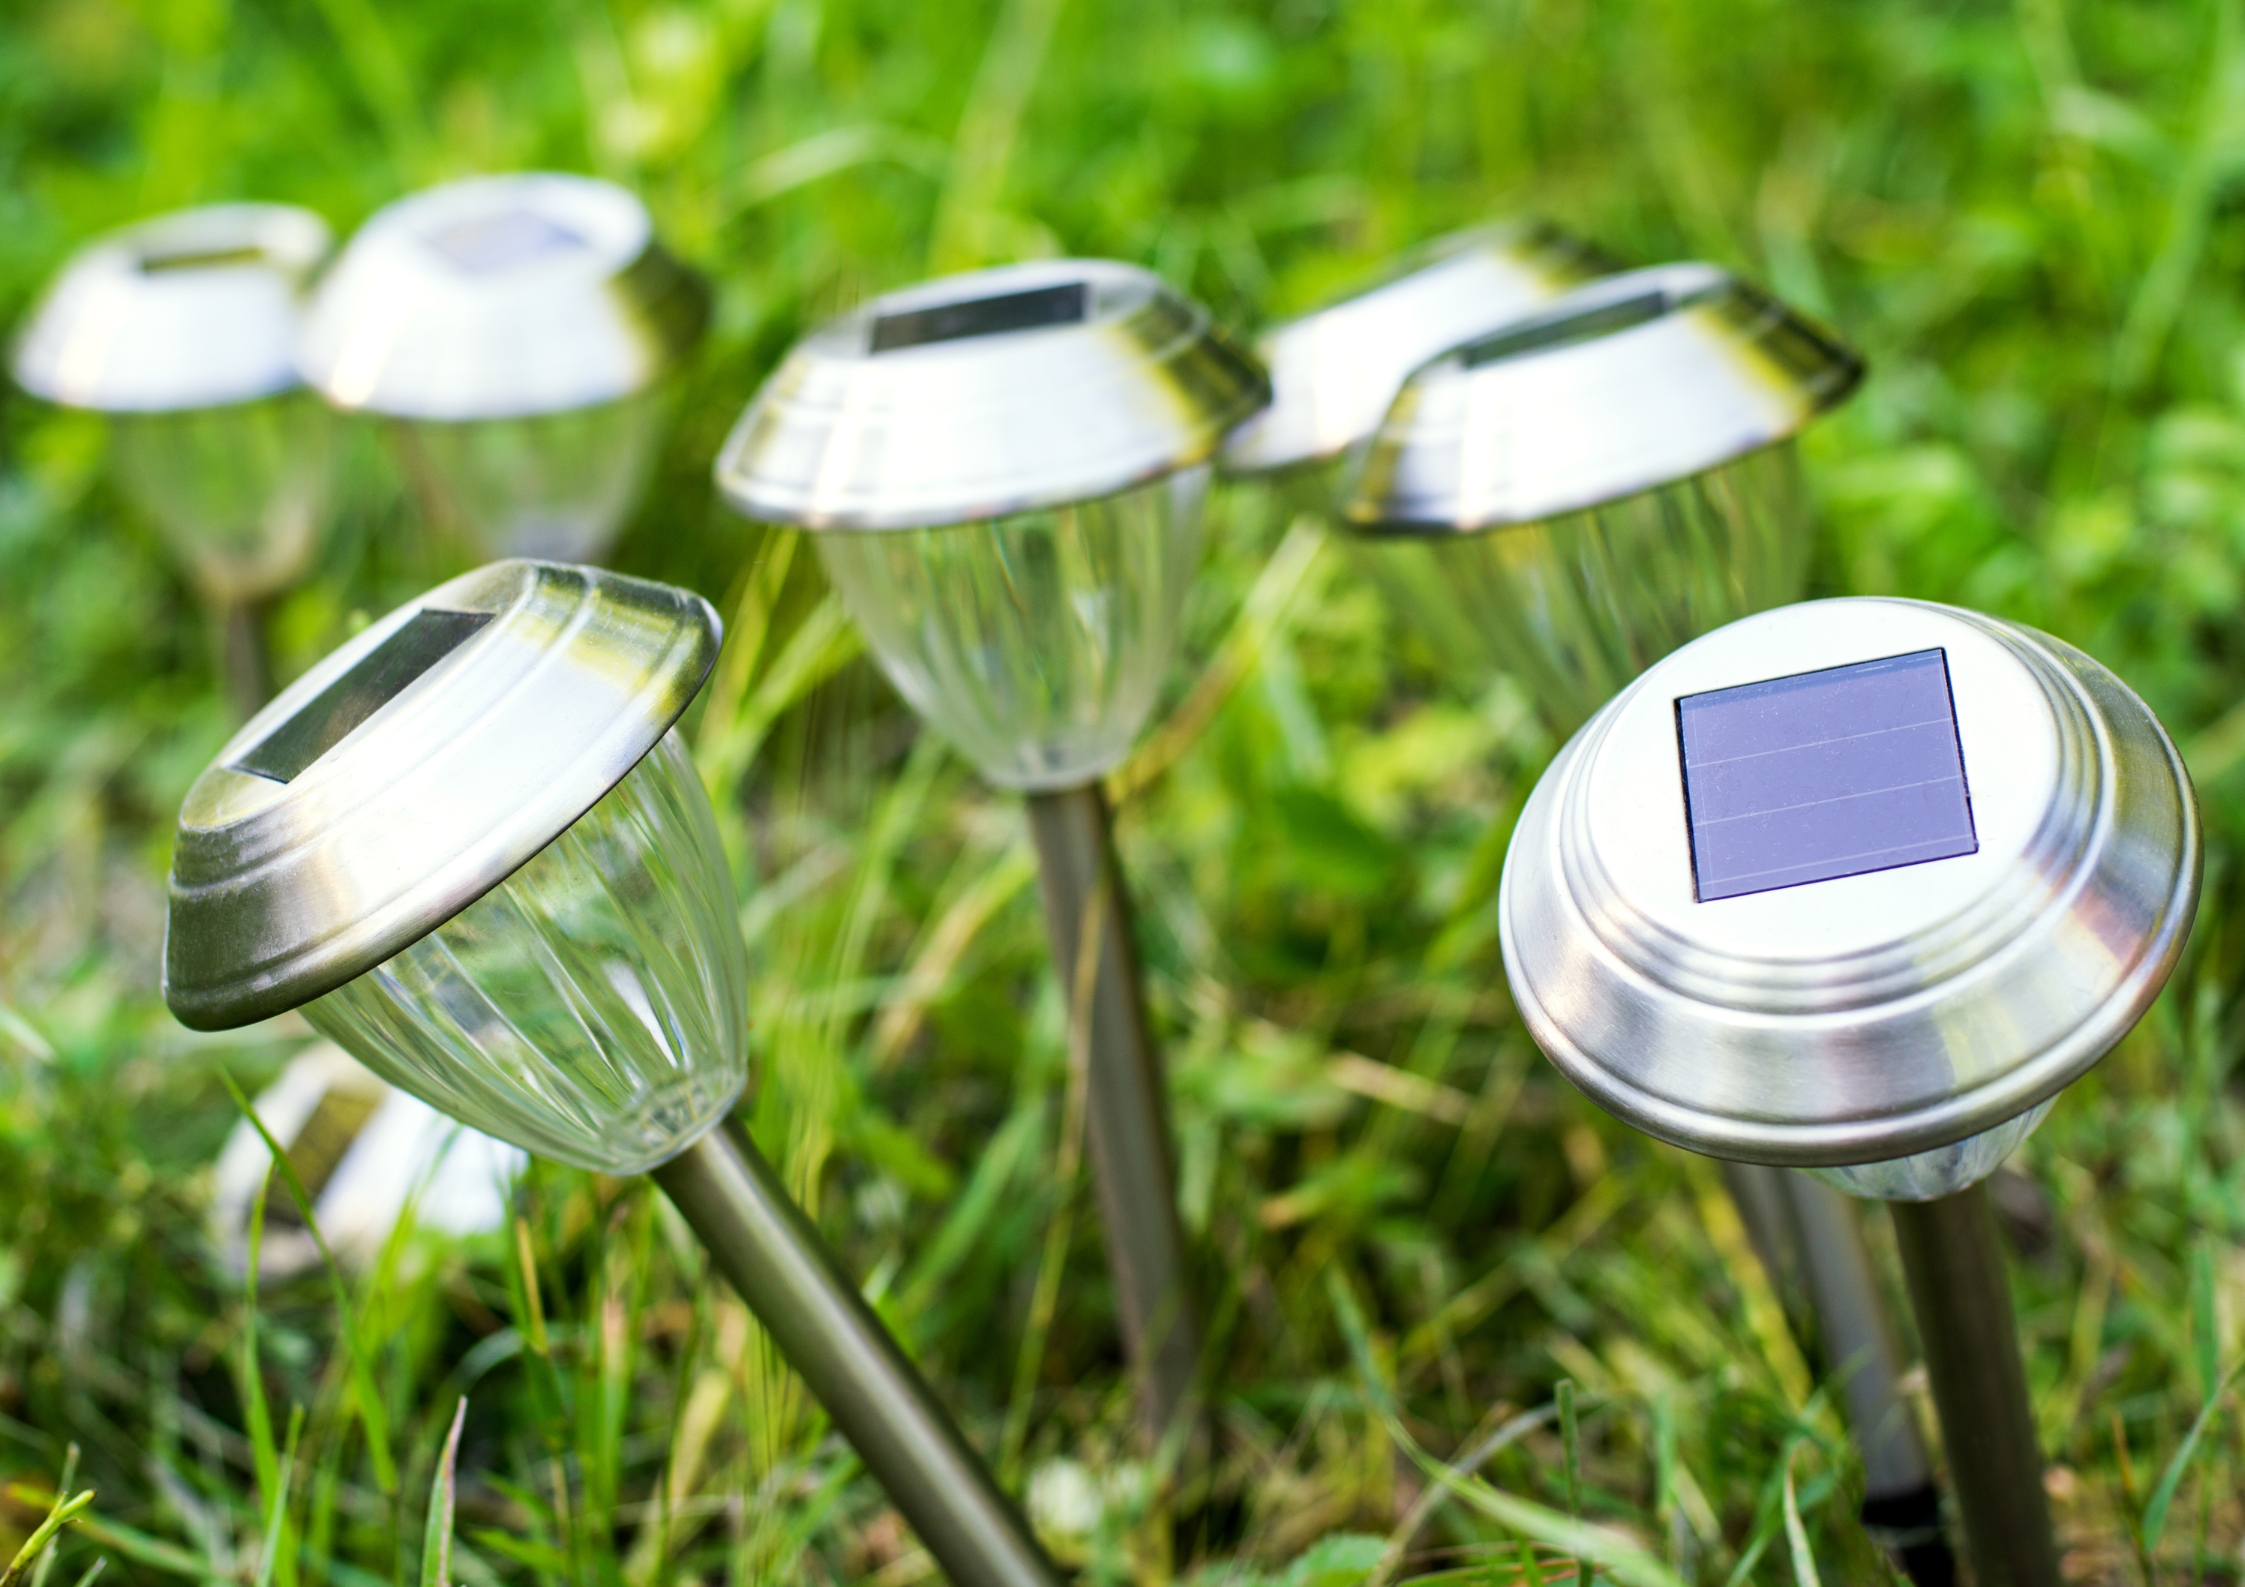
- Solar Lights
- Solar lights are a great eco-friendly option for garden lighting, harnessing sun energy for easy installation without wiring.
- Perfect for pathways and borders, they may be less bright on cloudy days or shady spots but newer models have improved battery storage and efficiency due to advancements in solar technology.
- Low-Voltage Lights
- Low-voltage lights are a reliable and bright option for consistent illumination in gardens.
- They run on a transformer for energy efficiency and are ideal for highlighting features like trees and statues.
- Installation involves running cables and connecting to a transformer, but the effort pays off with their flexibility in brightness and positioning.
- Spotlights
- Spotlights enhance your garden by focusing light on architectural features, trees, or plants.
- Options include solar or low-voltage lights.
- They add depth and beauty, creating shadows and silhouettes at night.
- String Lights
- String lights add charm and ambiance to gardens with their versatile styles that can be hung on trees, fences, or patios.
- Whether using fairy lights or Edison bulbs, they create a festive atmosphere for outdoor gatherings.
- Solar-powered or plugged in, they bring a touch of magic to any outdoor space.
Choose garden lights to match your garden’s style and needs for security or ambiance. Consider lighting areas carefully and how lights will impact plants and structures. Plan thoughtfully and choose lights that suit your garden and personal tastes for a well-lit and welcoming outdoor area.
Tools and Materials Needed
Gather all necessary tools and materials before you start your installation. Depending on the type of lights you’re installing, you may need:
- Garden lights (solar or low-voltage)
- Transformer (for low-voltage lights)
- Cable connectors
- Shovel or trowel
- Tape measure
- Screwdriver
- Wire strippers
- Electrical tape
Step-by-Step Guide to Garden Light Installation
Start by checking the packaging of your garden light installation for any specific instructions. This may sound obvious, but many people skip this step, thinking they already know what to do.
Each light set can have unique features or requirements that you need to follow for optimal performance. Carefully read through the manual to familiarize yourself with the parts and any specific cautions.
Next, lay out all your lights and equipment. This might include the lights themselves, stakes, cables, connectors, a transformer for low-voltage lights, and any tools you will need. Ensure everything is in good working order before you start.
Nothing is more frustrating than getting halfway through your garden light installation project and realizing you are missing a critical component or that a light doesn’t work. Check each light by powering it up to confirm it functions properly.
Installing Solar Garden Lights
Solar garden lights are probably the easiest to install. First, choose locations that receive ample sunlight during the day. This is crucial because solar lights rely on sunlight to charge their batteries, which power them at night. Shady spots will result in dim lights or lights that don’t last through the evening.
Position the lights according to your layout plan. Push the stakes into the ground firmly to ensure they are secure. You might need a small shovel or trowel if the ground is hard. Make sure the solar panel on each light is oriented to receive maximum sunlight. If the panel is adjustable, tilt it to the optimal angle.

Installing Low-Voltage Garden Lights
Low-voltage garden light installation is a bit more involved but provide consistent and bright lighting. Start by placing the lights in their planned positions. For best results, avoid placing lights too close together or too far apart. A distance of 6-8 feet between lights is typically ideal for even illumination.
Now, dig shallow trenches for the cables. These should be deep enough to bury the cables and protect them from damage, but not so deep that it becomes a major excavation project. Plan the route carefully to avoid any obstacles like tree roots or existing landscaping.
Place the transformer near a power source. This could be an outdoor electrical outlet. Transformers convert your home’s standard 120-volt electricity to the low-voltage needed by your garden lights. Ensure the transformer is mounted in a safe location, protected from the elements.
Run the cables from the transformer to each light. Use waterproof connectors to join the cables to the lights. These connectors are crucial for preventing water from entering and causing electrical faults. Make sure each connection is tight and secure.
Plug the transformer into the power source and turn it on to test the lights. If any lights don’t turn on, check the connections and the bulbs. Once you’re satisfied that all lights are working correctly, bury the cables in the trenches. Cover them with soil and tamp it down to secure them in place.

Testing and Adjusting the Lights
After installing the lights, turn them on to confirm placement and brightness. Walk around the garden from various angles to assess the effect and adjust positions if needed. Securely fasten the lights and check solar panels or electrical connections for proper positioning and protection.
Regularly inspecting and adjusting your garden lights as needed will help maintain their performance and keep your garden looking its best. With a bit of planning and effort, you can create a magical garden space that you’ll enjoy night after night.
Common Mistakes to Avoid
Avoid these common mistakes to ensure a successful garden light installation:
- Placing lights too close together or too far apart
- Overloading the transformer with too many lights
- Not securing cables properly, leading to tripping hazards
- Installing lights in areas with insufficient sunlight (for solar lights)
- Ignoring maintenance needs
Maintenance Tips for Garden Lights
- Cleaning and Replacing Bulbs
- Regularly clean the lenses of your garden lights to ensure they shine brightly.
- Replace any burned-out bulbs promptly.
- For solar lights, clean the solar panels periodically to maintain efficiency.
- Checking Electrical Connections
- Inspect electrical connections periodically to ensure they remain secure and weatherproof.
- Tighten any loose connections and replace damaged cables or connectors.
Creative Ideas for Garden Lighting
- Using Lights for Different Garden Zones
- Create distinct zones in your garden using different lighting techniques.
- Use spotlights to highlight trees and shrubs, pathway lights to guide visitors, and ambient lights to create cozy seating areas.
- Combining various types of lights can add depth and interest to your garden.
- Seasonal and Event Lighting
- Change your garden lighting to match the seasons or special events.
- String lights are perfect for festive occasions, while colored lights can create a unique atmosphere.
- Experiment with different lighting arrangements to keep your garden looking fresh and exciting.
- Safety Considerations
- Always follow safety guidelines when installing garden lights.
- Use waterproof connectors and weather-resistant fixtures.
- Ensure all electrical components are properly insulated and grounded.
- If you’re unsure about any aspect of the installation, consult a professional electrician.
Conclusion
Garden light installation is a rewarding project that can transform your outdoor space. By following these easy steps and tips, you can create a beautifully lit garden that enhances your home’s aesthetics and safety.
Whether you opt for solar or low-voltage lights, careful planning and regular maintenance will ensure your garden remains a bright, inviting place throughout the year. Enjoy the magic of a well-lit garden and the countless evenings spent basking in its glow.
Frequently Asked Questions
- How many garden lights do I need?
- The number of lights you need depends on the size of your garden and the effect you want to create. Generally, placing lights 6-8 feet apart along pathways and around key features is a good starting point.
- Can I install garden lights myself, or should I hire a professional?
- Many garden lights, especially solar ones, are designed for easy DIY installation. However, if you’re installing low-voltage lights and are unsure about the electrical work, it’s best to hire a professional.
- How do I choose the right transformer for low-voltage garden lights?
- Choose a transformer with a wattage rating that exceeds the total wattage of all your lights. This ensures it can handle the load and allows for future expansions.
- What maintenance do garden lights require?
- Regular maintenance includes cleaning the lenses, checking and tightening connections, replacing bulbs, and inspecting for any damage. For solar lights, keep the solar panels clean and free from obstructions.
- Are solar or low-voltage garden lights better?
- Both have their advantages. Solar lights are eco-friendly and easy to install, but depend on sunlight. Low-voltage lights offer more consistent performance and brighter illumination but require more installation work and an electrical source.


