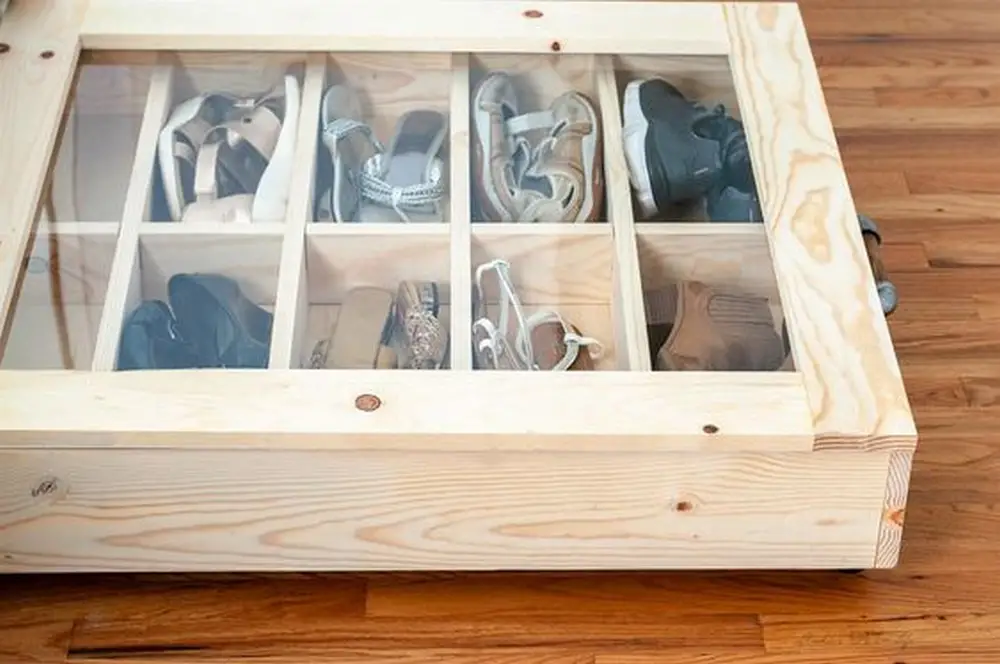
Dealing with limited space can be tough. The trick is to get creative and make use of every inch available — even those overlooked corners and gaps can be game changers. And think about swapping out large, bulky furniture for more compact alternatives. The less space your furniture takes up, the more room you have to breathe.
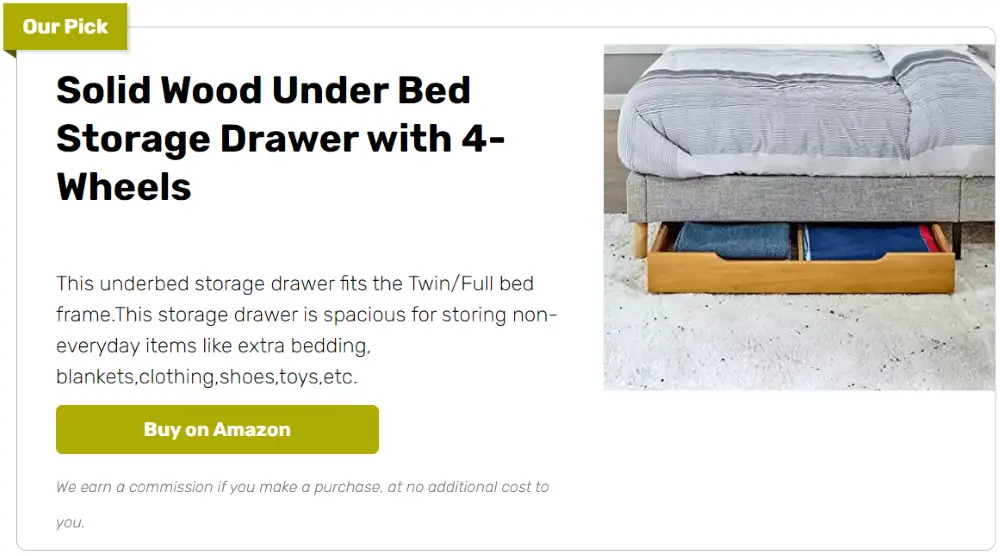
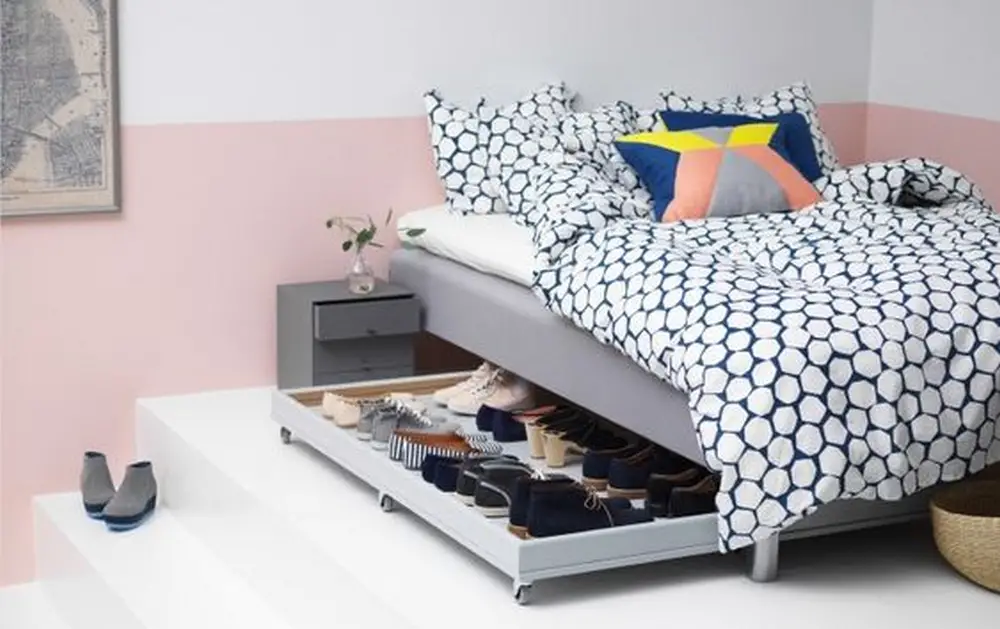
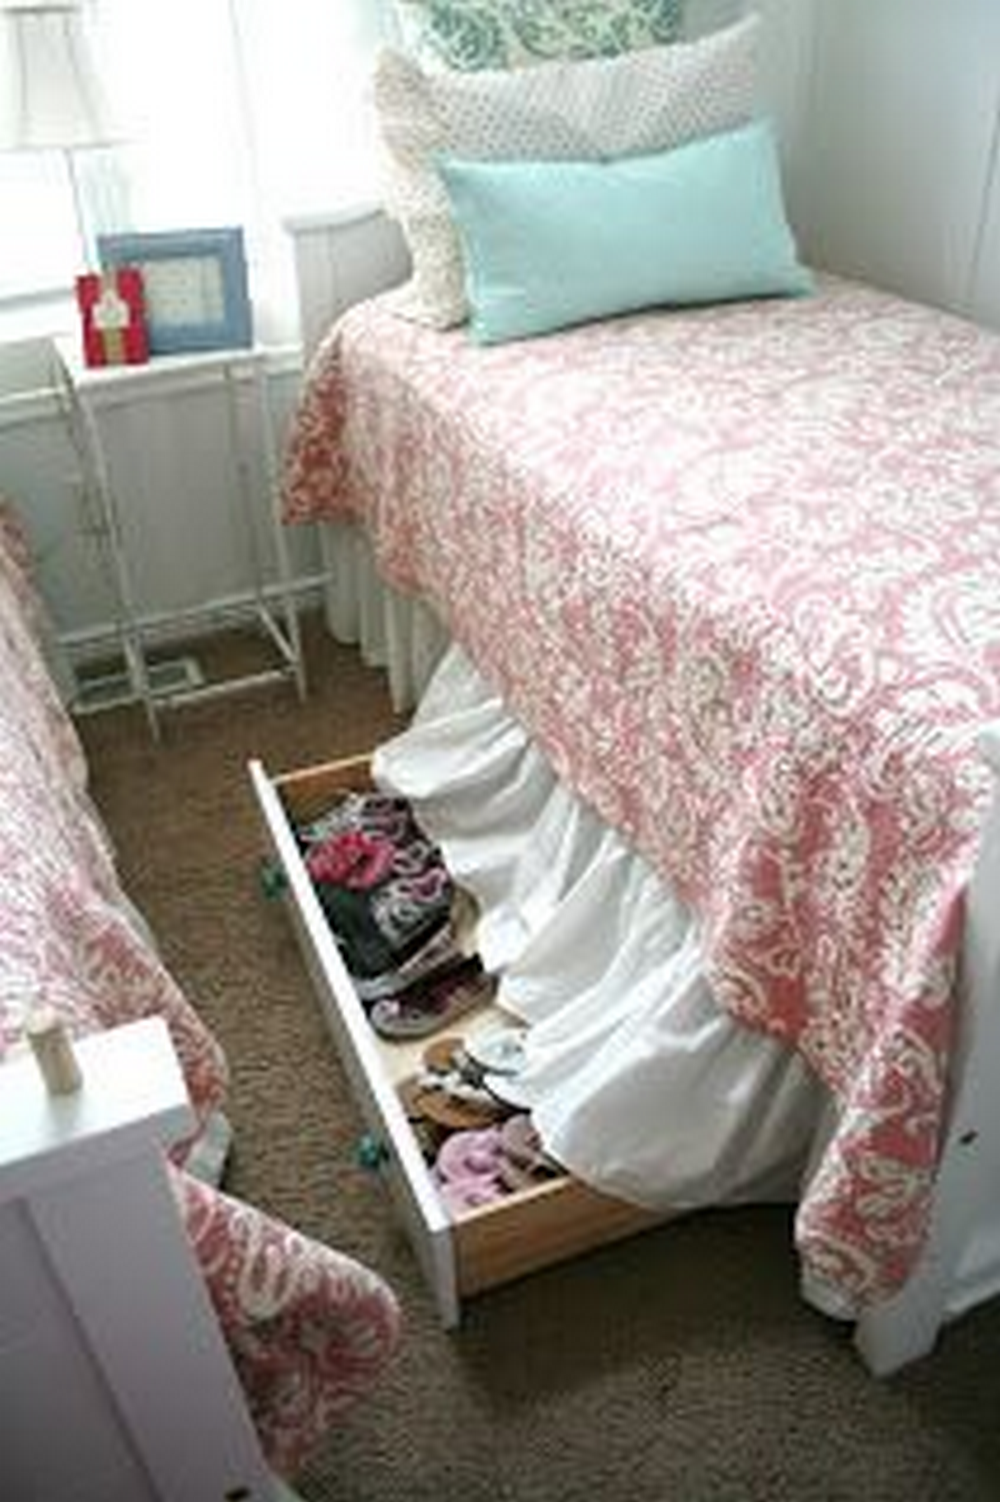
Take shoe storage as an example. Instead of a bulky shoe rack that eats up valuable floor space, consider an under bed shoe organizer. The area under your bed is often unused space just waiting to be utilized. Sliding an organizer under there keeps your shoes neatly tucked away and out of sight.
Plus, making a DIY under bed shoe organizer can be more cost-effective than buying one from the store. It’s a fantastic project, especially if you’re new to woodworking. You can tailor it to fit exactly the number of shoes you have. This not only saves you money but also adds a personal touch to your space.
Contents
Building an Under Bed Shoe Organizer
Materials
- Lumber
- Plexiglass shhet
- Lid-Stay Torsion Hinge Lid Support
- Wood glue
- ¾” Wood Screws
- 1 ¼” Pocket Hole Screws
- Pipe Metal Pull
Tools
- Kreg Pocket Hole Jig
- Miter Saw
- Right Angle Clamp
- Power Drill
- Circular Saw
- Jig Saw
- Rockwell Blade Runner X2
Instructions
Step 1: Design and Planning
- Measure the available space under your bed to determine the size of the shoe organizer.
- Sketch a basic design, including dimensions for each section of the organizer. Plan for compartments that will fit your shoe sizes and types.
Step 2: Cutting the Wood
- Use the miter saw to cut your lumber according to the measurements in your design. Ensure all pieces are cut to fit perfectly together.
- For the front panel, mark the size of the Plexiglass sheet on the wood and cut out a rectangle with the jigsaw.
Step 3: Assembling the Frame
- Assemble the frame of the shoe organizer using the Kreg Pocket Hole Jig to drill angled holes for the pocket screws.
- Secure the joints with 1 ¼” pocket hole screws and wood glue for additional stability.
Step 4: Adding the Compartments
- Cut additional lumber pieces to create dividers for the shoes. The number of compartments will depend on your specific storage needs.
- Attach the dividers to the frame using wood screws and glue.
Step 5: Installing the Plexiglass
- Place the Plexiglass sheet in the frame opening you cut earlier. Use the circular saw or Rockwell Blade Runner X2 for a precise cut if adjustments are needed.
- Secure the Plexiglass with wood screws spaced evenly around the perimeter.
Step 6: Attaching the Lid
- Attach the Lid-Stay Torsion Hinge Lid Support to the back of the frame and the top panel. This hinge will support the lid when open and keep it closed when not in use.
- Ensure the hinge is aligned correctly and operates smoothly.
Step 7: Finishing Touches
- Sand all surfaces of the wood to remove any rough edges or splinters.
- Apply a coat of paint or varnish to match your bedroom décor and protect the wood.
- Attach the Pipe Metal Pull to the front of the organizer for easy handling.
Step 8: Installation
- Carefully slide the organizer under your bed. Load it up with shoes and enjoy the new storage space.
Click on any image to start the lightbox display. Use your Esc key to close the lightbox.

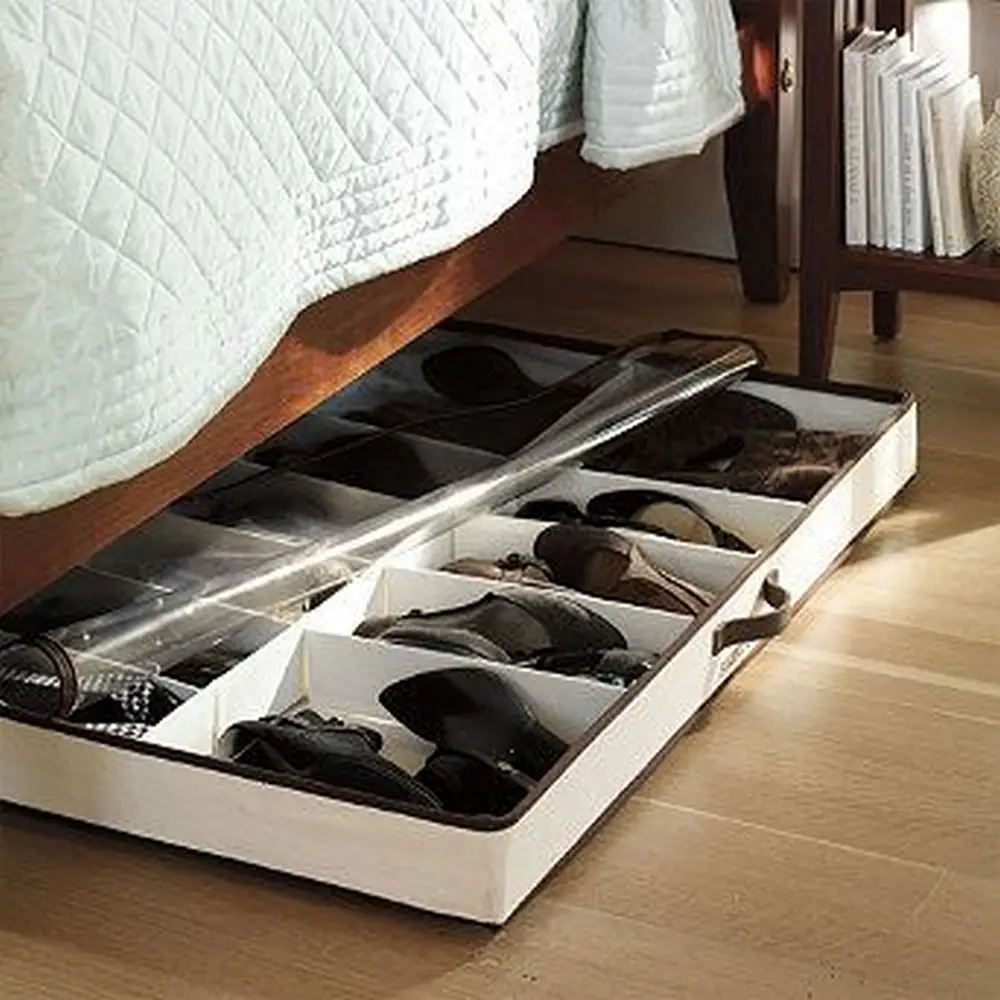
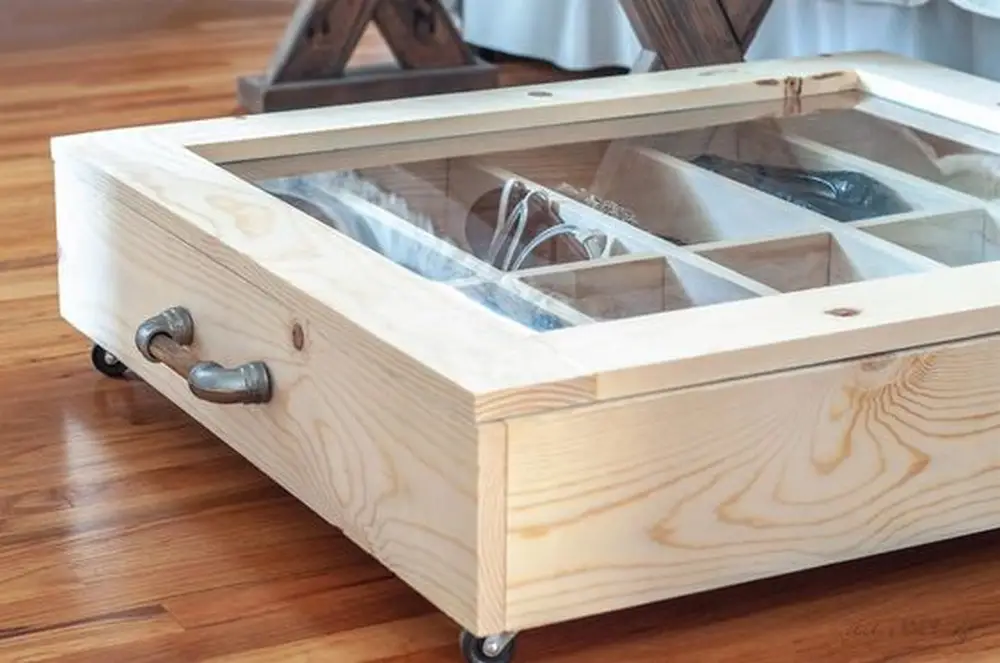
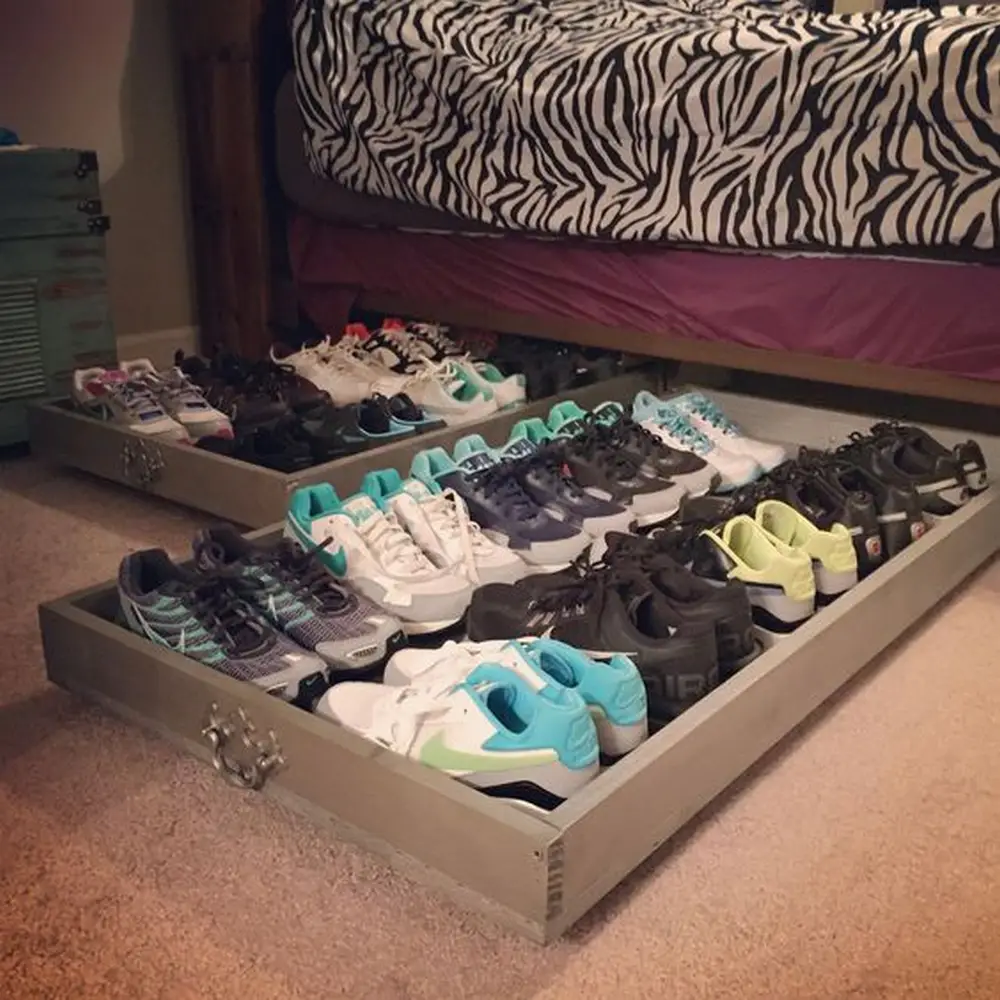
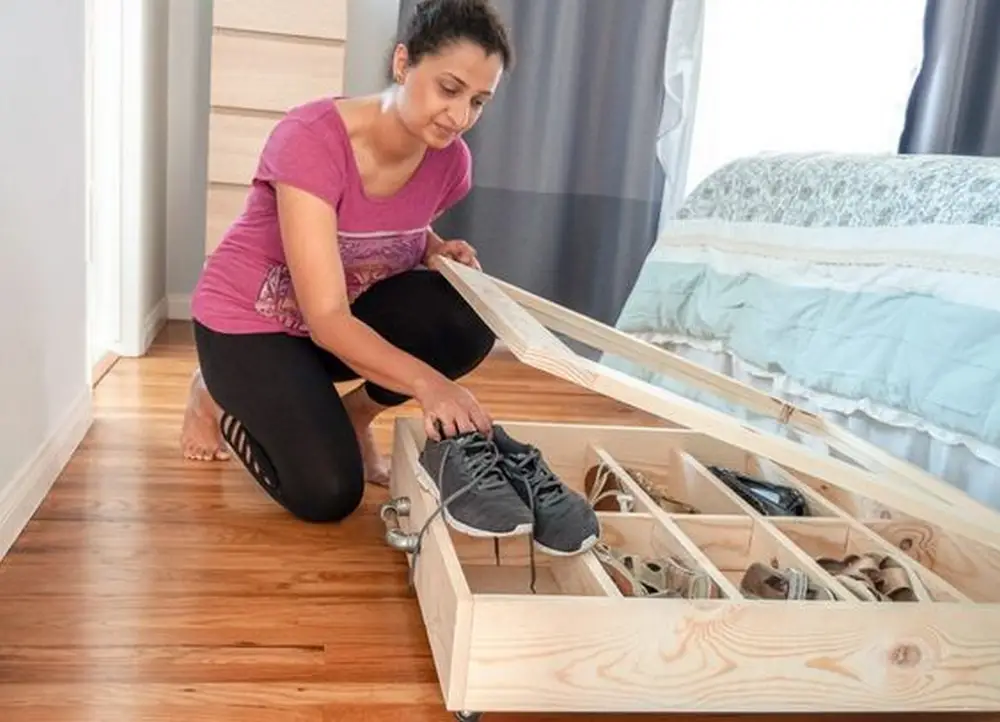
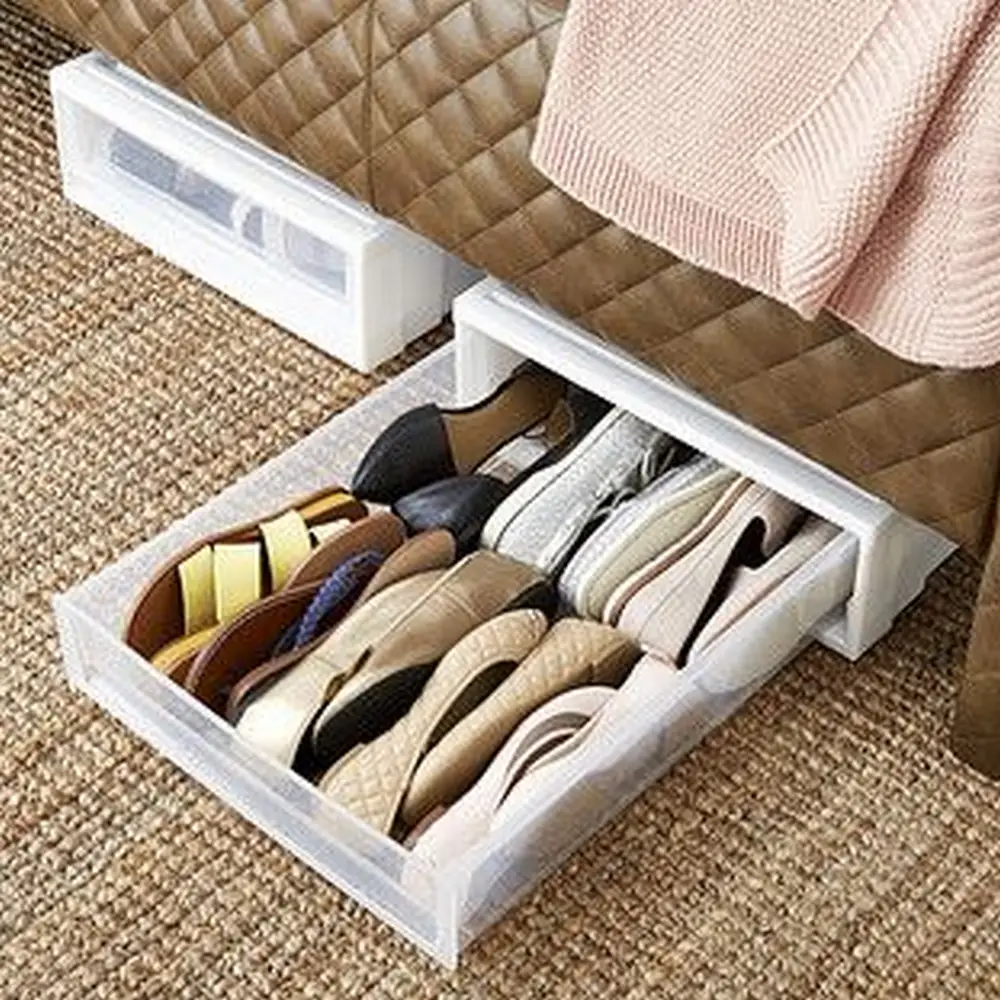


Below is a video guide for more assistance.
Design Options and Customization Tips
Creating an under bed shoe organizer not only helps you save space but also offers a chance to add a personal touch to your bedroom design.
Below are various design options and customization tips to help you tailor an underbed shoe organizer to your specific needs and aesthetic preferences.
Choose the Right Material
Wood: Wood is a popular choice for an underbed shoe organizer due to its durability and ease of customization. You can paint or stain it to match your bedroom furniture.
Fabric: For a lighter, more flexible organizer, consider using fabric. Fabric organizers can be designed with clear vinyl windows to easily view the contents.
Metal: A metal underbed shoe organizer is sturdy and offers a modern look. It can be painted in any color to fit your bedroom theme.
Design Variations
Single Drawer: A single large drawer can be easily pulled out to access shoes. This is a simple design that’s great for larger shoes or multiple pairs.
Multiple Compartments: Divide the underbed shoe organizer into multiple compartments to separate shoes by type or owner. This helps in organizing and retrieving shoes quickly.
Rolling Bins: Adding casters to your underbed shoe organizer can make it even more accessible and easy to move. This is perfect for heavy organizers or for beds that are low to the ground.
Custom Features
Adjustable Dividers: Incorporate adjustable dividers within your underbed shoe organizer. This allows you to change the size of the compartments as needed, accommodating different types of shoes from flats to boots.
Decorative Handles: Choose decorative handles for your underbed shoe organizer to enhance its appearance. Handles can be minimalist metal pulls, vintage knobs, or even custom fabric grips.
Transparent Lids: Consider using transparent lids or plexiglass tops for your underbed shoe organizer. This feature enables you to identify the contents easily without opening the organizer.
Finishing Touches
Paint and Finish: Choose a paint or finish that complements your bedroom decor. For a rustic look, you might leave the wood distressed; for a modern appeal, a sleek, glossy finish could work better.
Lining: Line the drawers of your underbed shoe organizer with felt or soft fabric to protect delicate shoes. This also adds a touch of luxury every time you open the organizer.
By considering these design options and customization tips, you can create an underbed shoe organizer that not only optimizes underutilized space but also enhances the overall aesthetic of your bedroom. Take your time to plan and execute your design to ensure that it meets all your storage needs and style preferences.
Benefits of Using an Under bed Shoe Organizer
Let’s look at the benefits of using an under bed shoe organizer, which can significantly improve the organization and functionality of your living space.
Space Saver
One of the biggest advantages of using an under bed shoe organizer is how much space you save. This organizer makes perfect use of the area beneath your bed, a spot often overlooked for storage. It’s especially useful in smaller living spaces where maximizing every inch is crucial. With shoes neatly stored away, you free up more space in your closet and reduce clutter.
Shoe Protection
Storing your shoes in an under bed shoe organizer helps keep them in better condition. This storage method protects your footwear from dust, sunlight, and wear from daily activities. Since the shoes are stored neatly and not piled on top of each other, they are less likely to get scuffed or misshapen.
Improved Organization
An under bed shoe organizer can dramatically enhance how you sort and store your shoes. You can organize them by type, season, or how often you wear them, making it quick and easy to find what you’re looking for. This organized approach can save you time, especially during those busy mornings when every minute counts.
Cleaner Living Space
Using an under bed shoe organizer helps keep your living areas clean and tidy. With shoes out of sight, your space looks more organized and inviting. This is particularly helpful in children’s rooms or smaller apartments, where maintaining a clean and open floor area can make the space feel bigger.
Versatile Use
While primarily used for shoes, an under bed shoe organizer is versatile enough to store other items like seasonal clothing, extra bedding, or even toys. This makes it a flexible storage solution that adapts to your needs, helping you to stay organized in more ways than one.
Incorporating an under bed shoe organizer into your home isn’t just a practical choice; it’s a smart way to enhance the overall look and feel of your rooms while keeping your belongings neatly organized.
Alternative Uses for Underbed Storage
While an under bed shoe organizer is primarily designed for storing shoes, its functionality extends far beyond footwear. This versatile storage solution can be repurposed in several creative ways to help you maximize space and organize your home more efficiently.
Seasonal Clothing Storage
An under bed shoe organizer is ideal for storing away seasonal clothing that you don’t need year-round. Instead of crowding your closet with heavy winter coats or summer dresses during the off-seasons, use the organizer to neatly pack and slide these items under your bed. This keeps your wardrobe manageable and season-appropriate without taking up extra closet space.
Extra Bedding
For homes with limited linen closets, an under bed shoe organizer offers a practical solution for storing extra bedding. Use it to keep spare sheets, blankets, and pillowcases clean and organized. This is particularly useful in guest rooms, where you might need to change beddings frequently but don’t have ample storage space in the immediate vicinity.
Children’s Toy Storage
Transform an under bed shoe organizer into a hidden storage spot for children’s toys. It’s an excellent way to keep play areas clean and toys out of sight when not in use. This can also make bedtime routines smoother, as toys can be quickly gathered up and stowed away under the bed, helping to clear the room and settle down for the night.
Utilizing an under bed shoe organizer for these alternative purposes not only helps declutter your home but also makes use of underutilized space, keeping your living areas neat and well-organized. Whether for shoes, clothes, bedding, or toys, an under bed shoe organizer can be a multipurpose solution that adapts to your storage needs.
Conclusion
Building an under bed shoe organizer is a practical project that enhances storage and organization in any home. It allows you to efficiently use the unused space under your bed, keeping footwear and other items neatly tucked away. With customizable options and straightforward construction, this organizer can be tailored to meet specific storage needs and aesthetic preferences.
We have more ways to save space. Check out our DIY corner shelf!


