Many gardeners dream of adding a greenhouse to their garden space – and for good reason. They are excellent for starting seeds and for extending the growing season in cold climates. But they are expensive, which is why many DIYers looking for alternatives that demand less from their bank accounts.
This project is one such alternative.
If you think building one from old windows won’t look as attractive and be as functional as a ‘regular’ one? Well, this project just might change your mind!
Building your own using reclaimed windows is definitely a great way to lessen project expenses, but usually at the expense of aesthetics. Sometimes, it doesn’t even serve its purpose well!
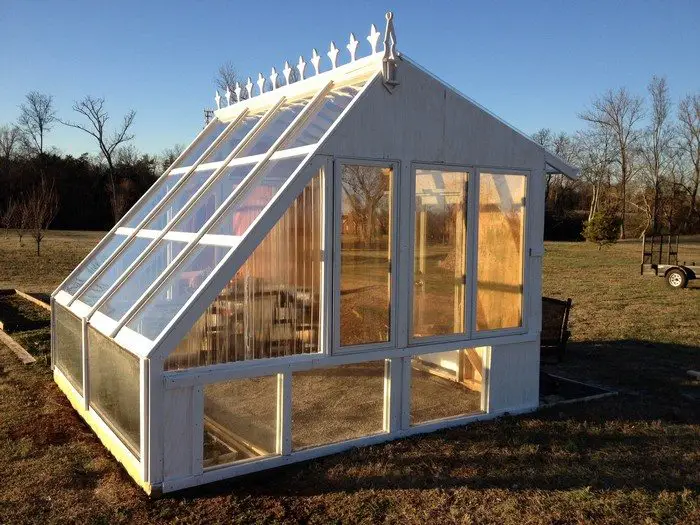
This project however proves that with the right and enough planning, your greenhouse made from old windows can be as gorgeous and good as a ‘new’ one. So if you are particular with aesthetics and function, this DIY project is for you!
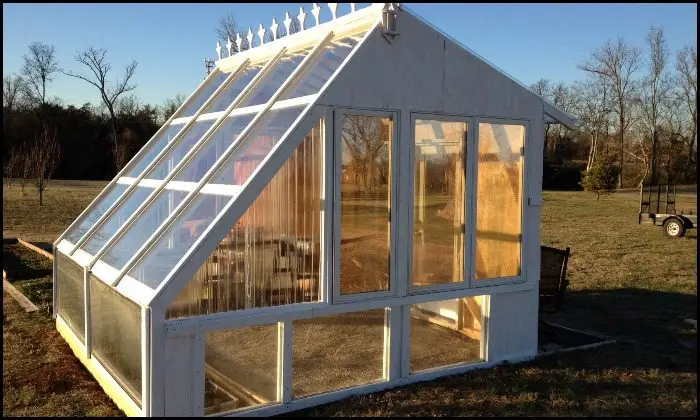
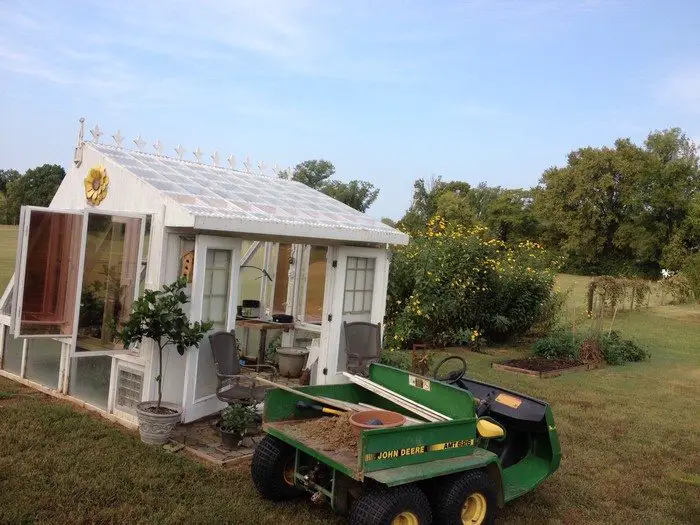
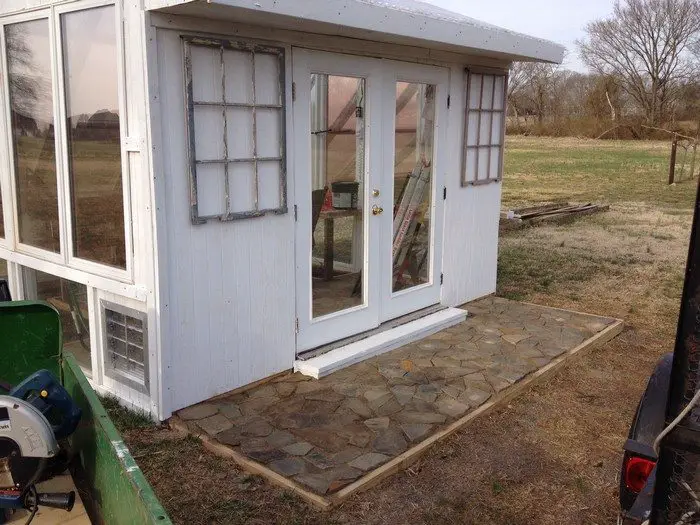
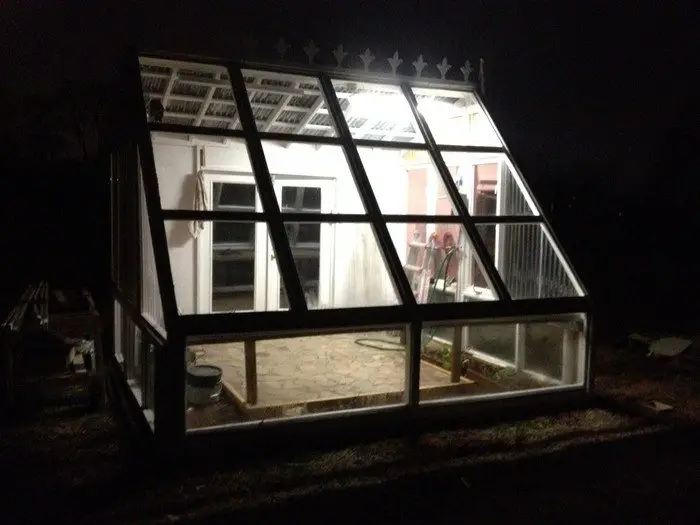
This one measures 12′ x 12′ and is 12′ tall at the highest point. Designed to catch as much of the sun’s heating during winter and less during summer, it definitely does a great job of helping you grow your own produce.

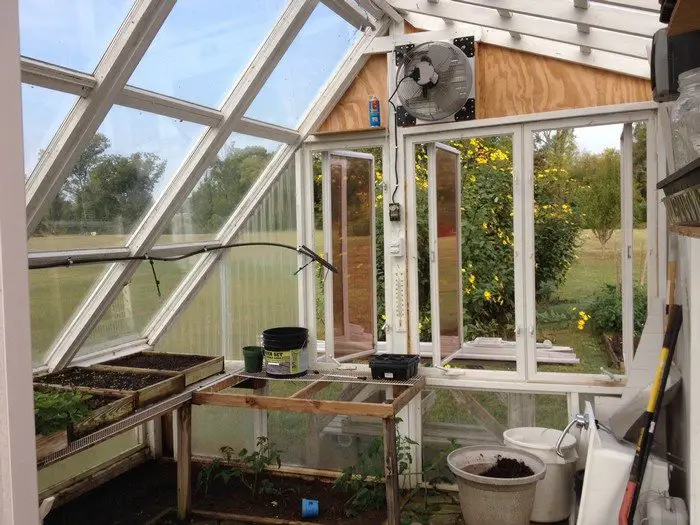
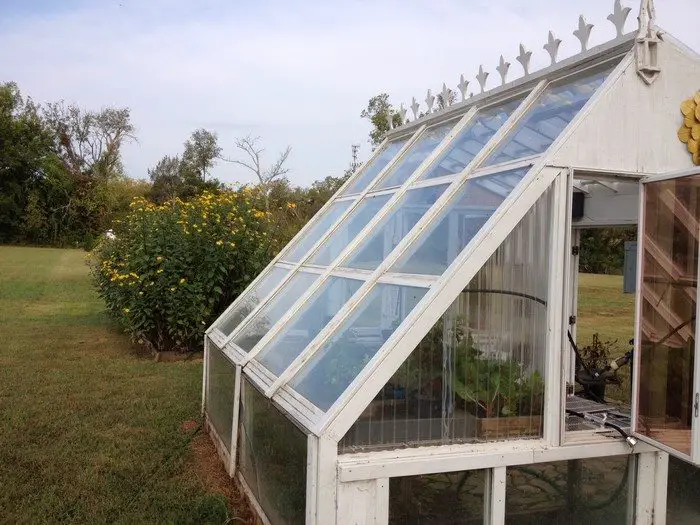
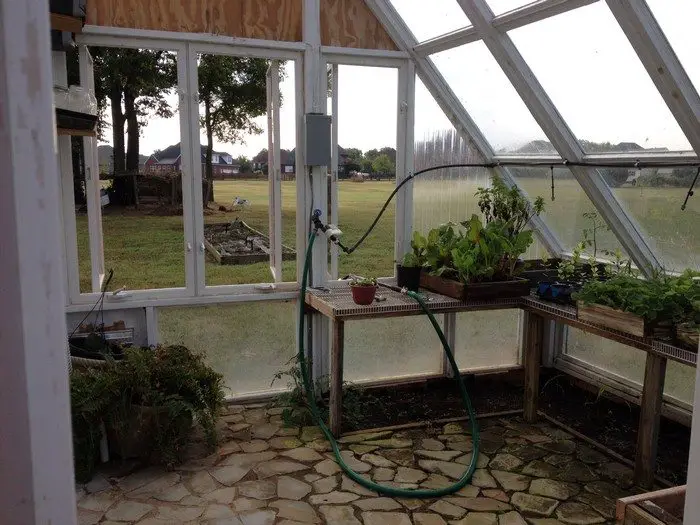
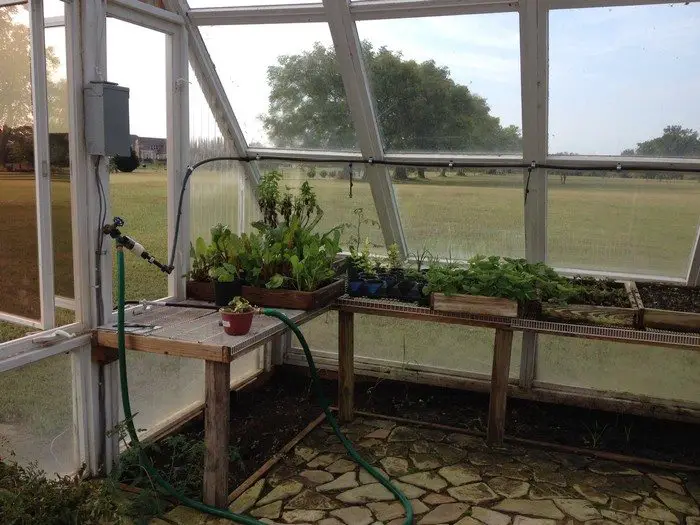
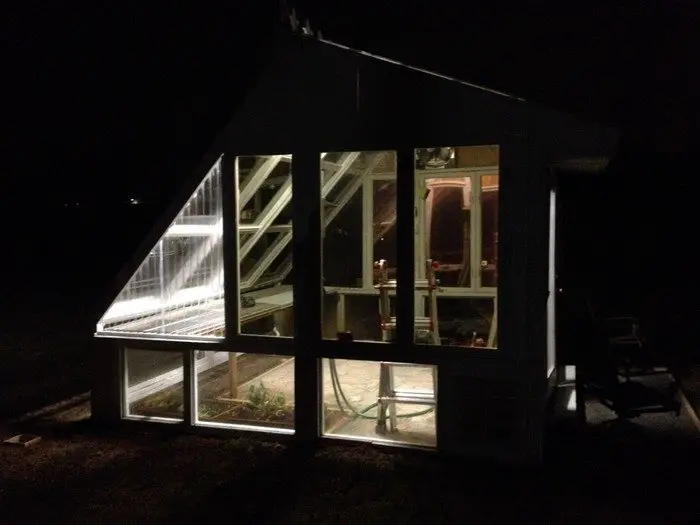
It has a 45-degree angled front window wall, polycarbonate ceiling, crank-operated east, and west windows, and flagstone flooring – all to provide suitable temperatures for your plants throughout the year. It is also equipped with a fan, a vent, and an electric heater for the colder months. To provide the air with enough humidity, an irrigation system was also installed.
Indeed, it is not just beautifully built – it is also properly designed for function!
Feeling inspired? Then start gathering reclaimed windows and build this greenhouse!
Click on any image to start the lightbox display. Use your Esc key to close the lightbox.![]()


You can get step-by-step instructions from Kirklewellen over here…


