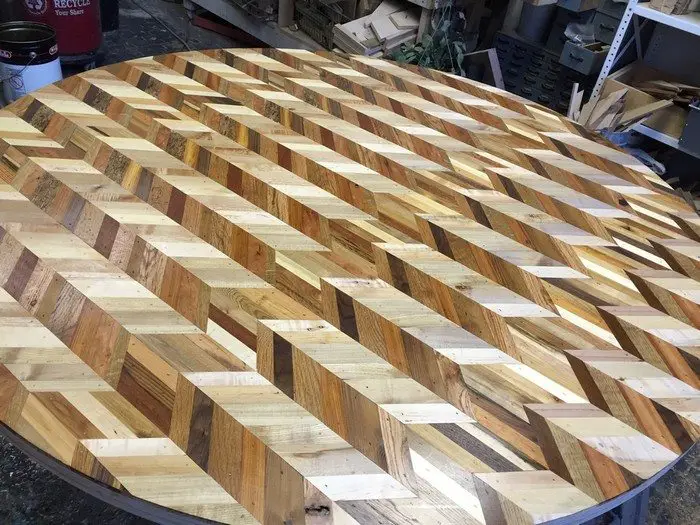
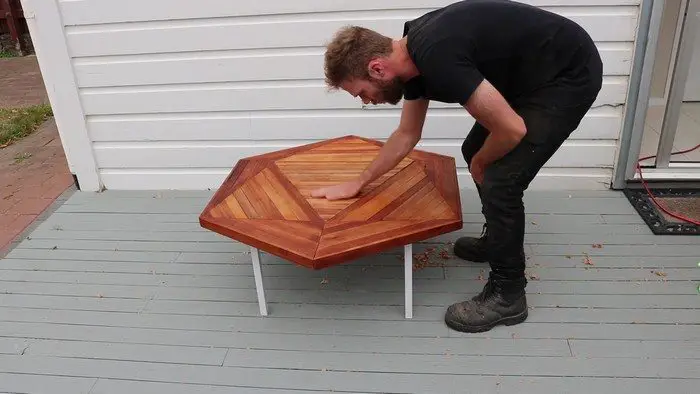
There’s something about geometric shapes and designs that draw some people to them. Its hypnotic repetitive pattern in furniture makes them a popular design preference. If you’re fond of them, then this is one DIY table for you!
This beautiful furniture project uses reclaimed wood. Despite its exact geometric pattern, it’s simple and easy to make given the proper tools.
You can build it if you need a coffee table, an end table, or an outdoor table for your porch or patio. It would also make a great gift idea for friends and family!
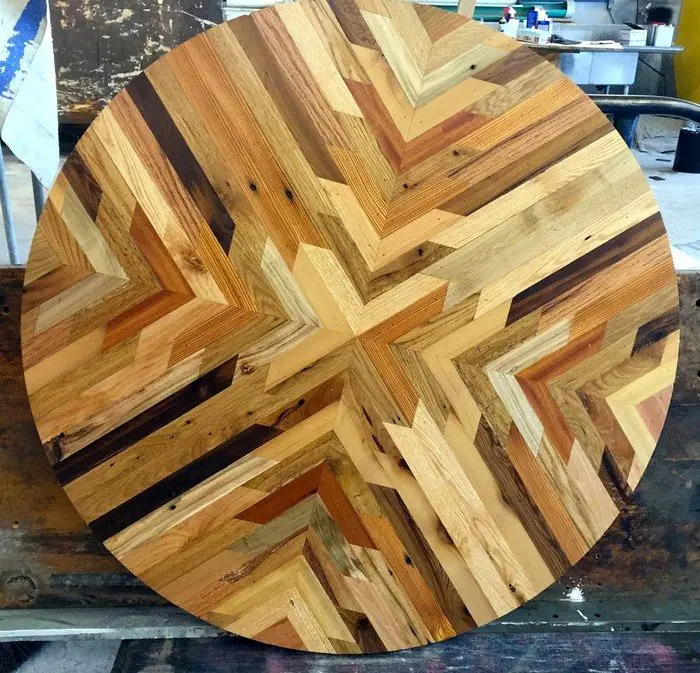
Be inspired to DIY an icosahedron table by having a look at our album – it includes other similar table design ideas which you can also get inspiration from, too!
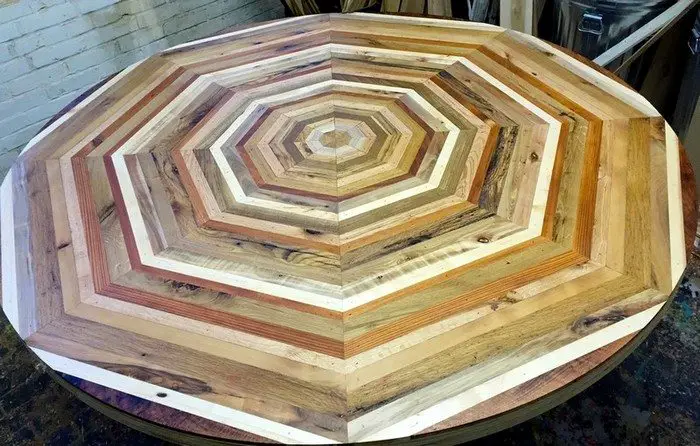
Is this going to be your next weekend project?
Click on any image to start lightbox display. Use your Esc key to close the lightbox. ?


Materials:
- Reclaimed Wood
- Table Legs of choice
- 6mm MDF Board
- 12mm Plywood
- Wood Glue
- Wood Screw and Nails
- Danish Oil
Tools:
- Ruler and Pencil
- Random Orbital Sander
- Circular Saw
- Trim Router (or Jigsaw)
- Hot Glue Gun
- Paintbrush
- Cordless Drill
Steps:
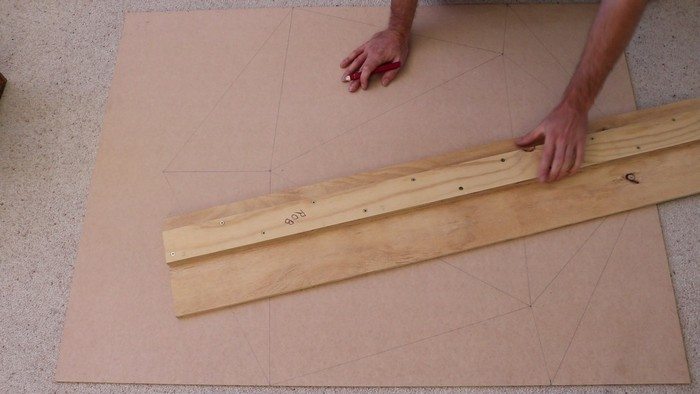
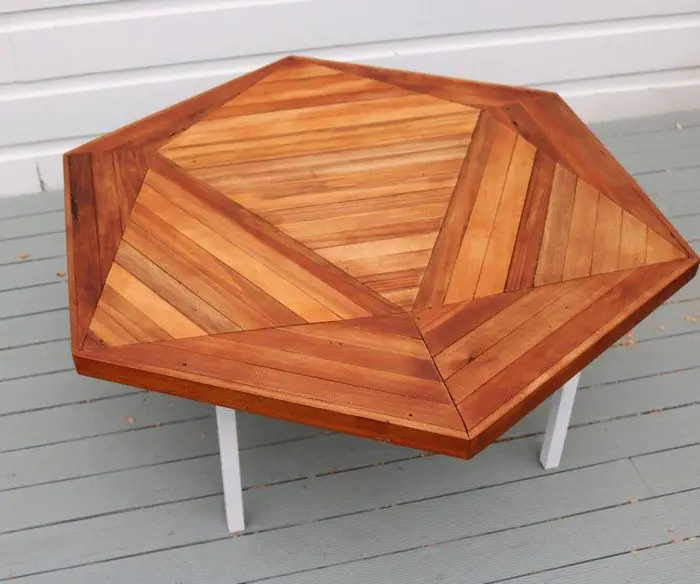
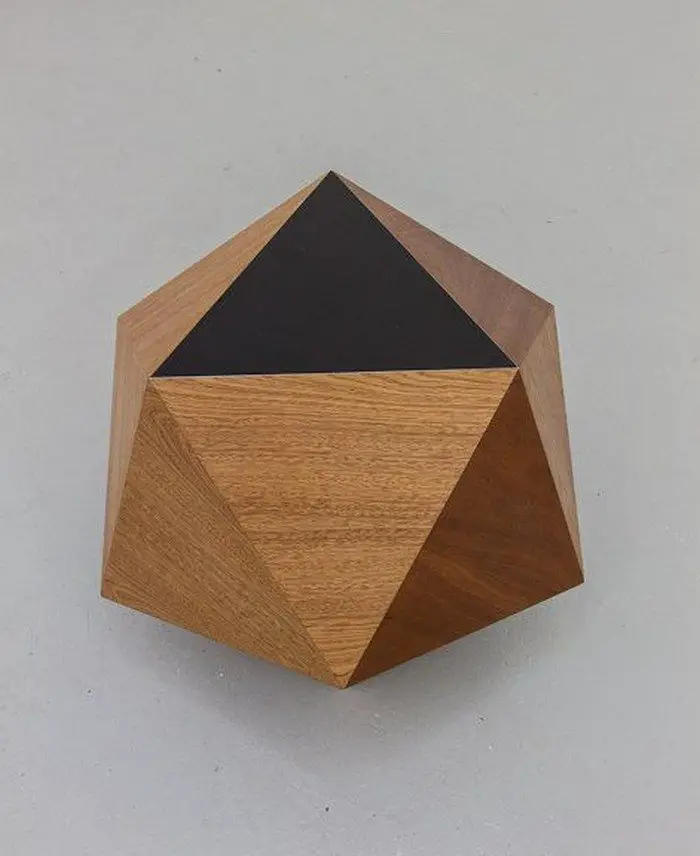
Measure and mark: The triangle pattern is a 2D representation of an Icosahedron, which is a polyhedron with 20 faces.
There are some ways that you could approach getting the dimensions of an icosahedron for your table surface. The way I did mine was to first draw it to size in a CAD program (900mm edge to edge). Then measure the relative distances of each point (within the CAD program) where the lines intersected each other (also known as a vertex). I then transferred those measurements onto a large piece of 6mm MDF that was going to be my template.
Another way to do it if you are not fluent with CAD is to draw an Icosahedron on a piece of gridded paper and then scale up the dimensions to the size of the table you want. To help you do this, I’ve attached a DXF vector file for all you CAD users, and a PDF image for you old school peps.
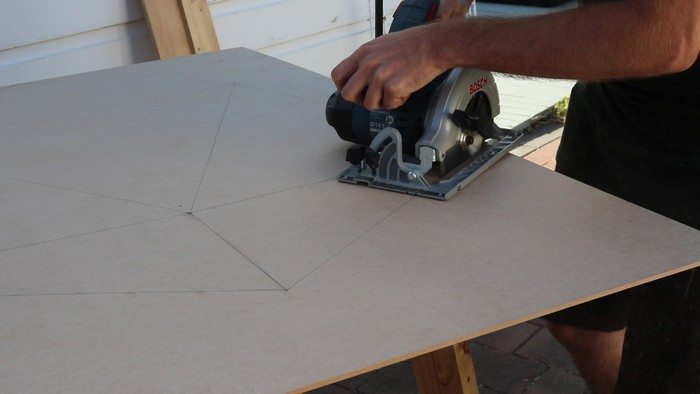
Cut out the template: Now before you finally break out the power tools and start slinging wood dust, just bear in mind that the more accurately you cut out your template pieces, the better your table will go together. Therefore, I recommend against freehand cutting like I did, as any slight miss-cut just makes it harder to get a nice tight fit between the pieces later on.
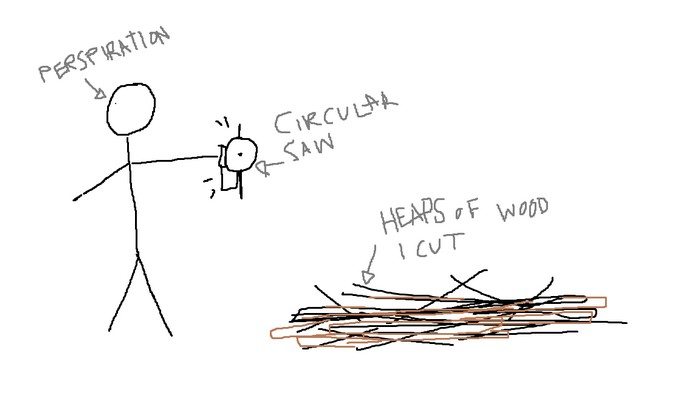
Prepare the reclaimed wood: I haven’t got a photo of this, but I’ve drawn a fairly accurate representation so you can properly visualize the techniques as you read.
I’ve used native hardwood floorboards that I found at the local landfill. Unfortunately, they were all tongue and groove, and more warped than a candy bar left in your back pocket. So I spent an arduous day cutting out the usable pieces and trimming each board so they were all roughly the same width (35mm in my case) using an edge guide attached to my circular saw. The thickness of your timber doesn’t especially matter, mine was around 12mm. What DOES matter is that each piece is the same thickness (or very close), otherwise you will end up with a very lumpy table. The best way to do this is to use a Thicknesser. I don’t have one so I skipped this step and just hoped for the best later on…
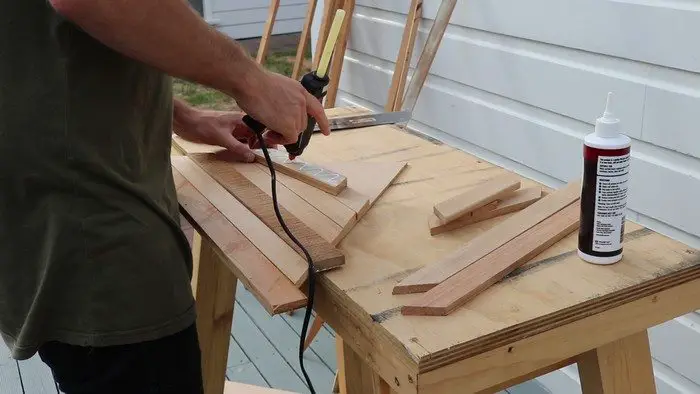
Stick reclaimed wood to the templates: Line a piece of wood up with the MDF template and roughly cut the wood to the width of the template (don’t worry about the overhang, we’ll sort that later).
Lay down a good squiggle of wood glue and put a few blobs of hot glue in between the squiggles, then position the wood on the template triangle. The hot glue will set fast, effectively ‘clamping’ the wood down while the wood glue dries, giving a much more effective bond than either one alone. Once you’ve done a full template, flip it over and put some small nails(or screws) through the back to secure the wood to the template. Repeat this process for all the triangle templates.
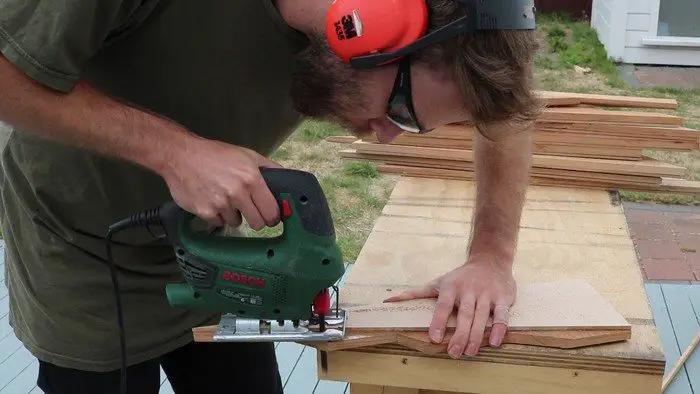
Trim up the templates: Trim back the overhanging wood to be flush with your MDF templates.
I used a jigsaw and just went slow and let the blade lightly graze the edge of the template. It worked fairly well, but the better way to do this would be to use a trim router with a flush trimming bit.
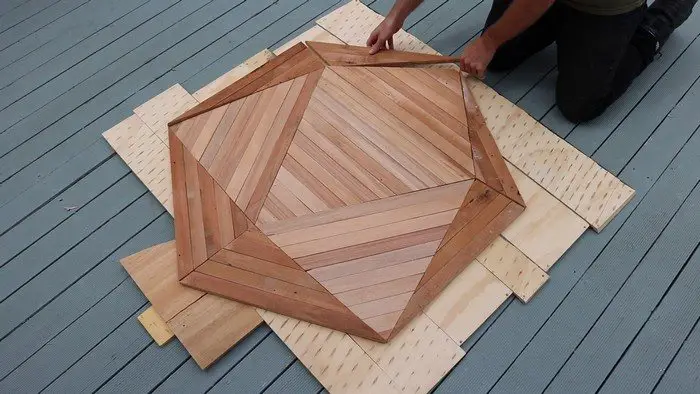
Assemble the pieces: You now want to assemble your little jigsaw of template triangles onto some sort of backing board.
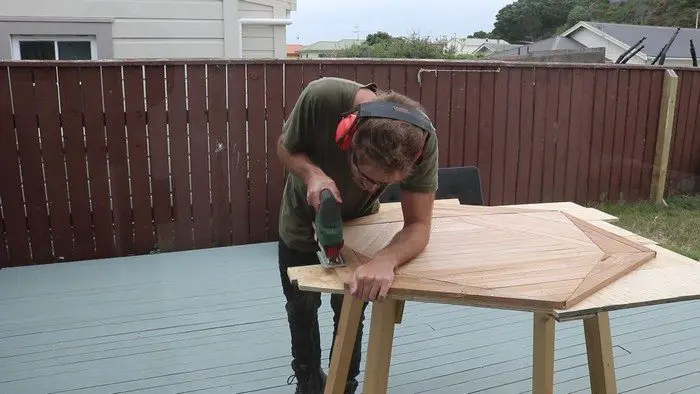
I used 12mm pieces of scrap plywood I had lying around. Attach the triangles by putting screws up through the bottom of the backing board. Next, go around the edge of the table-top and trim off any overhang.
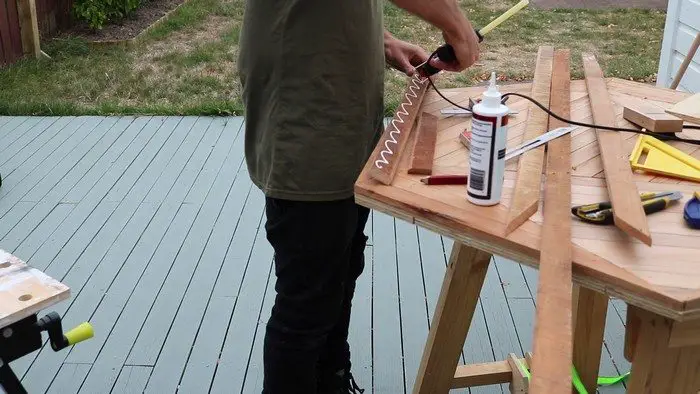
Edging: Hide the wood sandwich showing at the edge of the tabletop by using some more off-cuts to run an edging around.
I used the same wood glue and hot glue trick to attach the edging.
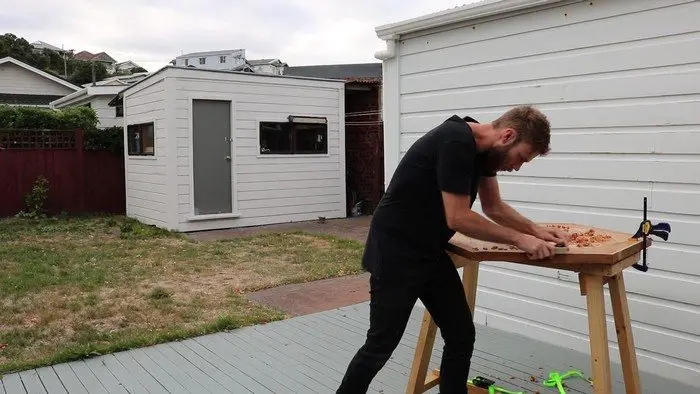
Make it flat and smooth: Remember that bit when I said to make sure your wood has even thickness before attaching it to the templates? This is why. Because any kind of planning or surfacing you do now is going to have the added complication of running up against conflicting grain direction, which will cause tear-outs and generally just be a pain to deal with.
On my table, my wood had up to 4mm difference in thickness on some of the pieces, making the surface quite uneven – which is bad. It’s not ‘I tried to wrestle a bear whilst covered in honey’ bad, more like, ‘I need to cut a tomato but all I have is a spoon’ kinda bad. I had to use a small block plane to do my surfacing here, which did get the job done, but it was more work than it needed to be.
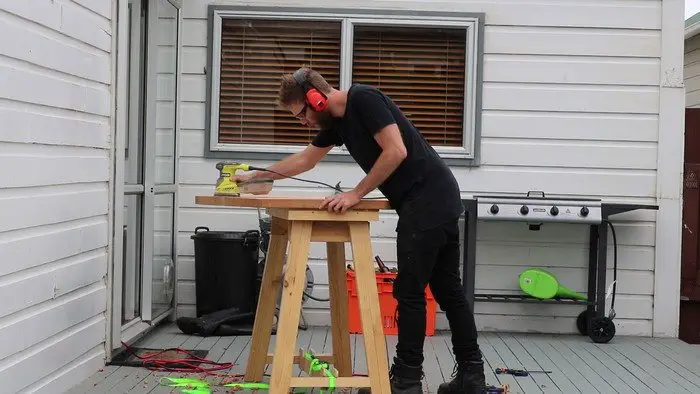
A random orbital sander is a good way to take the wood up through the sanding grits (80,120,240) as it doesn’t leave as obvious sanding scratches when crossing alternating grain directions.
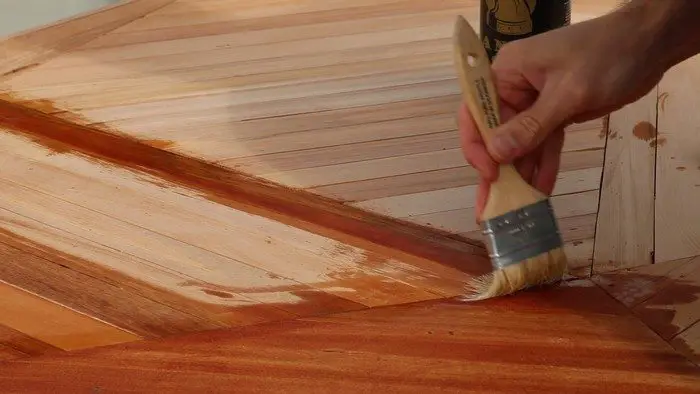
Make it pretty: Once you’re happy with your sanding, apply your wood finish of choice. I’ve used danish oil but there are many suitable products out there.
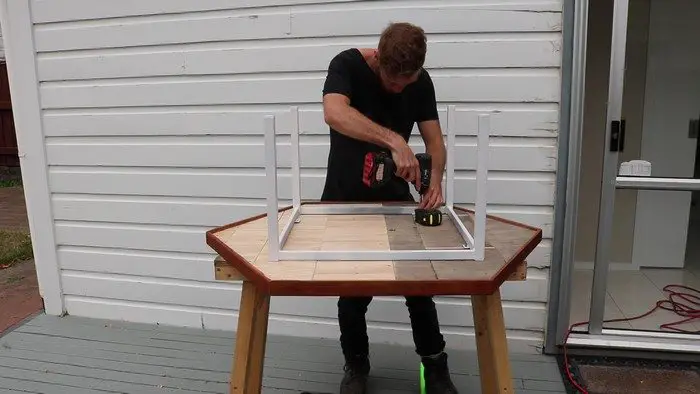
Show some leg: Depending on your final use of the table and what style of interior you have, you’ll want to build some legs that work for you. (I won’t go into that because there are plenty of better resources that can explain this if you need it.)
I stole some legs off an old, bad looking table; sanded and repainted before attaching them to my new coffee table.

That’s it!


