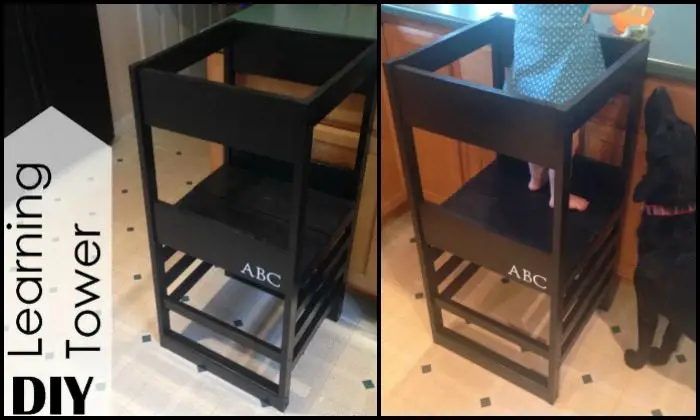
Kids are naturally curious, it’s just in their nature to explore the unknown which could spell trouble sometimes. And they should not lose that sense of wonder and thirst for knowledge, especially during their tender years.
But we know that there are instances where it’s just difficult to accommodate their curiosity – especially when you’re cooking, doing the laundry, or fixing a broken faucet!
Now if your little ones are at this stage where they constantly ask you if they can help in doing the household chores, you can and should let them – with some help from a leaning tower! It will keep your child safe while doing some grown-up household ‘chores’. :)
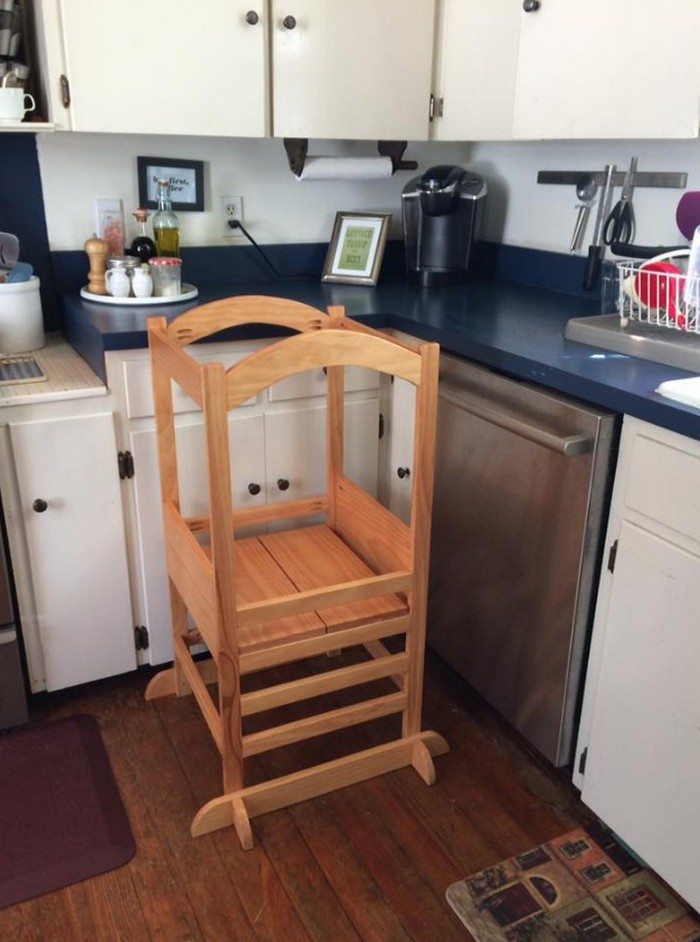
A learning tower is easy to build and, with the right materials and assembly. It’s totally safe for kids to use. It has a platform adjuster for bringing your kid perfectly to counter height regardless of his height. This adjuster also works as a ladder for your kid to step on when climbing up the learning tower.
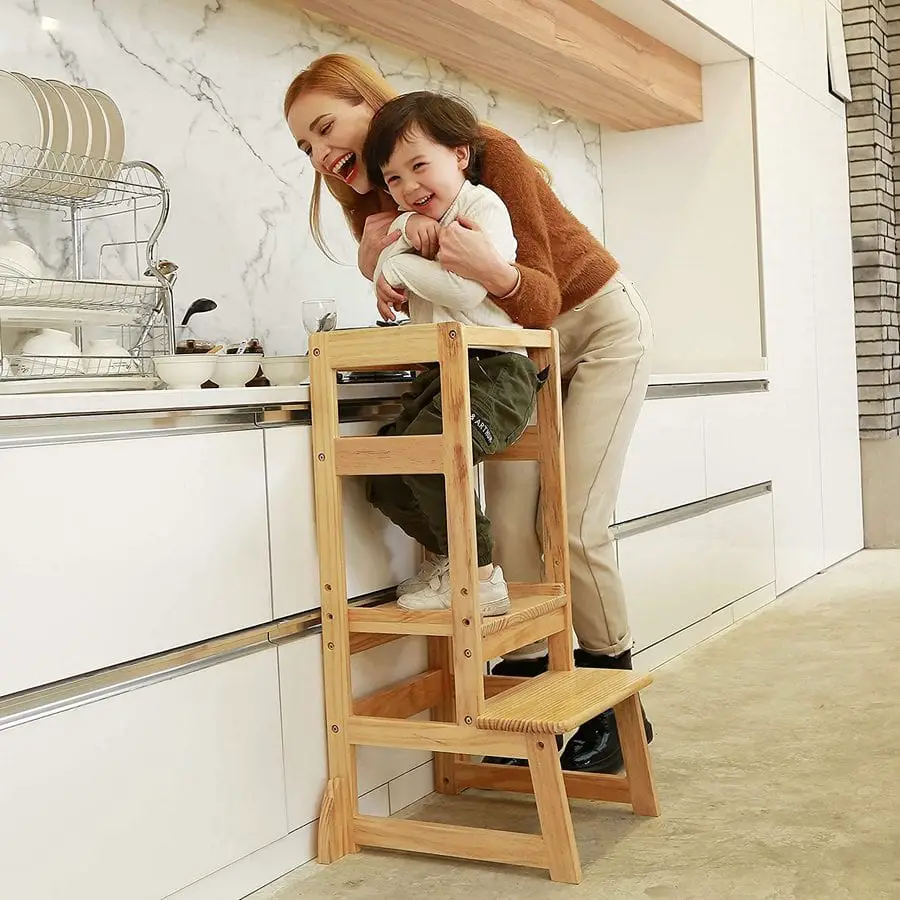
With this simple yet clever piece of furniture, your little one can finally join you at the kitchen countertop or any table and be involved in doing simple household chores!
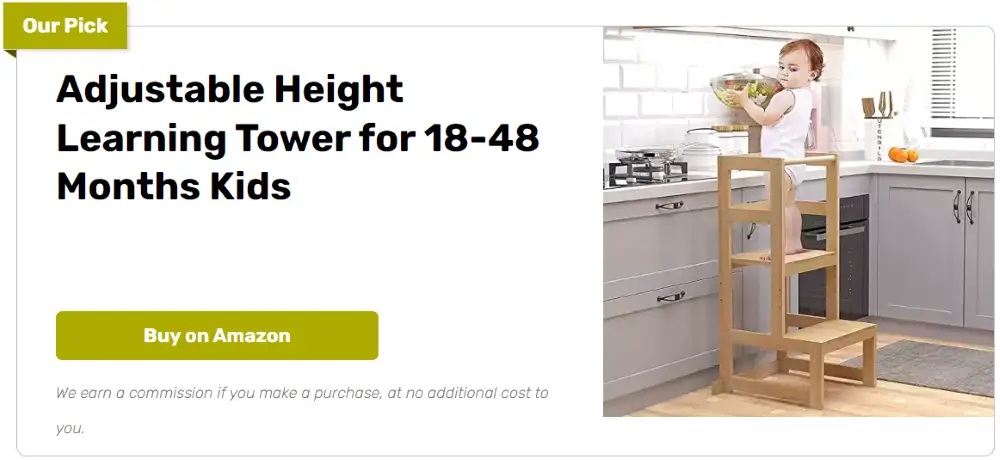
Do you need a learning tower for your little one?
Contents
Building a Learning Tower
Materials
- 1 pc 1″×8″x8′ Timber
- 4 pcs 1″×2″x8′ Timber
- 1 pc 2″×3″x8′ Timber
- 2 1/2″ Screws
- 1 1/4″ Screws
- Wood Glue
- Paint and Finishing Supplies
Tools
- Measuring Tape
- Speed Square
- Cordless Drill
- Circular Saw
- Jigsaw
- Sander
- Spirit Level
- Safety Gear
Instructions
Step 1: Cutting the Timber
- Measure and Mark: Use the measuring tape and speed square to mark the following cuts:
- From the 1″×8″ timber, cut two pieces for the sides, each 36 inches long.
- From the 1″×2″ timbers, cut four pieces each 18 inches long for the rails, and two pieces 15 inches long for steps.
- From the 2″×3″ timber, cut four pieces 15 inches long for the legs.
- Cut the Timber: Using the circular saw, cut along the marked lines. Use the jigsaw to make any intricate cuts or adjustments.
Step 2: Assembling the Frame
- Attach the Legs: Position the 2″×3″ legs vertically and secure each 1″×8″ side piece to them using wood glue and 2 1/2″ screws. Ensure each leg is flush with the top of the side pieces.
- Install Rails and Steps: Attach the 1″×2″ pieces as rails between the legs for additional support, using the 1 1/4″ screws. Install the step pieces horizontally, spacing them evenly.
Step 3: Securing the Structure
- Check Alignment: Use the spirit level to ensure everything is level and square. Adjust as necessary before the glue sets.
- Reinforce Joints: Where necessary, add extra screws or glue to ensure the structure is secure and can bear weight safely.
Step 4: Sanding and Finishing
- Sand the Tower: Sand all surfaces, edges, and corners to remove splinters and rough patches. This is crucial to make the learning tower safe for kids.
- Apply Finish: Paint or stain the learning tower as desired. Ensure the use of non-toxic, child-safe products. Allow to dry according to the product instructions.
Step 5: Final Assembly and Safety Check
- Assemble: Once all painted parts are dry, assemble the learning tower. Double-check all screws and glued joints for stability.
- Safety Check: Ensure there are no sharp edges or loose parts. The learning tower should be stable and secure.
Click on any image to start the lightbox display. Use your Esc key to close the lightbox.![]()
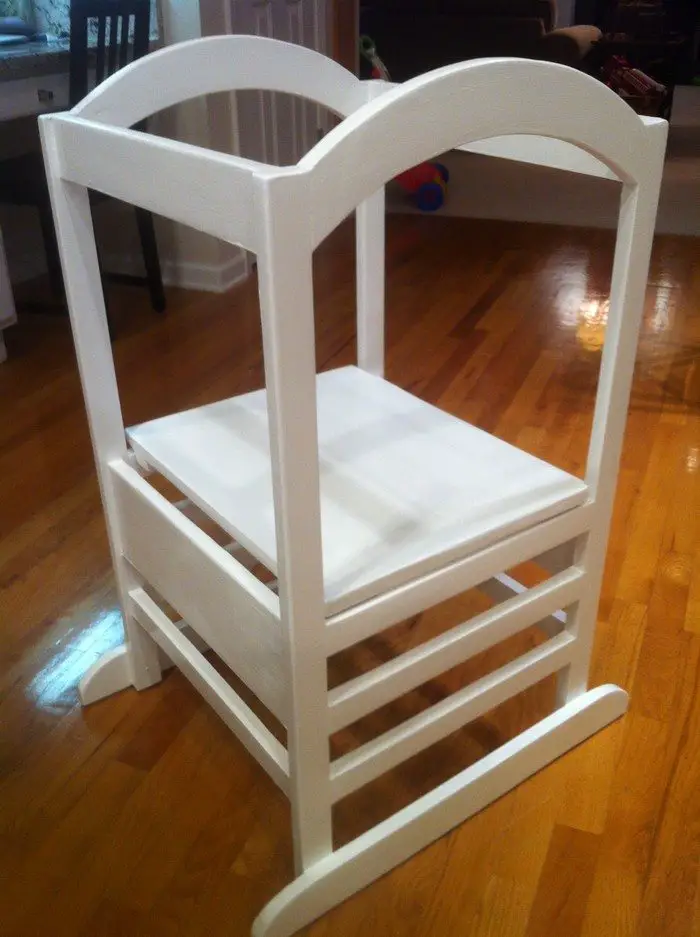
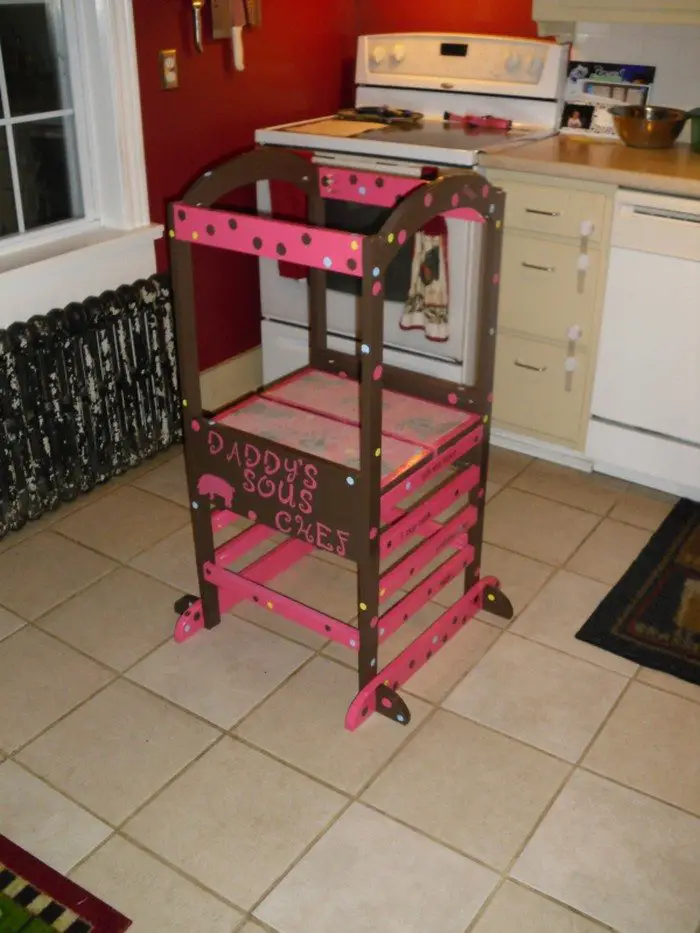
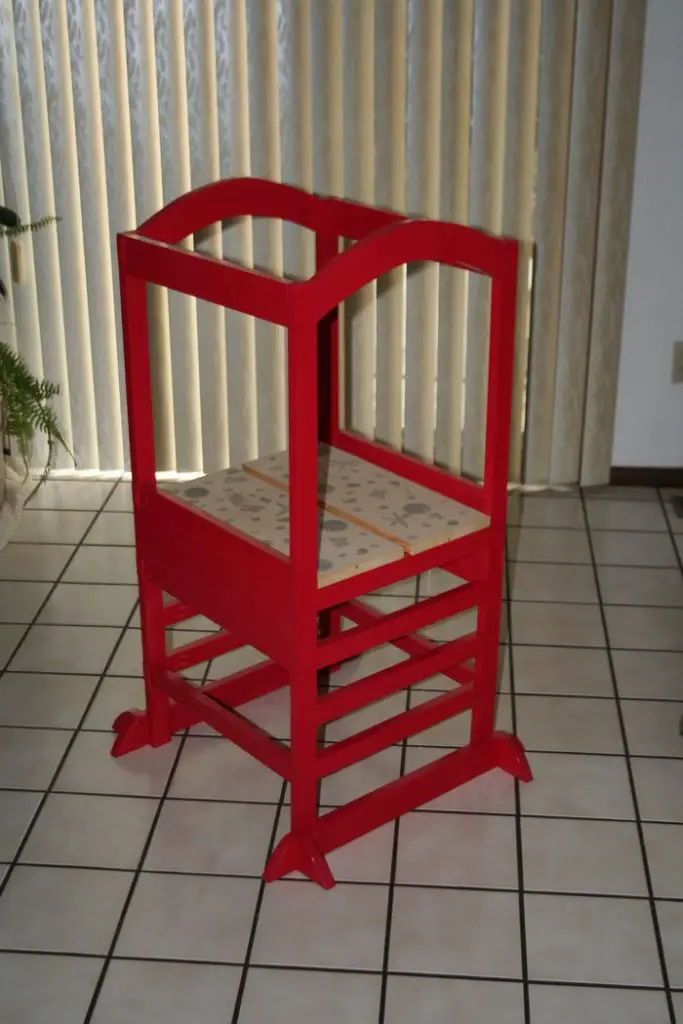
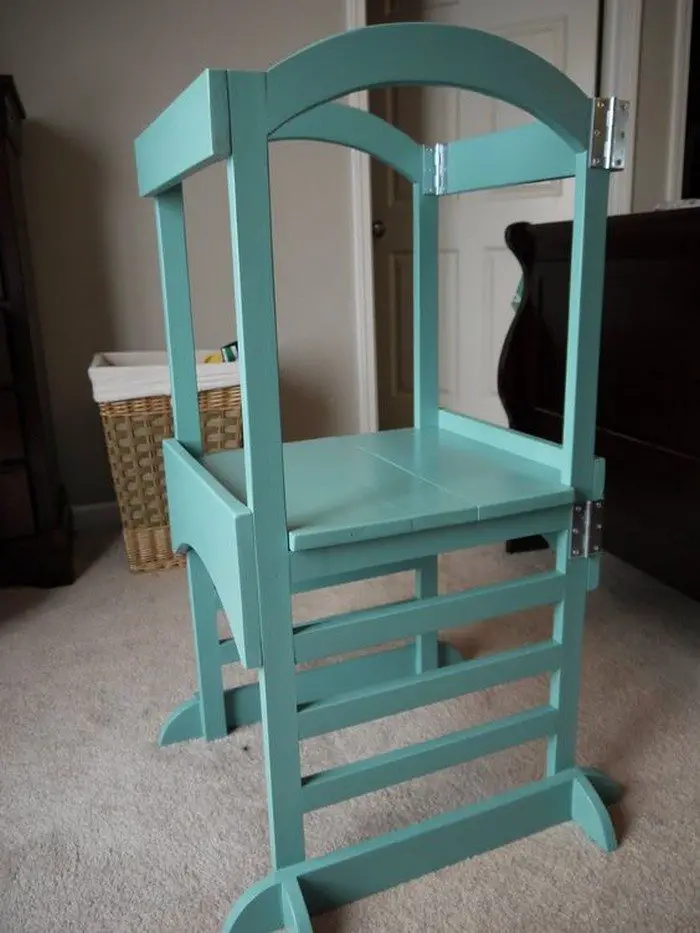
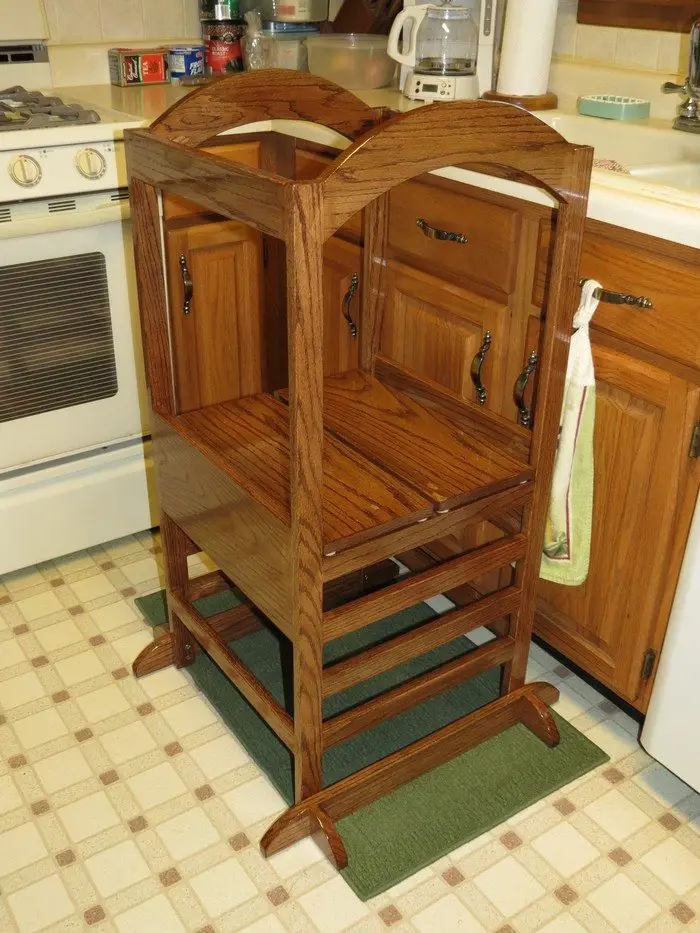
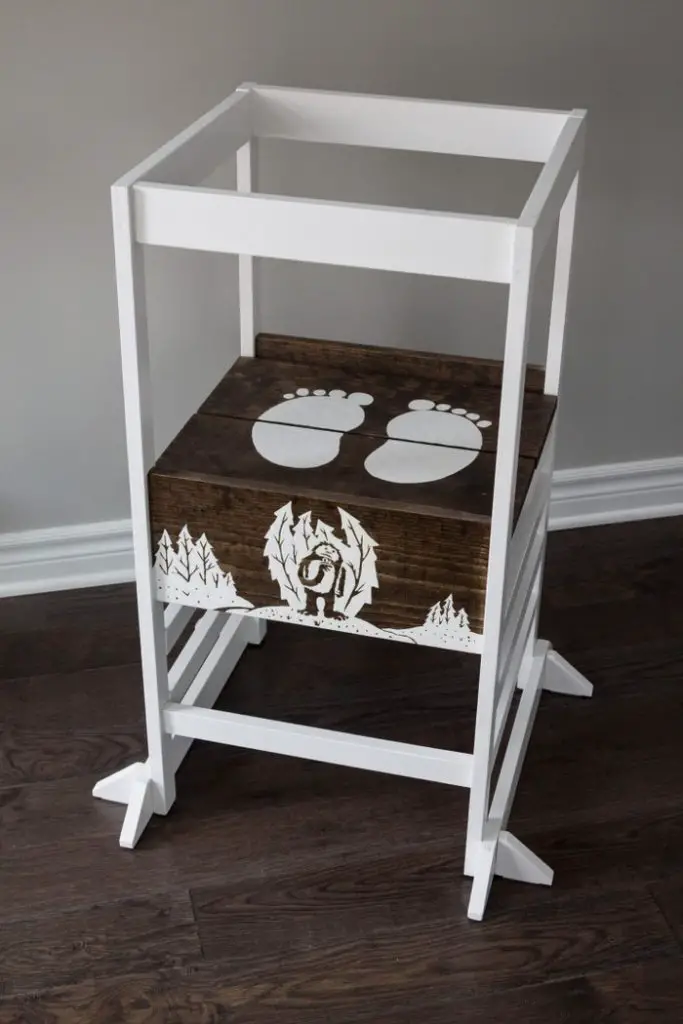

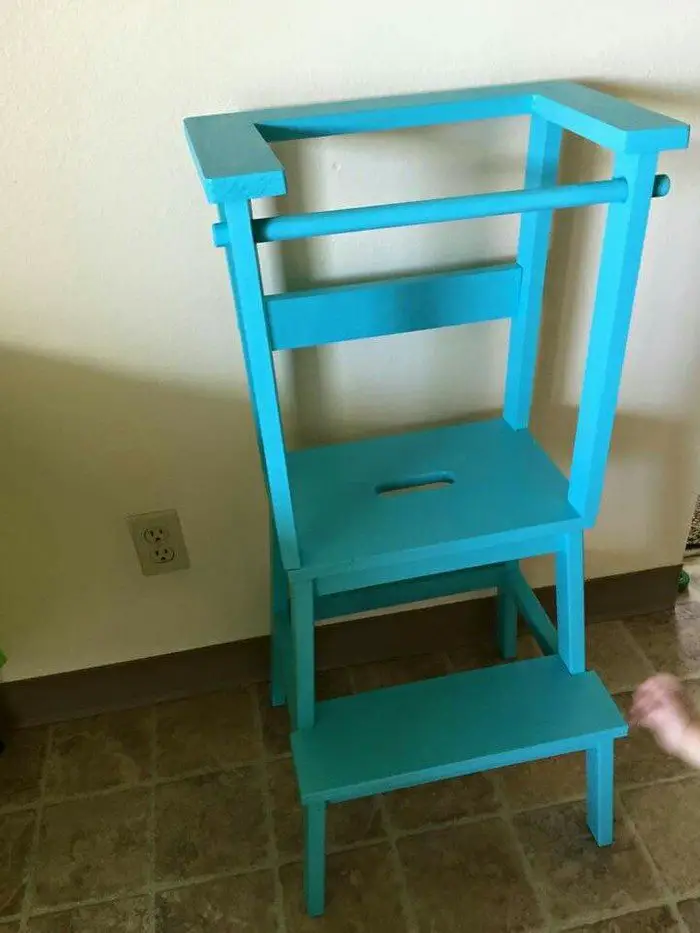
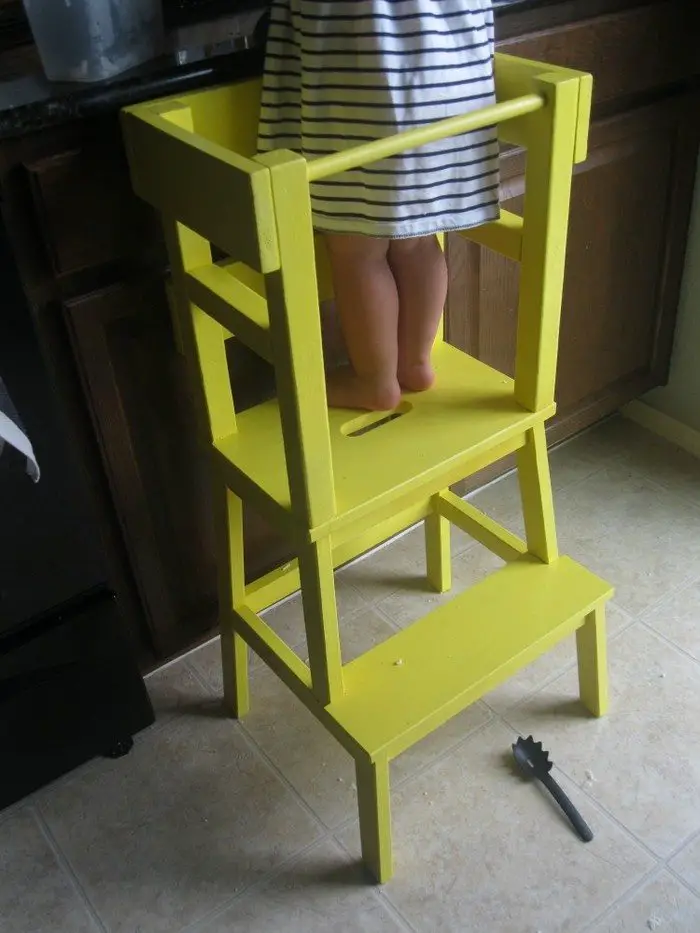
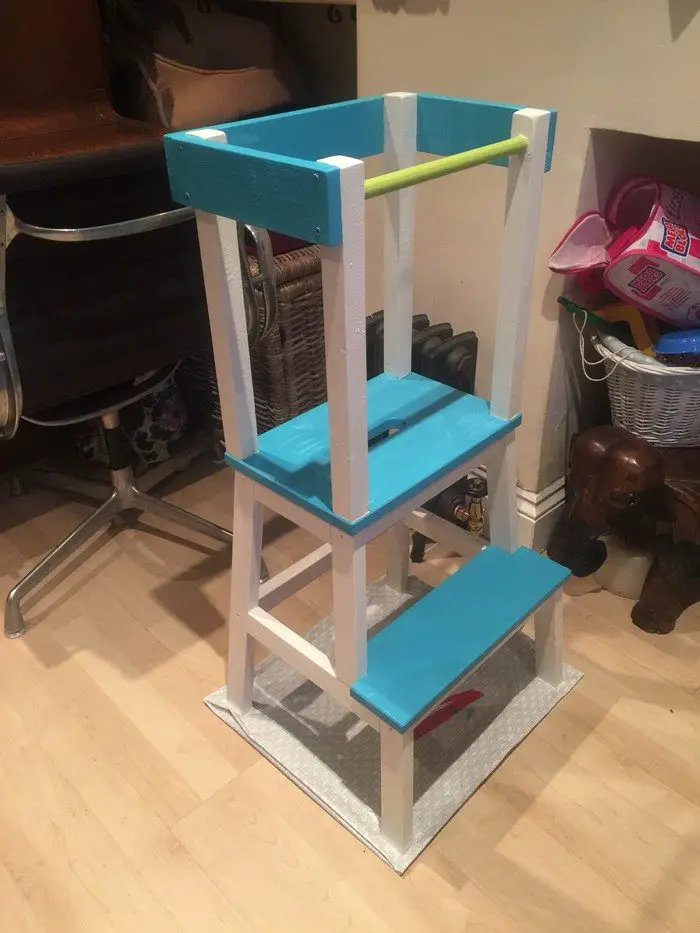
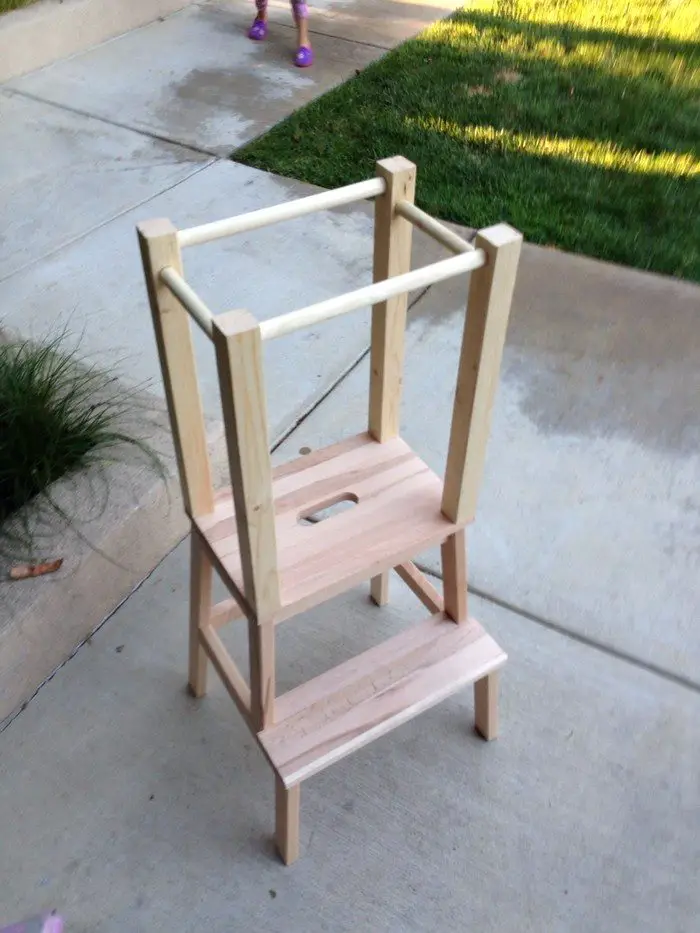
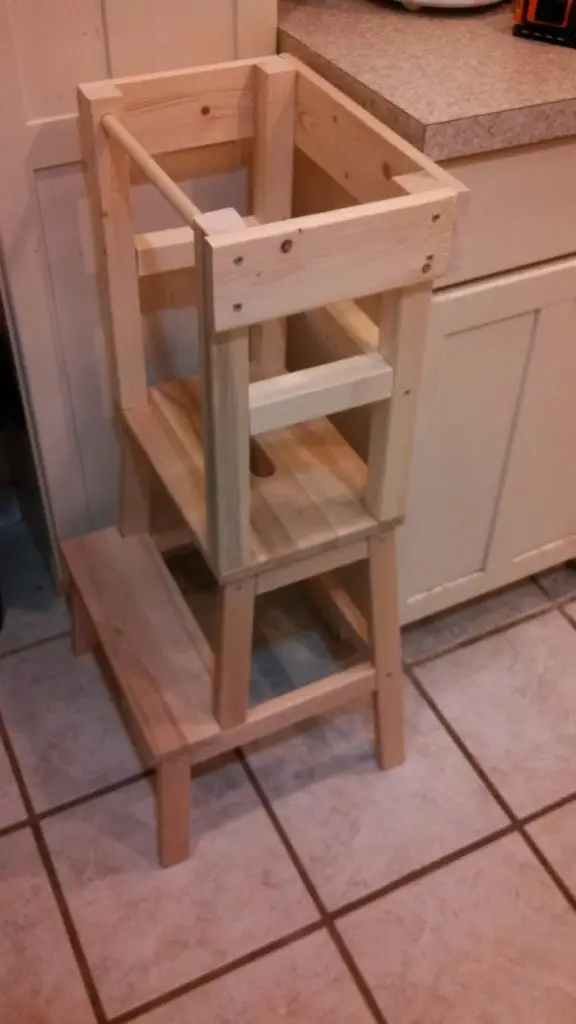
Thanks to Birch Landing Home for this great project. You can get step-by-step instructions here…
Safety Features to Consider When Building a Learning Tower
Building a learning tower for your child is about making sure they are secure as they explore and learn, not only about increasing their involvement in home tasks. To ensure your youngster’s learning tower is a safe and useful place, you should take into account the following important safety aspects while building.
Stable and Robust Construction
The stability of the learning tower is paramount to prevent it from tipping over. Ensure that the base is wide and solid, and consider adding a weighted bottom if necessary. Use sturdy timber and ensure all joints are reinforced with both wood glue and screws for added durability.
Smooth and Rounded Edges
Children are quick and often carefree, so they might bump into things more frequently. When constructing the learning tower, sand all edges and corners thoroughly to make them smooth and rounded. This reduces the risk of scrapes and bruises if your child accidentally hits an edge.
Secure Railings and Guardrails
Install sturdy railings or guardrails around the learning tower’s upper level to avoid accidents caused by falls. In order to prevent your toddler from slipping through, make sure they are both high enough and spaced tightly enough.
Non-Toxic Materials and Finishes
All paints and finishes used to build the learning tower must be suitable for children and not poisonous. Avoid items that could off-gas dangerous chemicals and always choose products that are labelled as child-safe.
Adjustable Height Mechanism
Incorporating an adjustable height mechanism allows the learning tower to grow with your child, ensuring it remains ergonomically suitable as they get taller. This feature also helps maintain the tower’s stability by keeping the center of gravity low as your child uses it.
Slip-resistant Platform
Equip the platform where the child stands with a slip-resistant surface. This can be achieved by adding a textured mat or using slip-resistant paint. This feature is crucial to prevent slips and falls, especially if the platform becomes wet or if the child has spill-prone activities.
Locking Mechanism
If the learning tower has a height-adjustable platform or movable parts, include a reliable locking mechanism to secure these elements in place once adjusted. This prevents the platform from shifting under the child’s weight, which could lead to falls or injuries.
Enclosed Steps
Ensure that any steps leading up to the platform are enclosed or have high enough sides to support your child as they climb up and down. This reduces the risk of missteps and falls, making it safer for young children to become independent in using the tower.
Visibility Features
Design the learning tower with plenty of open spaces or use materials like clear acrylic in parts of the structure to ensure that you can always see your child and monitor their activities without obstructions. This is crucial for quick intervention if needed.
You can make sure the learning tower is a good investment for your house and a safe place for your child to play by paying attention to these safety elements.
Creative Ways to Decorate and Personalize Learning Towers
Personalizing a learning tower not only makes it visually appealing to your child but also enhances their sense of ownership and excitement about using it. Here are some creative ideas for decorating and personalizing the learning tower to reflect your child’s personality and interests.
Theme-Based Designs
Choose a theme that resonates with your child’s interests, such as space, dinosaurs, princesses, or ocean life. Paint the learning tower in colors that match the theme and add decorative elements like stickers, stencils, or decals. For a space theme, for instance, use dark blues or blacks sprinkled with stars and planets.
Interactive Elements
Incorporate interactive elements into the learning tower’s design. This could include a magnetic board on the side for spelling words or counting, or a chalkboard paint section where they can draw and write. These features not only personalize the tower but also enhance its educational value.
Handprints and Footprints
Make the decoration a fun and memorable activity by involving your child directly. Use safe, non-toxic paint to create handprints and footprints on the learning tower. This adds a personal touch and makes it a keepsake of their childhood.
Name and Initials
Customize the learning tower with your child’s name or initials. This can be done through painting, wood-burning techniques, or adhesive letters. It gives the piece a personal identity and makes your child feel that it’s specially designed for them.
Art Display Hooks
Install small hooks or a hanging wire on one side of the tower. Your child can use these to display their artwork or photos, changing them out as they create new pieces. This not only personalizes the tower but also encourages creativity and pride in their artistic endeavors.
Fabric and Textiles
Use colourful and textural fabrics and textiles to adorn the learning tower. Use colourful fabrics with your child’s favourite patterns or colours to reupholster the steps or rear panel of the tower. If your youngster spends long periods of time sitting or standing on the tower, you may want to consider adding some cushions or soft pads for increased comfort.
Seasonal Decorations
Incorporate the learning tower into holiday festivities by adorning it with seasonal touches. Lightweight garlands, fairy lights, or seasonal decorations (e.g., snowflakes in winter, leaves in fall, flowers in spring) are some ideas. This will not only keep the room looking new, but it will also teach your child about the seasons and encourage them to participate in them.
By taking the time to decorate and personalize the learning tower, you turn a simple piece of furniture into a cherished part of your child’s daily activities and learning.
Conclusion
Constructing a learning tower offers a unique opportunity to create a safe and engaging space for your child to participate in daily activities. With personalized design and appropriate safety features, it becomes a valuable tool for their development and independence. Enjoy watching your child explore and learn with confidence as they use their very own learning tower.
We have more educational kids project. Check out our musical wall guide!

