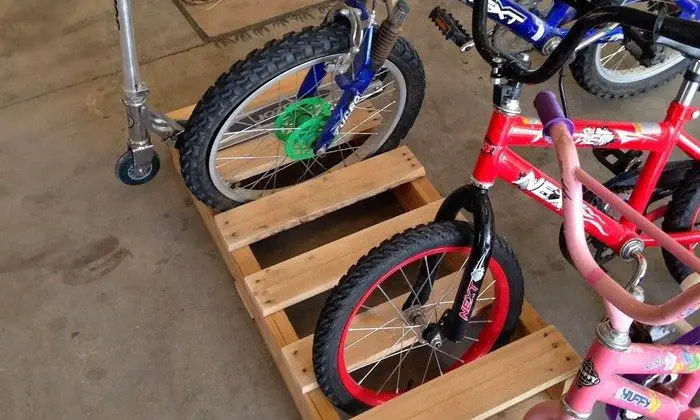
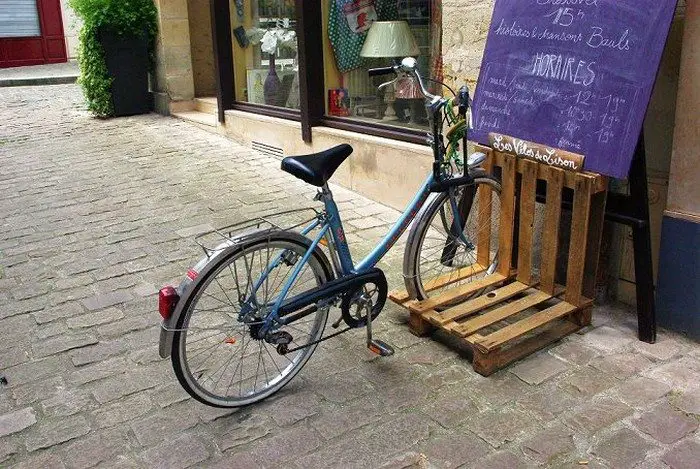
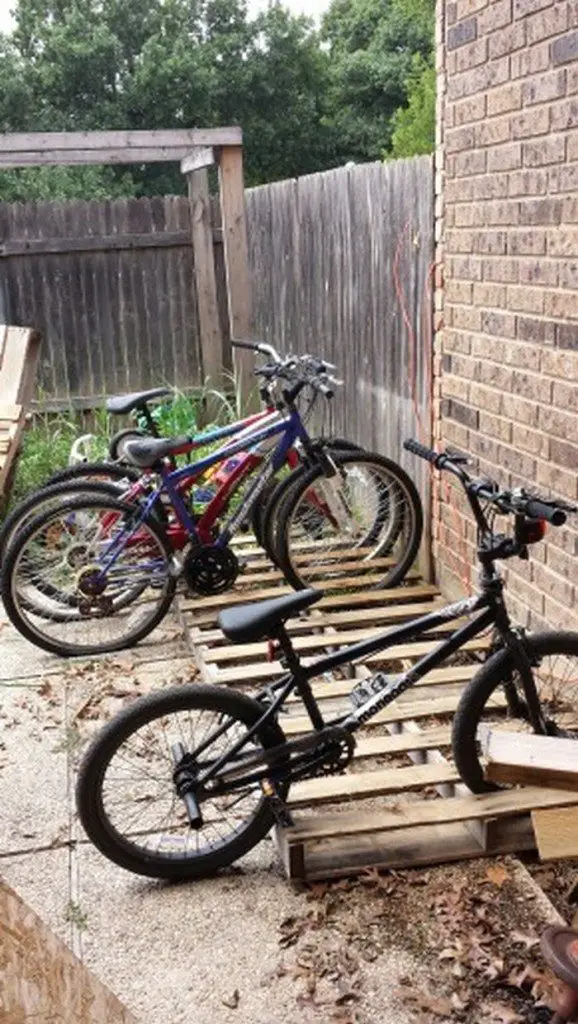
Here’s an easy recycling idea for the bike enthusiasts… a bike rack from recycled pallets.
If you don’t have a bike rack or stand for storing and keeping your bikes organized yet, then build one using pallets!
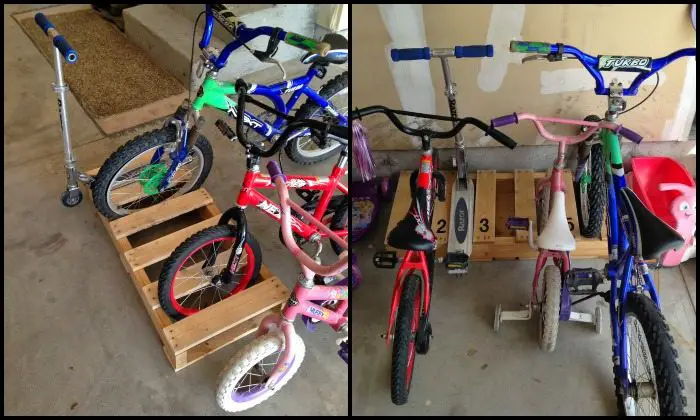
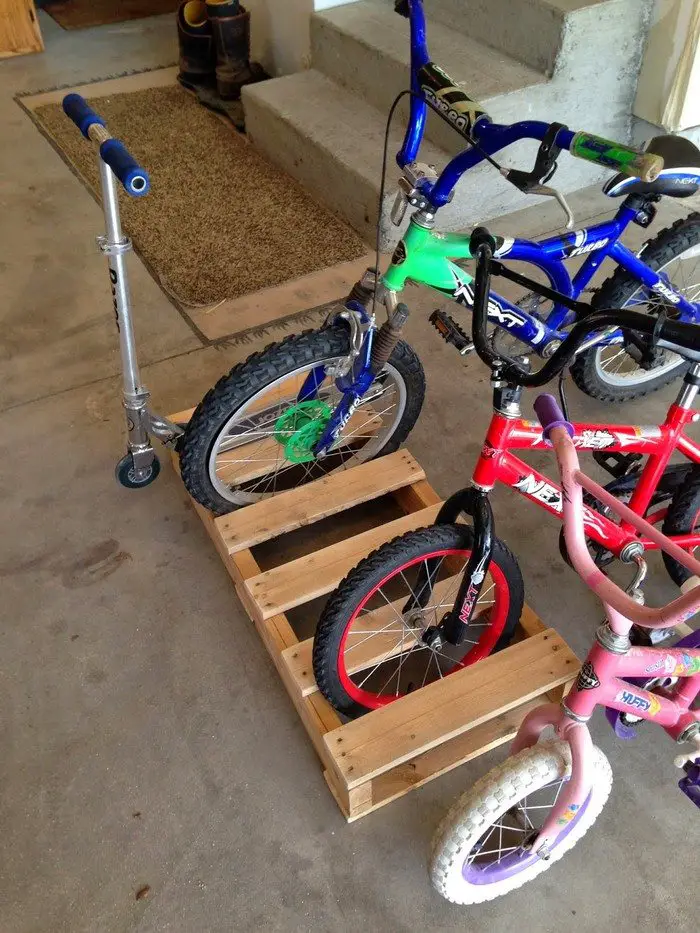
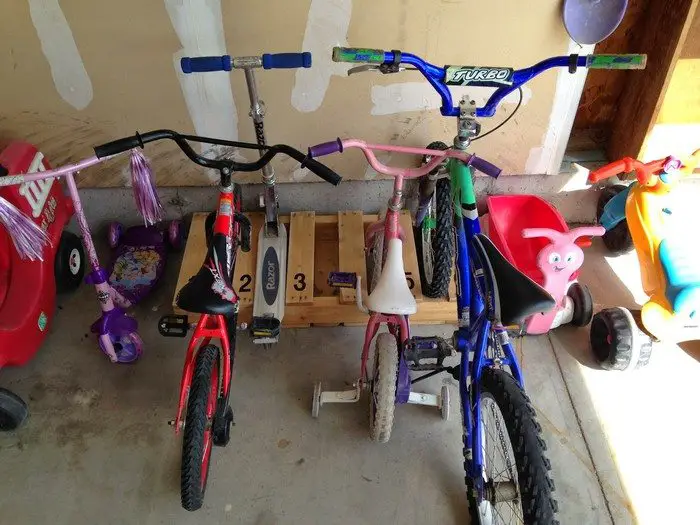
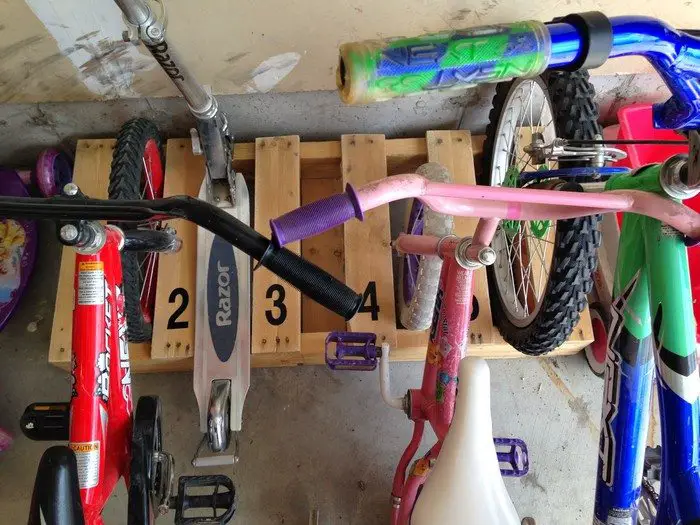
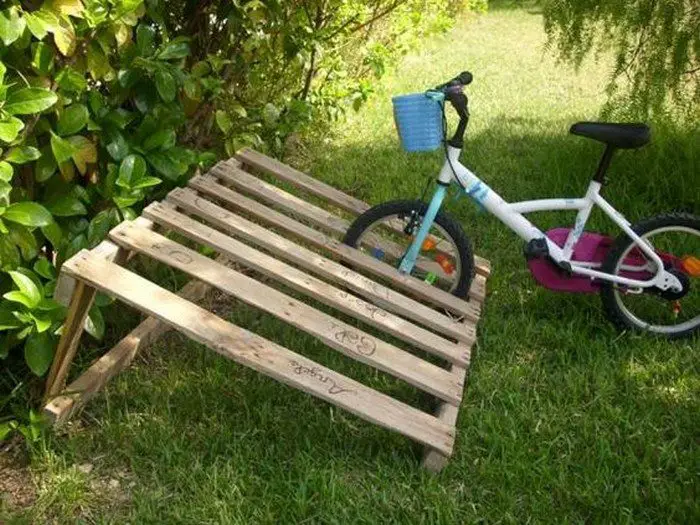
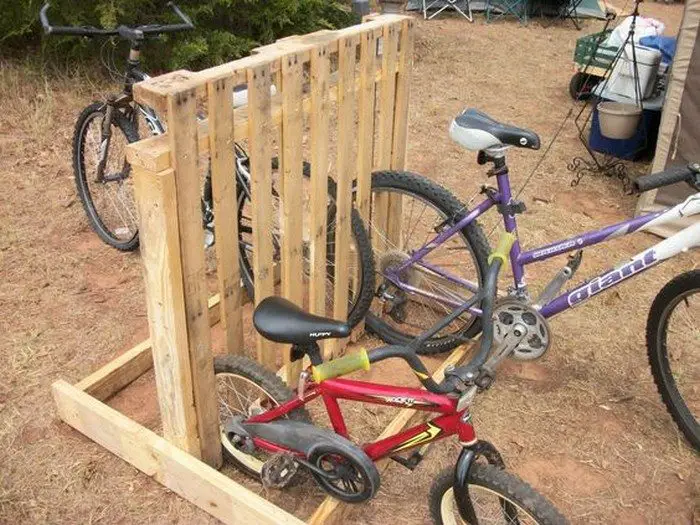
This pallet project is very simple and it doesn’t matter if you’ve got big bikes or kiddie bikes (or both). Most pallets will fit any regular bike wheel size. Even kids’ scooters fit perfectly in a pallet bike rack!

Your DIY project may need some modifications depending on the pallets that you get and the bikes that you have. Nevertheless, building a pallet bike rack is a quick and easy project you can finish within a couple of hours.
Want to learn how the featured DIY pallet bike rack above was made? You can find the link to a step-by-step tutorial below!
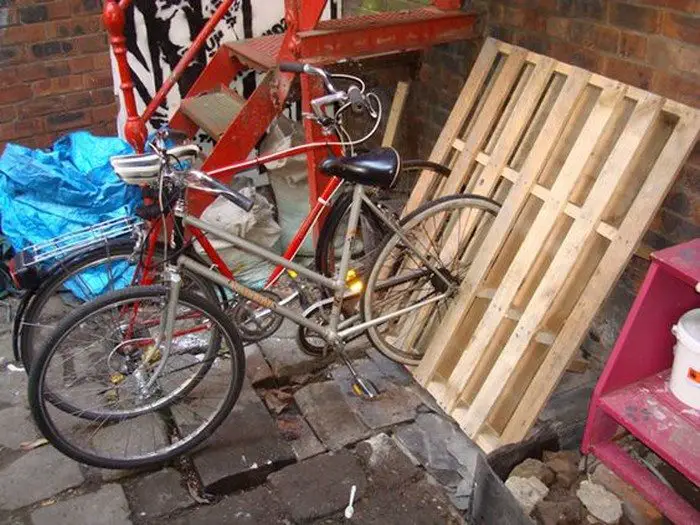
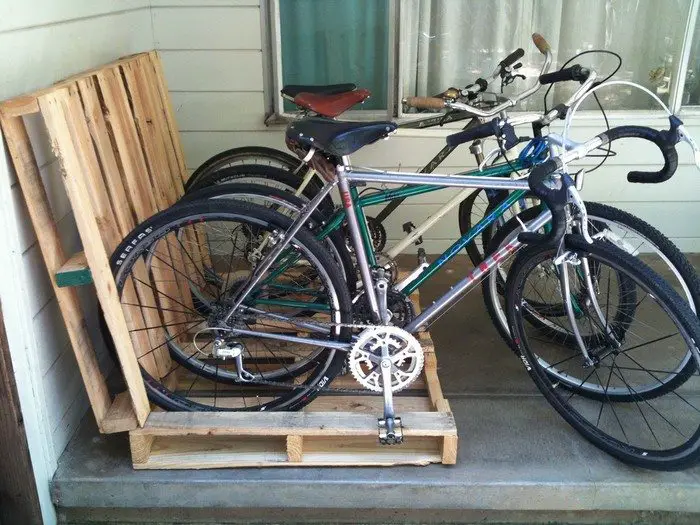
You can also get more DIY pallet bike rack ideas by viewing our album.
Is this going to be your next pallet project? :)
Contents
Building a Bike Rack from Recycled Pallets
Materials
- Pallet
- Vinyl Numbers
Tools
- Jigsaw
- Sander
Instructions
Step 1: Select and Prepare Your Pallet
Choose a sturdy pallet that is in good condition. Use the sander to smooth out rough edges and surfaces to prevent splinters. Ensure the pallet is clean and free from any nails or other protruding objects.
Step 2: Mark the Cut Lines
Depending on the size of the bikes you intend to store, mark the slots on the pallet where the bike wheels will go. Ensure the slots are wide enough to accommodate the wheels but snug enough to hold them upright. Use a pencil or chalk for marking.
Step 3: Cut the Wheel Slots
Using the jigsaw, carefully cut along the marked lines to create the wheel slots. Make sure to cut slowly and follow the lines closely to ensure the slots are even and straight.
Step 4: Sand the Wheel Slots
After cutting the slots, there might be rough edges around the cuts. Use the sander again to smooth these areas, focusing on the inside of the slots where the bike wheels will rest.
Step 5: Apply Vinyl Numbers
If you want to designate specific slots for different bikes or family members, apply vinyl numbers above each slot. This not only organizes the bike rack from recycled pallets but also adds a personal touch.
Step 6: Final Touches
Inspect the entire bike rack for any sharp edges or splinters. If necessary, sand these areas until they are completely smooth. You can also apply a sealant or paint to protect the wood and give the bike rack a finished look.
Step 7: Position and Test the Bike Rack
Place the completed bike rack in a suitable location, like a garage or beside your house. Test it by placing bikes in the slots to ensure they fit securely and the rack provides stable support.
Click on any image to start lightbox display. Use your Esc key to close the lightbox.![]()


You can get more step-by-step instructions from Our Taylor Life over here…
Common Challenges and Troubleshooting
When constructing a bike rack from recycled pallets, various challenges may arise, from dealing with the material’s condition to ensuring the structure’s stability. Addressing these challenges promptly can help maintain the integrity and usefulness of your bike rack.
Difficulty in Cutting Precise Slots
Challenge: You may find it difficult to cut precise slots for the bike wheels using a jigsaw, especially if it’s your first time handling the tool.
Solution: Practice making cuts on extra pieces of pallet wood before you begin your actual project. Mark your lines clearly and use a guide rail if possible to keep your jigsaw steady. This will help in achieving cleaner, more precise cuts for your bike rack from recycled pallets.
Pallet Wood Splintering
Challenge: Pallet wood can be prone to splintering, which might compromise the safety of the bike rack from recycled pallets.
Solution: Use a higher-grade sandpaper to smooth out the wood thoroughly after cutting. Applying a wood sealant can also reduce splintering, protect the wood from the elements, and extend the life of your bike rack from recycled pallets.
Ensuring Structural Stability
Challenge: Ensuring that the bike rack from recycled pallets is stable enough to hold multiple bikes without tipping over.
Solution: Make sure the base of your pallet is wide and heavy enough to support the weight of the bikes. You can add additional support beams or weights to the base if necessary. Testing the rack with bikes after assembly will help you understand if additional adjustments are needed.
Difficulty in Attaching Vinyl Numbers
Challenge: Vinyl numbers may not adhere well to the rough surface of the pallet wood, potentially peeling off after some time.
Solution: Before applying the vinyl numbers, sand the area where they will be placed to create a smoother surface. Consider using an adhesive promoter or a spray adhesive before applying the numbers to ensure they stick more securely to your bike rack from recycled pallets.
Weather Protection
Challenge: Protecting the bike rack from recycled pallets from weather elements like rain, sun, and snow can be challenging, especially if placed outdoors.
Solution: Apply a weather-resistant finish to your bike rack, such as an outdoor-grade varnish or sealant. This will help prevent moisture damage and fading caused by UV exposure, thereby increasing the longevity of your bike rack from recycled pallets.
Addressing these common challenges will help you create a more durable and reliable bike rack, enhancing its functionality and lifespan.
Finishing and Customization Ideas
When your bike rack from recycled pallets is structurally complete, the next step is to add personal touches. These finishing and customization options not only improve the rack’s appearance but can also protect and extend its lifespan.
Choose the Right Finish
- Staining: Applying a wood stain can enhance the natural grain of the pallet wood and give your bike rack a rustic or refined look, depending on the color chosen. Ensure the stain is suitable for outdoor use if the rack will be exposed to the elements.
- Painting: If you prefer a more vibrant or specific color scheme, painting your pallet bike rack is a great option. Use outdoor-grade paint for durability. You can also use stencils to create patterns or designs.
- Sealing: No matter if you stain or paint, applying a sealant is crucial, especially for outdoor use. This will protect the wood from weather-related damage and prolong the life of your bike rack.
Add Functional Customizations
- Adjustable Slots: Consider making the wheel slots adjustable to accommodate bikes of different sizes or types. This can be achieved by creating removable inserts or adjustable barriers within each slot.
- Integrated Locking System: For added security, integrate a locking mechanism into the bike rack. This could be as simple as adding metal loops to secure bike locks.
Decorative Touches
- Thematic Decorations: Tailor the design of your bike rack to reflect your personal interests or the environment where it will be used. For example, if it’s for a beach house, you could go with a nautical theme.
- Vinyl Decals and Numbers: Use vinyl decals for an easy, customizable look that can also help organize the spaces. Numbers or names can be assigned to each slot, making it easy for family members to know where to park their bikes.
- Lighting: Adding solar-powered lights can not only make the bike rack from recycled pallets more functional in the evening but also enhance its appearance and safety at night.
Eco-Friendly Enhancements
- Green Roof: Top your bike rack with a small green roof or planter boxes where you can grow herbs or flowers. This not only beautifies your space but also promotes sustainability.
- Recycled Decorations: Continue the theme of recycling by decorating your bike rack with other repurposed items. This could include using old bike parts as hooks or decorations.
Enhance User Convenience
- Helmet and Gear Hooks: Add hooks or small shelves to the sides or top of the bike rack from recycled pallets to store helmets, gloves, and other cycling gear. This keeps all biking essentials in one place and ensures they are always ready to use.
- Foldable Design: For those with limited space, consider creating a foldable bike rack that can be collapsed and stored away when not in use. This involves integrating hinges and locks that allow the rack to be securely opened and closed.
Artistic Flair
- Wood Burning: For a rustic and handcrafted look, use a wood-burning tool to etch designs, patterns, or inspirational quotes into the wood of the bike rack. This technique can give the rack a custom artisan touch.
- Mosaic Work: Apply a mosaic using broken tiles, glass pieces, or stones to areas of the bike rack. This can be particularly striking on the sides or top panel and adds a unique, artistic element.
Functional Upgrades
- Built-in Repair Stand: Add a clamp and a sturdy arm to one end of the bike rack, turning it into a dual-purpose stand that can also be used for bike repairs and maintenance.
- Weather Cover: Create a custom-fit weather cover that can be draped over the bikes and the rack to protect them from rain, snow, or excessive sun. Use durable, waterproof materials to craft a cover that can be easily secured and removed.
Interactive Elements
- Chalkboard Labels: Paint sections of the bike rack with chalkboard paint, allowing you and your family to customize labels or leave notes for each other. This is particularly fun for kids and helps keep everyone organized.
- Color Coding: Assign different colors to different sections of the bike rack from recycled pallets, either by painting or using colored vinyl tape. This can help family members quickly identify where each person’s bike should go, enhancing orderliness and efficiency.
Enhanced Durability
- Rubber Padding: Add rubber padding to the slots where the bike wheels rest. This not only protects the bikes’ rims from scratches but also adds extra grip to keep the bikes from slipping.
- Reinforced Joints: Strengthen the bike rack from recycled pallets by reinforcing the joints with metal brackets or additional screws. This is especially helpful if the rack will support heavier bikes or frequent use.
By exploring these finishing and customization ideas, you can transform your bike rack from recycled pallets into a personalized, stylish, and functional addition to your home or community space.
Conclusion
Building a bike rack from recycled pallets offers both an environmentally friendly solution and a satisfying DIY project. With customization options ranging from practical enhancements to artistic decorations, you can create a piece that is uniquely suited to your needs and aesthetic. This project not only helps organize your bicycles efficiently but also adds a personal touch to your space.
We have another project to recycle old bikes. Check out our bike entry table guide!


