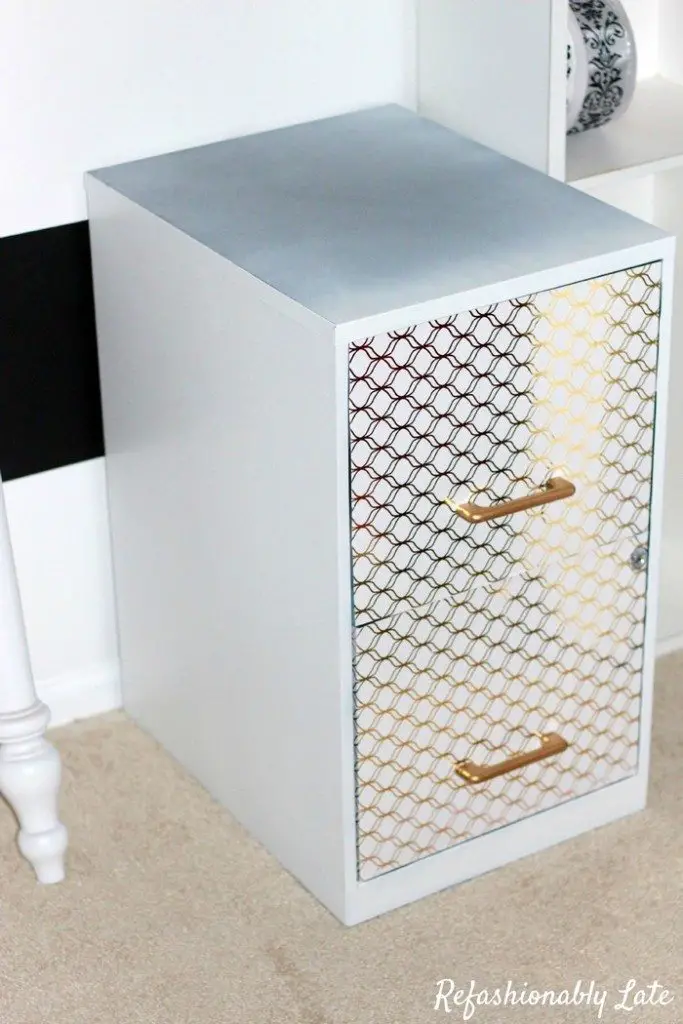
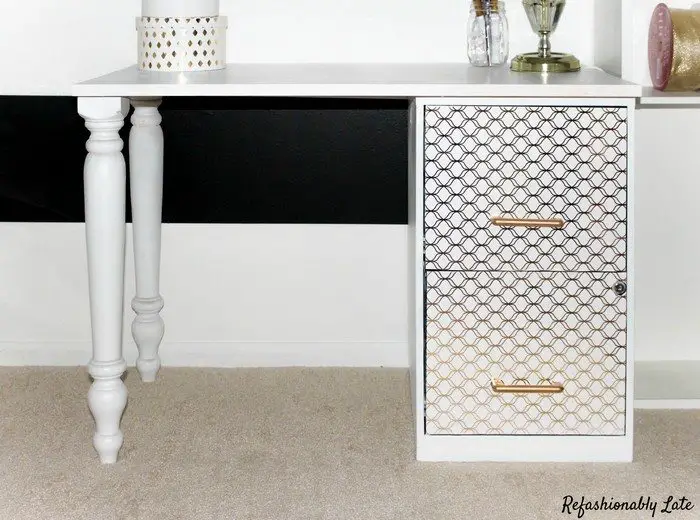
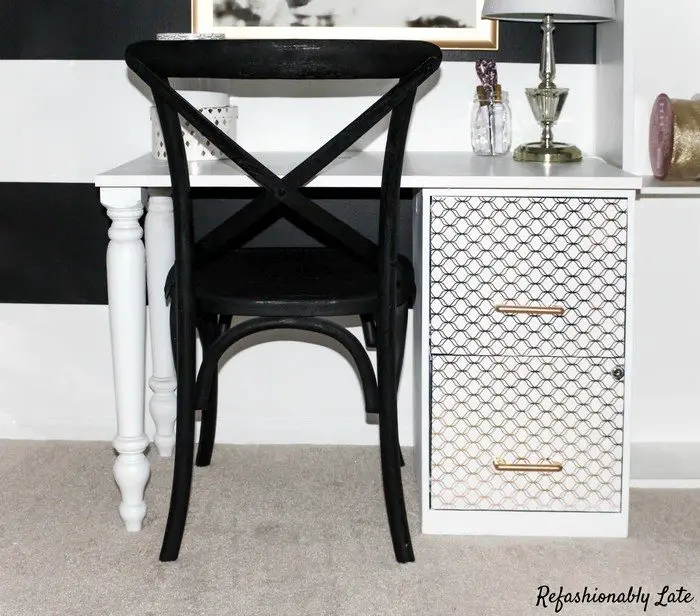
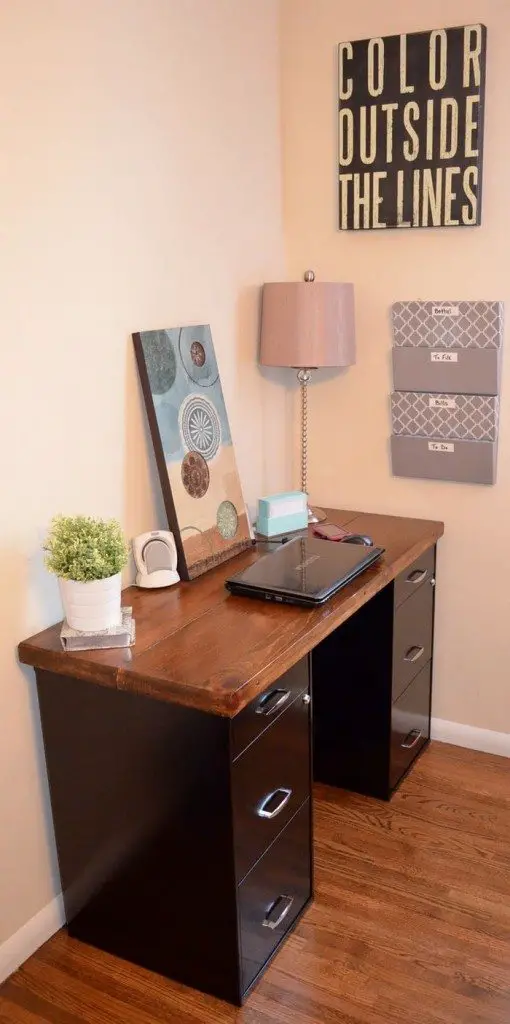
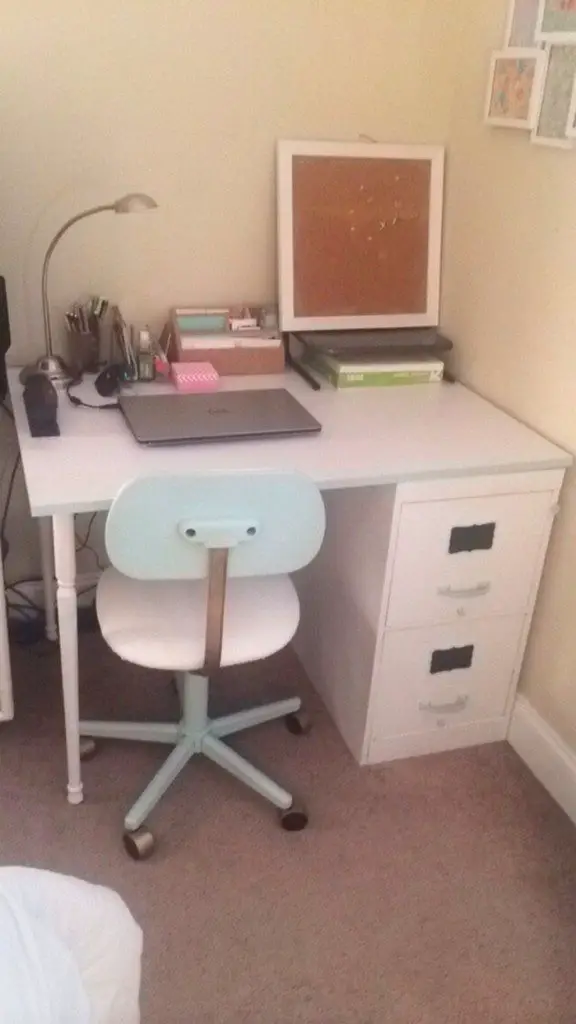
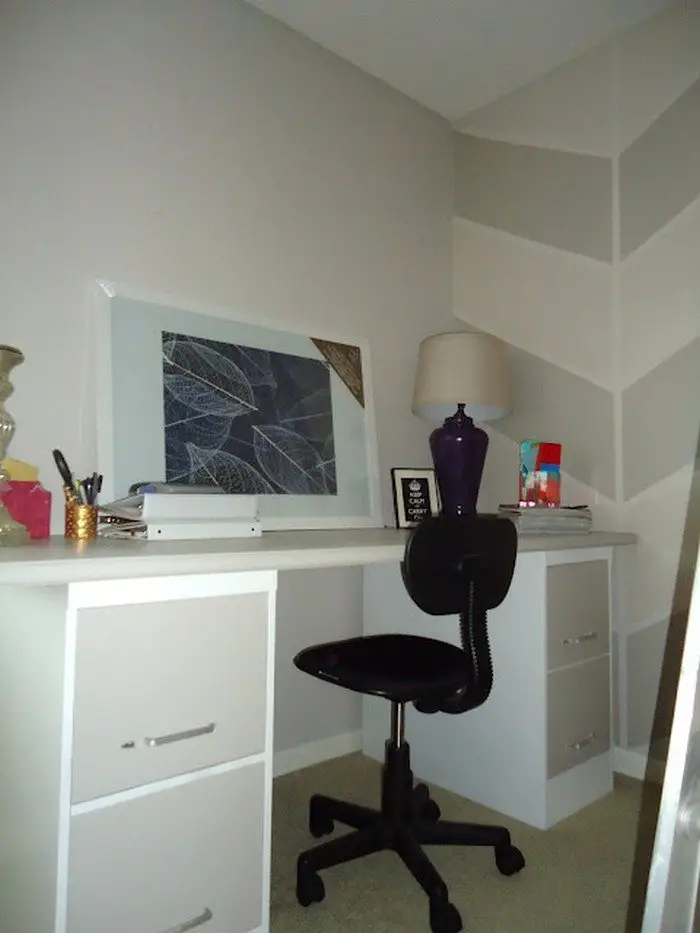
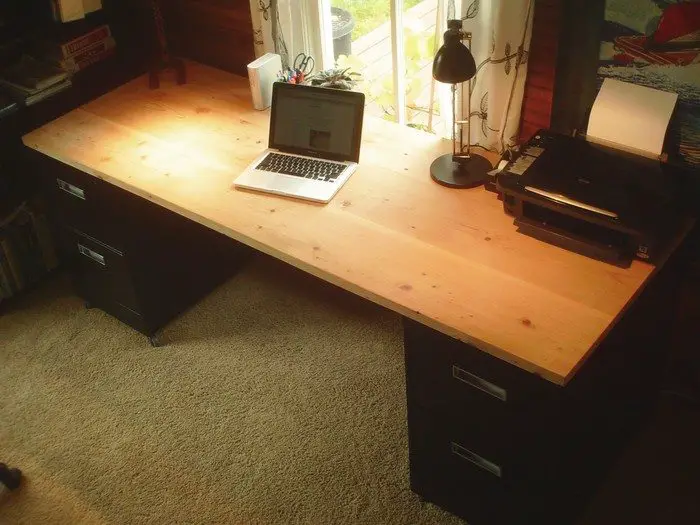
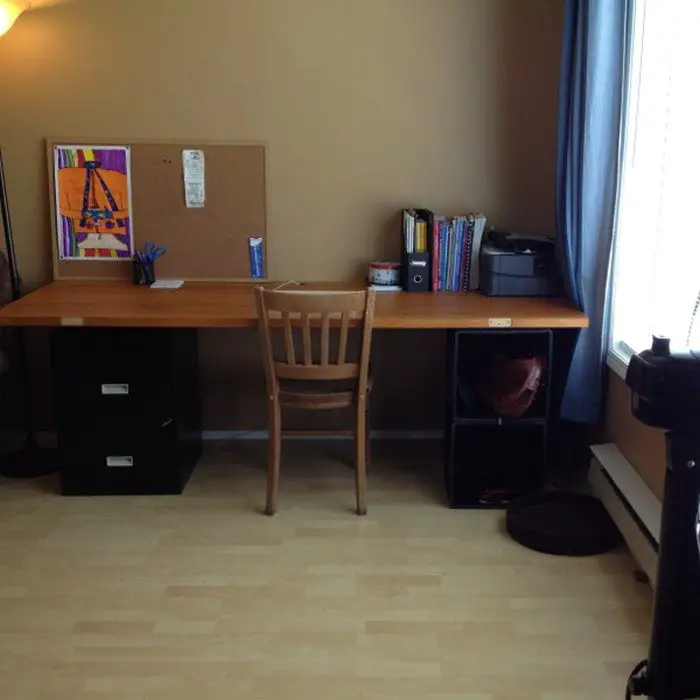
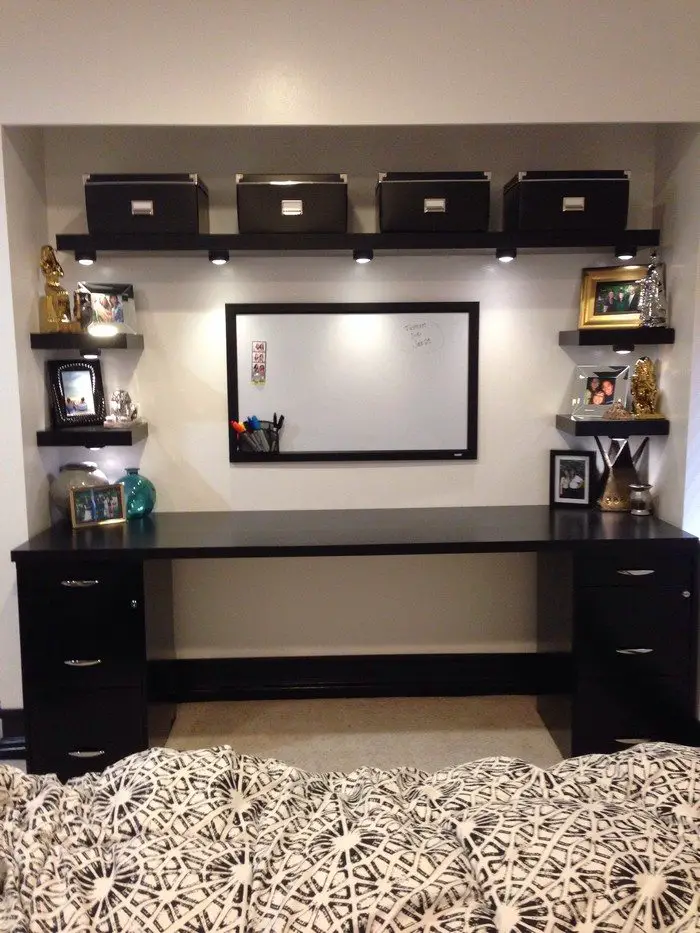
Thinking of throwing that rusty old file cabinet away? Stop right there. Being creative is to see things both for what they are what they can be, we always say. And sometimes, it pays to look with a little more imagination at the stuff we’re about to throw away. One example is to turn your file cabinet into a desk.
If you want to replace your current desk with a modern-looking one to give your work area new life, you might want to consider this DIY project first before purchasing a brand new desk!
Instead of heading to the furniture store to buy an expensive new desk, you can go to a thrift store and get an old file cabinet. You can make your own unique desk using this old file cabinet as ‘legs’ on one side of the table. And while you’re on your search for recyclable and cheap materials, you can also look for an old door or reclaimed timber which can serve as the desktop.
All you have to do is repaint/redesign, put the pieces together and that’s it! Whether you want a ‘new’ desk for your home office, art studio, guest room, or bedroom, this recycling idea is a great alternative which will only require a weekend to finish.
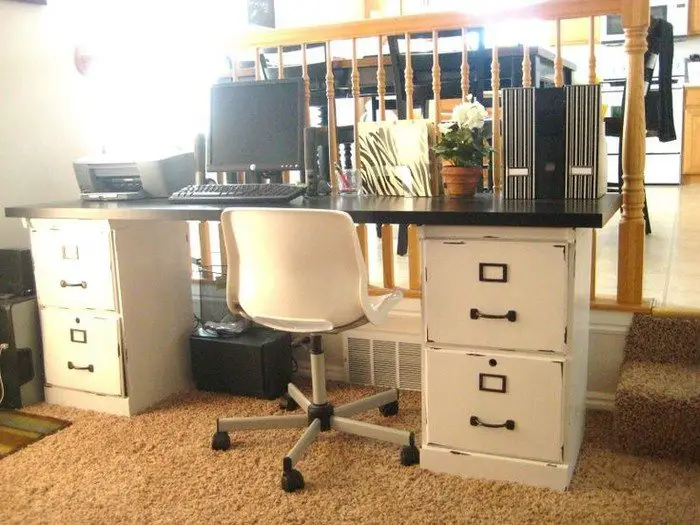
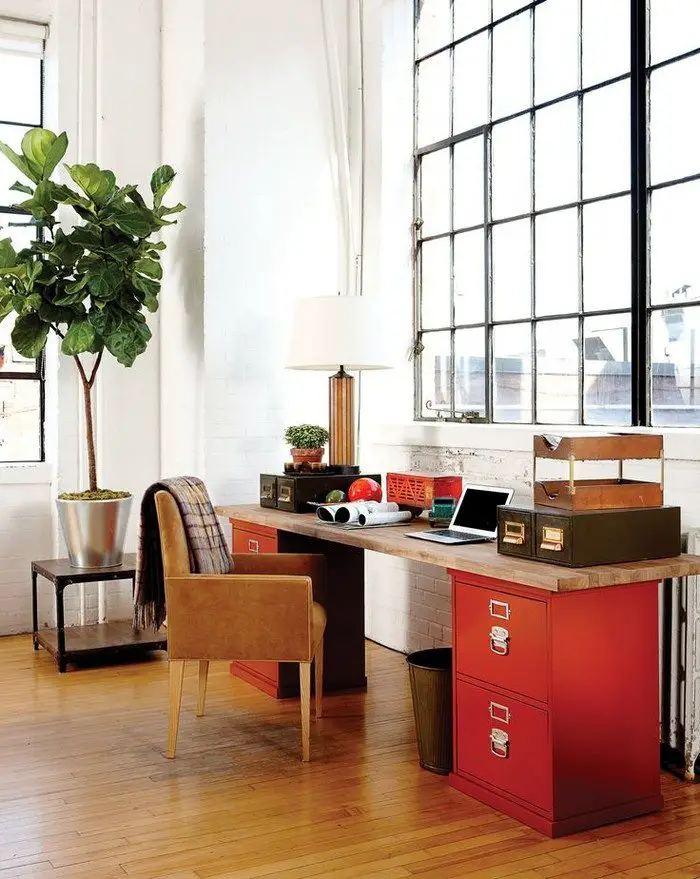
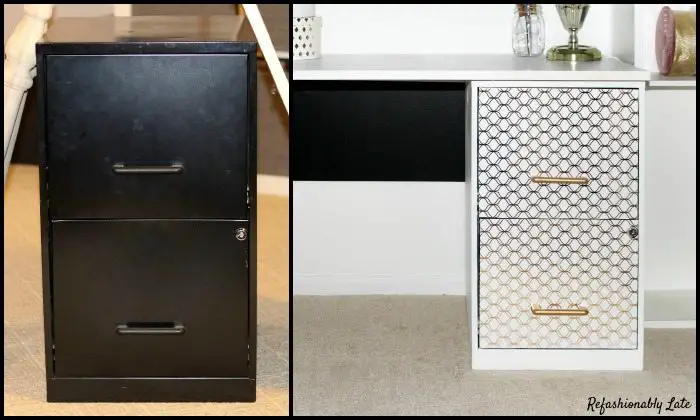
Not too crazy about the file cabinet desk featured above? Find an inspiration that suits your taste from our gallery below and learn the basic steps by heading over to the tutorial from Refashionably Late! :)
Contents
Turning a File Cabinet Into a Desk
Materials
- Old File Cabinet
- Wood (desktop)
- 2 Furniture Legs
- Wrapping Paper
- Mod Podge
- Spray Paint
- Gorilla Glue
Tools
- Drill
- Screwdriver
- Cutter
- Paintbrush
- Circular Saw
- Random Orbital Sander
Instructions
Step 1: Prepare the File Cabinet
- Clean the Cabinet: Start by thoroughly cleaning the file cabinet with a damp cloth to remove any dust and grime. Allow it to dry completely.
- Remove Hardware: Using a screwdriver, remove any existing hardware such as handles or labels.
Step 2: Sand and Paint the Cabinet
- Sand the Surface: Use the random orbital sander to sand down the entire surface of the file cabinet to remove old paint and smooth out any imperfections. Wipe the surface clean after sanding.
- Apply Spray Paint: In a well-ventilated area, apply spray paint to the file cabinet. Choose a color that matches your desired final look. Apply multiple thin coats, allowing each coat to dry before applying the next.
Step 3: Prepare the Wood Desktop
- Measure and Cut: Measure the top surface of the file cabinet and decide on the size of your desktop. Use the circular saw to cut the wood to your desired dimensions.
- Sand the Edges: Sand the edges of the wood to prevent splinters and create a smooth finish.
Step 4: Decorate the Wood Desktop
- Apply Wrapping Paper: Cut the wrapping paper to the size of the wood desktop. Apply a thin layer of Mod Podge to the wood’s surface and carefully place the wrapping paper on top. Smooth out any bubbles or wrinkles.
- Seal with Mod Podge: Apply another layer of Mod Podge over the wrapping paper. Let it dry completely to seal the paper.
Step 5: Attach the Legs
- Position the Legs: Turn the wood desktop upside down and position the two furniture legs at opposite ends. These will serve as additional support along with the file cabinet.
- Drill and Attach: Use the drill to make pilot holes where the legs will attach. Secure the legs with screws using the drill or screwdriver.
Step 6: Assemble the Desk
- Apply Gorilla Glue: Apply Gorilla Glue to the top surface of the file cabinet where the desktop will sit. This will help secure the desktop to the cabinet.
- Attach the Desktop: Carefully place the decorated wood desktop on the file cabinet, aligning it with the edges. Press down firmly and allow the glue to set according to the manufacturer’s instructions.
Step 7: Finishing Touches
- Touch-Up Paint: If necessary, touch up any areas on the file cabinet or legs with additional spray paint.
- Install Hardware: Optionally, you can install new handles or decorative elements to the file cabinet for added functionality and style.
Step 8: Setup and Enjoy
- Position Your Desk: Move the desk to your desired location. If it’s heavy, you might need assistance to position it safely.
- Organize Your Workspace: Add your computer, office supplies, and personal touches to make the desk your own.
Click on any image to start lightbox display. Use your Esc key to close the lightbox.
Thanks to Refashionably Late for this great project. You can get step-by-step instructions here…
Ergonomic Considerations
Creating a desk from a repurposed file cabinet isn’t just about aesthetics. It’s also crucial to consider ergonomics to ensure the workspace is comfortable and conducive to productivity. Here’s how to make your file cabinet into a desk both stylish and ergonomically sound.
Ideal Desk Height
For an ergonomic file cabinet into a desk setup, the height of the desk should allow your arms to rest comfortably at a 90-degree angle while typing. Typically, this is around 28 to 30 inches from the floor. Measure the file cabinet and adjust the height by choosing an appropriate thickness for the desktop or by adjusting the length of additional legs.
Chair and Leg Space
When turning a file cabinet into a desk, ensure there is sufficient space for your legs under the desktop. The standard recommendation for knee space is at least 20 inches in height and 24 inches in width. If the file cabinet is too tall, consider placing it sideways or using shorter legs to maintain enough legroom.
Monitor Placement
In setting up your file cabinet into a desk, the position of the monitor is crucial to avoid neck strain. The top of the screen should be at or slightly below eye level. You might need to add a monitor stand on the desk surface to achieve this ergonomic setup.
Accessory Arrangement
Organizing accessories and supplies on your file cabinet into a desk can significantly affect comfort. Keep frequently used items within arm’s reach to minimize stretching or straining. Use drawer organizers in the file cabinet to store less frequently used items neatly and accessibly.
By considering these ergonomic factors, you can ensure your file cabinet into a desk is not only a creative and economical piece of furniture but also a comfortable and health-friendly workstation.
Advanced DIY Custom Features
Transforming a file cabinet into a desk can be an exciting DIY project, offering not only a unique piece of furniture but also the opportunity to incorporate advanced features that enhance its functionality and convenience. Here are some ideas to take your file cabinet into a desk to the next level with custom features that cater to modern needs.
Integrated Power Solutions
Incorporating power solutions is a key upgrade for any file cabinet into a desk conversion, especially for tech-heavy users. Consider installing built-in USB ports and electrical outlets within the desktop or side panels of the file cabinet. This setup allows easy access to power for charging devices, connecting a lamp, or powering a laptop, ensuring that cords are neatly managed and accessible.
Custom Cable Management
To maintain a clean and organized workspace, effective cable management is crucial in any file cabinet into a desk project. Install cable grommets on the desktop to route wires neatly. Additionally, you can use the drawers of the file cabinet to house power strips and excess cables, keeping them out of sight but easily accessible.
Slide-Out Keyboard Tray
For enhanced ergonomics and space management, adding a slide-out keyboard tray to your file cabinet into a desk can be a game-changer. This feature allows for a more comfortable typing position and frees up valuable desktop space. You can either repurpose a drawer into a keyboard tray or attach a new sliding mechanism under the desktop.
Adjustable Desktop
For the ultimate in customization, consider making the desktop of your file cabinet into a desk adjustable. This can be achieved by installing a mechanical or electronic lift system that allows you to change the height of the desk. An adjustable desktop is particularly beneficial for users who prefer a standing desk option or need to alternate between sitting and standing for health reasons.
Hidden Compartments
Adding hidden compartments or secret drawers to your file cabinet into a desk can provide secure storage for valuable items or documents. These compartments can be cleverly disguised as part of the desktop or as faux drawer fronts, offering an added layer of security and intrigue to your desk.
Personalized Decorative Touches
To truly make your file cabinet into a desk your own, add personalized decorative touches. This could involve intricate paint jobs, decoupage with unique paper designs, or hardware upgrades such as vintage handles or modern knobs. These details not only enhance the aesthetic appeal but also reflect your personal style.
Ergonomic Enhancements
You really should think about your file cabinet’s ergonomics as a desk’s counterpart. Features including a footrest bar at the base, desktop ergonomic edge profiles for wrist comfort, or even a tilt mechanism for drafting or drawing activities can be added. Long hours of work will find the desk more pleasant with these improvements.
Including these sophisticated elements into your file cabinet into a desk transforms a basic piece of furniture into a highly customized, multifarious workspace. These adaptations not only meet functional requirements but also let you creatively interact with your living or workplace, hence your DIY project will be unique in any room.
Conclusion
Not only does turning a file cabinet into a desk save money, but it also lets one be highly customised and expressively personal. This do-it-yourself project provides a fashionable and useful piece for any house or business by drawing on both sustainability and inventiveness. Anyone can turn a standard file cabinet into a productivity and designed home office desk with the correct tools and some imagination.