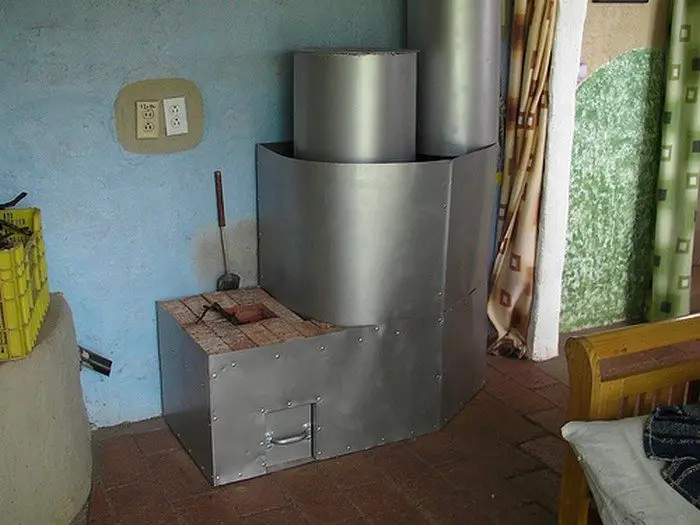
In cold weather, preparations for a kind of human hibernation become necessary. This means that your most important piece of appliance in your home will be the heater!
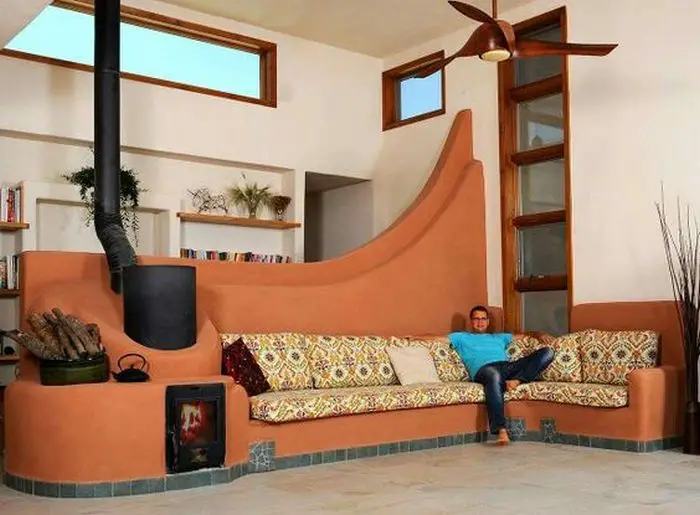
We all love the exquisite feeling of sinking into a thick, cozy blanket in a room that is all toasty and comfortable when cold weather sets in.
Now, a rocket mass heater has got to be one of the best kinds of heater you can have for just that situation. It has all the advantages and features you will ever look for in an appliance that keeps your home warm!
A rocket mass heater uses wood and requires no electricity or gas to run. And because of its insulated burn chamber, it is way more efficient at consuming wood. With a rocket mass heater, you will only need 10% of what you would use in a wood stove to produce the same amount of heat. Also, this heater stays warm even long after the fire has gone off!
The only thing not to like about a rocket mass heater is the time it takes to build one instead of simply buying a pre-made stove. But hey, that’s a very small price to pay considering the long-term advantages it offers!
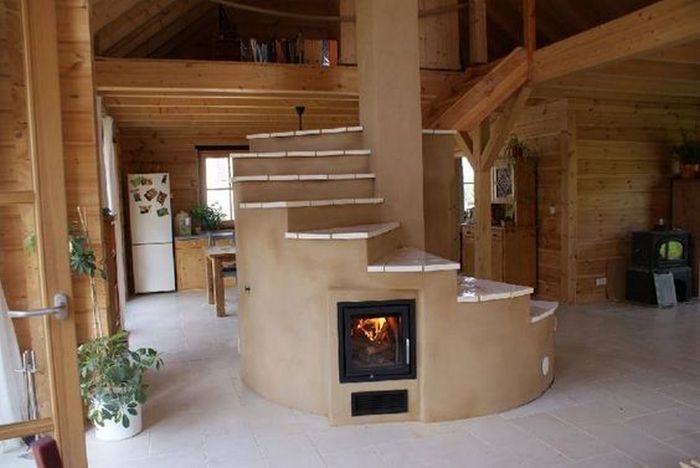
Think a rocket mass heater suits your home? Learn how to build one now through this tutorial!
Building a Rocket Mass Heater
Materials
- 26 gauge Sheet Metal: 48” x 18″, 16” x 109”, 20” x 89”, 41’ X 36”
- 16 gauge Sheet Metal: 31” x 14”, 32” x 40”, 33 ½” x 43″, 34” x 34”
- 20 ft. of 1” Square Tubing
- 6” Well Casing Pipe, ¼” thick
- Stovepipe and Elbow
- Perlite
- Sand
- ½” sheet Metal Screws
- Fire Bricks (high heat cement if you wish to use mortar)
- Some CEB or Regular Bricks
- High-Temp Silicon
- High-Temp Paint
Tools
- Tape Measure and Marker
- Tin Snips
- Pliers
- Plumb Bob
- Hammer
- Clamps
- Saw (metal and masonry blades)
- Drill
- Welding Equipment
Steps
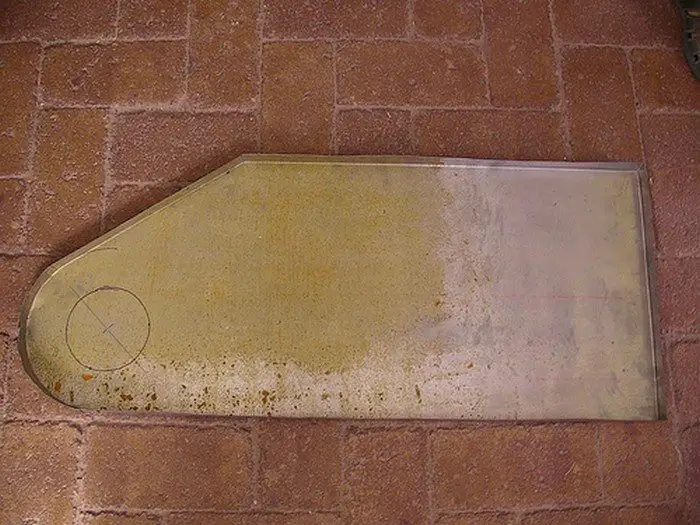
The base: We made this rocket mass heater as a self-contained box, one that could be disassembled if necessary (mainly due the fact that is was a prototype). For that reason, we used sand as our thermal mass, and thus the box that held it in needed a bottom.
Cut a piece of 26 gauge sheet metal, so that it fits the space you want to fill, plus 1 inch extra all the way around. In our case, we made the base about 46” x 18” (48” x 20” including the 1” flap), with one corner cut out and rounded off to allow more space as you come through a doorway (see photo).
Mark a line all the way around the shape, 1” in from the rocket mass heater’s edge.
Using tin snips, cut from each corner in to the 1” line. If you have any curves, you will need to make a few cuts in to the line.
Using pliers, bend the 1” flaps upwards, so that they are at right angles to the base. This is what you will screw the walls to.
At the spot where your rocket mass heater ash box will go, right under the fire, cut this flap off or bend it underneath the base. For this design, the ash box starts at 6 ¼” from the left, front corner and is 6 ½” wide.
Put the rocket mass heater base in place. Hang a plumb bob from the center of where your stove points down, and mark the metal. Use that mark as the center and draw a circle around it the same diameter as your stovepipe (usually 6”). If you don’t already have a stove pipe from a previous stove, just line up the base with the hole you have going through the wall and put a piece of stove pipe onto the base plumb with where it will go. Make a circle on the metal.
You can now move the rocket mass heater base to a more convenient place to work.
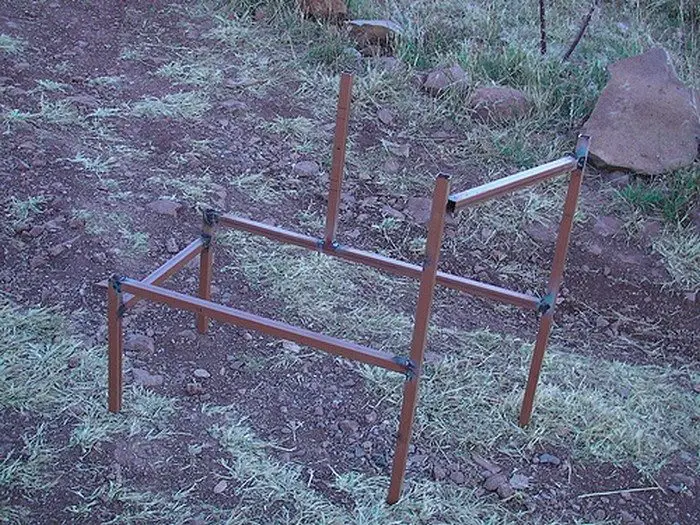
Frame: You need a frame, to which you will attach the sheet metal walls of the rocket mass heater. We used 1” square tubing. Because this RMH is effectively comprised of three levels (fire box, sand that surrounds most of the heat riser and stove pipe), this frame is fairly complicated to describe, so make sure you refer to the photos for clarification. As you’re welding everything together, make sure it’s all square and plumb.
The two left-hand uprights are 15” tall. They are connected by a 16” piece of metal that is welded in between the two uprights a couple of inches down from the top.
There is a horizontal piece of square tubing that runs most of the back of the rocket mass heater (up to the curve we have on the right-hand side). It is 36 ½ ” long and is welded in between the back, left-hand upright (at the top) to the back, right-hand upright, which is 34” tall and so continues up past this horizontal.
Mark 13” from the left-hand edge of this 37” long horizontal piece. Weld another upright piece, 19” tall, to the right of this mark.
Cut another horizontal piece for the front. It wants to be 28” long and will be welded in between the front, left-hand upright and the front right-hand upright, which is 34” tall.
Measure in between the two right-hand uprights and cut a piece of square tubing to fit exactly (it’ll be about 19”). Weld it in between the two, at the top.
You also want a frame around the opening of the ashtray. Our opening is 6 ½” wide by 7 ½” tall, so we cut two uprights at 7 ½” tall each, and one horizontal piece, 8 ½” wide, which we welded on top of the uprights.
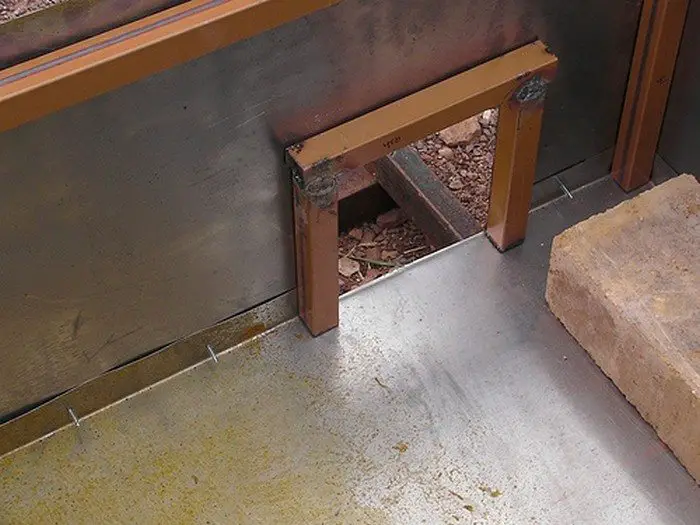
Place your frame inside the rocket mass heater base piece of metal, so that the corners match up.
As a recap, you will need to cut the following lengths of square tubing: 15”, 15”, 16”, 36 ½”, 19”, 34”, 34”, 28”, 19”, 8 ½”, 7 ½” and 7 ½”, making a total of 20 ft, or one piece of tubing.
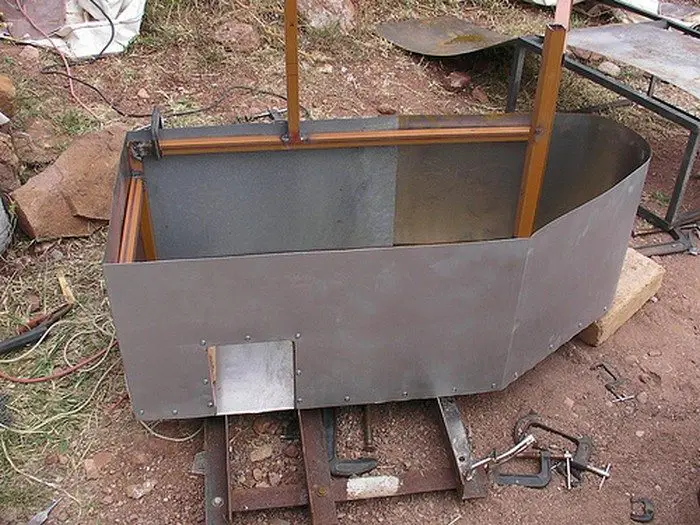
1st layer metal: This first level of sheet metal comes to the top of the fire box area. It is 16” tall (1” above the top of the left-hand square tubing frame).
Cut a piece of 26 gauge sheet metal 16” by the total perimeter of the rocket mass heater, plus 1”. In this case, 16” x 109”.
Along one 16” end, draw a line, 1” in from the edge.
Clamp the sheet metal in between two straight edges of metal, like square tubing, with the 1” sticking out.
With a hammer, bend the 1” part until it is at right angles to the rest of the sheet metal.
Place the 1” flap on the back of the back, left-hand upright of the frame, with the rest of the sheet metal coming forward towards the front, left upright. The bottom of the sheet metal wants to be on the outside of the base piece of metal, all the way to the ground.
Screw the metal into the left-hand edge of the back upright (don’t screw in the flap yet).
Screw the metal in to the side of the front, left upright, then bend it around the rocket mass heater corner.
Continued Page 2…

