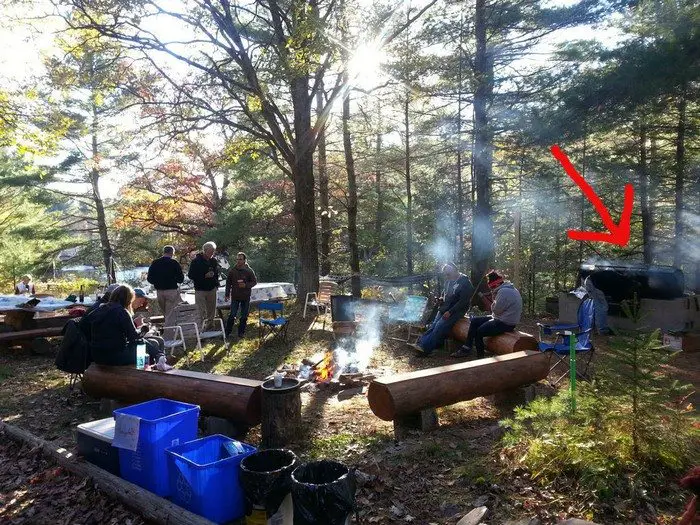
We gave location quite a bit of thought before assembling the rotisserie pit BBQ. Remember that it will be giving off a lot of smoke and heat once it’s fired up. We chose a convenient spot that was a safe distance from trees and play areas. If you use an electric motor you will also want to be located near an outlet.
As this is a rotisserie pit BBQ we had to consider tree roots. They are difficult to dig through (!) and also pose a fire hazard. The fire could get into the roots and smolder underground for an extended time, making its way back to the tree eventually. I suggest having buckets of water around when the BBQ is fired-up… just in case.
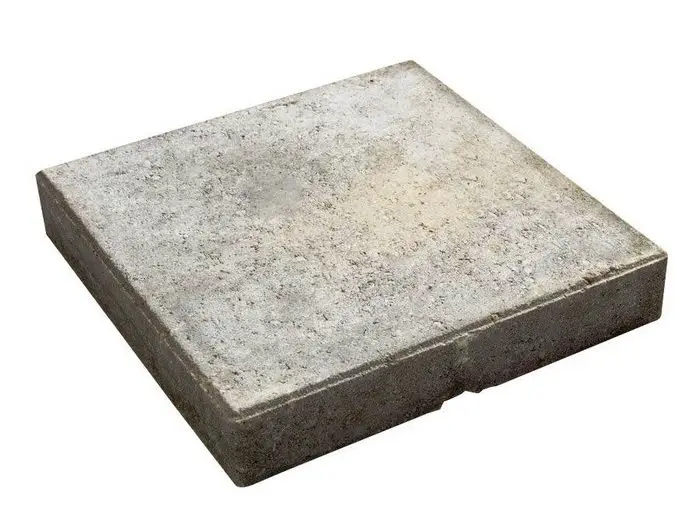
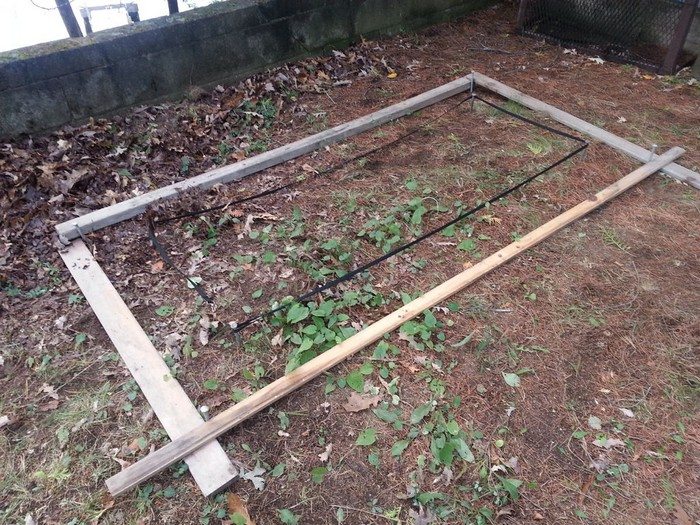
FYI – concrete blocks are HEAVY. Each block weighs 40-50 lbs, so forty of them will weigh a lot! A solid foundation of our rotisserie pit BBQ is absolutely critical. After leveling the ground we decided to first lay down 12″ x 12″ patio stones to help distribute the weight and keep the bricks from sliding into the hole.
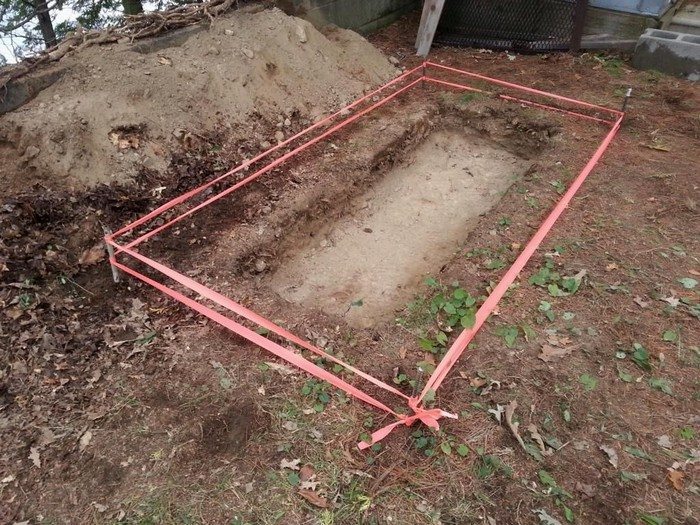
We measured the area and used stakes with flagging tape to mark the outside perimeter of the patio stones. NOTE: It would have been wiser to wait until AFTER laying the patio stones before digging the one-foot pit. We dug first and made the hole too large by mistake. Doh!

To keep the soil in place we used 12″ strips of expanded metal held in place with 2 ft rebar stakes. We also added thin, flat rocks behind the metal screen – cause it just seemed like the right thing to do.
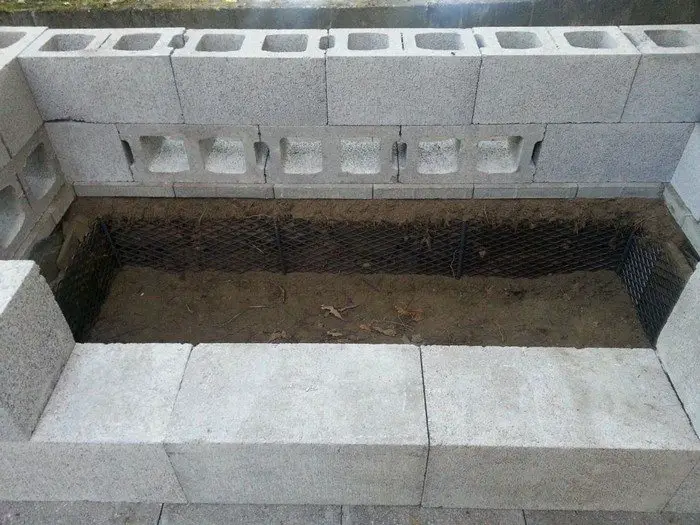
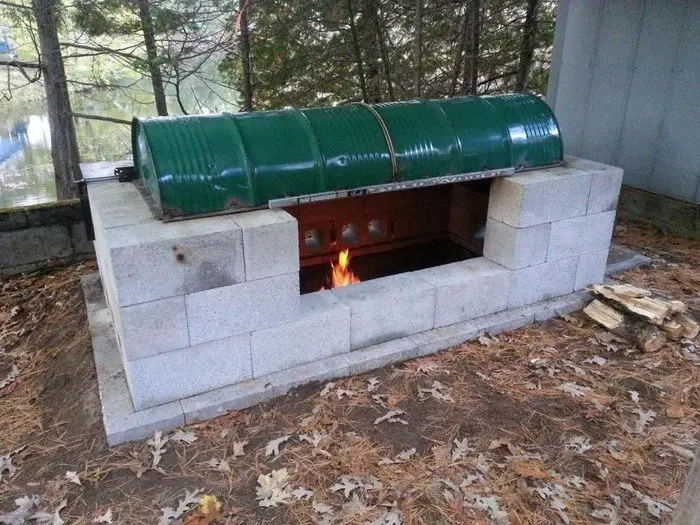
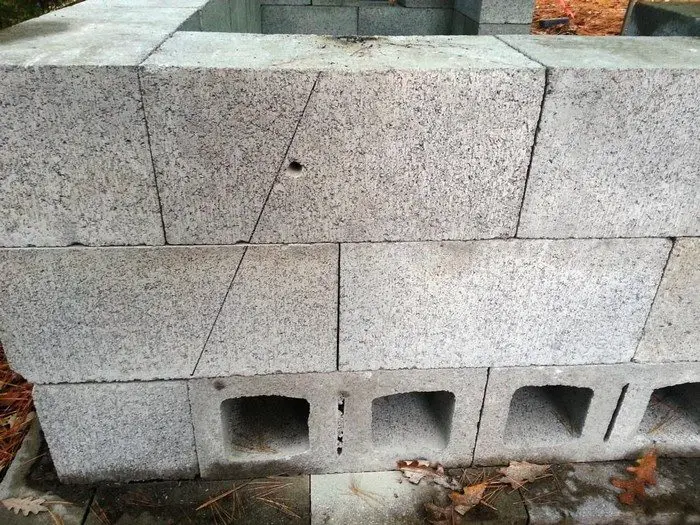
Now you can lay the blocks tightly against each other, checking for level (and square) often. Many of our blocks had little bumps and “extra bits” that had to be teased off with a hammer & an old ax. Lay some of the 1st-row blocks sideways to allow for air to feed the flames.
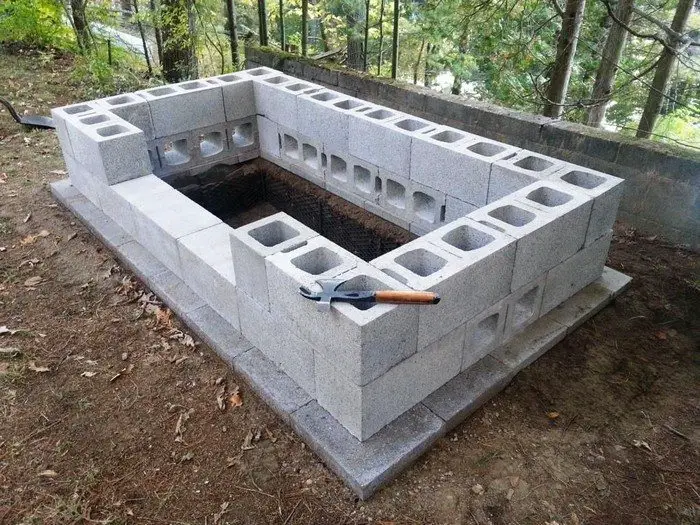
In some spots, we needed “half blocks” to complete a row. In other areas, we used “cap blocks” which have a finished surface over the holes (not solid top to bottom). They were almost the same cost and gave it a more polished look IMHO.
On top of the patio stones, we put down 3 rows of cinder blocks. On one end of the 3rd row, we judiciously placed a half block to leave a gap for the spit to come through. Using supports (next step) the spit should come out just above, but not touching, the 2nd row of blocks.
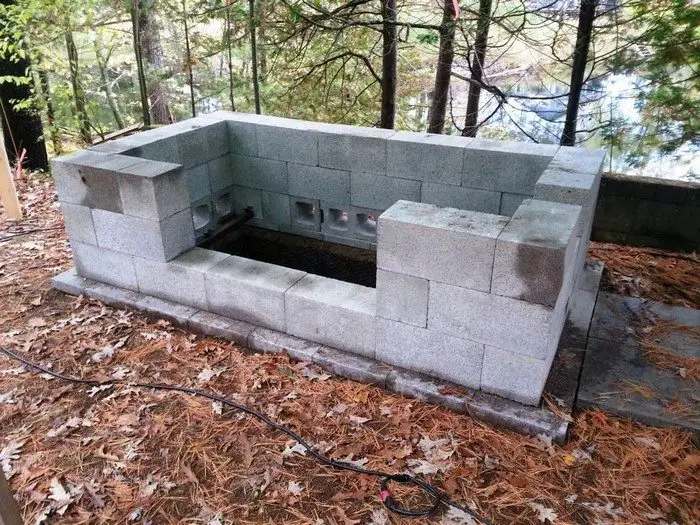
After putting 2″ of sand on the bottom of the pit we ended up with 25″ height from ground to spit. This seemed adequate and the amount of cooking heat can ultimately be controlled by the size of fire and opening of the lid.
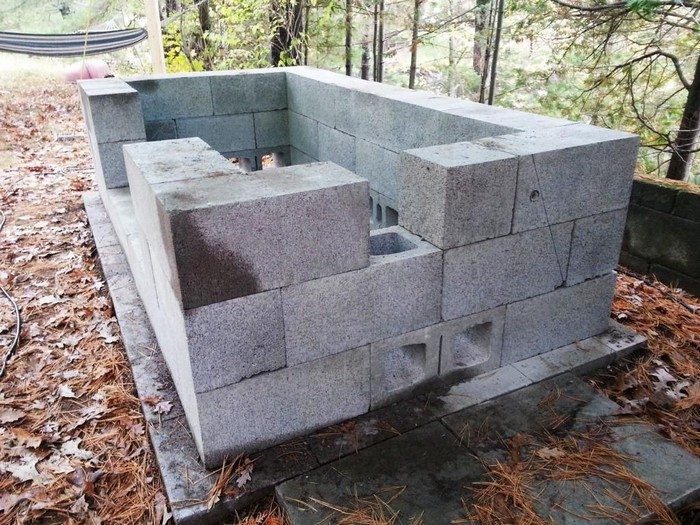
We also measured for a 1/2″ hole to be drilled in the top row of blocks on either end. This is used to mount the hinge brackets of our rotisserie pit BBQ on either side.
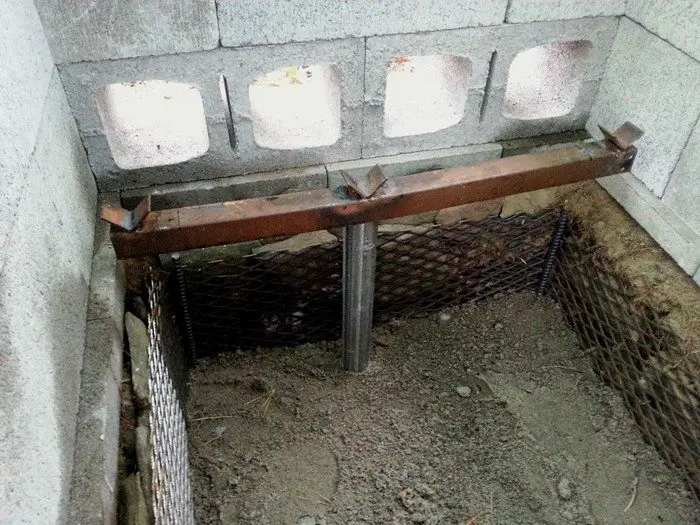
For the spit, we used an 8-foot black steel pipe with a few holes drilled along the length. A gear was welded to one end. To support it we used 1.5″ pipe and hammered it 24″ into the ground at both ends of the rotisserie pit BBQ. On the tops of these pipes, we welded horizontal arms at the desired height, and “v” brackets to hold the rotating pipe.
We could have simply supported a single rotisserie pipe but we wanted the option of adding other things later, such as a grill. For this, we welded horizontal steel arms to the support pipe, and more “v” brackets to support additional pipes.
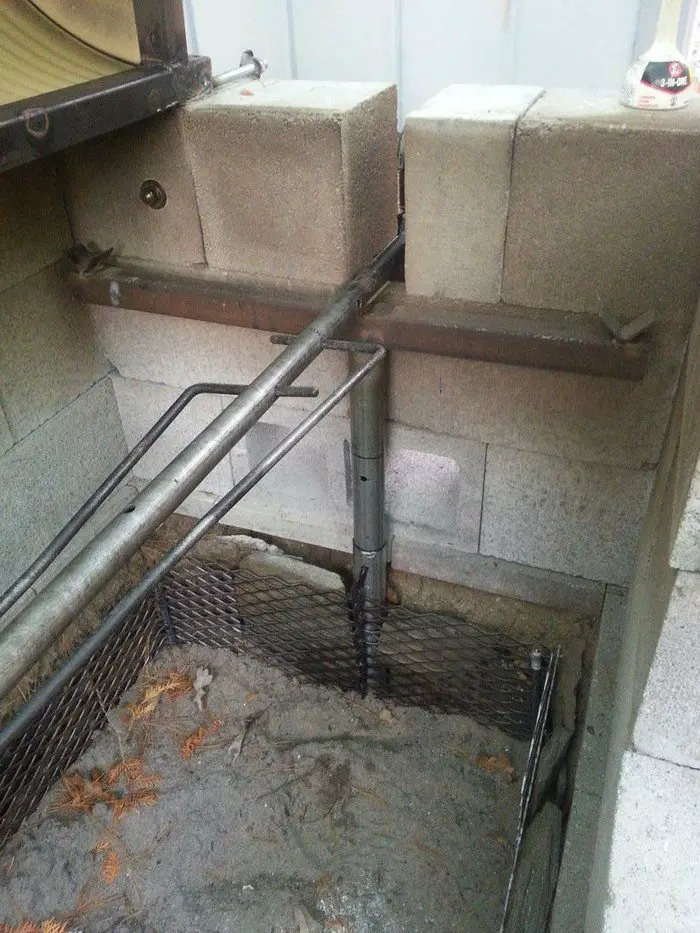
Note that we made the height-adjustable by sliding two sizes of pipe inside one another. This will allow the rotisserie pit BBQ grill to be lowered for traditional camp-fire cooking, or raised for warming pots and plates. We carefully drilled matching holes through the pipes so that a long pin or bolt can be inserted at various heights.
Continued Page 3…


