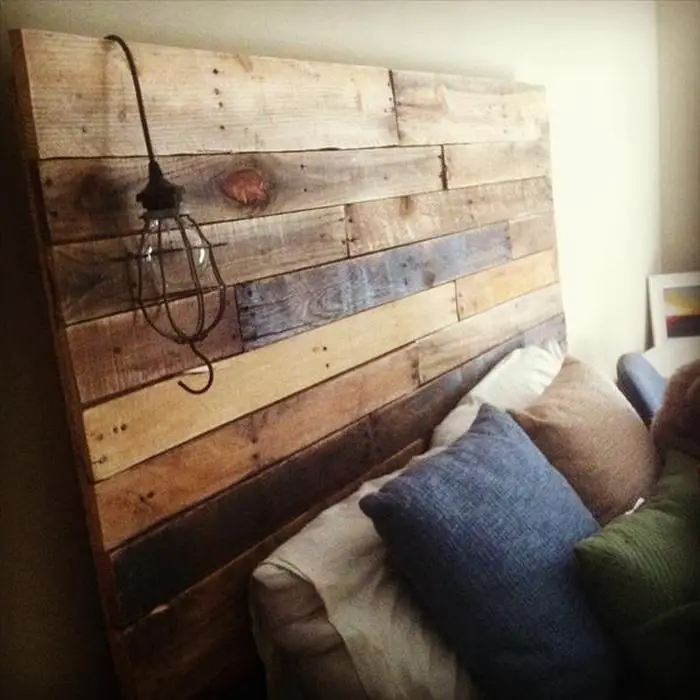
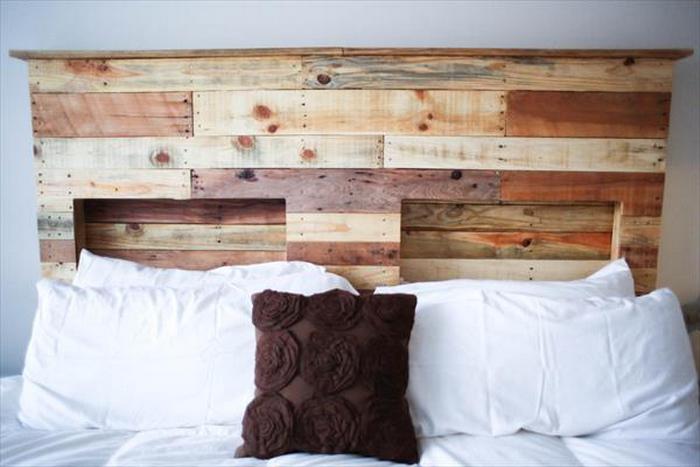
Here’s another great creation made from recycled pallets. Also another proof that one doesn’t have to be a professional to create something impressive for the home!
This headboard was made by an amateur DIYer who is just beginning to learn wood work. His strategy – to go for beautiful yet inexpensive reclaimed wood. Clever!
Click on any image to start lightbox display. Use your Esc key to close the lightbox. You can also view the images as a slideshow if you prefer.


Read on to see how he built his DIY pallet headboard. :)
Contents
Building a Pallet Headboard
Materials
- 2 Wooden Pallets
- Wood stain
- Polyurethane
- Screws
- 4″ Bolts
- Black Latex Paint (optional)
- Light Fixture (optional)
- Black Spray Paint (optional)
Tools
- Circular Saw
- Reciprocating Saw (optional)
- Drill
- Sander
Steps
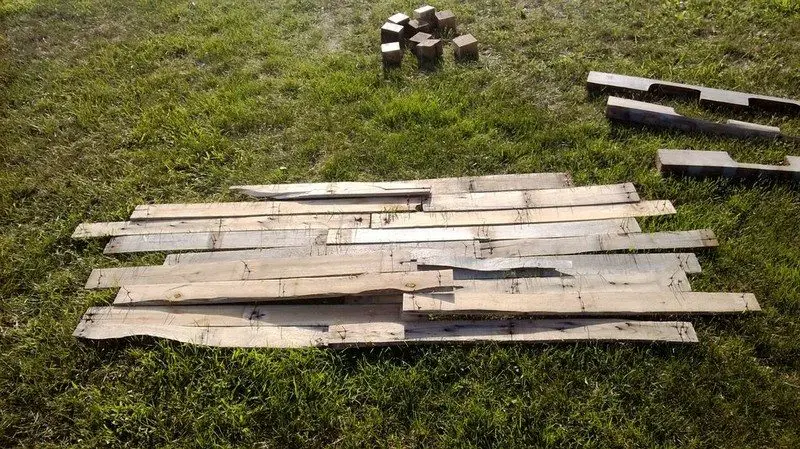
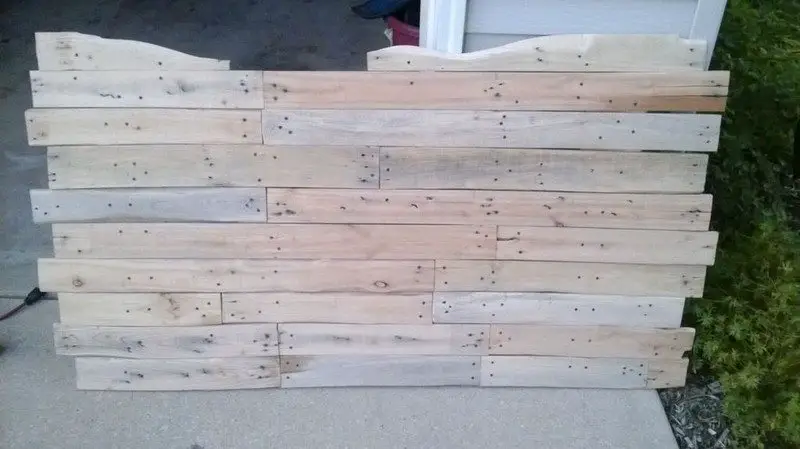
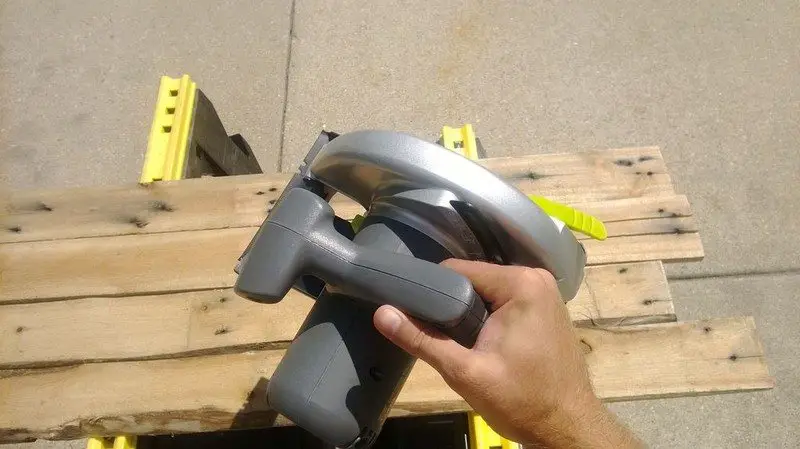
After disassembling the pallets (by hand at first until I bought a reciprocating saw which made it much easier) I laid the wood out to get a general idea of how much space I could cover. For my bed it had to start two feet off the ground and be about 4′ by 3′.
After sketching out the shape on paper and figuring out the dimensions it was time to cut the wood and sand it.
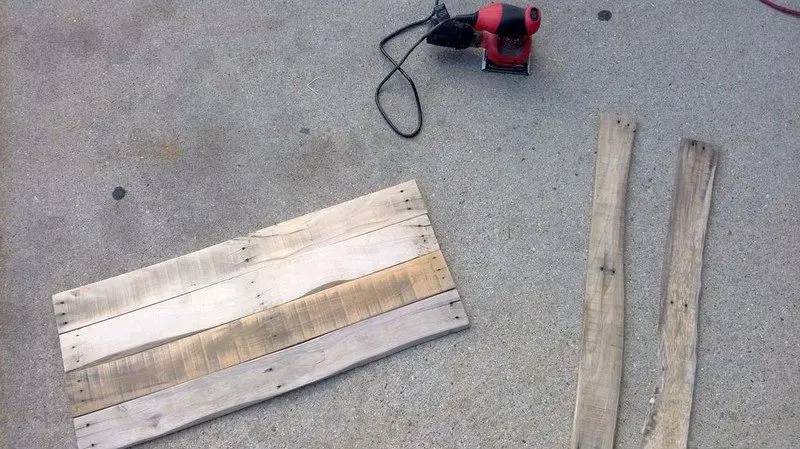
Once the wood was cut and smooth I began to assemble it into it’s final shape. I have limited space and had to construct it in my driveway which meant I had to move the wood when not working on it. To remember where each piece went I numbered them with pencil on the back.
I thought about how to attach all the wood and decided to use four boards cut just under the height of the headboard to screw to the back. This worked well and ended up being pretty sturdy too.
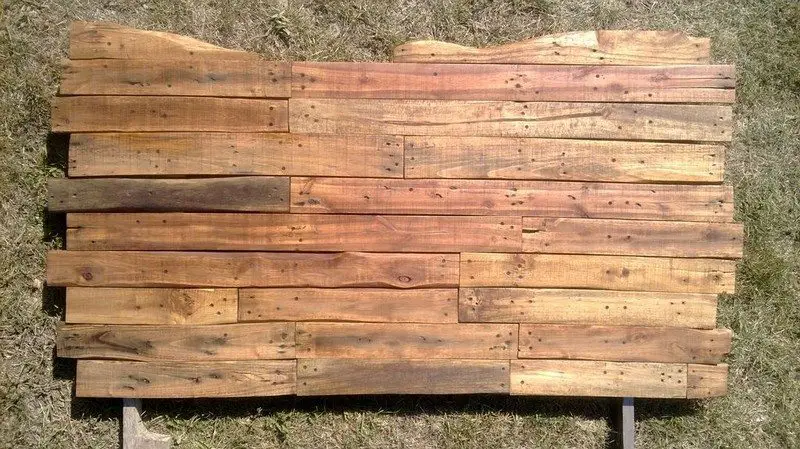
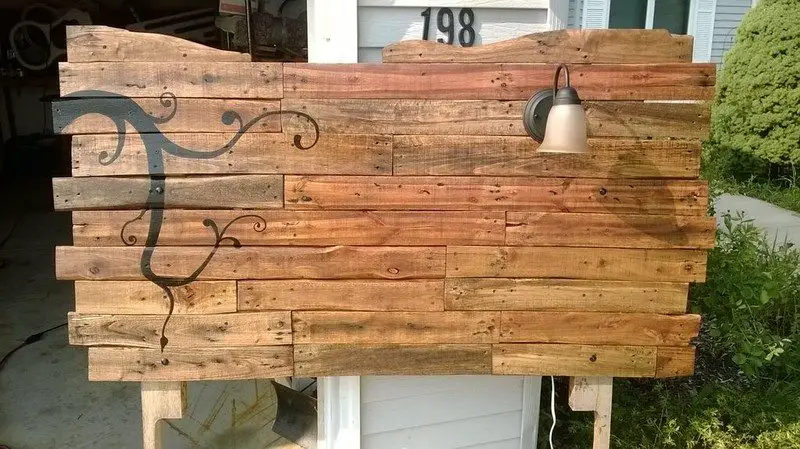
Now that it is all put together I applied the stain (Miniwax Golden Oak)…
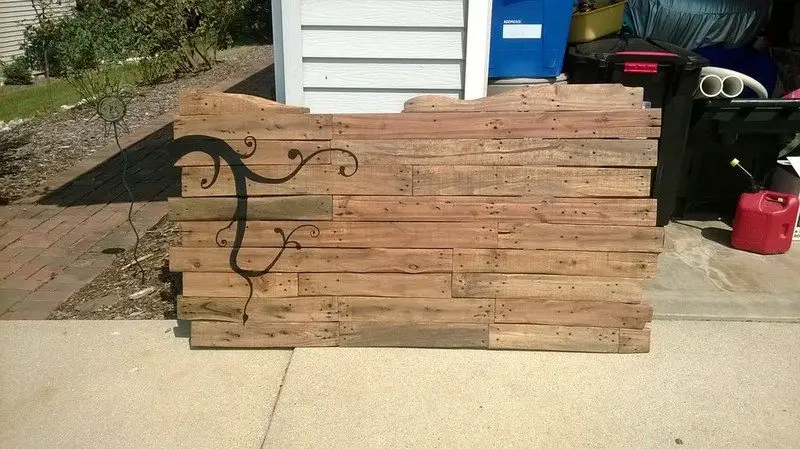
sketched and painted the design (with black latex paint) and applied two coats of Miniwax Gloss Polyurethane (sanding in between the first and second coat of gloss).
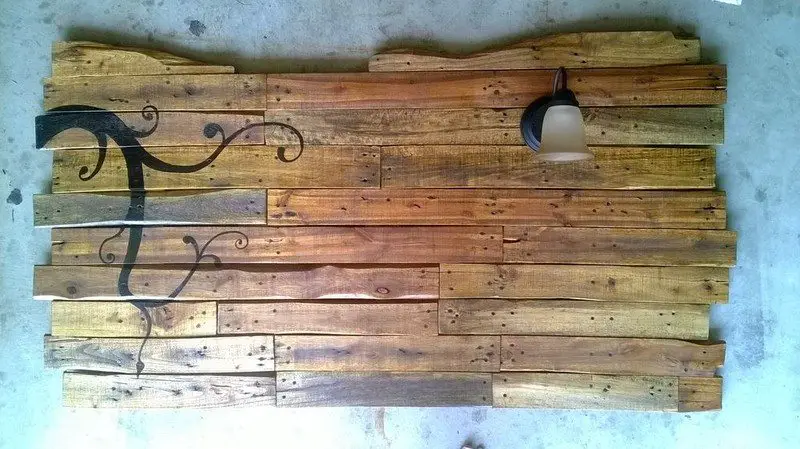
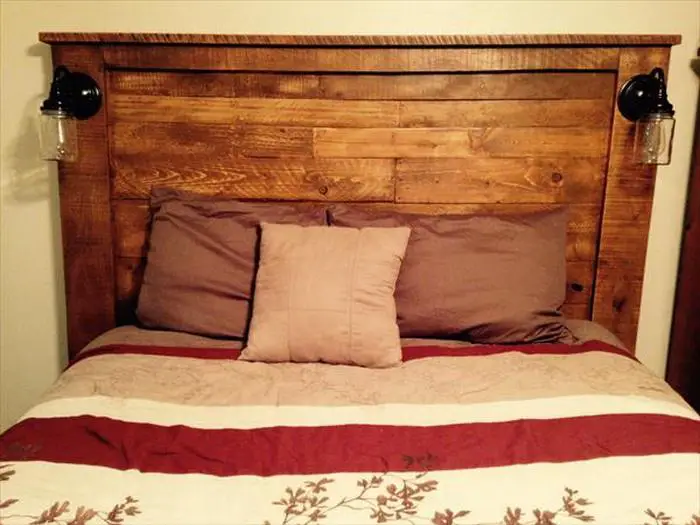
I thought it would be cool to have a reading light for the headboard so I purchased a light fixture. After salvaging an inline switch and cord from an old Halloween decoration, I wired it to the lamp fixture.(Note: the neutral wire in the cord is the one with a slight ridge to it).
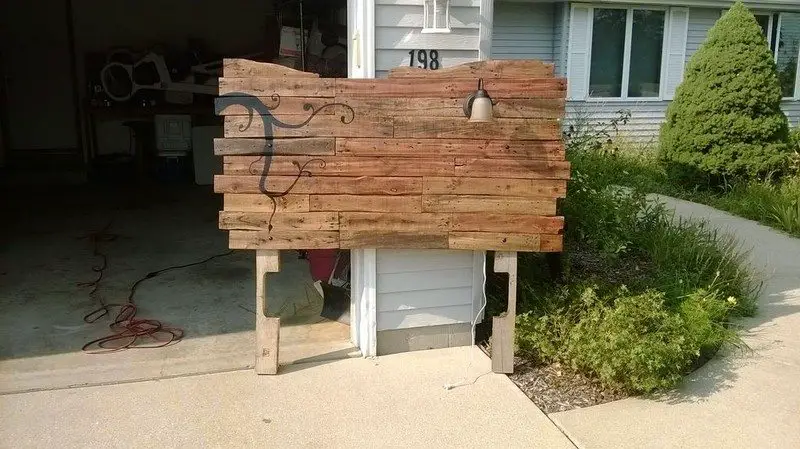
I wasn’t exactly sure how to attach the legs but after walking around the nuts and bolts aisle long enough I found some heavy duty 4″ bolts with rounded heads. After spray painting the heads black (to match the nails, design, and fixture), I drilled two holes per each leg (matching them to holes drilled in the headboard) and bolted it together.
I’m pretty happy with the end result, especially since I learned as I went.
Thanks to AmateurHours for this great project.
Selecting the Ideal Pallets for Your DIY Pallet Headboard
Finding the appropriate pallets comes first when you’re ready to begin your own pallet headboard. Selecting wisely is important for the headboard’s appearance as much as its durability. Here’s how to choose the safest and most attractive pallets for your project.
Where to Find Pallets
Start your pallet headboard project by obtaining several high-quality pallets. Look at nearby companies or warehouses where pallets are frequently thrown away. Make sure the pallets are in good shape—no significant decay or damage—as these problems can undermine your headboard.
Safety First
Safety is super important, especially since this headboard will be a part of your sleeping area. Steer clear of pallets treated with harmful chemicals. Avoid any marked with an “MB,” which stands for methyl bromide, a dangerous pesticide. Instead, go for pallets stamped with “HT” for heat-treated, which means they were processed in a safer way, using heat instead of chemicals.
Type of Wood Matters
The wood type of your pallets can affect both the look and durability of your pallet headboard. Hardwoods, like oak, are not only sturdy but also have a rich, appealing grain that looks great when finished. Softwoods might be lighter and easier to work with but might not hold up as well over time. Consider the final look you want and choose the wood type that fits your vision.
Prepping Your Pallets
Choosing the correct pallets is the first step; getting them ready comes next. In order to eliminate filth and grime, the pallets must be carefully disassembled while attempting to preserve the wood, any rough areas sanded off, and thoroughly cleaned. This preparation work guarantees a finished result of which you can be pleased and facilitates the construction of your pallet headboard.
A sturdy and beautiful pallet headboard requires careful selection of the pallets. You’ll set yourself up for success and produce a product that is both useful and beautiful with the correct materials and preparation.
Decorating and Styling Tips for Your DIY Pallet Headboard
Once you’ve built your DIY pallet headboard, the next exciting step is to style it in a way that complements your bedroom’s decor. Whether you’re aiming for a rustic charm or a more modern look, the right decorations and styling can make your pallet headboard a standout feature.
Here are some tips to help you beautifully integrate your new headboard into your bedroom.
Choose a Color Scheme
The color scheme you choose can greatly enhance the look of your pallet headboard. If you’ve left the wood in its natural state, consider bedding and decorations that offer a pop of color for contrast. For a more unified look, paint the pallet headboard in a color that matches your existing bedroom palette. This can tie the room together and create a cohesive feel.
Add Textural Contrast
Your pallet headboard can really shine when you play with textures. If the wood’s natural rough texture is preserved, soft, plush textiles like velvet or silk pillowcases and throws can add a luxurious feel. Conversely, if you’ve sanded the headboard down to a smooth finish, incorporating rougher textures like a chunky knit blanket or burlap decor pieces can add interesting visual contrast.
Lighting Enhancements
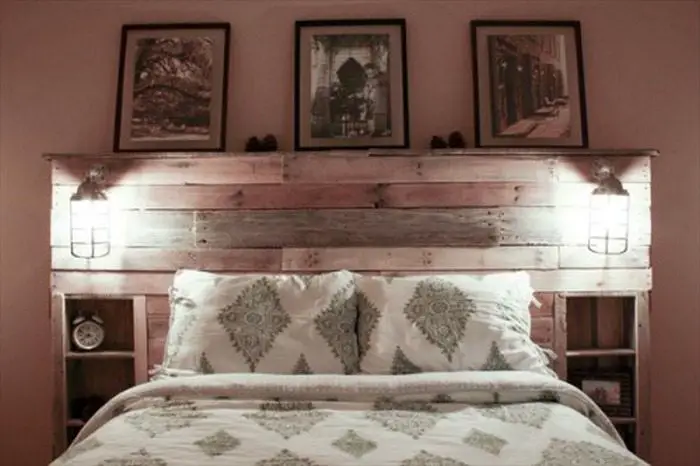
Adding lighting to your pallet headboard can transform it from a simple bedroom accessory into a functional piece of furniture. Consider mounting sconce lights on either side for a symmetrical look, or hang fairy lights over the top for a whimsical touch. The right lighting can not only enhance the mood of the room but also highlight the headboard’s best features.
Personal Touches
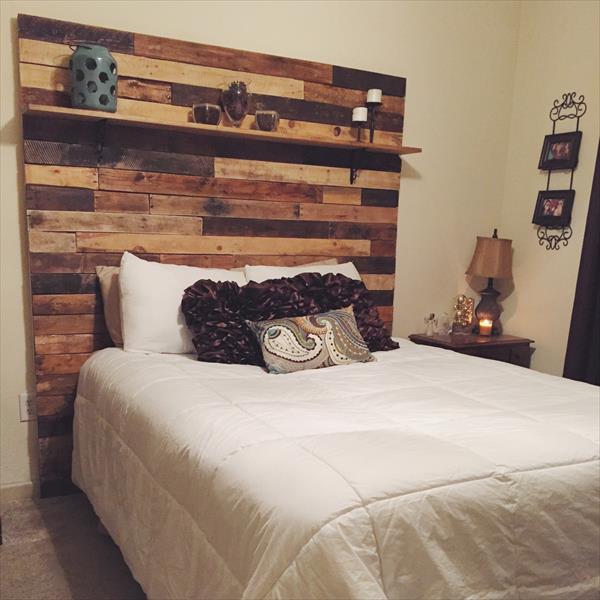
Finally, personalizing your pallet headboard adds a unique touch that makes the space truly yours. Display items that mean something to you, like family photos, favorite books, or small artworks, on shelves if your headboard design includes them. You could also stencil a favorite quote or pattern directly onto the wood for that extra personal flair.
Incorporate Artwork
Consider hanging artwork above your pallet headboard to draw the eye upward and add a splash of color or interest. Choose pieces that reflect the theme of your room or your personal tastes. Whether it’s a large canvas print or a collection of smaller frames, artwork can significantly impact the room’s aesthetic and complement the rustic nature of the pallet wood.
Use Decorative Pillows
Decorative pillows can transform the look of your pallet headboard and your bed as a whole. Mix and match different sizes, colors, and patterns to create depth and add an element of coziness. Pillows with metallic accents or interesting textures can also bring a modern twist to the rustic nature of the pallets.
Experiment with Headboard Height
Playing with the height of your pallet headboard can alter the room’s look dramatically. A taller headboard can be a statement piece, especially in rooms with higher ceilings, while a shorter one might blend more seamlessly with minimalist decor. Adjusting the height can help tailor the room’s dynamics to suit your style preferences.
Seasonal Decor
Adapting your pallet headboard’s decor with the seasons can keep your bedroom looking fresh and timely. In spring, consider lighter, pastel linens and maybe some floral accents. For fall and winter, add warmer tones and richer textures. This not only keeps your decor interesting but also makes your bedroom feel seasonally appropriate.
Reflective Elements
Adding mirrors to or around your pallet headboard can enhance the brightness and spaciousness of your bedroom. Whether you choose to attach a small mirror directly to the headboard or place a large floor mirror nearby, reflective surfaces can maximize light and add an elegant touch.
Decorating your pallet headboard thoughtfully can significantly elevate your bedroom’s style and ambiance. With these tips, your pallet headboard will not only serve as a functional piece of furniture but also as a reflection of your personal taste and style.
Conclusion
Making a pallet headboard gives your bedroom decor a unique and personal touch. A little creativity and the appropriate materials can help you design a useful item that improves the comfort and style of your area. In addition to being an inexpensive do-it-yourself project, this one gives you a fulfilling sense of achievement as you see your workmanship come to life.


