
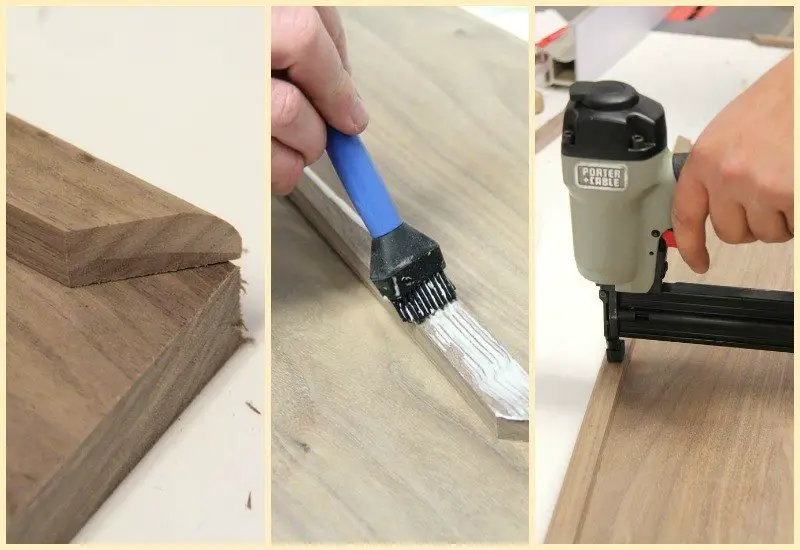
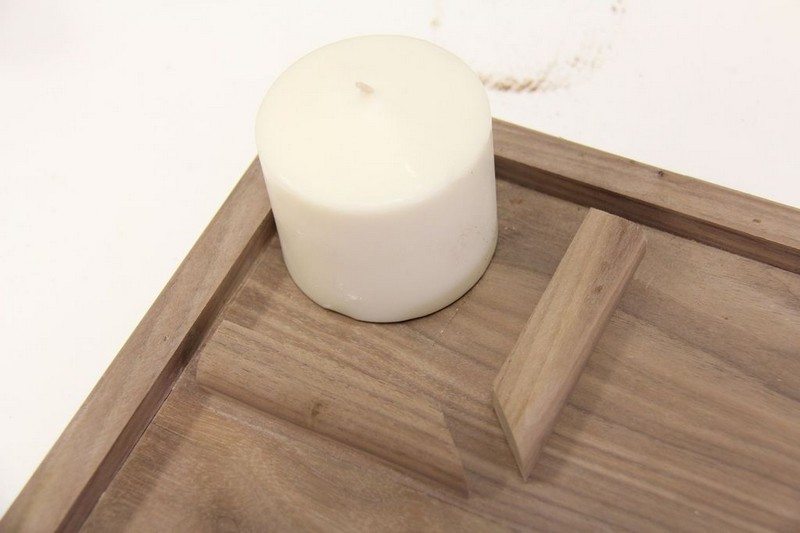
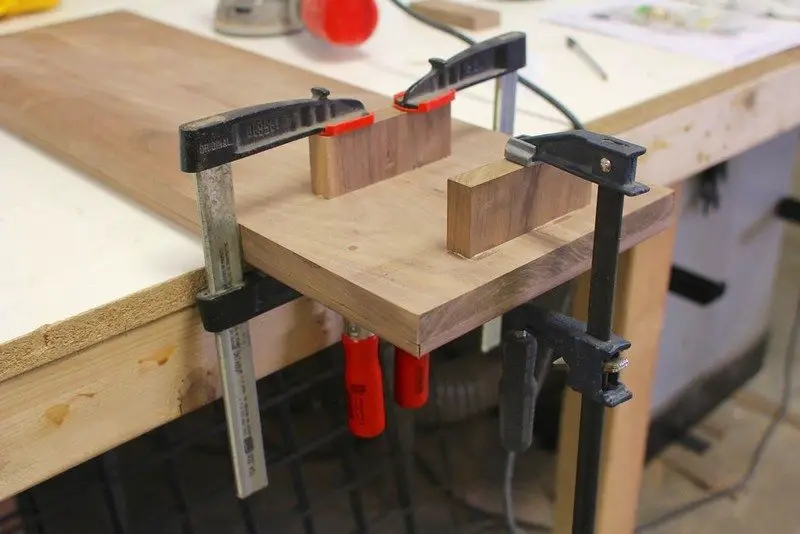
Once the outer molding was on, we still had some extra walnut quarter round material left. We decided to make a small box in the corner of the caddy to hold things like candle wax, a wine glass, or perhaps a flower vase in place. Cut two short sections of quarter round with a single mitered end, and position, glue, and finally brad nail the corner piece in place.
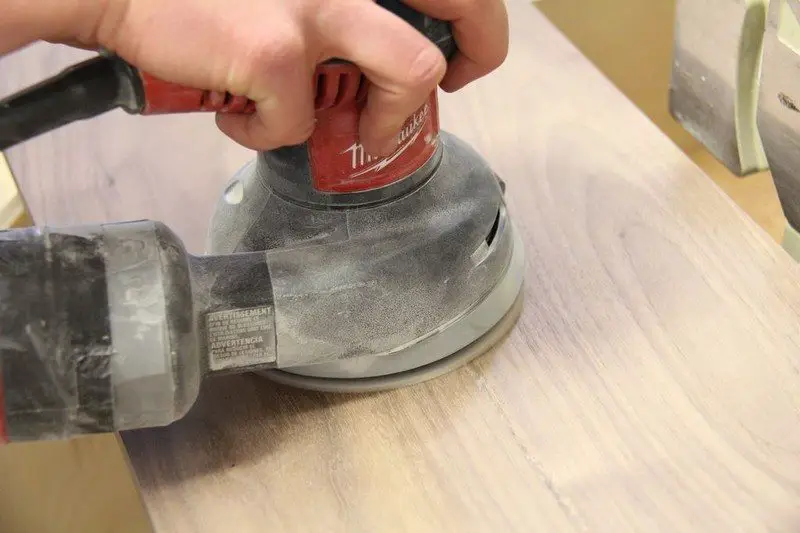
Sand the entire caddy with 120 and then 220 grit sand paper. I used a random orbital sander, but it’s small enough to do by hand. Some of the detail areas need to be hand sanded.
Some kind of basic system is necessary to hold the wood in place on the tub so it doesn’t slip around and fall in. We measured the interior width of our tub and installed a very simply cleat system that locks the caddy in place securely.
The process went something like this: measure from the wall to interior left side of the tub. Measure the distance between the two sides of the tub, inside measurement. Finally, measure the width of the exterior tub wall on the right side. Mark these measurements onto the tub caddy and glue walnut cleats onto the bottom of the main board at these locations for a total of 3 cleats.
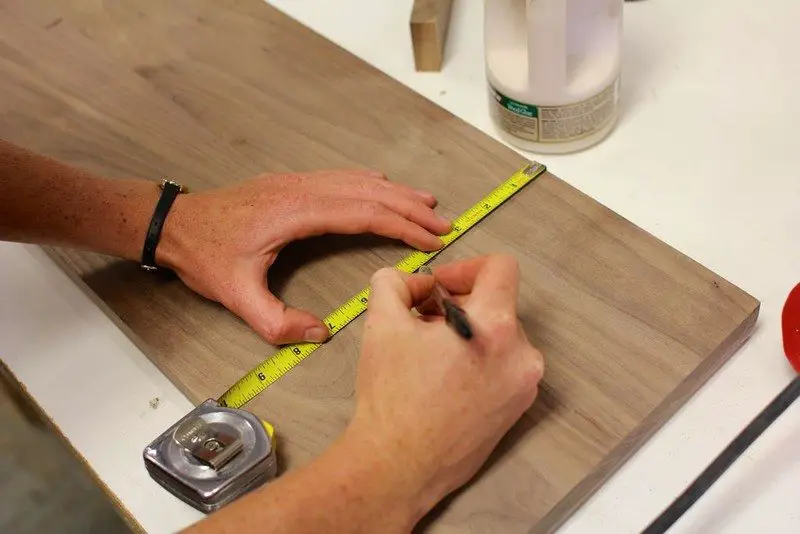
In theory, you only need the two right cleats which grab the exterior wall of the tub, however, the left cleat is nice because it locks everything in place tightly.
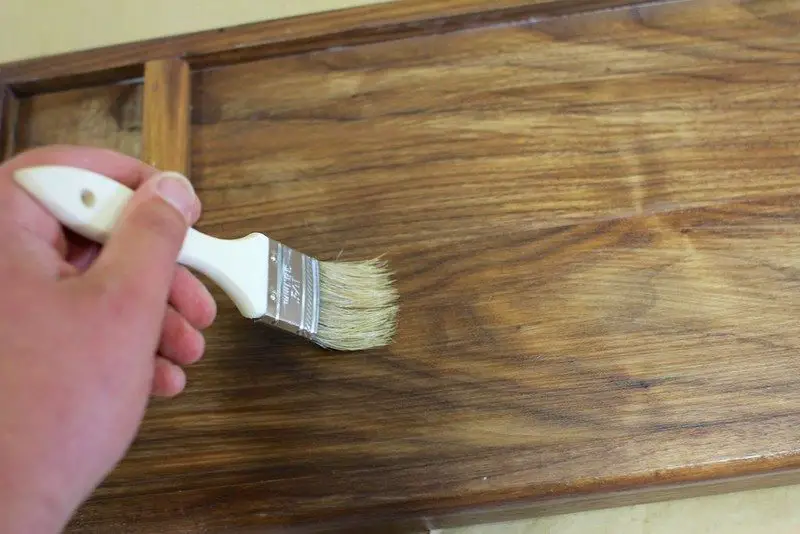
Since the walnut is going to be used in a water-y environment, we sealed everything with two coats of a water based spar varnish urethane from Varathane. It goes on a little milky but dries with a nice satin clear finish. Very easy stuff to work with.
Once the varnish is dry the project is done!
Thanks to noahw for this great project.


