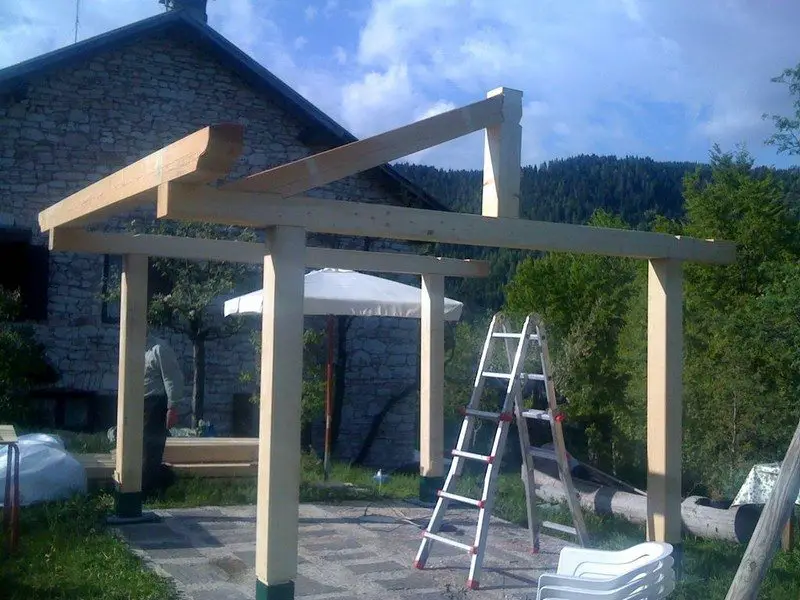
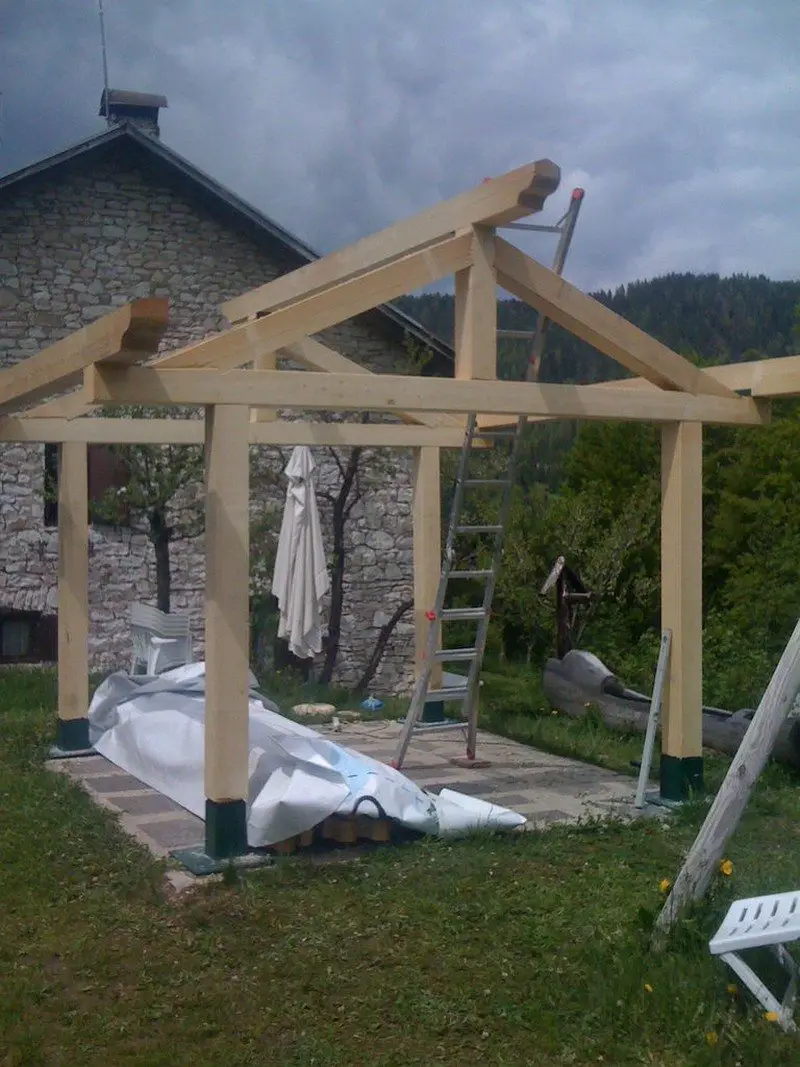
Now you have to fix to the wood traverse a side traverse (tagged in the photo). As explained in the previous step, fix to the wood traverse with the same big screws. Do this step on both sides.
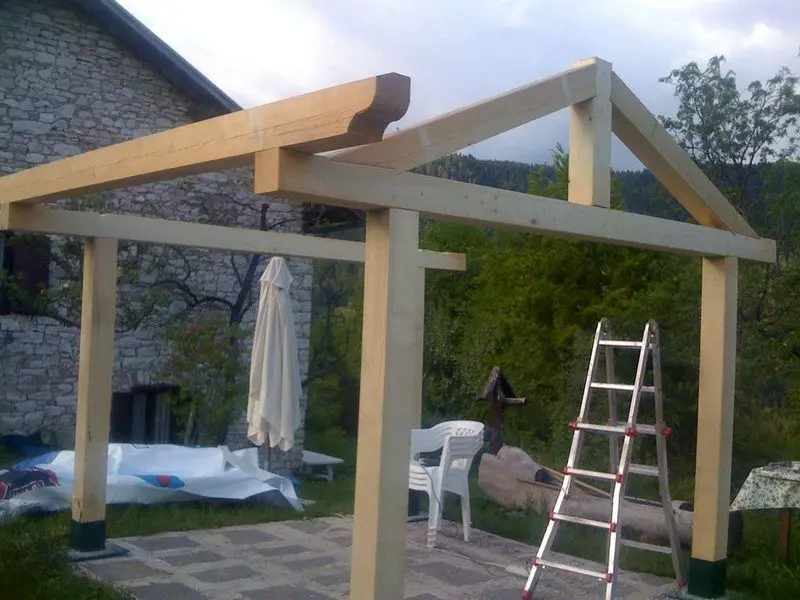
The triangular shape is a very special structure of the roof of the gazebo. It must be flexible and sustain all the weight of the roof (especially when covered with snow). The purpose of the 2 diagonal wood pieces is to distribute the weight on the sides instead of on the center of the wood traverse (a weak structural point). Actually the center piece and the traverse do not touch!
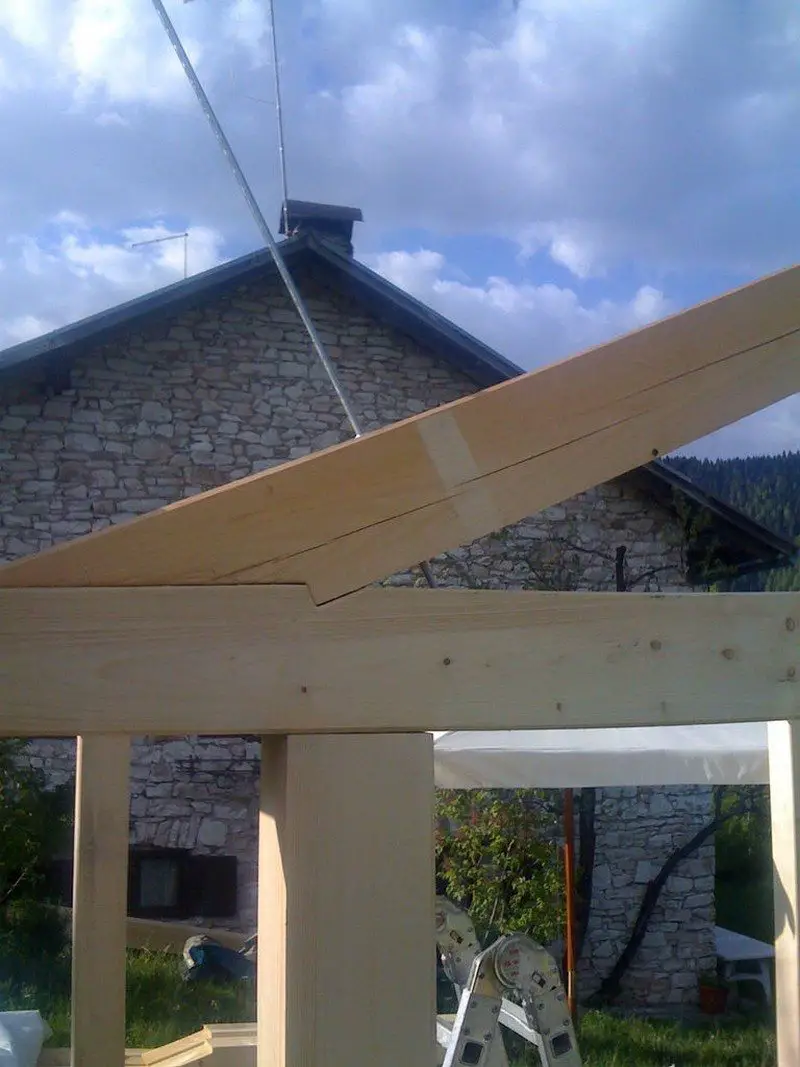
To strongly fix the diagonal pieces I used a metal bar that pass trough the two wood pieces. When the roof will be covered with show, the pressure of the weight will push on the sides (so you have to strongly fix the diagonal pieces to the traverse) and on the center (in this case the center will get closer to the traverse without putting pressure on it).
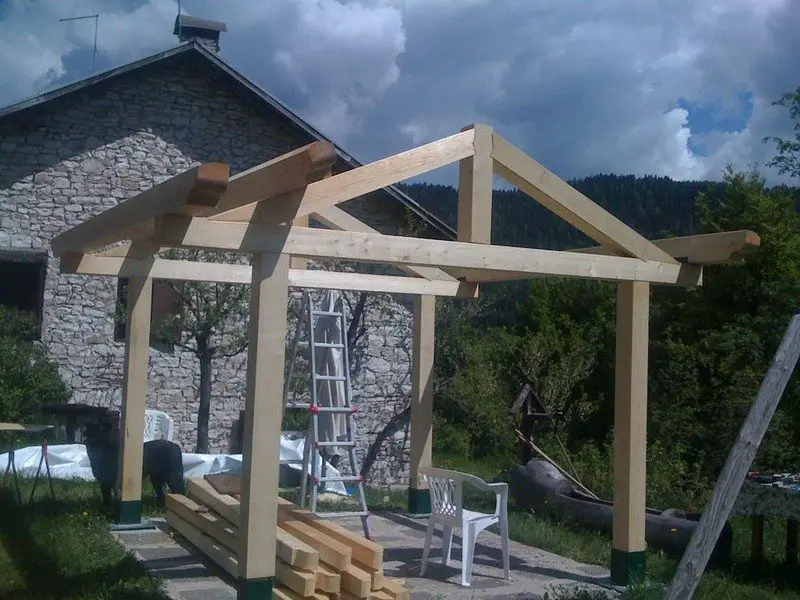
The top side traverse is where the roof will be fixed. Since it’s a very heavy piece I used some ropes to keep the piece in place while my dad was slowly pushing the piece in position.
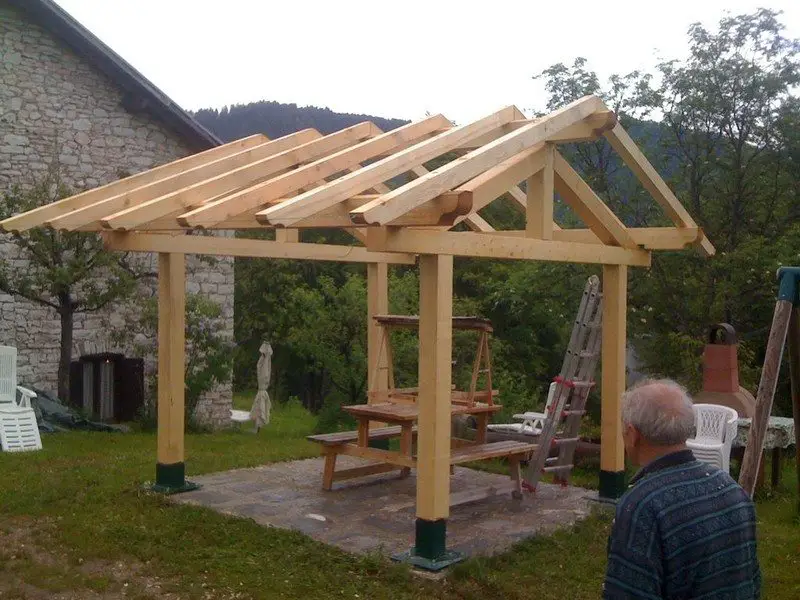
The roof are needed to distribute the weight on the roof to the structure of the gazebo. I put a support every 55cm (21 inches). The width of the wood used is 4 inches. Every support is fixed to the structure with screws.
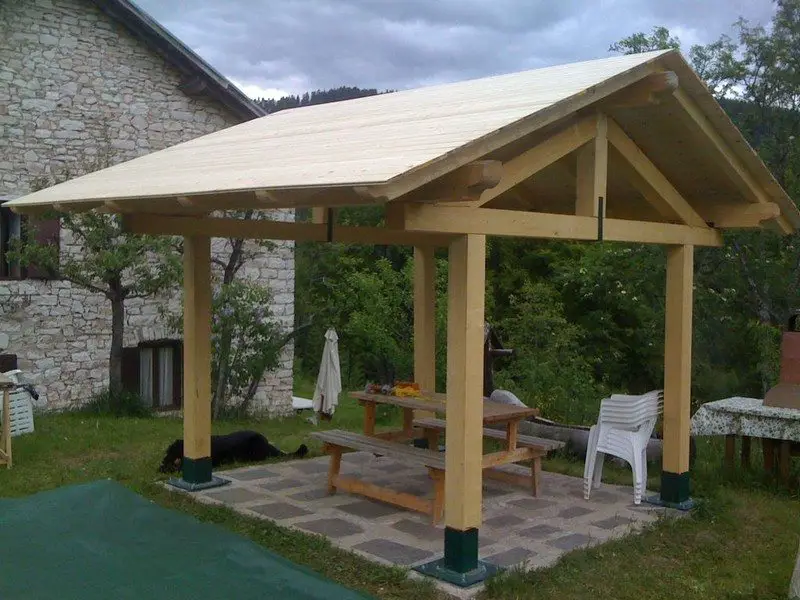
The first layer for the roof is made of thin wood. Its purpose is to support the watherproof layer. After installing it, I walked on to test its capability: if it can support my weight it ‘should’ support a lot of snow. Next layer will storm-proof the roof and will acts also as anti-slippery layer. I will use a very light roofing tile named “tegola canadese”.
Would you and the rest of the family be up to building your own gazebo? :)
Thank you derte84 for the great tips for building this gazebo!


