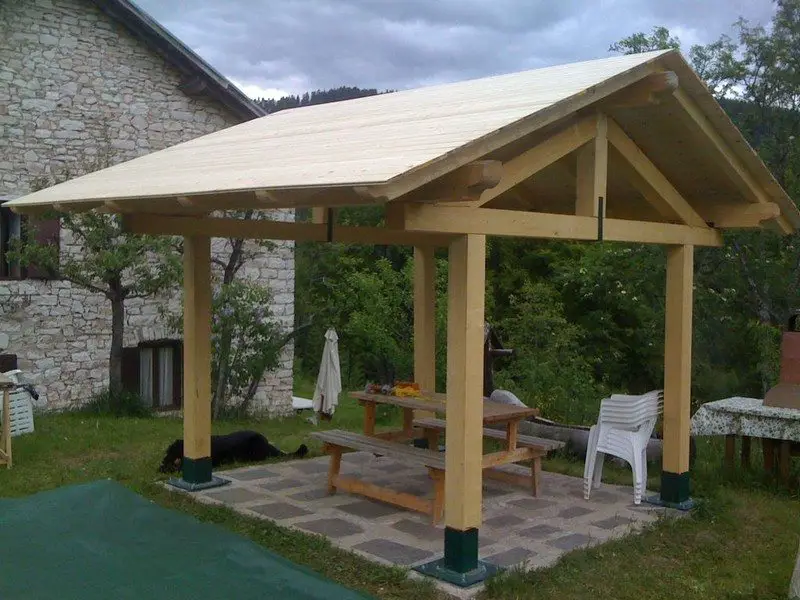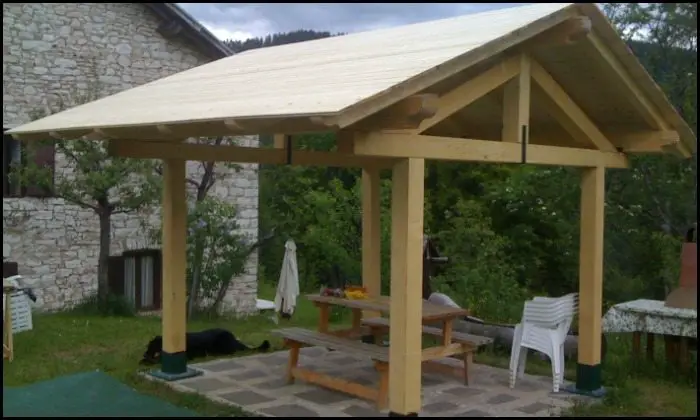
A gazebo is a great way to extend your time outdoors. Gazebos provide shade in the summer and protection from rain when the weather isn’t nice. It’s a great place for entertaining and having one in your home increases its desirability and may even increase the market value!
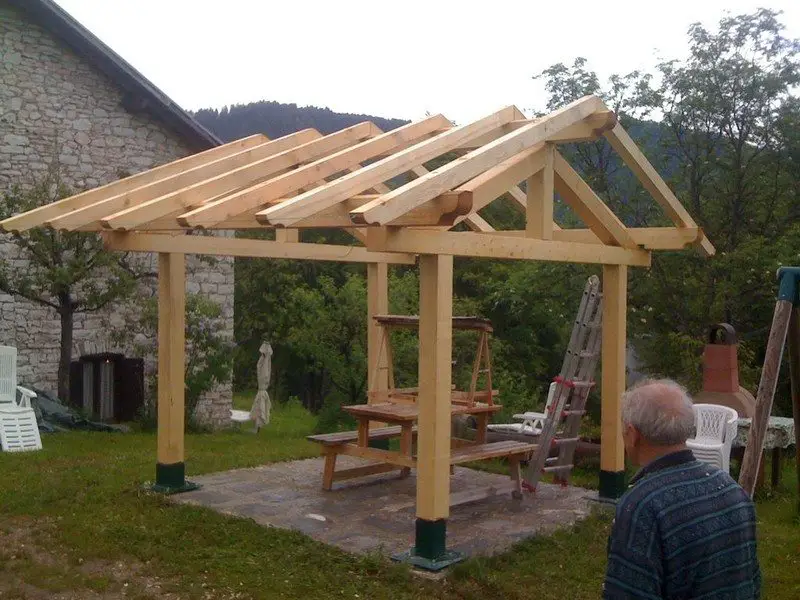
You can have one in your yard by buying a kit, but some of you might find this very expensive. A better and cheaper option is to build you own. This will require a lot of planning, but it allows you to lessen the cost as you have the choice of what materials to use.
You might not find the right design you desire if you choose to buy a prefabricated gazebo. By building it yourself you have control over the design and other details. And being involved in building your own gazebo ensures its quality. You’ll also have the satisfaction of being able to say, “I built that!”
Want your own backyard getaway? Why not learn how to build a gazebo?
Click on any image to start lightbox display. Use your Esc key to close the lightbox. ?
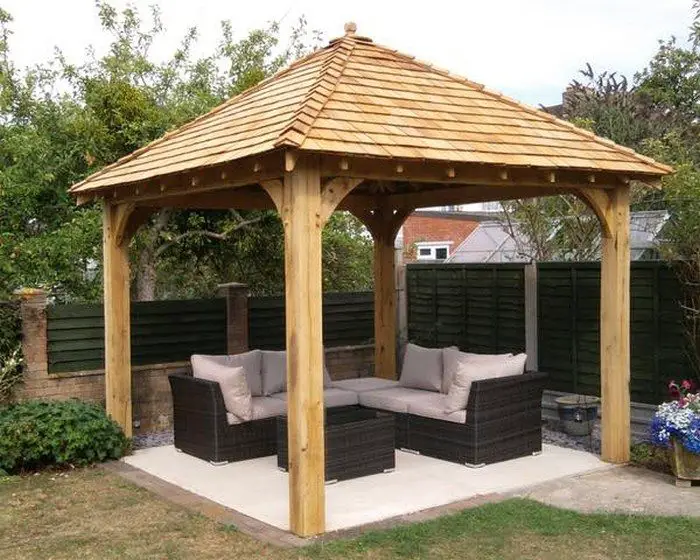
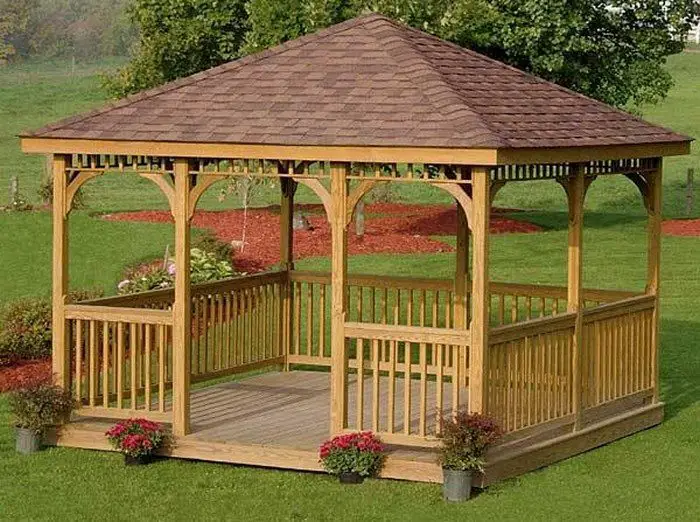

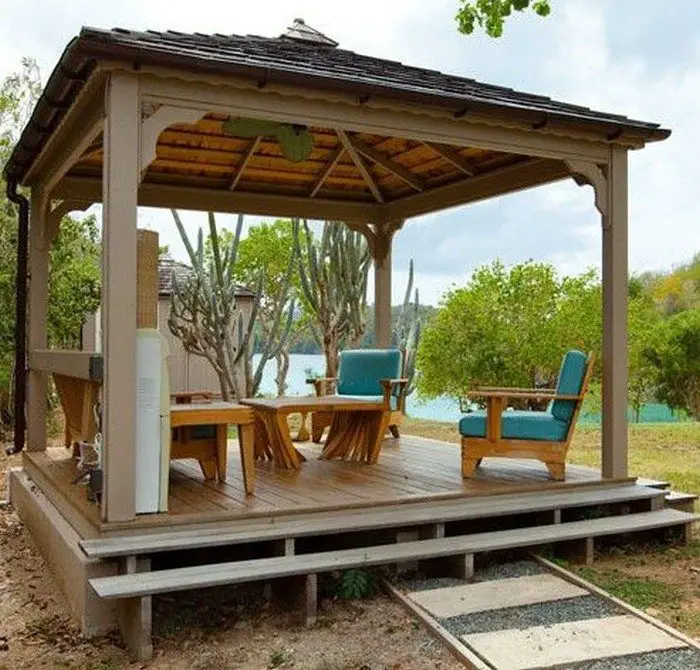
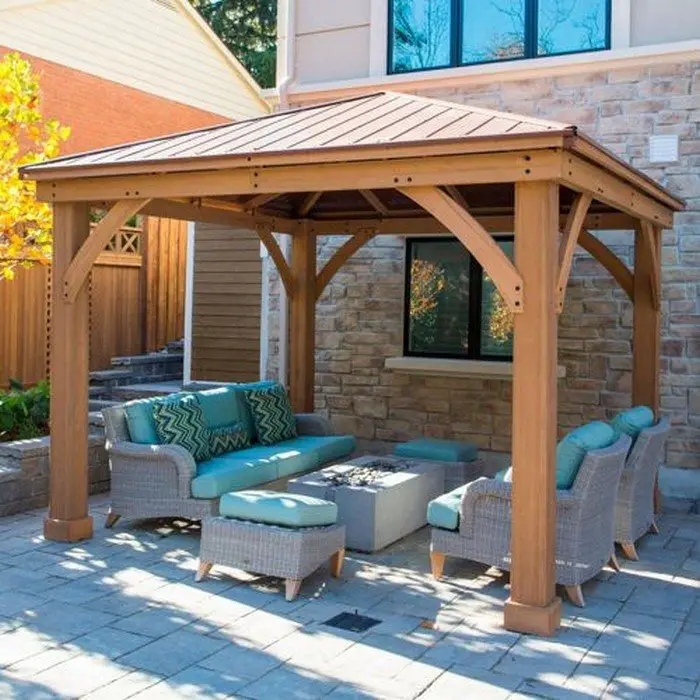
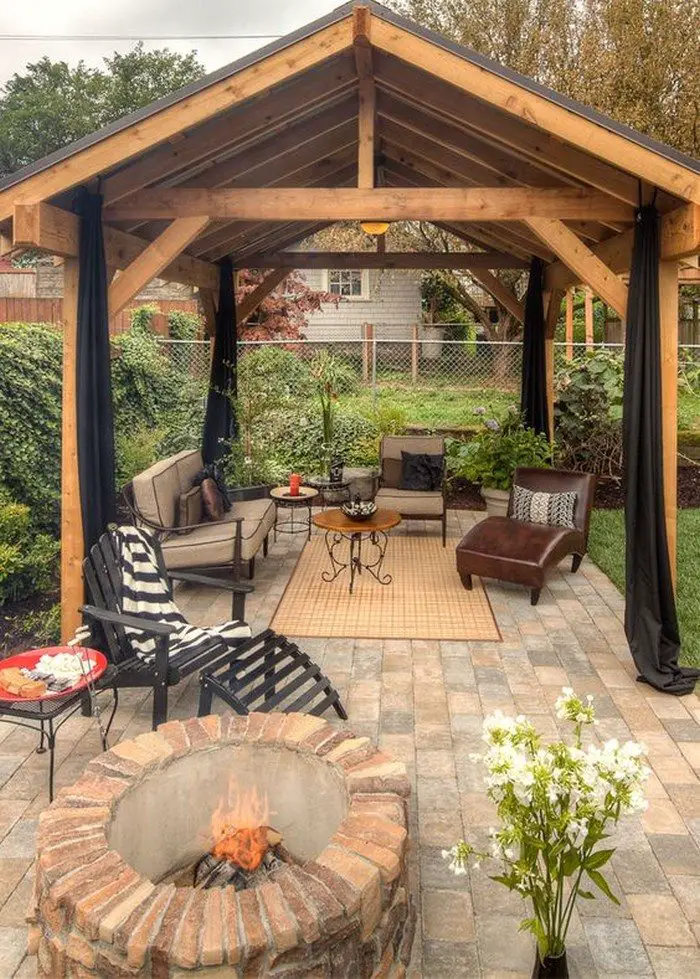
Materials:
- Lumber – sizes will depend on the size of your space
- Thin Wood – roofing
- Metal Bars – square, T- and L-shaped
- Very Big Screws – long enough for the thickness of 2 pieces of wood
- Ladder
- Concrete
- Silicone + Tar
- Tegola Canadese – roofing tile
Tools:
- Welding Machine
- Metal Cutting Tool
- Electric Drill
- Table Saw
Steps:
The first thing to do is to design your gazebo. You can use SketchUp, which is one of the easiest 3D modeling software there is.
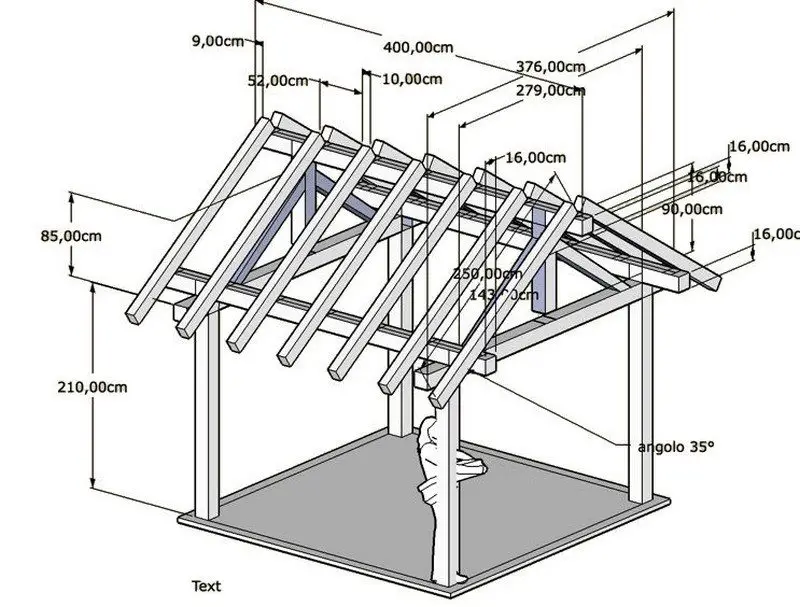
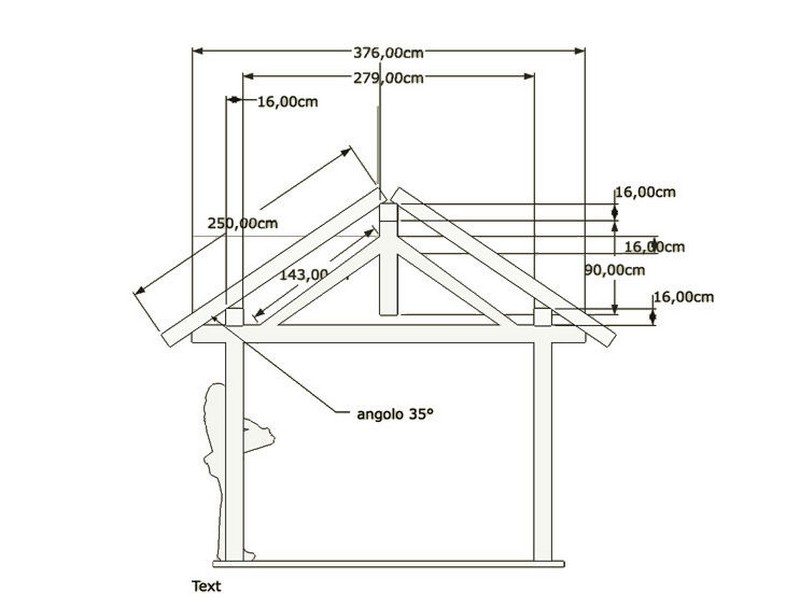
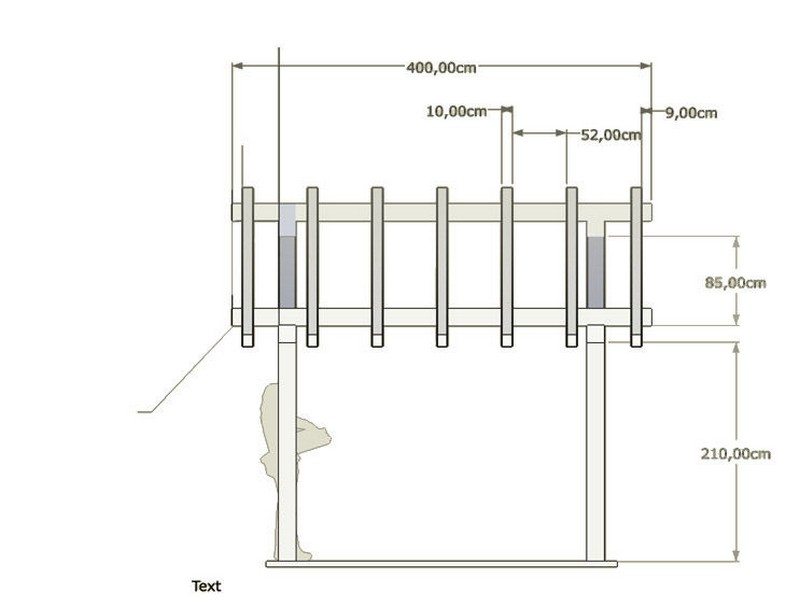
Since I don’t have the right tools, I printed some images of the gazebo design with quotes and gave to someone that cut wood for work. It cost a little bit more than DIY, but is cheaper than buying the tools and more precise than doing with cheap tools.
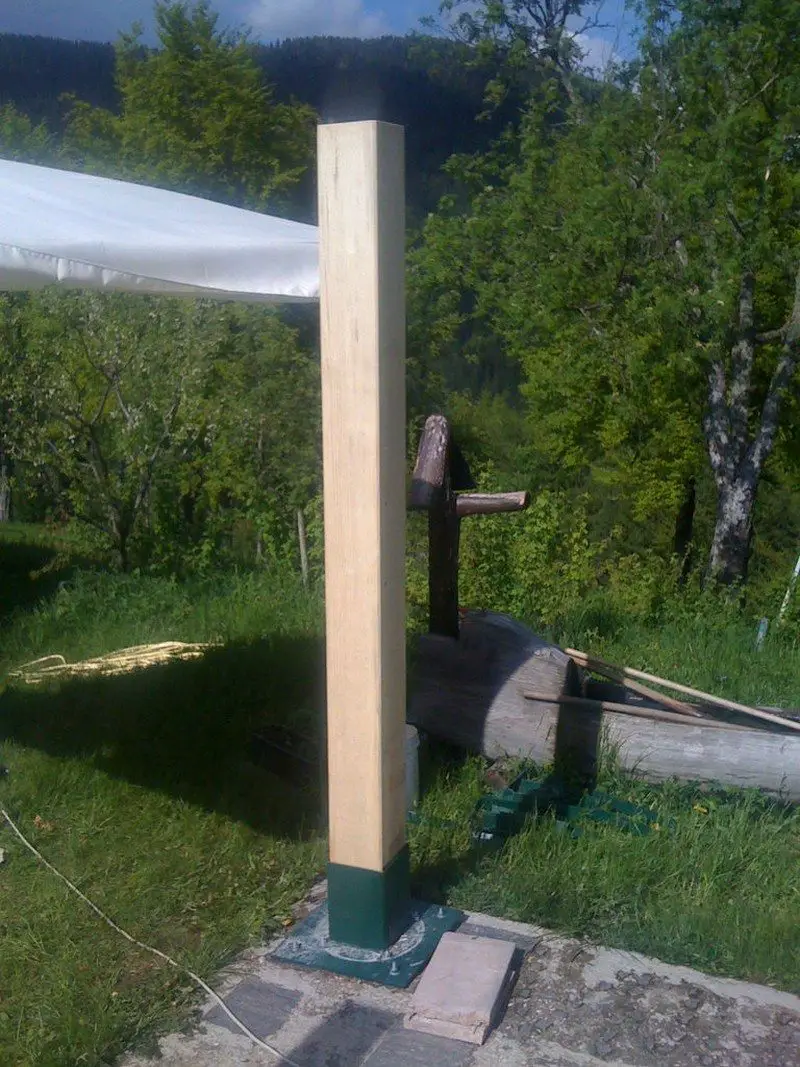
The first thing you have to do is a flat floor surface made of concrete matching the desired size. This will be the floor of the gazebo and the anchor of the entire structure. To add strength to the concrete you can add some metal bars into the concrete floor.
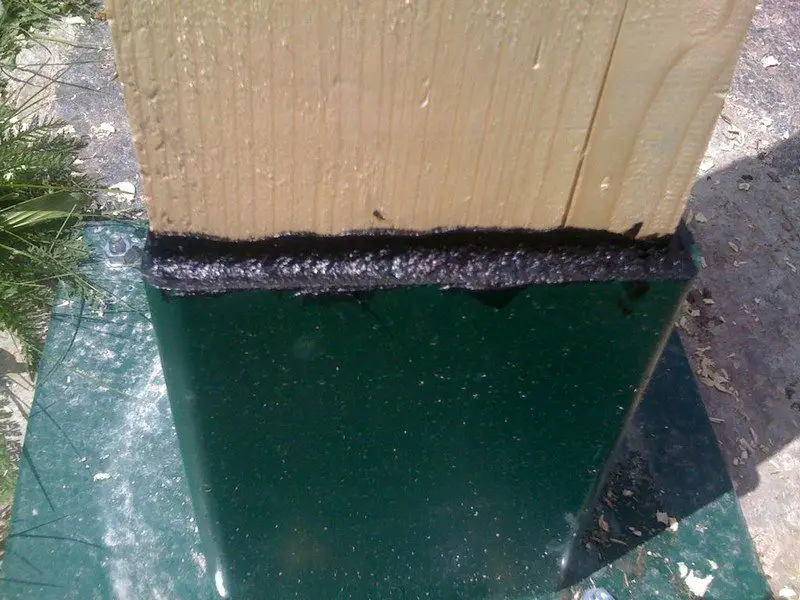
Metal pieces used for the structure were recovered from trash and adapted (welded and cutted) to fit the wood structure. To avoid water drop inside gaps between metal and wood I filled the gaps with silicone and tar (usually used for insulate RV windows). I also do a hole on the bottom of the metal supports to avoid water condense to stay in contact with wood for too much time. Metal supports are covered and protected from rain by the gazebo roof so the bottom holes should not be a problem.
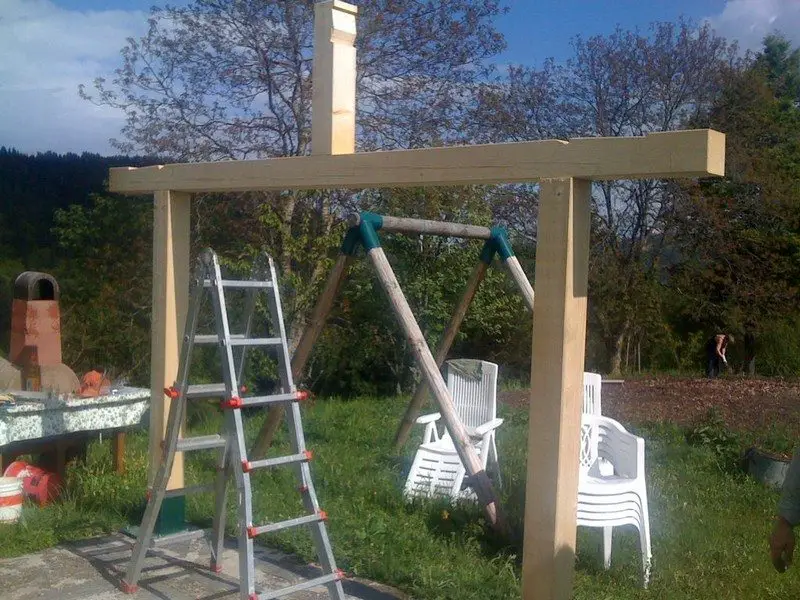
Put the wood traverse on the supports. Be sure that the traverse is centered measuring on both sides the traverse. Once the traverse is right in place, fix it to the supports with long screws. I used screw long twice the width of the traverse.
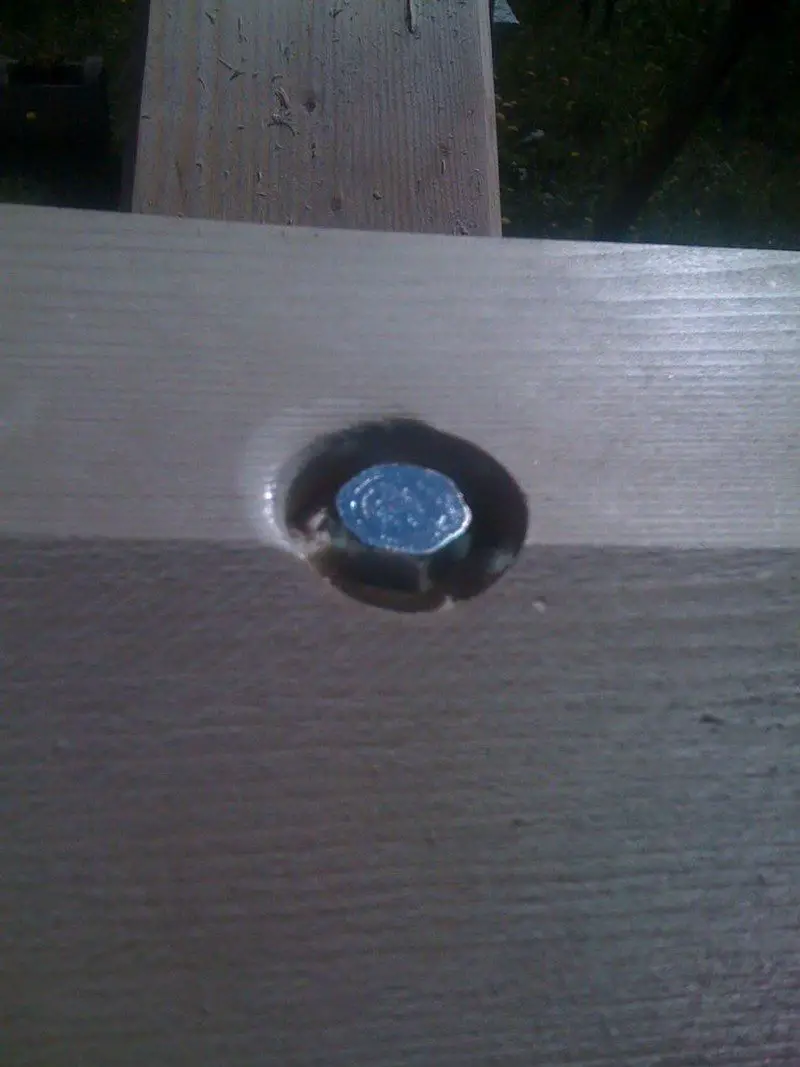
Countersink screws to avoid it from interfering with other pieces of the gazebo.
Continued Page 2…

