Now we need to disassemble the second pallet, removing the top part of it. Do the same “cleaning” with it.
Attach the second pallet to the first one, and now you have the “body.”
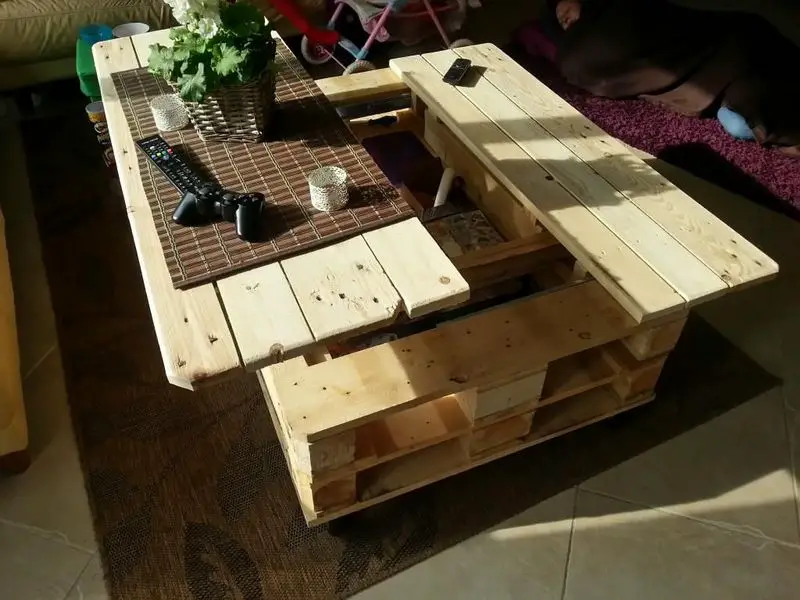
For the table top, join wood slats together with the thick perforated steel straps (you can also use ¾ thick pieces of wood) as show in the picture. Make sure you place these fasteners where it will hold the wood planks steadily together but also where it would not hit any other parts of the table when closed. You might want to put some wood glue at the sides of the wood planks for more strength.
The overall size of the table top should be the same as the dimensions of the body, of course. But you have to divide the table top into two as shown in the picture above. One would have a sliding mechanism only, while the other can be lifted. As an example in the picture, this will serve as an easier access to the things you will be storing inside.
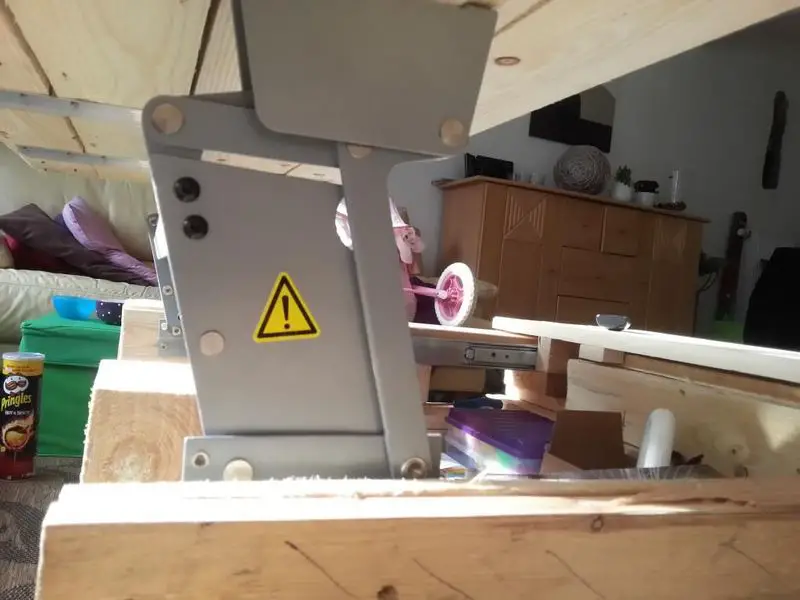
Next, install the sliders and the hinge. You have to do a trial and error to determine the accurate positions of the mechanism before screwing them into place.
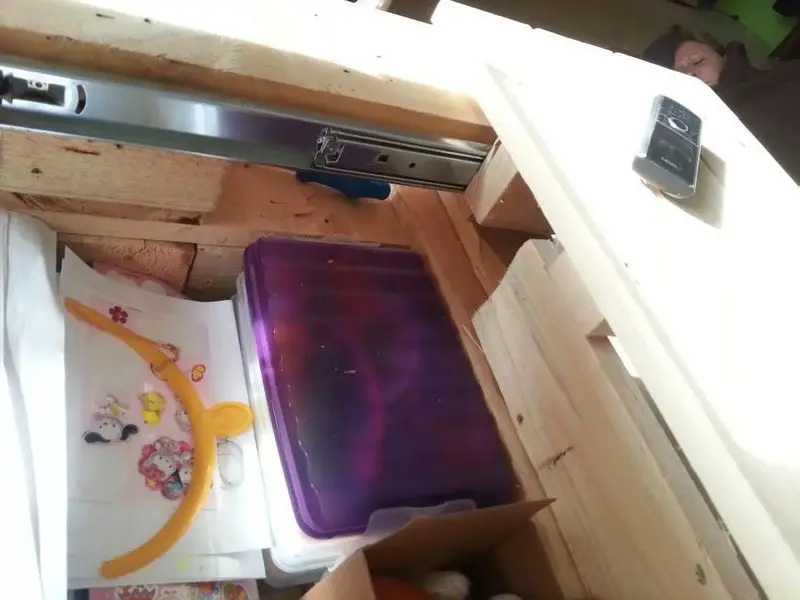
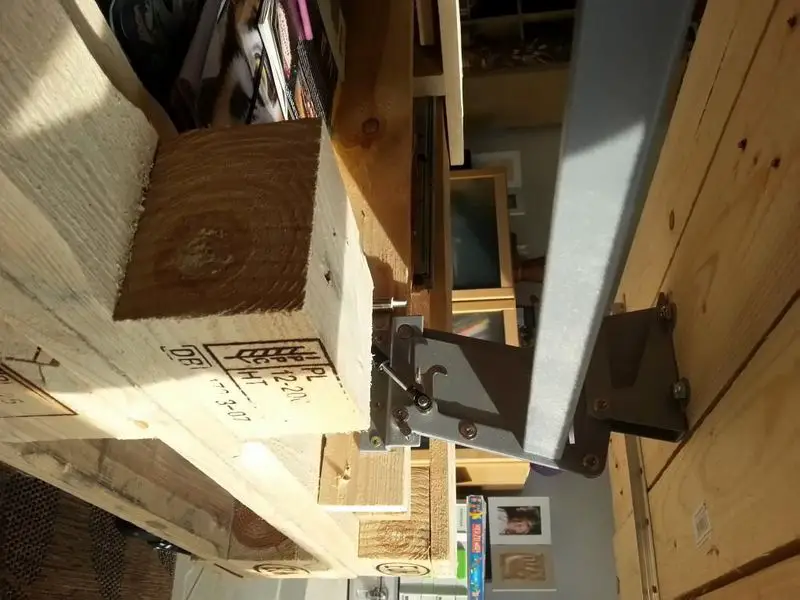
If possible you can install the slider on the pallet itself. But for some, you might need to add wood pieces on the inside of the body where you can attach the sliders and the hinge (lift mechanism). As you can see in this picture, the two mechanisms are installed on different wood surfaces.
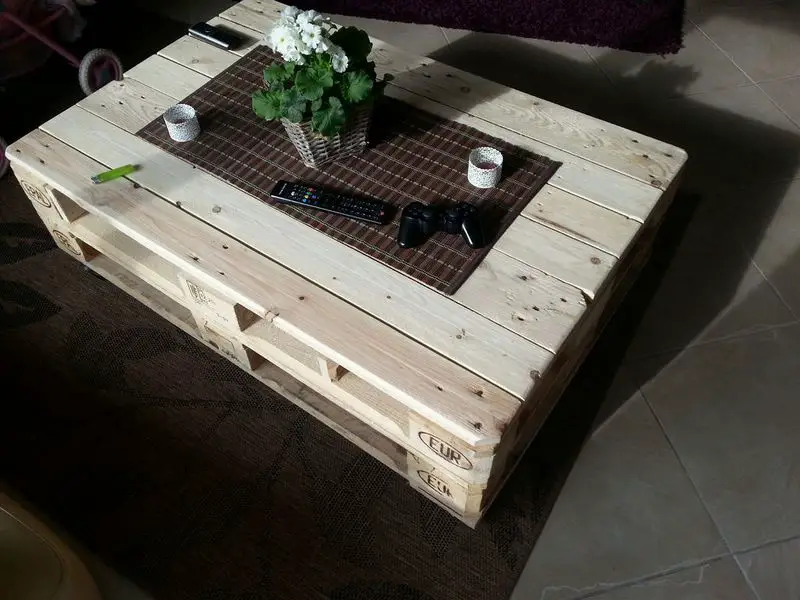
Thanks to dirkdeus for the original idea.


