Do you have a bare yard that you want to turn into a relaxing outdoor area? Building a fire pit is as good a start as any, and the good news? You can DIY it!
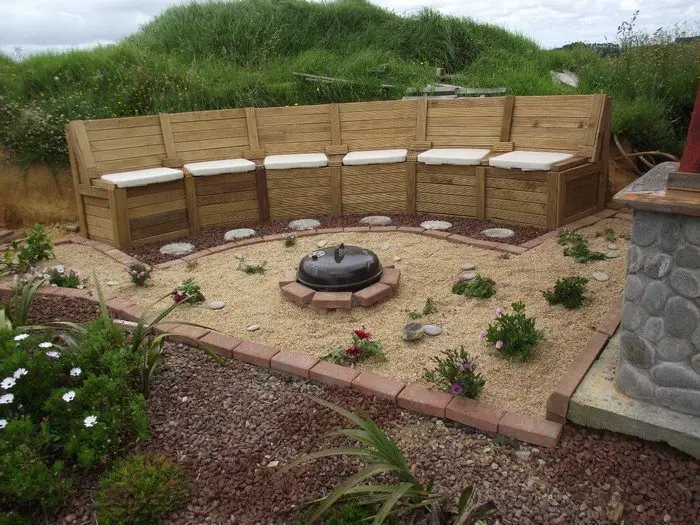
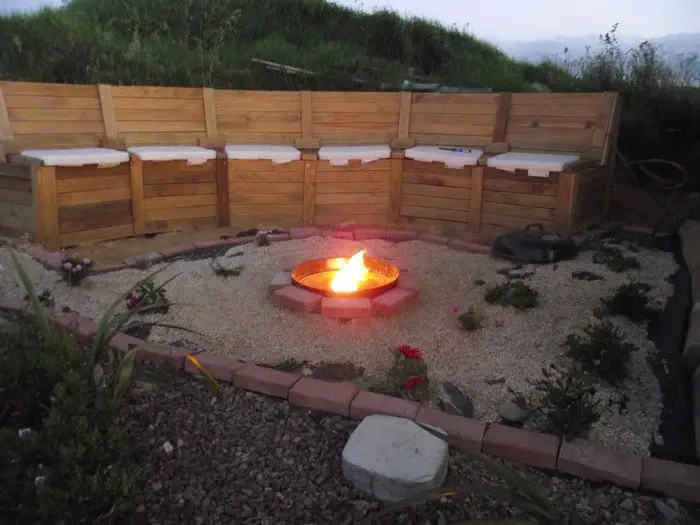
This tutorial is about a fire pit seating with storage. And it makes a perfect first project for building your outdoor area!
Why? Because this DIY furniture piece is a built-in seating which blends in with all other elements in your garden. As opposed to having a store-bought outdoor furniture, a built-in seating solution gives a more homey feeling to your outdoor area.
Another reason being is that building your outdoor furniture before anything else ensures that you have the most comfortable setup possible. You can plan ahead and think about where to best locate your seating, as well as determine the number of seats for it.
This fire pit seating, as already mentioned, includes storage, which lets you can maximize the use of your outdoor area. It’s perfect for keeping extra pots, grilling equipment and other outdoor or gardening items.
Now what’s really nice about this DIY project is that you can build it even if you don’t have much building experience. You can make one that could fit the size and lay out of your yard. It is a building project that can be built without definite dimensions – just measure as you work!
It also doesn’t have to be expensive since you can use pallets and other reclaimed timber. :)
Would you like this kind of outdoor seating in your yard? Read on and learn more about it!
Click on any image to start lightbox display. Use your Esc key to close the lightbox.![]()
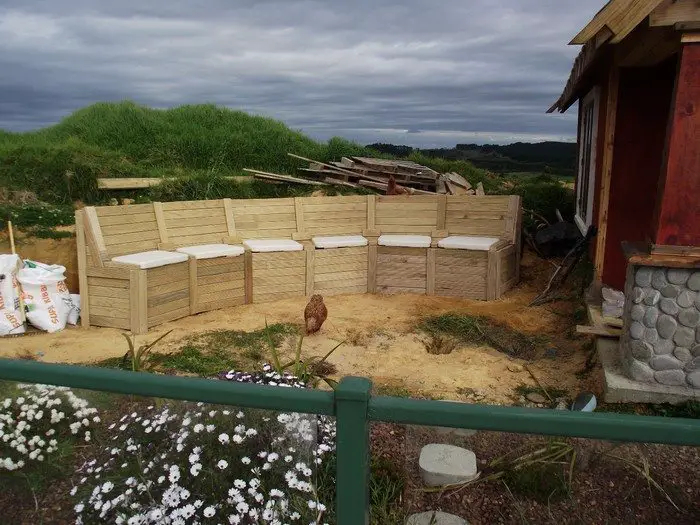
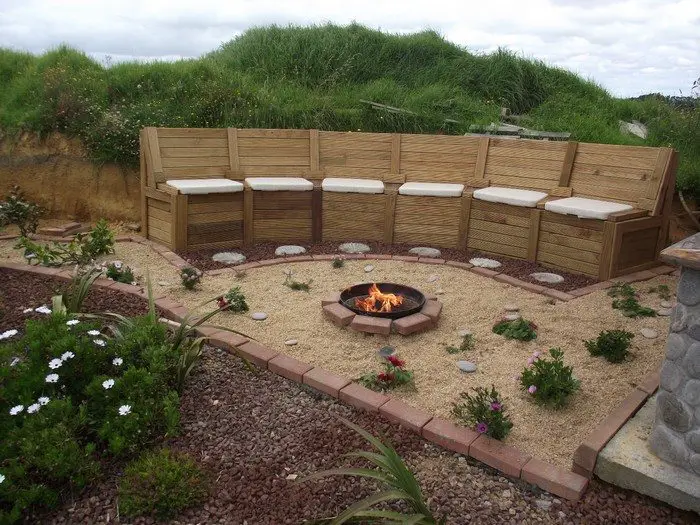
Materials:
- 4×2 Frames
- 4″ Nails
- 2″ Screws
- 3/4″ Decking
- 1 sheet of 18mm Plywood
- 3 sheets of 13mm Plywood
- 1-1/2″ Screws
- Black Builders Plastic
- Varnish/Stain
- 6 Seat Squabs
Tools:
- Chop Saw
- Table Saw
- Circular Saw
- Jigsaw
- Oscillating Saw
- Drill Driver
- Hammer
- Belt Sander
- Detail Sander
- Spirit Level
- Tape Measure
[adinserter block=”11″]
Steps:
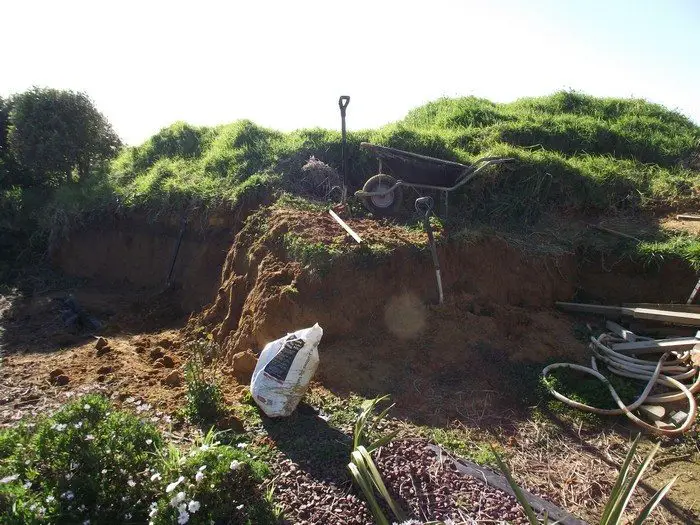
Dig out the area: Obviously nothing is easy! Step one is to dig out an area to put the seating.
Due to access limitations this was all done by hand and barrow, (well it keeps me fit!) and over a weekend. The fill was put into my raised 6m x 3m bed as subsoil for root vegetables (potatoes, kumara etc).
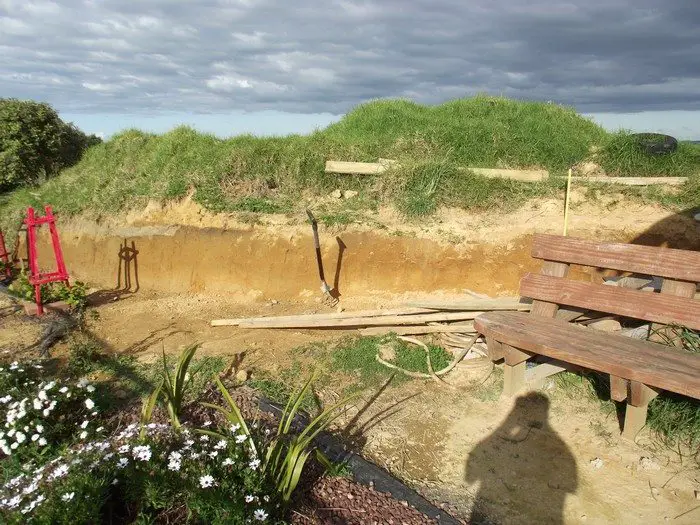
Approximately 12 cubic meters of soil were removed. The first photo was taken a few hours after starting, and the second at the end of the weekend from approximately the same angle.
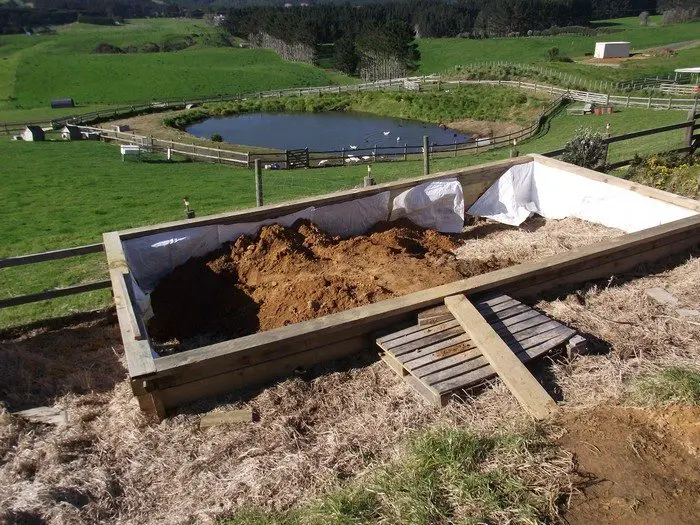
The pic of the raised bed is after Day 1 (approx 75 barrow loads of soil).
While I had the spade out, I also planted a trio of citrus trees (Lemon, Lime and Satsuma), which were previously in pots inside the pool area, the red frames are to stop the dogs/chooks etc from digging them up.
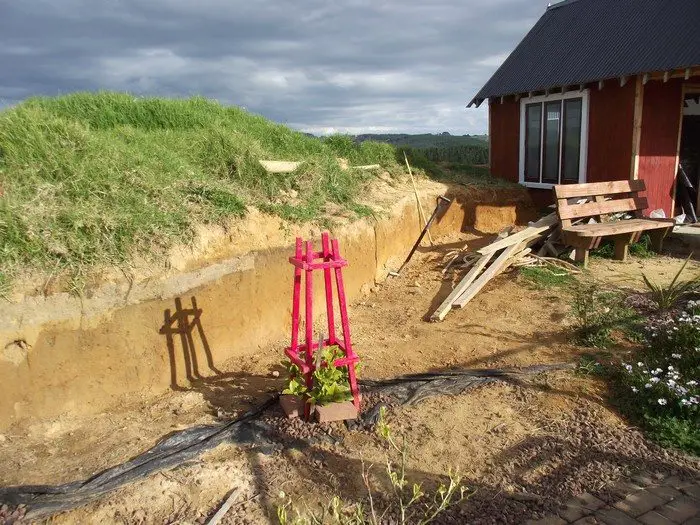
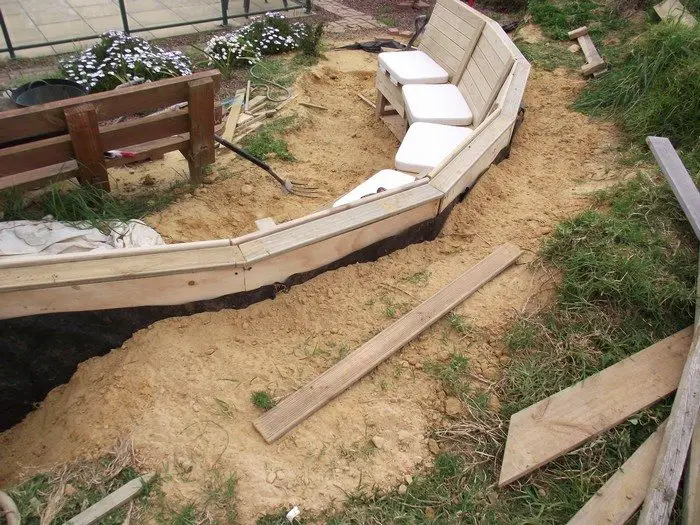
Digging complete: From the reverse angle you can see I have dug the area in a “lazy S”, however the storage bench will be laid out in an approximate semi circle. The bench that’s already there will be relocated.
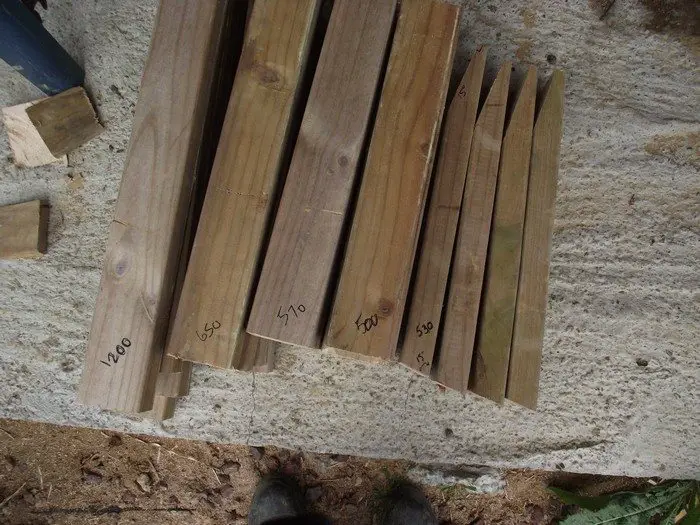
Frame cutting list: I have 4 cushions, thus I need 5 frames. I will probably buy a couple more cushions and extend this bench, but the rule is 1 more frame than cushions!
Each frame is made from 4×2 or 2x4s if you’re an American! To give me the height I want, and to fit the cushions, they are to be cut as follows:
PER FRAME
- 1x 1200mm
- 1x 650mm
- 1x 570mm
- 1x 520mm (not 500 as written on it in the picture)
All these were straight cuts on the chop saw.
PLUS 1x 530mm; This had 15 degree cuts at both ends as shown; to give a sloping back rest.
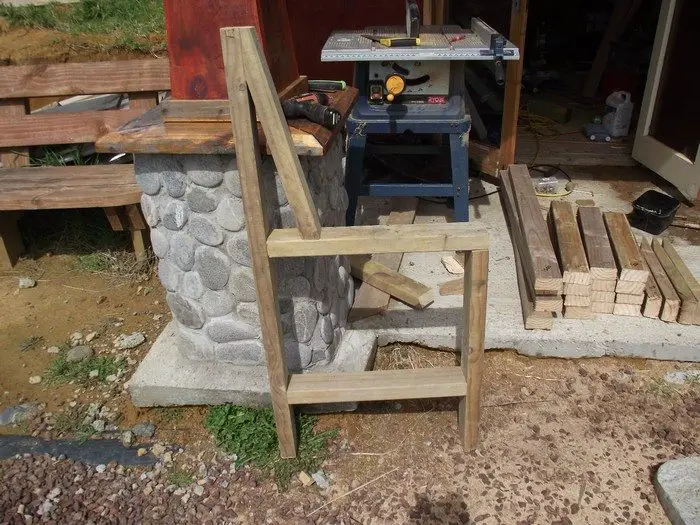
Assemble: Assemble with 100mm nails except the top of the backrest which I screwed with 2.5 inch screws. I allowed 200mm at the base for the legs to be buried to give it more stability.
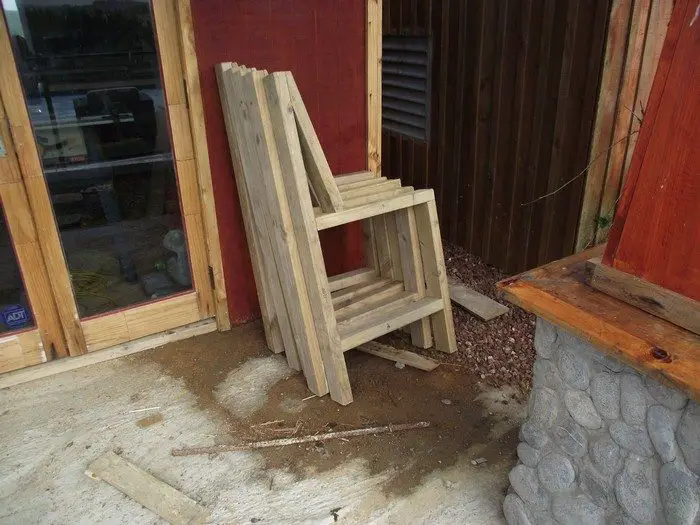
Once I had made and was happy with the first one, I used it as a template and assembled the rest on top.
Continued Page 2…


