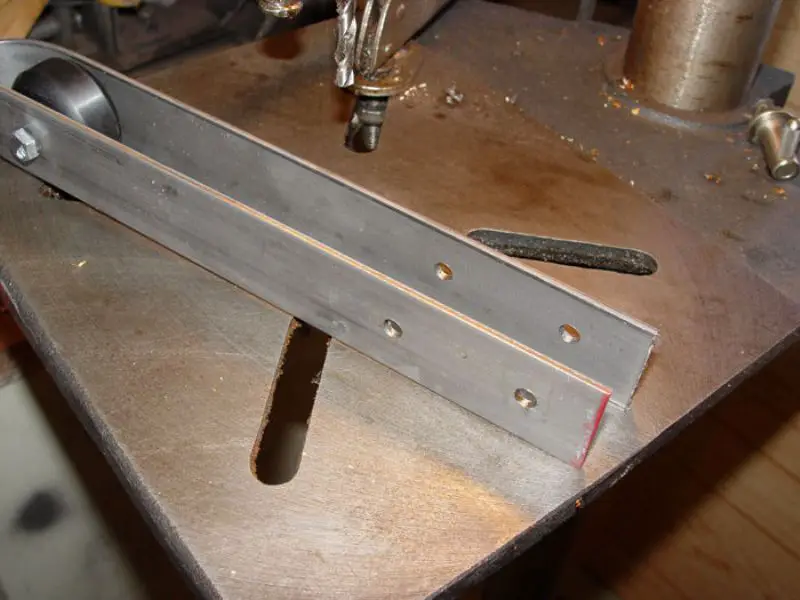
Also drill two wholes on each end of the flat steel. Location of these holes would depend on the door that you are using, but make sure that they would be placed in a solid area of your door.
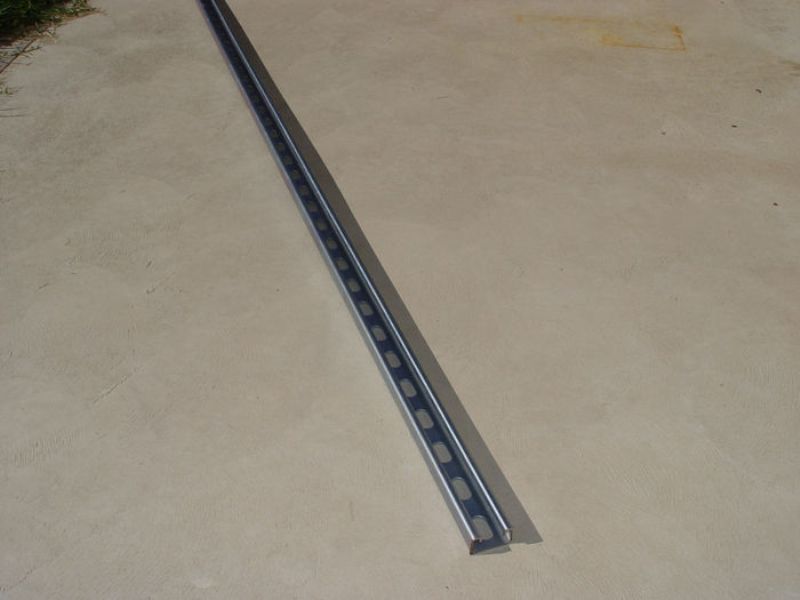
This is what the galvanized steel rail looks like. The length of your railing would depend on the width of your door. If for example your door has a 6′ width/opening, then you would need 12′ of this – double the size.
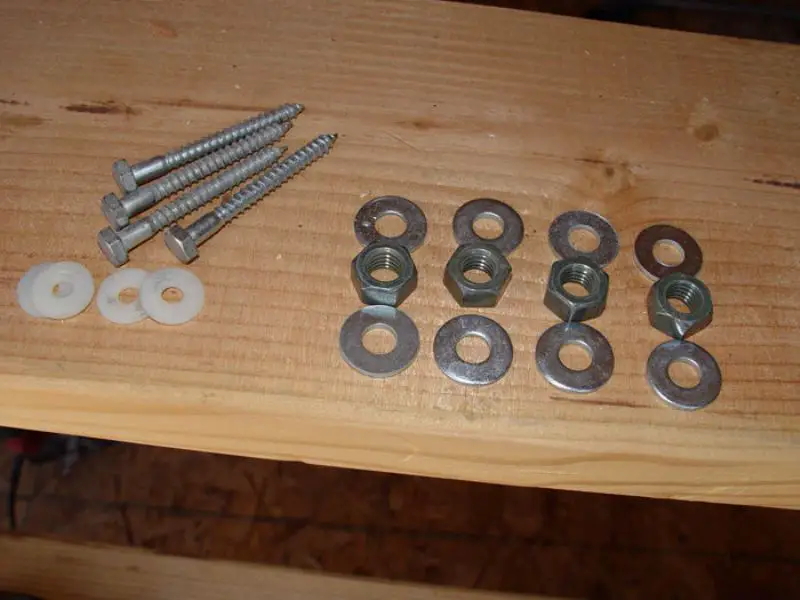
Mount the rail on the surface using 3″ lag bolts, steel washers and 11/16th nuts.
In this photo, you’ll see that and angle iron is placed on top of the rail.
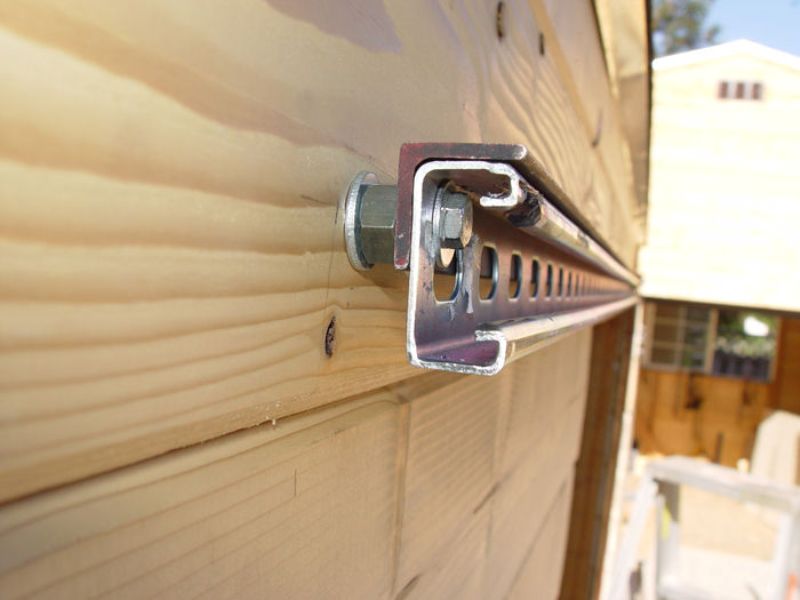
To properly determine the location of the rail, place any kind of 1/2 inch thick spacer on the floor of your door opening. Set your door on the spacer and mark the top edge of your door on the surface where you will be mounting the rail. Then measure another 1/2″ to mark where the edge of the railing will be. Use a carpenter’s level to draw a straight line along the surface. It should be equal to the length of your railing.
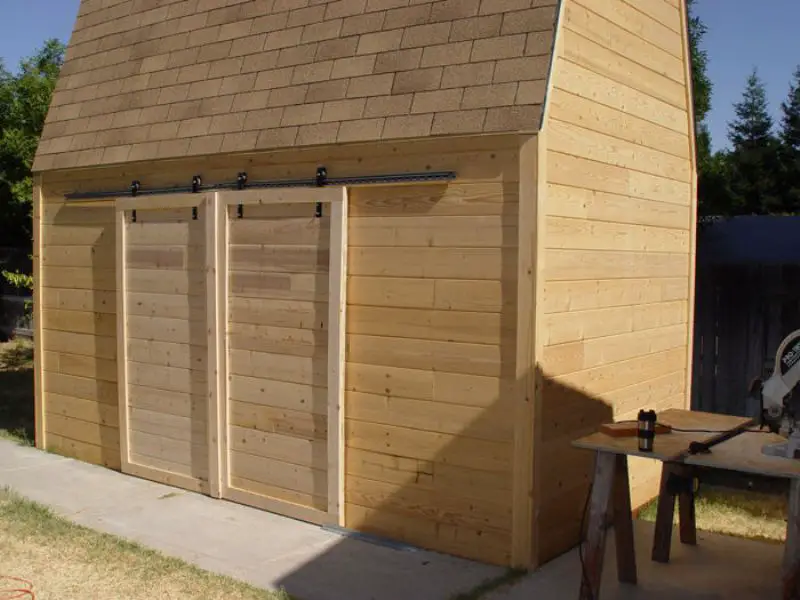
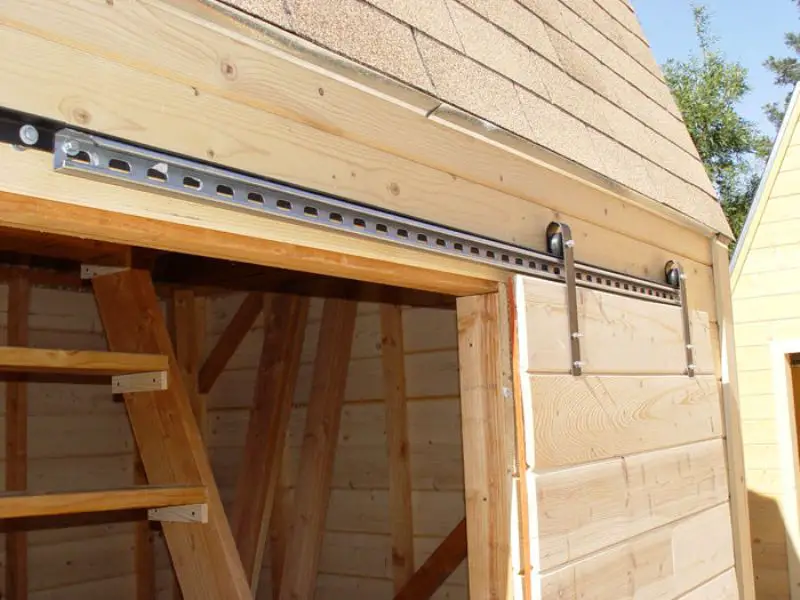
To attach the door, temporarily clamp it at the opening of the door or have someone hold it in place while you slip two hanger/rollers in place. Mark the holes from the end of the flat steel on your door surface. Drill the holes on the door and then screw together with the hangers/rollers using nuts and bolts. Slide the door to make sure there aren’t any issues with installation. Take note that the end lag bolt that holds the rail serves as your stopper.
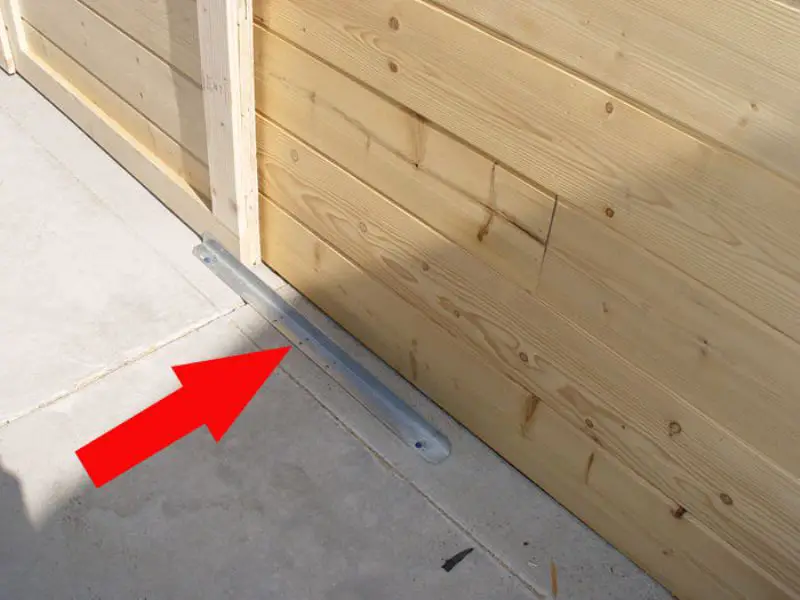
Lastly, to keep the door vertical and to prevent it from swaying during strong winds, install an angle iron at the floor as shown in the picture.
Thank you dewey302 for this tutorial!

